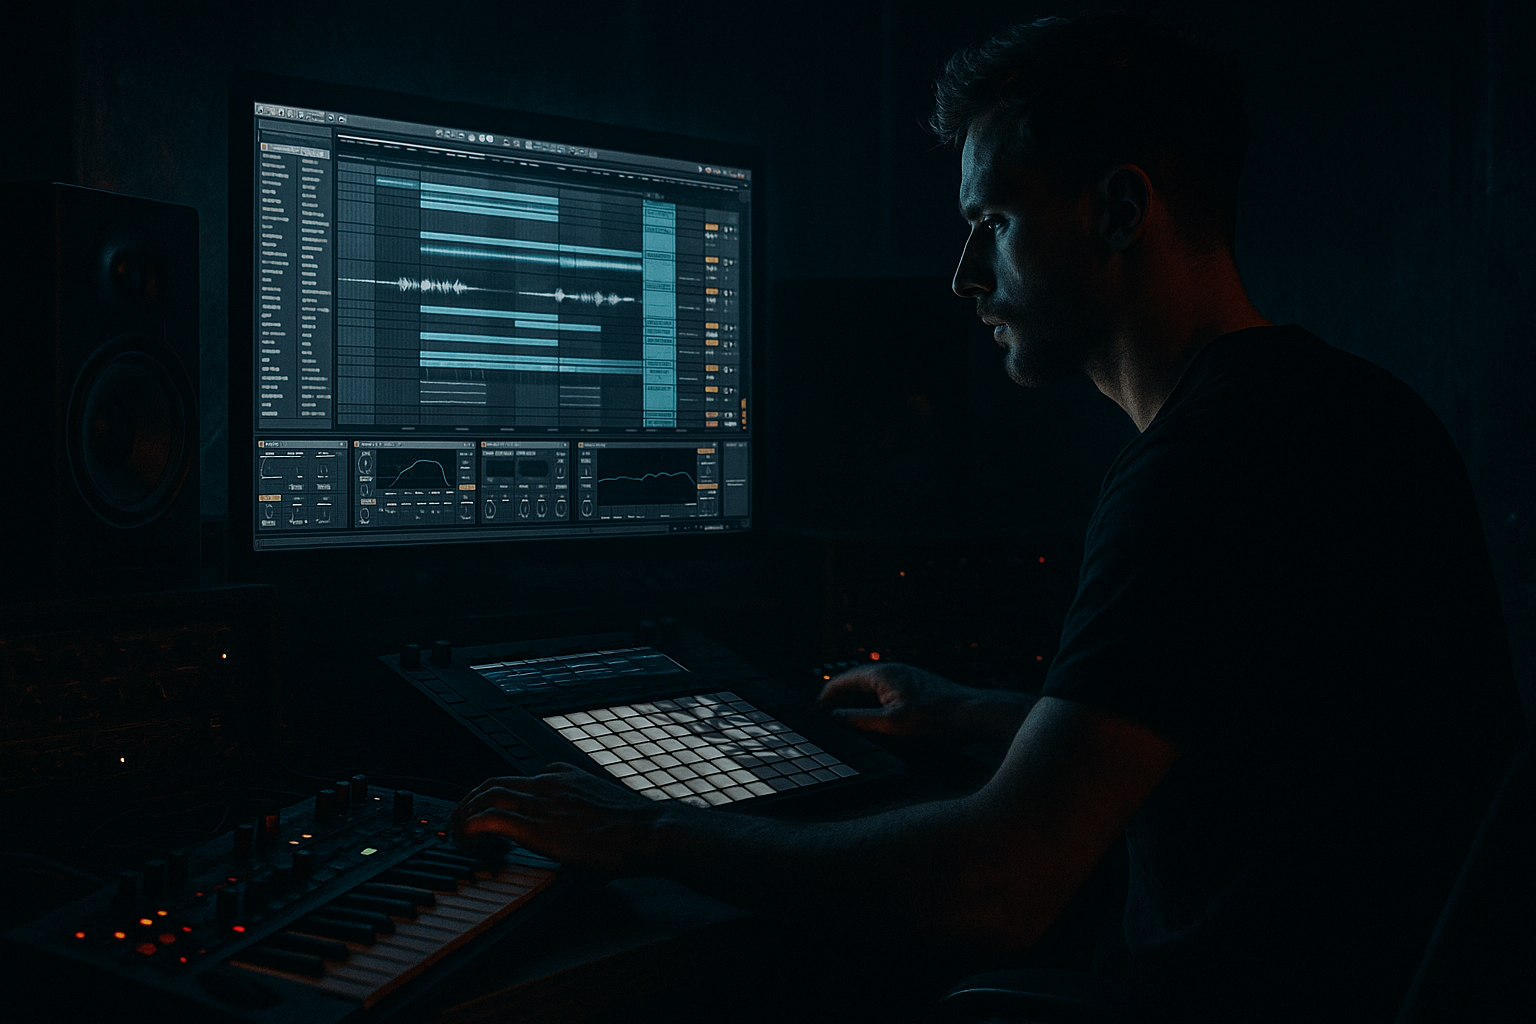
Main tutorial
Lesson Overview
The goal of this lesson is to turn a short VHS-rave stab into a printed, arranged DnB phrase by moving it from Session View into Arrangement View and resampling it as a performance element. In practice, this means you’ll take a stab loop that already has character, automate it like a live part, then capture the best moments into linear arrangement so it behaves like a real hook instead of a stuck loop.
This technique lives right at the center of modern DnB writing: intro tension, drop punctuation, switch-up fills, and breakdown details. In a roller, it can sit under the drums as a hypnotic stab. In a darker half-time or jungle-influenced section, it can become a haunted call-and-response line. In neuro-leaning DnB, it can act as a metallic midrange layer that appears only for a few bars and then disappears. The key idea is not just “play a stab,” but shape it in Session View first so the automation is intentional, then commit it into Arrangement View where it supports the track structure.
Why it matters musically: DnB thrives on contrast. A VHS-rave stab has instant cultural memory—big chords, nostalgic grit, tape smear, club energy—but if you leave it static, it gets repetitive fast. By resampling the automation into Arrangement View, you freeze a performance that already has movement, filter sweeps, mutes, and pressure changes baked into it. That gives you a more finished, believable record and saves you from endlessly looping the same clip.
Why it matters technically: Session View is ideal for testing variations quickly, but Arrangement View is where you decide phrasing, tension, and DJ usability. Printing the stab after automation lets you keep the audio shape that works best, reduce CPU, and make precise edits against drums and bass. By the end of this lesson, you should be able to hear a stab line that feels animated, sits in the track without fighting the low end, and lands like a deliberate DnB arrangement moment rather than a placeholder loop.
This works especially well for jungle, rollers, darkstep, dancefloor DnB, and breakbeat-driven sections where atmosphere and rhythm need to interlock. If you want a success criteria in one sentence: the final result should feel like a VHS-rave memory being “performed” into the track, with enough grit and movement to add tension, but enough discipline that the kick, snare, sub, and break still hit cleanly.
What You Will Build
You will build a short stab phrase that starts as a Session View clip, gets automated with filter and level movement, then is recorded into Arrangement View as a resampled audio part. Sonically, it should feel like an old rave chord or stab sampled off tape: slightly degraded, midrange-forward, rhythmic, and urgent. Rhythmatically, it should lock to the DnB pocket as a syncopated off-beat or call-and-response hit rather than a constant pad. Its role in the track is to add hook, tension, and movement without clouding the bassline.
Mix-wise, it should be polished enough to sit in a draft arrangement and reveal the idea clearly, but not so overprocessed that it loses bite. A good result sounds like a controlled, characterful stab line that can be dropped in for 4 or 8 bars, then removed or mutated for contrast. You should be able to mute it and feel the arrangement lose energy, but not feel like the track is suddenly empty or messy. The best version will sound purposeful, compact, and easy to place in an intro, breakdown, or first-drop transition.
Step-by-Step Walkthrough
1. Choose a short VHS-rave stab and set up a clean Session View starting point
Start with one stab sound that already has strong character: a chord hit, rave stab, organ stab, or rough sample with a nostalgic edge. In Ableton Live, put it on a MIDI track if you are triggering a sampler instrument, or on an audio track if you already have a sampled stab. Keep it short and playable; the point is not a lush pad, but a sharp rhythmic phrase. If you’re using a sampled stab, trim the start so the transient hits cleanly and the tail doesn’t eat the next note.
For a beginner-friendly setup, keep the sound dry at first and use only stock Ableton devices. A very workable chain is Simpler or Sampler into Auto Filter, Saturator, and Utility. If the source already sounds too wide or washed out, put Utility first and reduce Width later when you resample; this helps the stab stay stable in a DnB mix.
What to listen for: the stab should already have enough identity to survive being repeated. If it feels weak alone, it will get lost once drums and bass enter.
Useful starting values: Auto Filter low-pass around 2–6 kHz depending on brightness, Saturator Drive around 2–6 dB, and Utility Width around 70–100% depending on how stereo the source is.
2. Program a simple two-bar rhythmic pattern in Session View
Build a pattern that works like a DnB call-and-response element, not a sustained pad. In Session View, trigger the stab on off-beats, at bar starts, or as a short phrase that answers the snare. A classic beginner-safe pattern is a 2-bar loop with hits on the “and” of 1, a shorter stab on 2, then a gap, then a response hit leading into the next bar. For jungle and rollers, sparse is usually stronger than busy.
Keep note lengths short enough that the hits don’t blur into each other. If you are using MIDI, try note lengths around 1/8 to 1/4 bar for the initial idea. If it’s an audio clip, duplicate and place the stab rather than letting it ring indefinitely. You want the rhythm to feel like a punchy, playable phrase that can sit against fast drums.
Why this works in DnB: the drum grid is already dense, especially with breaks and ghost notes. A stab that leaves space around the snare and kick cuts through more clearly and feels heavier because the gaps create impact. Dense sustained parts often flatten the groove.
3. Add movement with one simple automation lane in Session View
Before you move anything to Arrangement View, automate one or two parameters in Session View so the stab behaves like a performance. The cleanest beginner move is Auto Filter cutoff automation: start slightly darker, open it on the strongest hit, then close it again over the bar. A practical range is roughly 300 Hz to 4–8 kHz depending on the source. You can also automate Resonance lightly, but keep it modest—too much resonance can make the stab whistly and thin.
A second good automation lane is track volume or device Dry/Wet if you are using a subtle Echo or Reverb tail. For dark DnB, a very short Echo with low feedback can create a ghostly tail without washing out the hit. If you use Echo, keep the delay time simple and rhythmic; avoid turning the stab into a long smear unless it is specifically for a breakdown.
What to listen for: the automation should make the stab feel like it is breathing with the bar. If the opening is too sudden, it will sound fake. If the filter movement is too slow, it stops feeling rhythmic and starts feeling like a pad.
Good beginner rule: one obvious movement is enough. You do not need five modulators to make this work.
4. Decide on flavour: A versus B
At this point, choose the direction you want the stab to take:
- A: Rave-hype version — brighter, more open, more front-of-track. Use a higher cutoff, more transient, and a little more Saturator drive. This suits dancefloor DnB, intro lifts, and first-drop impact.
- B: Dark/tape-smear version — darker, narrower, more haunted. Use a lower cutoff, lower volume, and a touch more filtering or a subtler stereo image. This suits rollers, jungle, and brooding breakdowns.
Both are valid. The choice depends on whether the stab is meant to announce energy or create menace. If your drums already feel busy, the darker version often wins because it leaves more room for snare crack and bass motion.
5. Check the stab against drums and bass before committing anything
Drag in your drum loop or programmed break and your bass foundation now. Do not resample in isolation. Place the stab in context with the kick, snare, break accents, and sub. This is where DnB decisions get real: the stab may sound great alone and terrible once the snare hits.
Listen specifically for two things:
- Does the stab duck out of the way of the snare, or does it mask the snare body around the 180–250 Hz area?
- Does it step on the sub or occupy too much low-mid weight?
If the stab is crowding the mix, use EQ Eight to cut low-end broadly, often somewhere below 120–180 Hz depending on the sample. For a VHS-rave stab, a gentle cut around 250–400 Hz can also clear boxiness. If the attack is too pokey, soften it slightly with a tiny fade or reduce the transient by trimming the sample start. The goal is not perfection yet; the goal is to hear the stab as part of the groove, not a solo sound.
6. Record the performance from Session View into Arrangement View
Once the pattern and automation feel good, arm Arrangement recording and play the Session View clip so Live captures the performance into Arrangement View. This is the core move of the lesson: you are turning a live, loop-based idea into an arranged, editable audio phrase. For a beginner, the easiest mindset is: “play it first, then print it.”
As it records, perform small changes if needed: mute the stab for one bar before a transition, open the filter on the last hit of a 4-bar phrase, or let a final note ring slightly longer into the next section. A very usable arrangement length is 4 or 8 bars for the first pass. In DnB, 4-bar phrasing is especially useful because it lines up neatly with drum fills, snare pickups, and DJ-friendly section changes.
Stop here if the performance already feels right. Do not keep tweaking forever in Session View. If the groove is working and the automation creates an obvious shape, commit it to audio so you can arrange around it. That commitment is a feature, not a limitation.
7. Trim, tighten, and place the printed audio like an arrangement element
Now that the stab is in Arrangement View as audio, trim the clip edges so the phrase starts and ends exactly where the section needs it. This is where the material stops being a loop and becomes a musical cue. If the stab is for an intro, place it so it teases the groove before the drums fully arrive. If it’s for a drop, let it answer the snare on bar 1 or bar 3 of the phrase. If it’s for a switch-up, mute it for one bar, then bring it back with a filter open or a more exposed hit.
A strong beginner arrangement example:
- Bars 1–4: filtered stab, sparse hits, no full brightness
- Bars 5–8: stab opens slightly and answers the snare more aggressively
- Bar 9: one-beat mute or gap
- Bar 10 onward: stab returns with full brightness for the payoff
That gap before the return matters. In DnB, negative space makes the next hit feel larger. If the stab runs continuously, the ear stops noticing it.
8. Resample the best version for control and speed
If you want a cleaner, more intentional result, create a new audio track and resample the printed stab performance into a fresh clip. This gives you a single audio file you can slice, reverse, fade, or duplicate with zero distraction from the original performance track. Resampling is especially useful if the stab already has movement from filter automation and effects; printing it locks in the exact vibe that worked.
Keep the resampled clip dry enough to remain usable in the mix. If the version sounds too wet or too wide after printing, reduce the source processing and resample again rather than trying to fix everything later. A good workflow efficiency tip here: name versions immediately, such as “stab_vhs_print_01” or “stab_open_4bar_02,” so you can compare takes without guessing.
What to listen for: the printed audio should still feel alive when you mute the source track. If it becomes dull after resampling, you probably printed too much low-pass filtering or too much ambience. If it becomes harsh, your filter opened too far or the saturation was too aggressive.
9. Shape the printed stab with one focused stock-device chain
After resampling, keep processing simple and purposeful. Two reliable stock-device chains:
- Chain A: EQ Eight → Saturator → Utility
Use EQ Eight to cut low-end below roughly 120–180 Hz, tame boxiness around 250–400 Hz if needed, then add mild Saturator drive for density. Finish with Utility to narrow the stereo image if the stab feels too wide or unstable in mono. This chain is ideal when the sample already has strong character and only needs control.
- Chain B: Auto Filter → Echo → EQ Eight
Use Auto Filter to automate a narrow frequency sweep or a slow opening movement, then use Echo very lightly for tension, and clean up with EQ Eight. This is better if the stab is serving as a transition or a haunted atmospheric accent rather than a main hook.
Keep the processing moderate. A VHS-rave stab should sound like it has been performed through a system, not crushed into a blurry effect cloud. If the stereo image feels huge but the center loses impact, collapse it a bit and keep the important part mono-compatible.
10. Place the stab in the track and check the full-context relationship
Drop the printed stab into the actual arrangement around your drums, bass, and any fills. In DnB, the question is never “does this loop sound cool?” The question is “does this section hit harder because of it?” Try the stab as a call-and-response against the snare, then try it as a short pre-drop tease, then try it as a 2-bar switch-up before the second drop.
A strong context check is to mute the bass for one bar and see whether the stab still carries tension without feeling overexposed. Then unmute the bass and make sure the sub and stab are not fighting in the low-mid zone. If the section gets muddy, cut more low-end from the stab, reduce stereo width, or shorten the tail. If it feels too polite, brighten the top slightly or increase the stab’s contrast against the drum pattern.
Successful result: the stab should feel like an arrangement tool with attitude—noticeable, rhythmic, and gritty, but never so big that it steals the drop from the drums and bass.
Common Mistakes
1. Making the stab too long and pad-like
Why it hurts: in DnB, long tails blur the groove and reduce impact, especially when breaks or fast kick-snare patterns are already moving.
Fix: shorten note lengths or clip tails, and use 1/8 to 1/4-bar phrasing instead of sustained chords.
2. Automating too many things at once
Why it hurts: if cutoff, resonance, reverb, echo, and volume all move wildly, the stab loses identity and becomes mushy.
Fix: automate one main parameter first, usually Auto Filter cutoff, then add only one secondary movement if the section needs it.
3. Ignoring the drums and bass while designing the stab
Why it hurts: a stab that sounds great solo can mask the snare or crowd the sub once the full drop is playing.
Fix: check the stab against the kick, snare, and bass before committing it to Arrangement View; cut low-end and shorten the tail if needed.
4. Leaving the stereo image too wide
Why it hurts: wide VHS stabs can sound exciting in headphones but unstable in mono, which is a problem in clubs and on systems with strong center focus.
Fix: use Utility to reduce width, especially below the point where the stab carries its main body, and keep the important punch centered.
5. Printing the wrong version because you never committed
Why it hurts: endless tweaking in Session View makes it harder to finish a real arrangement.
Fix: once the stab phrase works for 4 or 8 bars, resample it and move on. You can always create a second version later.
6. Over-filtering the stab until it disappears
Why it hurts: if the cutoff is too low, the stab loses its rave identity and becomes a dull thump.
Fix: open the filter enough that the chord character still reads, then use arrangement placement and spacing for tension instead of smothering the sound.
7. Letting the stab fight the snare around the downbeats
Why it hurts: DnB needs the snare to hit hard and clearly; a midrange-heavy stab on the same moment can flatten the energy.
Fix: move the stab slightly earlier or later, shorten the note, or automate a small dip during the snare hit.
Pro Tips for Darker / Heavier DnB
- Print two versions: one brighter, one more muted.
- Treat the stab like percussion, not harmony.
- Use narrow-band movement instead of huge filters if you want menace.
- If the stab needs more grime, saturate before filtering.
- Use arrangement gaps as part of the sound.
- Keep the core body mono-friendly, and let the top edge carry the width.
- Build a second-drop mutation by automating just one change.
- Use only stock Ableton devices.
- Use one stab sound only.
- Automate only one main parameter in Session View, plus optional volume.
- Commit the result to Arrangement View and resample it.
- Keep the stab mostly midrange-focused; cut unnecessary low end.
Use the brighter print for the first drop and the darker one for the second drop or breakdown. That contrast gives the track evolution without changing the core idea.
In heavier DnB, the stab often works best as a rhythmic strike with a chord shape rather than a long musical statement. Keep it short and let the drum pattern do the talking.
A subtle sweep around the upper mids can feel darker than an obvious full-range filter open. This keeps the low end stable while creating motion in the emotional zone.
A modest Saturator push before Auto Filter can create a dirtier harmonically rich signal, but keep it restrained—too much drive can make the stab brittle and noisy.
A one-beat mute before the stab returns can feel heavier than adding more effects. In DnB, the absence of sound is often what makes the return feel aggressive.
If the stab has layered stereo character, make sure the important midrange punch still reads in mono. In a club, that is what survives the room.
For example: the same printed stab, but with the cutoff 10–20% higher, or with a slightly different clip start point. Small changes preserve identity while signaling progression.
Mini Practice Exercise
Goal: Create a 4-bar VHS-rave stab phrase that can sit in a DnB drop without masking the snare or bass.
Time box: 15 minutes.
Constraints:
Deliverable: A 4-bar printed audio clip in Arrangement View that has at least one obvious filter movement and one intentional gap or mute.
Quick self-check: Loop the section with drums and bass. If you can clearly hear the snare crack, the sub remains stable, and the stab adds tension instead of clutter, the exercise is successful. If the stab feels too long, too wide, or too loud, trim it and reduce width before trying again.
Recap
Session View is where you perform the VHS-rave stab; Arrangement View is where you turn that performance into a real DnB section. Keep the pattern short, rhythmically useful, and context-aware. Automate one clear movement, print the best take, then edit it against drums and bass so the stab supports the track instead of crowding it. In DnB, the win is not “a cool loop”—it’s a printed phrase that adds tension, identity, and DJ-friendly structure with clean low-end discipline.

