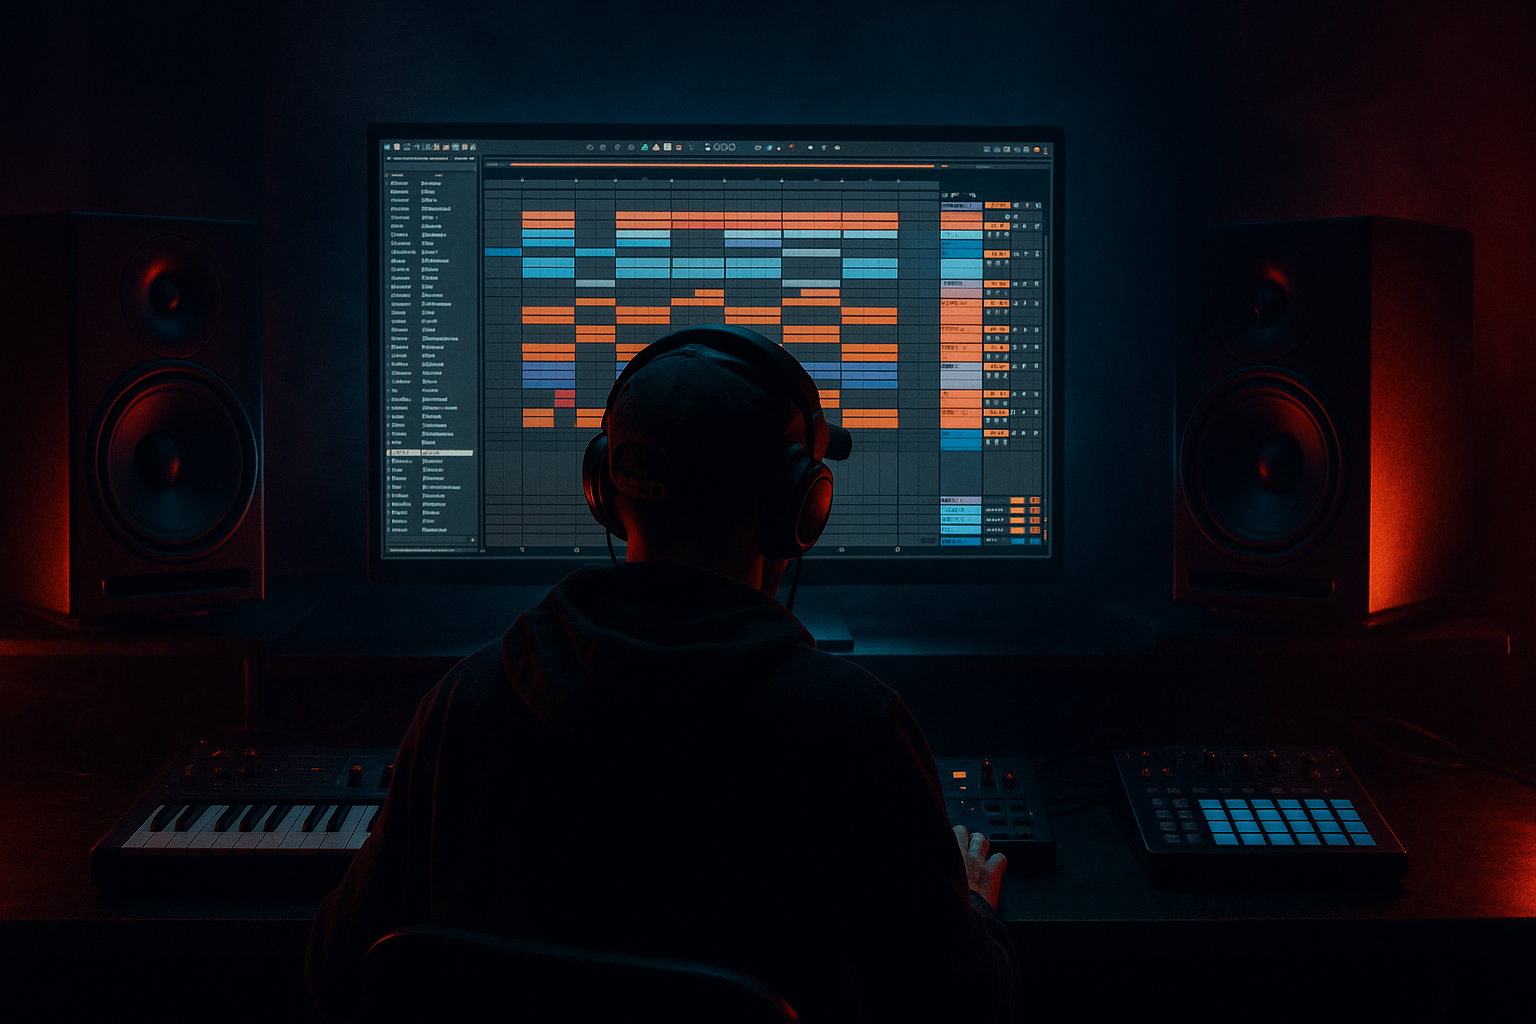
DNB COLLEGE

Drum & Bass Ableton Live 12 Tutorials

LESSON DETAIL

Resample oldskool DnB 808 tail with crisp transients and dusty mids in Ableton Live 12 (Intermediate)

An AI-generated intermediate Ableton lesson focused on Resample oldskool DnB 808 tail with crisp transients and dusty mids in Ableton Live 12 in the Composition area of drum and bass production.

Back to lessons
Resample oldskool DnB 808 tail with crisp transients and dusty mids in Ableton Live 12 (Intermediate) cover image

Narrated lesson audio

The voice track includes the tutorial plus extra teacher commentary.

Open audio file

Main tutorial

Resample an Oldskool DnB 808 Tail with Crisp Transients + Dusty Mids (Ableton Live 12) 🔥🥁

1) Lesson overview

Oldskool jungle/DnB bass hits often have a snappy “click” or knock up front and a long, warm 808-style tail that feels worn-in, slightly overdriven, and mid-forward enough to read on small speakers.

In this lesson you’ll build a resampling workflow in Ableton Live 12 to create an 808 tail that’s:

  • Tight and punchy on the transient
  • Controlled but long in the sub
  • Dusty / crunchy in the mids (without ruining low-end weight)
  • Easy to play as a bass instrument in rolling DnB
  • We’ll do it with stock devices, and we’ll resample for that authentic “printed” character. 🎛️

    ---

    2) What you will build

    A playable bass instrument made from your own resampled audio:

  • Layer A (Transient): crisp, short click/knock to cut through breaks
  • Layer B (808 Tail): tuned sine/triangle-style tail, saturated + mid dirt
  • Final Resampled Bass: one-shot or multi-sampled, ready for rolling patterns (think 2-step + ghost notes)
  • You’ll end with:

  • A Bass Resample Audio Track (your printed sound)
  • A Sampler instrument (mapped + tuned)
  • A DnB-ready MIDI clip pattern to test it in context
  • ---

    3) Step-by-step walkthrough

    Step 0 — Project setup (fast but important)

    1. Set tempo to 170–175 BPM.

    2. Create a simple drum context:

    - Add a break loop (Amen/Think) on an Audio track.

    - Warp mode: Beats, Preserve: Transients, set Envelope around 20–40 for crispness.

    3. Drop a basic kick + snare pattern so you can judge bass impact against a typical DnB grid.

    Why: Your bass transient choices change depending on how busy the drums are.

    ---

    Step 1 — Create the 808 tail source (clean + tunable)

    On a new MIDI track, make an instrument rack called “808 Tail Builder”.

    Option A (fast, stock): Operator

    1. Load Operator.

    2. Oscillator A:

    - Wave: Sine

    - Level: 0 dB

    3. Pitch envelope (classic 808 “drop”):

    - Go to Pitch Env.

    - Amount: 10–25 (start at 15)

    - Decay: 80–160 ms

    4. Amp envelope:

    - Attack: 0.0 ms

    - Decay: 600–1200 ms (DnB tails often feel long; you’ll control later)

    - Sustain: -inf (off)

    - Release: 80–200 ms

    5. Add Glide/Portamento (optional for legato rolls):

    - Time: 40–90 ms

    - Mode: legato if available

    Pro check: Play C1 / D1 / F1. Make sure the tail feels even and doesn’t “wobble” in pitch.

    ---

    Step 2 — Build a crisp transient layer (the “knock”)

    Create another MIDI track (or another chain inside a Rack) called “Transient Click”.

    Stock method using Simpler + noise

    1. Load Simpler (One-Shot mode).

    2. Use a tiny clicky sample (rim, short kick beater, vinyl click). If you don’t have one:

    - Use Operator instead:

    - Noise oscillator (or very short sine tick)

    - Amp Decay: 5–20 ms

    3. Add EQ Eight:

    - High-pass: 150–250 Hz (so it doesn’t fight the sub)

    - Add a small bell at 2–5 kHz (+2 to +5 dB) for snap if needed

    4. Add Drum Buss (gentle):

    - Drive: 5–15%

    - Crunch: 0–10%

    - Boom: Off (we don’t want extra sub here)

    - Transients: +10 to +30

    Goal: You should hear it clearly even when the tail is muted.

    ---

    Step 3 — Combine tail + transient in an Instrument Rack

    1. Put both instruments inside an Instrument Rack (or route both to a Group).

    2. Balance:

    - Tail should be the weight

    - Transient should be audible but not “tick-tick” annoying

    Quick routing tip:

    If using two separate MIDI tracks, route both to a single Audio track for resampling later. If using an Instrument Rack, you can resample the rack output directly.

    ---

    Step 4 — Add “dusty mids” without destroying sub (the key move) 🧱

    We’ll add distortion in parallel and/or split bands.

    #### Method 1: Parallel saturation (simple + effective)

    After the Rack, add:

    1. Audio Effect Rack with 2 chains:

    - Chain 1: Clean Low

    - Chain 2: Dirt Mid

    Chain 1: Clean Low

  • EQ Eight:
  • - Low-pass around 120–180 Hz

    - Keep it clean and stable

  • Optional Compressor:
  • - Ratio: 2:1

    - Attack: 20–40 ms

    - Release: 80–150 ms

    - Just 1–3 dB GR on peaks

    Chain 2: Dirt Mid

  • EQ Eight:
  • - High-pass: 120–180 Hz

    - Low-pass: 2.5–6 kHz (tune to taste)

  • Roar (Ableton Live 12):
  • - Mode: start with Soft Clip or Tube

    - Drive: 5–15 dB (depends on input)

    - Tone: slightly dark (don’t over-hiss)

    - Use Mix around 20–50%

  • Redux (optional for dusty grain):
  • - Bit reduction: 10–14 bits

    - Downsample: x2–x6

    - Mix: 10–30%

  • Auto Filter (movement optional):
  • - Filter: Band-pass around 300–900 Hz

    - Envelope amount: tiny, just to “chew” the mid

    Now blend chain volumes so the bass has presence around 200–800 Hz but the sub still feels solid.

    #### Method 2: Frequency splitting with Multiband Dynamics (more control)

  • Add Multiband Dynamics
  • Solo the Mid band, distort it (Roar/Saturator) after it, then recombine
  • Keep the Low band mostly clean
  • Target: Dust in mids; low end stays stable and mono-friendly.

    ---

    Step 5 — Shape the tail length + tightness (oldskool control)

    Oldskool 808 tails often feel long but not messy.

    1. Add Gate (yes, on bass) after distortion:

    - Threshold: adjust until tail trims nicely

    - Return: 0–20 ms

    - Release: 80–220 ms

    - Use sparingly—this is for keeping rolls clean

    2. Add Utility:

    - Bass Mono: enable (if you’re using width anywhere)

    - Width: 0–50% (keep bass centered)

    - Gain: trim so you’re not clipping the bus

    3. Add Limiter (temporary safety while designing)

    - Just to avoid surprises during resampling

    ---

    Step 6 — Resample to audio (this is where it becomes “real”) 🎚️

    1. Create a new Audio track: “RESAMPLE 808”

    2. Set its input to:

    - Resampling (top of input list), or

    - The specific track/group output

    3. Arm the track, and record:

    - Single hits at different notes: C1, D1, F1, G1 (common DnB roots)

    - Record at least 1–2 seconds each so the full tail prints

    4. Consolidate each recorded hit (Cmd/Ctrl + J).

    5. Crop tightly:

    - Start exactly at the transient (zoom in!)

    - Add a tiny 2–5 ms fade-in if there’s a click

    - Add 10–50 ms fade-out if the end pops

    Warp OFF for one-shots unless you specifically want time-stretch texture.

    ---

    Step 7 — Turn the resample into a playable bass instrument

    1. Drop the best hit into Sampler (or Simpler, but Sampler gives more control).

    2. In Sampler:

    - Root key: set correctly (if the hit is C1, set root to C1)

    - Activate Loop only if you want infinite sustain (often not needed for 808 hits)

    3. Add a touch of Pitch Envelope if you want extra knock:

    - Amount: 5–15

    - Decay: 40–120 ms

    Optional “DnB roll” trick:

    Enable Glide in Sampler for that slithery, oldskool movement in 1/16 runs.

    ---

    Step 8 — Arrange it like rolling DnB (so it behaves musically)

    Create a 2-bar MIDI clip at 174 BPM:

  • Put the main notes on:
  • - 1.1

    - 1.3

    - 2.1

    - 2.3

  • Add ghost notes (very short, lower velocity) on 1/16 just before snares:
  • - Example: notes at 1.2.3 and 2.2.3

  • Vary note length:
  • - Main notes longer (to let tail speak)

    - Ghost notes shorter (avoid mud)

    Sidechain (classic DnB space):

  • Add Compressor on the bass
  • Sidechain from kick (or a ghost kick)
  • Settings:
  • - Ratio: 4:1

    - Attack: 1–5 ms

    - Release: 60–140 ms

    - Gain reduction: 2–6 dB depending on density

    ---

    4) Common mistakes

  • Over-distorting the sub: If your low end “flaps” or loses note definition, move distortion to a mid-only chain.
  • Transient too loud: A click that’s too hot will read like a mistake against breaks. Turn it down until you miss it when muted, not until it dominates.
  • Wrong root note: If Sampler’s root is wrong, your whole tune will feel off. Always set root key.
  • Resampling while clipping: If you print clipped audio unintentionally, you’ll fight harshness forever. Watch levels before resampling.
  • Too much stereo in the bass: Keep subs mono. Width belongs in reese layers or atmos, not the 808 fundamental.
  • ---

    5) Pro tips for darker/heavier DnB 🖤

  • Add “airless” dust, not fizz: Low-pass the dirt chain around 3–6 kHz so it feels gritty but not like EDM treble.
  • Use Roar feedback carefully: A tiny bit of feedback can create gnarly harmonics—print it, then tame with EQ Eight.
  • Sculpt a “speaker note”: Boost gently around 250–450 Hz on the dirt chain so the bass translates on phones.
  • Pre-saturation EQ: Before Roar/Saturator, cut a little around 200–300 Hz if it gets boxy, then distort, then re-balance.
  • Print variations: Resample 3–5 versions:
  • - Clean tail

    - More dirt

    - Shorter gate

    - Slightly different pitch envelope

    Then swap per section (drop vs verse) like oldskool producers did with hardware prints.

    ---

    6) Mini practice exercise (15–20 minutes) ⏱️

    1. Build the rack and create two dirt profiles:

    - A: Warm (Roar low drive, no Redux)

    - B: Dusty (Redux mixed in, more mid focus)

    2. Resample both profiles to audio.

    3. Make a 4-bar loop:

    - Break + minimal drums

    - Bass pattern with 2 ghost notes per bar

    4. Automate over 4 bars:

    - Dirt chain volume up slightly into bar 4

    - Tiny low-pass movement (Auto Filter) on the dirt chain

    5. Bounce a quick demo and check on:

    - Headphones

    - Low volume laptop speakers (does the mid dust carry the groove?)

    ---

    7) Recap ✅

  • You built an 808 tail with Operator, and a separate transient layer for crisp cut-through.
  • You created dusty mids using parallel/split-band distortion (Roar, Redux, EQ Eight), while keeping subs clean.
  • You resampled the result to audio for that authentic printed vibe and easier control.
  • You mapped it in Sampler and wrote a rolling DnB pattern with ghost notes + sidechain so it sits with breaks.

If you want, tell me what sub note your track is in (e.g., F, G, A) and what vibe (jungle, rollers, neuro-ish), and I’ll suggest a tuned note range + an exact 2-bar MIDI pattern that matches it.

Ask GPT about this lesson

Chat with the lesson tutor, get follow-up help, or use quick actions.

Bigup 👽 Ask me anything about this lesson and I’ll answer in context.

Narration script

Show spoken script
Title: Resample oldskool DnB 808 tail with crisp transients and dusty mids in Ableton Live 12 (Intermediate)

Alright, let’s build that proper oldskool jungle slash DnB bass hit: the kind that has a sharp little knock at the front, then a long warm 808-ish tail behind it… but with that worn-in, mid-forward dust so it still speaks on small speakers.

We’re doing this in Ableton Live 12, using stock devices, and the big concept is: we’re going to design it like a mini signal chain, then resample it so it feels printed and committed, like hardware workflows. That resample step is where it stops feeling like a “plugin patch” and starts feeling like a record.

Step zero, quick setup so you’re designing in the right context.

Set your tempo somewhere between 170 and 175 BPM. I’ll sit at 174.

Now give yourself drums to judge against. Drop an Amen or Think style break onto an audio track. Set Warp mode to Beats, Preserve Transients, and bring the envelope somewhere around 20 to 40 so it stays crisp.

Then add a super basic kick and snare pattern too. Nothing fancy. The reason I want both is because your transient choices are totally different depending on how busy the drums are. A transient that feels amazing solo can feel like an annoying tick once the break is smashing.

Cool. Now we build the tail.

Create a new MIDI track and name it “808 Tail Builder”. Load Operator.

Oscillator A: set it to a sine wave, level at 0 dB.

Now go to the pitch envelope. This is the classic 808 drop at the front of the note. Put the amount around 15 as a starting point, and decay around 100 milliseconds. If you go too extreme here, it gets cartoony or the tuner will lie to you, so keep it controlled.

Amp envelope next. Attack at zero. Decay somewhere between 600 and 1200 milliseconds. For DnB, longer is usually better at this stage because we can trim later, but you want enough sustain to feel that roll. Sustain all the way down, so it’s essentially a one-shot style tail, and give it a release around 100 to 150 milliseconds so it doesn’t chop off abruptly.

Optional but very useful: add glide or portamento. Somewhere between 40 and 90 milliseconds can give you that slippery legato on fast runs. If you’re doing more classic two-step patterns, it’s optional, but for rolls it’s a vibe.

Now play a few notes like C1, D1, F1. Listen for stability. If it feels like it’s wobbling or the pitch feels confused, reduce the pitch envelope amount or decay.

Before we go further, quick coach move: tune first, then print.

Drop a Tuner after Operator, just temporarily. When you hit a note, don’t stare at the first moment of the sound, because the pitch envelope and transient will make the tuner chase. Listen and look about 200 milliseconds into the note. That’s where the real fundamental sits. This saves you from building an entire bass, resampling it, then realizing it’s basically between notes.

Alright. Now we build the transient layer, the little “knock” that helps it cut through breaks.

Create another MIDI track and name it “Transient Click”.

Fast way: load Simpler in one-shot mode and grab a tiny clicky sound. Rimshot, a kick beater slice, vinyl click, even some short foley. The key is that it has a clear attack, and basically no low end.

If you don’t have a sample handy, you can also do it with Operator by using noise or a super short sine tick. Either way, set the amp decay really short, like 5 to 20 milliseconds. This is not a drum hit; it’s a transient accent.

Now add EQ Eight on that transient track. High-pass it around 150 to 250 Hz so it absolutely does not fight your sub. Then, if it needs more snap, add a small bell boost somewhere between 2 and 5 kHz, like plus 2 to plus 5 dB. Don’t go crazy; we’re not making EDM click bass.

Then add Drum Buss gently. Drive around 5 to 15 percent, Crunch low, like 0 to 10. Boom off, we do not want extra sub here. And Transients up maybe plus 10 to plus 30, depending on how aggressive you want it.

Now mute your tail for a second and audition just the transient while the break plays. The goal is: you can still hear it clearly, but it shouldn’t sound like a separate percussion instrument.

Next step: make them a single instrument, and make the transient feel glued to the tail.

You can do this two ways. You can put both inside an Instrument Rack as two chains, or you can keep them as two MIDI tracks routed to a single audio track later. Either is fine.

Here’s the key coach note: a click layered on top often sounds “stuck on” unless the timing is perfect.

So do this. Nudge the transient slightly earlier, like 0.2 to 1.5 milliseconds. You can do it with track delay, or by nudging the clip. It’s tiny, but it changes the psychology. Your ear starts reading it as the same impact, not a separate element.

Also, if the transient sounds too modern, do a tiny low-pass on it around 8 to 12 kHz. That removes the super hi-fi tick and puts it more into that worn-in territory.

Now balance the two. Tail is the weight. Transient is the definition. A great rule: turn the transient down until you miss it when it’s muted, not until it dominates when it’s on.

Now we go for the money move: dusty mids without destroying the sub.

After your combined bass, add an Audio Effect Rack to split it into two chains.

Chain one is “Clean Low”.
Chain two is “Dirt Mid”.

On Clean Low, put EQ Eight and low-pass it around 120 to 180 Hz. The point is: keep the actual sub and low fundamental stable and clean. You can add a compressor after that if you want, lightly. Ratio 2 to 1, attack 20 to 40 milliseconds, release 80 to 150, and just shave 1 to 3 dB on peaks. You’re not smashing it, you’re just stabilizing.

On Dirt Mid, put EQ Eight first. High-pass it around 120 to 180 Hz, and low-pass it around 2.5 to 6 kHz. That top cap is important because we want “airless dust,” not fizzy treble.

Now add Roar. Start with Soft Clip or Tube. Drive maybe 5 to 15 dB, but it depends heavily on your input level.

And that leads into another pro habit: gain staging for distortion consistency.

Before Roar, put a Utility and set your level so you’re peaking around minus 12 to minus 6 dBFS going into the dirt. Roar and Redux respond wildly to level, and if every note hits the distortion differently, your bass will feel inconsistent across the scale.

In Roar, keep the tone slightly dark, and use the Mix around 20 to 50 percent. We’re blending dirt in, not replacing the whole sound.

Optional: add Redux after Roar for that gritty grain. Set bit reduction around 10 to 14 bits, downsample maybe x2 to x6, and keep the mix subtle, like 10 to 30 percent. You should feel it more than you “hear” it.

If you want the dust to feel more alive, put an Auto Filter either before or after distortion on that mid chain. A nice trick is filter before distortion with a tiny envelope amount, so it opens on impact and closes on sustain. That gives you punch up front and worn-in mids behind.

Now blend the chains. What you’re aiming for is presence around 200 to 800 Hz so the bass reads on laptop speakers, but the low chain stays solid and doesn’t flap.

And do a mono check right now, not later. Throw a Utility at the end of the rack temporarily and set width to 0 percent. If your character disappears, you were leaning on stereo artifacts instead of harmonics. In jungle and DnB, that low end lives in the middle.

Next we control the tail, oldskool style. Long, but not messy.

After the rack, add a Gate. Yeah, a gate on bass. Set the threshold so it trims the tail just enough that fast patterns don’t blur together. Keep return low, like 0 to 20 milliseconds, and release around 80 to 220 milliseconds. Use it sparingly. You want “controlled long,” not “choked.”

Add Utility after that and keep bass mono-friendly. If anything in your chain added width, bring it back. Width at 0 to 50 percent max for this kind of bass, and often 0 is the right answer.

And add a limiter temporarily as a safety while you’re designing. Not because we want it loud, but because we don’t want surprise clips while resampling.

One more very practical tip before we print: create headroom for the transient.

If your tail is eating all the peak level, the transient never feels crisp unless it’s too loud. So you can lightly soft-clip or saturate the tail before the join, just a touch, to densify it and free some peak space. That way the click can poke through without being obnoxious.

Alright. Now we resample. This is where it becomes real.

Create a new audio track and name it “RESAMPLE 808”.

Set its input to Resampling, or directly from the group output if you prefer more control.

Arm the track. Now record single hits at a few useful DnB notes: C1, D1, F1, G1. Record at least one to two seconds each, so the full tail prints.

When you’re done, consolidate each recorded hit. Then crop it tightly. Zoom in and make sure the start is exactly at the transient. If there’s a click at the very start that feels like a digital pop, add a tiny fade-in, like 2 to 5 milliseconds. Add a fade-out of 10 to 50 milliseconds so the end doesn’t pop.

And for one-shots like this, keep Warp off unless you intentionally want time-stretch texture. We’re going for a clean printed hit.

Now turn it into a playable instrument.

Drop your best hit into Sampler. Set the root key correctly. If it’s a C1 hit, the root key needs to be C1. This is one of those boring details that makes your whole tune feel “in” or “out.”

If you want extra knock, you can add a little pitch envelope inside Sampler too. Amount 5 to 15, decay 40 to 120 milliseconds. Keep it subtle; you already designed the main behavior.

Optional roll trick: enable Glide in Sampler so 1/16 runs get that slur. It’s a classic oldskool movement.

Now we test it in an actual rolling pattern so you can judge it musically, not just as a one-shot.

Make a 2-bar MIDI clip at 174 BPM. Put main notes on 1.1, 1.3, 2.1, 2.3. Then add ghost notes, very short and lower velocity, on 1/16 just before the snare hits. A simple placement is around 1.2.3 and 2.2.3. The exact grid can change depending on your break, but the concept is: little push notes that lead into the snare, without muddying the sub.

Vary note length too. Longer main notes so the tail speaks. Short ghost notes so they give groove without smearing.

Now add classic sidechain so it sits with the kick. Put a Compressor on the bass, enable sidechain from the kick or a ghost kick. Ratio 4 to 1, attack 1 to 5 milliseconds, release 60 to 140 milliseconds. Aim for 2 to 6 dB of gain reduction depending on how dense your drums are. You’re making space, not pumping for show.

Quick troubleshooting while you listen in context.

If the low end starts flapping or you lose note definition, you’re distorting the sub. Move distortion deeper into the mid-only chain, or raise the high-pass on the dirt chain a bit.

If the transient is too loud, it’ll sound like a mistake against breaks. Turn it down until it’s felt, not heard as a separate thing.

If the whole bass feels out of tune, re-check the resampled hit with Tuner and confirm the root key in Sampler. That’s the silent killer.

If you accidentally resampled while clipping, don’t “EQ fix” it forever. Reprint with proper level. Printing is committing, but it’s committing the right thing.

And if you’ve got stereo width anywhere in the bass, remember: keep subs mono. Width belongs in your atmospheres, your reeses, your pads… not the fundamental of your 808 tail.

Before we wrap, here are a couple advanced upgrades you can do once the basic workflow works.

You can make velocity-driven dirt: map the dirt chain volume or Roar drive to velocity in an Instrument Rack macro. Then ghost notes automatically stay cleaner, and harder hits spit more grit. That’s super musical.

You can also do the two-print method: print a transient-only one-shot and a tail-only one-shot separately, then layer them in a Drum Rack or two Samplers. That way you can rebalance transient later without reprinting the whole bass.

And if you want that hardware realism across the keyboard, multi-sample: record and map 4 to 8 notes, like C1, D1, E1, F1, G1, A1, and set root keys for each zone. Old hardware workflows often had subtle tonal differences per note, and that’s part of the vibe.

Recap to lock it in.

You built an 808 tail in Operator with a controlled pitch drop, and a separate transient layer that cuts through breaks.

You made dusty mids using parallel processing: clean lows kept stable, mid chain distorted and textured with Roar and optional Redux, capped on top so it stays gritty instead of fizzy.

You shaped the tail so it’s long but not messy, then you resampled it to audio to get that printed character.

And finally, you mapped it into Sampler and wrote a rolling DnB clip with ghost notes and sidechain so it actually sits in a groove.

If you tell me what key your track is in, like F or G, and whether your break is sparse or busy, I can suggest the exact notes to multi-sample and a tight 2-bar MIDI pattern that matches the vibe.

mickeybeam

Go to drumbasscd.com for +100 drum and bass YouTube channels all in one place - tune in!

Generating PDF preview…