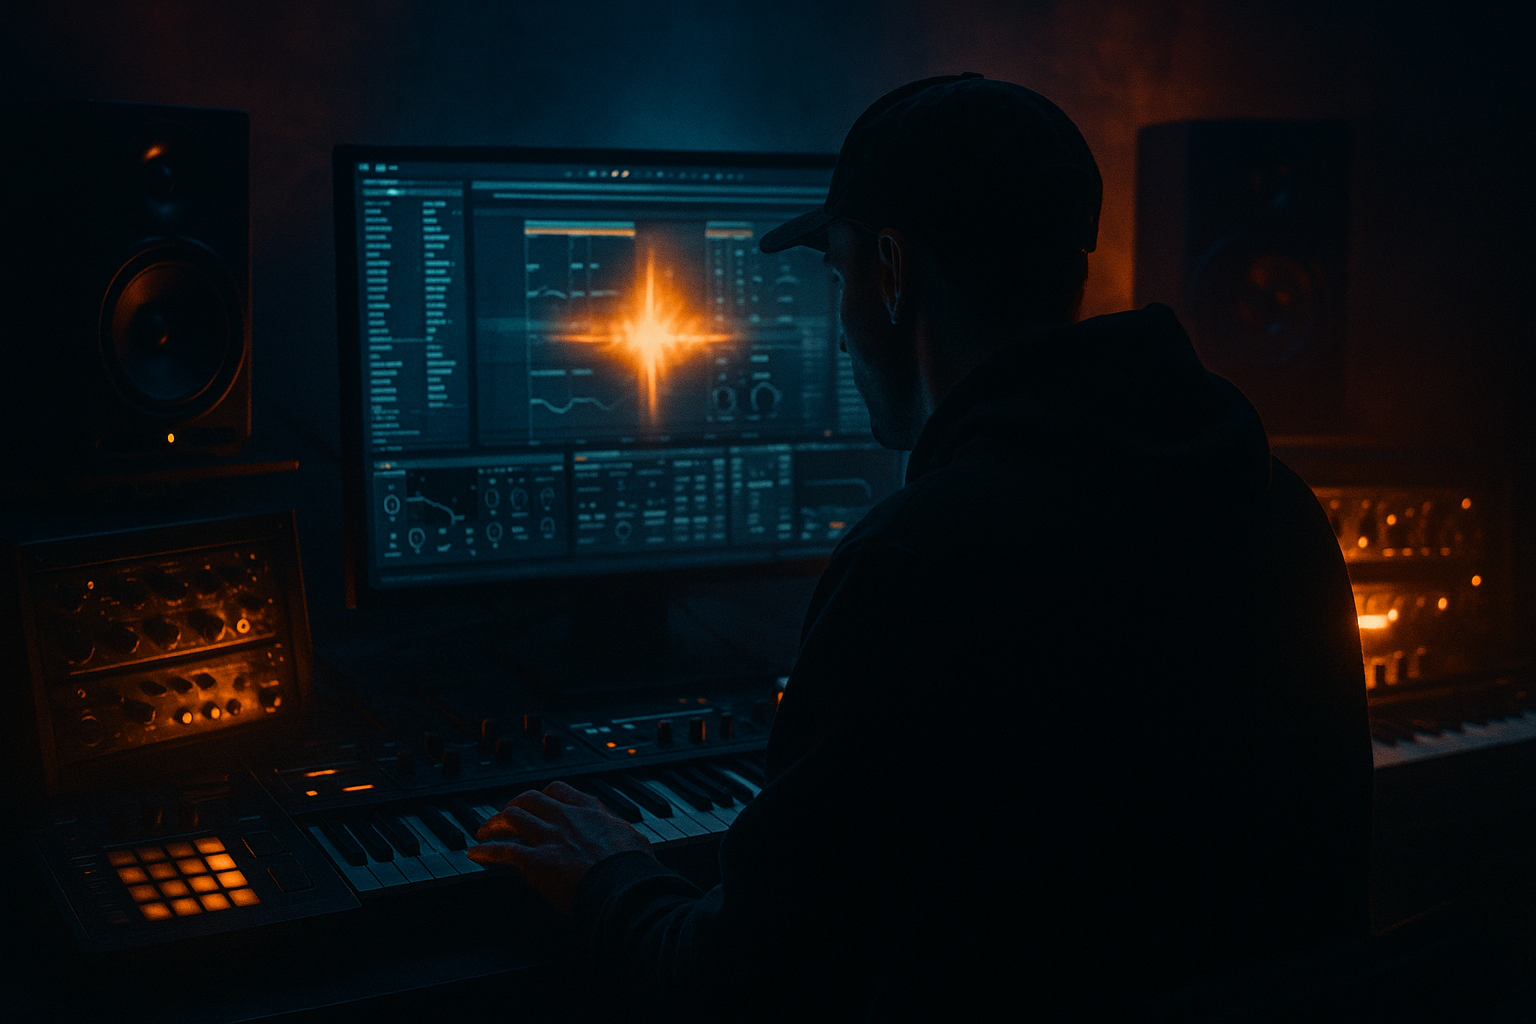
Main tutorial
Resample an Oldskool DnB Intro for Timeless Roller Momentum (Ableton Live 12) 🎚️🥁
Skill level: Intermediate
Category: DJ Tools (usable as intro tools, edits, and “momentum builders” for sets)
---
1. Lesson overview
Oldskool jungle/DnB intros have a specific magic: tension + movement + attitude, without giving away the full drop. In this lesson you’ll create a resampled intro tool that feels authentic (think: dusty break stabs, atmospheric pads, sirens, tape-ish pitch moves) while still sounding clean and punchy in modern rollers.
You’ll build it using Ableton Live 12 stock devices, a resampling workflow, and arrangement tricks that maintain forward momentum—so the crowd is locked in before the first kick hits.
---
2. What you will build
A 16–32 bar “oldskool-style” intro tool you can:
- Use at the start of your track or export as a DJ intro edit
- Drop over another tune as a layer (atmos + break tease)
- Trigger in Session View as a performance clip
- A breakbeat tease (HP-filtered, ghosted, re-pitched)
- A subtle roller pulse (mid-bass or reese hint, kept restrained)
- Atmos and FX (pads, noise, dub echoes, siren/tone)
- A resampled “print” for cohesion and that glued oldskool feel
- Your own break (recommended): slice an Amen-style break you made or recorded.
- Ableton Packs: any break loop from a drum pack (then process it into jungle character).
- Record from your own drum rack: generate a break from one-shots, then resample.
- Drag a break loop into an audio track.
- Warp:
- Set loop length: 4 or 8 bars.
- Bars 1–8: HP filter fairly high (more “tss tss”)
- Bars 9–16: slowly open cutoff down to ~180–220 Hz
- Bars 17–32: open further, but keep it lighter than the drop (maybe stop at 120–160 Hz)
- Wavetable preset: start simple (sine/triangle based)
- Add Chorus-Ensemble
- Add Hybrid Reverb
- Add Auto Pan
- Create an audio track with Vinyl noise / room tone (or recorded ambience).
- High-pass with Auto Filter around 120–250 Hz.
- Add Echo
- Osc A: Sine
- Add Osc B at low level for a touch of harmonics (optional)
- Filter: LP24, cutoff around 120–200 Hz (keep it subtle)
- Use a simple repeating note pattern on offbeats (or a classic DnB “gallop” but quieter).
- Keep velocity low and consistent.
- Saturator: Drive 1–3 dB (tiny)
- EQ Eight: cut below 30 Hz; gentle dip if it fights the break
- Sidechain it lightly to the break or a ghost kick:
- Use Operator or Wavetable with a simple waveform.
- Automate pitch:
- Add Echo (classic rave glue):
- Add Redux (very light) if you want grit:
- Find a short chord stab sample or make one in Analog
- Process with Auto Filter + Reverb
- Place it on bar transitions (end of 4s/8s/16s)
- Glue Compressor
- EQ Eight
- Saturator (post-glue)
- Optional: Limiter (only catching peaks, not squashing)
- Atmos bed + filtered break (high HP)
- Occasional stab/siren tail
- Minimal movement, just vibe and texture
- Open filter slightly
- Add one extra percussion layer (rim/hat loop very low)
- Introduce bass hint quietly
- Add a short fill every 4 bars (half-bar break chop)
- Increase echo throws on stabs/siren
- Subtle riser (noise filtered up)
- Tension peak: stop/restart trick
- Keep low-end controlled so the drop feels massive
- Too much low-end too early: If your intro has real sub, your drop won’t feel like a drop. HP your break/atmos and keep bass hint restrained.
- Over-warped breaks: Bad warp markers kill swing. Use Beats mode carefully and avoid over-stretching.
- FX washing out the groove: Big reverbs on everything = smeared momentum. High-pass your reverbs and use send returns.
- No arrangement punctuation: If nothing changes every 4–8 bars, the intro drags. Add small fills, mutes, stabs, or automation events.
- Resampling too hot: If you record the resample clip clipping, you bake distortion you can’t undo. Leave headroom (peaks around -6 dB is fine).
- Use modulation that feels unstable:
- Make your break feel “corroded” but not harsh:
- Add sub-threat without actual sub:
- Negative space = heavier:
- Dark echo throws:
- You created an oldskool-inspired DnB intro using filtered break tease + atmos + restrained bass hint.
- You used stock Ableton tools like Auto Filter, Drum Buss, Saturator, Echo, Hybrid Reverb, Glue Compressor to shape authentic jungle/DnB energy.
- You resampled the whole intro into a single cohesive clip—perfect as a DJ tool and a production workflow staple.
- You arranged it with 4/8/16-bar punctuation so it rolls forward and keeps dancers locked.
The intro will include:
---
3. Step-by-step walkthrough
Step 0 — Project setup (so your groove behaves)
1. Set tempo: 174 BPM (or 172–176 depending on your style).
2. Set Global Groove (optional but helpful):
- In Groove Pool, try MPC 16 Swing 55–58 at 20–35%.
3. Create groups:
- INTRO_BREAKS
- INTRO_ATMOS
- INTRO_FX
- INTRO_BASS_HINT (optional)
> Goal: keep the intro “alive” but not messy.
---
Step 1 — Source material: the “oldskool ingredients” (without copyright headaches)
Use one of these approaches:
Practical choice (fast):
- Warp Mode: Complex Pro (for full loops) or Beats (for tight drums)
- If using Beats: set Transient Loop Mode, and Preserve: 1/16
---
Step 2 — Make the break “intro-ready” (tease, don’t reveal) 🥁
We’ll design a filtered, ghosted break that builds energy but doesn’t steal the drop.
Device chain (Break track):
1. Auto Filter
- Filter type: HP24
- Start cutoff: 250–450 Hz (so no heavy low-end yet)
- Resonance: 10–20% (just enough whistle)
- Modulation: enable LFO
- Rate: 1/8 or 1/4
- Amount: small (5–12%) for movement
2. Saturator
- Drive: 2–6 dB
- Soft Clip: On
- Keep Output level managed (avoid clipping)
3. Drum Buss
- Drive: 5–15%
- Crunch: 0–10% (subtle for intro)
- Boom: Off (or very low—don’t introduce sub yet)
4. EQ Eight
- Cut harshness: dip around 3–7 kHz if it gets splashy
- Optional: small bump 150–250 Hz ONLY if it’s too thin (but watch mud)
Arrangement move:
> This gives momentum without blowing the low-end before the bassline arrives.
---
Step 3 — Add the “oldskool atmosphere bed” 🌫️
Oldskool intros often have a constant bed that makes everything feel glued: vinyl air, jungle rain, distant pads, rave tones.
Create an Atmos track (audio or instrument):
Option A (stock + fast): Wavetable or Analog pad
- Amount: 20–40%
- Rate: slow
- Type: Hall or Plate, Size: medium-large
- Pre-delay: 15–30 ms (keeps clarity)
- Low Cut in reverb: 200–400 Hz (no low mud)
- Rate: 1/2 or 1 bar, Amount: 20–40%
Option B (more authentic): noise + resampling
- Sync: 1/8 dotted or 1/4
- Feedback: 25–40%
- Filter inside Echo: keep lows out (HP to 250+ Hz)
Key tip: Keep atmos mostly mid/high so your eventual drop has space.
---
Step 4 — Add a “hint” of the roller (but keep it restrained) 🎛️
A timeless roller intro often suggests the bass groove without fully delivering it.
Create a Bass Hint MIDI track:
Instrument: Operator (clean and controllable)
Pattern idea (2-step roller pulse):
Processing:
- Use Compressor with Sidechain enabled
- Ratio: 2:1, Attack 10–30 ms, Release 80–150 ms
- Aim for 1–3 dB gain reduction (intro only)
> You’re aiming for momentum, not “drop bass”.
---
Step 5 — Signature oldskool FX: siren pitch, stabs, risers 🚨
Use one “call sign” element to make the intro memorable.
Siren/Tone (stock method):
- Clip Envelopes → Transpose: move +3 to +12 semitones over 1–2 bars
- Time: 1/8 or 1/8 dotted
- Feedback: 35–55%
- Wobble: small
- Filter: HP around 300 Hz, LP around 6–10 kHz
- Downsample small amount, keep it tasteful
Stab method (quick):
---
Step 6 — The key move: Resample for cohesion (“print the intro”) 📼
This is where it becomes a real DJ tool: you bounce your crafted chaos into one controllable loop.
Resampling workflow (Ableton Live 12):
1. Create a new audio track called INTRO_RESAMPLE.
2. Set track input to Resampling.
3. Arm the track, and record 16–32 bars of your intro.
4. After recording:
- Consolidate (Cmd/Ctrl+J) to make one clean clip
- Warp the clip cleanly (usually it will already align)
- Rename it clearly: `IntroTool_174_OldskoolRoller_v1`
Now process the printed audio like old records did (gentle glue):
- Attack: 3 ms
- Release: Auto
- Ratio: 2:1
- Aim: 1–2 dB gain reduction
- HP at 25–35 Hz
- Tiny dip if boxy: 250–400 Hz
- Drive: 1–4 dB, Soft Clip On
- Ceiling: -0.8 dB
- Gain: just enough to control rogue spikes
> This “print pass” is the difference between layered parts and a single confident intro tool.
---
Step 7 — Arrangement: 16–32 bars of momentum (timeless roller structure) 🧱
Here’s a proven layout:
Bars 1–8:
Bars 9–16:
Bars 17–24:
Bars 25–32:
- Bar 31: quick drop-out (1 beat or 1/2 bar)
- Bar 32: pre-drop hit (crash + reverb tail)
---
4. Common mistakes ⚠️
---
5. Pro tips for darker/heavier DnB 🖤
- Add slight pitch drift to pads (very slow LFO) for dread.
- Try Roar lightly (if available in your Live version) or stick to Saturator + Drum Buss.
- Use a low mid drone around 90–150 Hz quietly, then high-pass it so it doesn’t become real sub energy.
- Mute the break for one beat before key transitions. Silence hits harder than more layers.
- Echo with filtered feedback (HP up, LP down) creates that tunnel vibe without clutter.
---
6. Mini practice exercise (20 minutes) ⏱️
1. Choose one break loop and make two versions:
- Version A: clean/modern
- Version B: more oldskool (more saturation, more echo throws)
2. Build a 16-bar intro with:
- Filtered break automation
- Atmos bed
- One signature FX (siren OR stab)
3. Resample both versions to audio.
4. Export both and A/B them in a DJ context:
- Which one mixes cleaner into another tune?
- Which one builds more anticipation without sounding “too full”?
---
7. Recap ✅
If you want, tell me what substyle you’re aiming for (deep roller, techy minimal, jungle-leaning, neuro-tinged) and I’ll suggest a specific 32-bar intro blueprint + device settings tailored to it.

