Main tutorial
Resample Oldskool DnB Vocal Texture with Jungle Swing in Ableton Live 12 (Automation Focus)
1) Lesson overview
In this lesson you’ll take a clean vocal (or any spoken phrase), beat-slice it like old jungle, and then resample it into a gritty, rhythmic texture that locks to a swung DnB groove. The key theme is automation: you’ll automate pitch, formant/warp behavior, filtering, reverb throws, and gating so the vocal becomes a moving texture—perfect for intros, breakdowns, or rolling mids. ⚙️🎤
Skill level: Intermediate
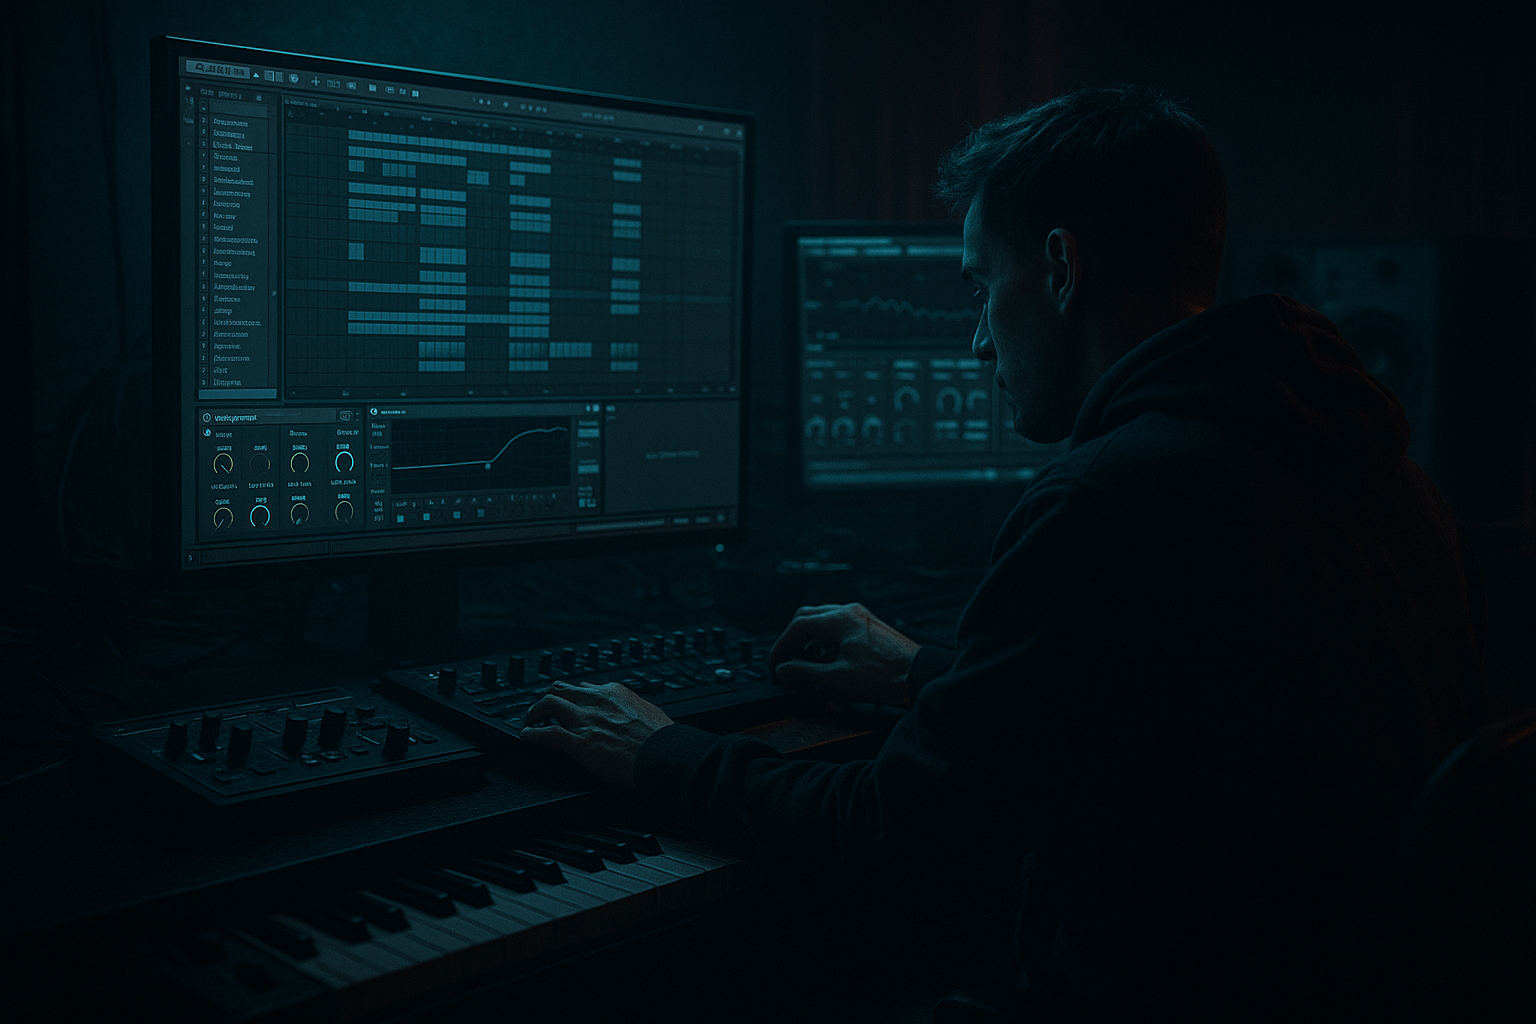
Ableton version: Live 12 (stock devices + workflow)
Style target: Jungle / oldskool DnB vocal chops with modern control
---
2) What you will build
By the end you’ll have:
- A resampled vocal texture loop that grooves with jungle swing
- A two-layer system:
- A set of automation lanes that create movement:
- A ready-to-drop arrangement concept for DnB: 16-bar intro → 16-bar drop support → variation
- Create a 1-bar or 2-bar MIDI clip and program a call/response rhythm:
- Drag your chosen groove onto the MIDI clip.
- Adjust groove Timing until it “skips” nicely without sounding sloppy.
- Automate Cutoff in 1/8 or 1/4 note gestures:
- Automate Resonance for occasional “quack” stabs:
- Hybrid Reverb
- Add EQ Eight after the reverb
- Automate Send A so only one word or end of phrase hits the verb.
- In the audio clip (or in Simpler slice), automate Transpose:
- Do it at phrase boundaries so it feels intentional.
- Add Shifter
- Automate Pitch for swoops (great for rewinds/turnarounds).
- Gate
- If sidechaining: feed it a shuffled 16th ghost hat and apply your groove to that hat pattern—now your gate inherits jungle swing.
- Slowly automate the filter cutoff over 8–16 bars to “open the air” into the drop, then slam it shut at the drop.
- Try Warp = Beats and mess with Preserve (Transients vs. 1/16).
- Try reversing tiny sections: duplicate clip, Reverse, then fade/crossfade.
- Ghost layer only + filtered drums
- Automate cutoff slowly upward
- Sprinkle 1–2 reverb throws
- Bring in Layer A resample (tight chops)
- Keep it sparse: 1–2 chops per bar, answer the snare
- Every 4 bars: one “feature moment” (pitch dip + reverb throw)
- Automate pitch down quickly (Shifter or Transpose)
- Short reverb throw
- Hard stop (Utility gain automation) then slam back into the next phrase
- Over-swinging everything: If kick/snare swing too much, the groove collapses. Swing hats, ghost notes, and vocal chops—keep kick/snare anchored.
- Too much Redux too early: Bitcrush is addictive. Use it like seasoning or automate it for brief moments.
- No high-pass on reverb returns: Reverb mud kills rolling bass clarity. Always HP your reverb.
- Chops fighting the snare: If vocal hits land exactly on snare transients, it can smear impact. Aim for pickups and offbeats.
- Resampling without gain staging: If you resample clipped audio unintentionally, you can’t “unclip” it later (unless you wanted that).
- Make the vocal a midrange weapon, not a lead singer
- Automate a narrow resonant band-pass for “telephone menace”
- Transient discipline
- Stereo management
- Make it feel sampled off vinyl
- You sliced a vocal into playable chops, grooved it with jungle swing, and built motion using automation (filter, reverb throws, pitch, gating).
- You layered a tight chop layer with a ghost texture layer for depth.
- You resampled the result into a classic, reusable jungle-style audio loop.
- You placed it into a practical DnB arrangement with variation points every 4–8 bars. ✅
- Layer A: tight, sliced vocal “chops” (rhythmic)
- Layer B: washed/dirty “ghost layer” (atmospheric)
- Warp mode/texture control (or equivalent feel via pitch + grain)
- Filter sweeps + resonance stabs
- Reverb throws
- Gate/volume shaping
- Optional “rewind” and tape-stop moments
---
3) Step-by-step walkthrough
Step 0 — Prep: set the session for jungle swing
1. Tempo: 170–176 BPM (try 174 BPM).
2. Groove Pool:
- Open Groove Pool and load a swing groove (e.g. MPC style or any “Swing 16” groove).
- Start with:
- Timing: 55–65
- Velocity: 0–15
- Random: 0–10
Jungle swing is usually subtle—it’s more about micro-late hats/snare ghosting than drunken timing.
3. Build a quick drum guide (so you resample to the pocket):
- Kick on 1, snare on 2 & 4 (classic DnB)
- Add a shuffled hat line (16ths), then apply your groove to the hats and ghost percussion.
> Tip: Your vocal texture will feel “oldskool” faster if it reacts to a real shuffled drum pocket rather than a grid.
---
Step 1 — Choose and warp the vocal properly
1. Drop a short vocal phrase into an Audio Track (1–4 seconds is perfect).
2. Turn Warp ON.
3. Try these warp modes for different jungle flavors:
- Beats: good for rhythmic chopping; set Preserve = Transients for snappy syllables.
- Texture: good for grainy time-stretch; adjust Grain Size to taste (smaller = more “buzzy”, bigger = more smeared).
- Complex Pro: can sound modern/clean; we’ll dirty it later.
Oldskool move: choose Beats first for the chop layer, then build a second “ghost” layer with Texture.
---
Step 2 — Slice the vocal like a sampler (MIDI control + swing)
Goal: make the vocal behave like a jungle sample pack.
Method A (fast): Convert to Drum Rack
1. Right-click the vocal clip → Slice to New MIDI Track.
2. Slice settings:
- Slice By: Transients (or 1/8 if the vocal is too smooth)
- Create one slice per: Transient
- Warp Slices: ON
3. You’ll get a Drum Rack with slices.
Now:
- Put hits on offbeats and 16th pickups.
- Leave space—jungle vocal chops breathe.
Apply Groove:
---
Step 3 — Build the “oldskool texture” device chain (Layer A: chops)
On the Drum Rack output (or the vocal slice track), build a chain like this:
Device chain (stock):
1. Auto Filter
- Mode: LP24 (classic)
- Start cutoff around 2–6 kHz depending on harshness
- Add resonance 10–25% for character
2. Saturator
- Mode: Analog Clip
- Drive: 2–6 dB
- Soft Clip: ON
- This gives that “sampled” bite.
3. Redux (optional but very oldskool)
- Downsample: 2–8
- Bit Reduction: 0–3 (subtle)
- Use lightly—DnB hates losing transient clarity too much.
4. Drum Buss
- Drive: 5–20
- Crunch: 0–10
- Boom: usually OFF for vocals (unless you want a weird low thump)
- Transients: adjust to keep syllables punchy
5. EQ Eight
- HP filter around 120–200 Hz (don’t fight the sub)
- Dip harshness around 2.5–4.5 kHz if needed
---
Step 4 — Add automation that screams “jungle resample” 🔥
Now the fun part: movement that evolves through the bar.
#### Automation lane 1: Filter “talking” movement
On Auto Filter:
- Example: bar starts darker (1.5 kHz), opens on pickups (6–10 kHz), closes on snare hits.
- Quick spikes to 25–40% on selected syllables.
DnB trick: do one slightly exaggerated filter move every 2 bars so it feels like a sampled loop being “performed.”
#### Automation lane 2: Reverb throws (classic rave vocal vibe) 🌫️
Create a Return Track:
- Algorithmic Hall or Plate
- Decay: 2.5–6s
- Pre-delay: 15–35 ms
- High Cut: 6–10 kHz
- High-pass at 200–400 Hz
- Optional dip at 2–4 kHz if it gets piercing
On the vocal track:
- Example: Send at -inf most of the time, jump to -8 to -3 dB for 1/8–1/4 note.
This is one of the most “oldskool” automation moves in DnB. Minimal effort, maximum vibe.
#### Automation lane 3: Pitch drops / tape moments (without third-party) 🎚️
Two easy options:
Option 1: Clip Transpose automation
- Quick dips: -2 to -7 semitones for “dark pull”
- Tiny up-pitch: +1 to +3 for tension
Option 2: Shifter for smoother pitch moves
- Mode: Pitch
- Fine: 0
#### Automation lane 4: Gate rhythm to jungle swing (tight but funky)
Add Gate (or use Auto Pan as a tremolo):
- Sidechain: Optional (trigger from hats or a dedicated ghost trigger)
- Threshold: set so it chops the tail
- Return: fast
- Floor: -inf (for hard chop) or -12 dB (for softer)
---
Step 5 — Create the “ghost layer” (Layer B: smeared texture)
Duplicate the vocal slice track (or resample a bounce of Layer A).
On Layer B:
1. Hybrid Reverb (more than you think)
- Decay: 6–12s
- Size: bigger
- Wet: 20–45% (or 100% if using as pure wash)
2. Auto Filter
- Band-pass or low-pass, cutoff 300 Hz–3 kHz
3. Erosion (for airy grit)
- Mode: Noise
- Freq: 4–10 kHz
- Amount: 0.2–1.5
4. Utility
- Width: 120–160% (if it’s a stereo wash)
- Gain: pull it down so it sits behind drums
Automation idea:
---
Step 6 — Resample like it’s 1996 (but clean workflow)
Now print the vibe into audio so it becomes a single, playable “sample loop.”
Resampling method (Ableton stock):
1. Create a new Audio Track called `VOCAL RESAMPLE`.
2. Set its input to Resampling.
3. Arm it, and record:
- 4 bars of your chopped layer + ghost layer together
- Or record Layer A and Layer B separately for more mix control
4. Consolidate (Cmd/Ctrl+J) into a clean clip.
Now treat that resampled clip like a classic jungle sample:
---
Step 7 — Arrange it in a DnB context (practical 32-bar plan)
Here’s a reliable rolling DnB placement:
Bars 1–16 (Intro):
Bars 17–32 (Drop support):
Variation idea: At bar 31–32, do a micro “rewind feel”:
---
4) Common mistakes
---
5) Pro tips for darker/heavier DnB
- HP around 150–250 Hz, focus energy at 600 Hz–3 kHz, control harsh 4–8k.
- Auto Filter BP with resonance 30–55%, automate cutoff rhythmically.
- If the vocal is spiky, use Drum Buss Transients down or Saturator to flatten peaks.
- Keep Layer A relatively mono/center; push Layer B wider.
- Use Utility to mono below ~200 Hz (conceptually—vocals usually won’t have much there if HP’d).
- Add subtle Vinyl/room noise (a quiet noise bed), then gate/duck it with the vocal so it “breathes.”
- Ableton stock approach: Analog (noise) very low → filter → sidechain gate.
---
6) Mini practice exercise (15–20 min)
1. Pick a one-sentence vocal (your own or cleared).
2. Slice to Drum Rack, write a 2-bar chop pattern.
3. Apply a groove: Timing 60, Random 5.
4. Add Auto Filter + Saturator + Drum Buss.
5. Automate:
- Auto Filter cutoff (at least 6 moves across 2 bars)
- One reverb throw (Return send automation)
- One pitch dip (Transpose or Shifter)
6. Resample 4 bars and make two versions:
- Version A: clean(er), minimal Redux
- Version B: heavier, more distortion + narrower filter
Deliverable: bounce a 4-bar loop that sits over a basic DnB beat without masking the snare.
---
7) Recap
If you want, tell me what kind of vocal you’re using (male/female/rap/MC shout/clean pop), and whether your drums are more jungle (break-led) or roller (two-step)—I’ll suggest specific groove settings and an automation “performance script” for 16 bars.

