Main tutorial
```markdown
Resampling First Steps for Club Mixes (DnB in Ableton Live) 🔁🔥
1. Lesson overview
Resampling is one of the fastest ways to make club-ready drum & bass: tighter drums, heavier bass, and cohesive “glue” that feels finished without overthinking every channel. In Ableton Live, resampling means recording audio from your own mix (or parts of it), then treating that audio like a new sound—chopping, re-layering, saturating, and arranging with intent.
In this lesson you’ll learn:
- How to set up clean resampling routing in Ableton Live
- How to resample drum buses, bass, and full drop prints
- How to turn resamples into impactful club mix moments (fills, switches, ear candy)
- Practical device chains + settings using stock Ableton tools
- A Resample Track ready to print audio quickly
- A resampled drum loop that hits harder and feels glued
- A resampled bass phrase for fills and switch-ups
- A Drop Print (full mix resample) to create transitions, tape-stops, stutters, and impact edits
- Drums = red
- Bass = purple
- Resamples = bright yellow
- Keep RESAMPLE PRINT set to Resampling
- Solo DRUM BUS (so only drums reach master)
- Record 8 bars into RESAMPLE PRINT
- Create a new audio track: DRUM RESAMPLE
- Set Audio From: DRUM BUS → Post FX
- Monitor Off, arm, record 8 bars
- carve out space
- create fills
- do aggressive processing without CPU spikes
- make “one-shot” bass hits for arrangement
- EQ Eight
- Utility
- EQ Eight
- Saturator
- Auto Filter (optional movement)
- Create audio track: BASS RESAMPLE
- Audio From: BASS BUS → Post FX
- Record 4 or 8 bars of your main bass pattern
- Duplicate the printed drop clip
- In the last bar before a transition:
- Add a Reverb tail for drama (automate Dry/Wet up at the end)
- Warp mode: Texture or Beat
- Chop a snare hit region and repeat 1/8 → 1/16
- Add Auto Pan set to:
- Take the first kick+snare+crash moment from the print
- Make it a one-shot
- Add Utility automation to hard cut to silence for 1/8–1/4 bar
- 0–16: Intro (DJ-friendly drums + minimal bass)
- 16–32: Build (add bass movement, tension)
- 32–64: Drop 1 (main groove)
- 64–72: Breakdown / switch
- 72–104: Drop 2 (use your resampled fills + printed edits)
- 104–112: Outro (strip back for mixing)
- End of every 16 bars: add a printed fill
- Mid-drop at bar 9: micro-switch using bass resample
- Pre-drop: filtered resampled drum loop rising into impact
- Parallel distortion on resampled drums
- Mid-bass resample re-amping
- Make “fog” layers
- Hard control your low end
- Resampling in Ableton Live is your fast lane to club-ready DnB cohesion.
- Set up a reliable RESAMPLE PRINT track and print:
- Keep low end disciplined (mono sub, avoid over-limiting), and use prints to create 8/16 bar energy shifts.
---
2. What you will build
By the end you’ll have a mini DnB “club mix toolkit”:
Think: rolling 174 BPM vibes—tight breaks, punchy kick/snare, growly bass, clean but aggressive mix. 🥁🧨
---
3. Step-by-step walkthrough
Step 0 — Project setup (DnB-friendly baseline)
1. Set tempo: 172–176 BPM (start at 174 BPM).
2. In Preferences → Record/Warp/Launch:
- Auto-Warp Long Samples: OFF (important for printed audio)
- Create Analysis Files: ON (fine)
3. Make a basic loop (8 bars is perfect):
- Drums: kick/snare + hats + a break (Amen-ish or tight jungle break)
- Bass: a simple reese or wobble pattern
- Minimal FX: a ride, crash, or noise sweep
> Goal: You need something playing so resampling is meaningful.
---
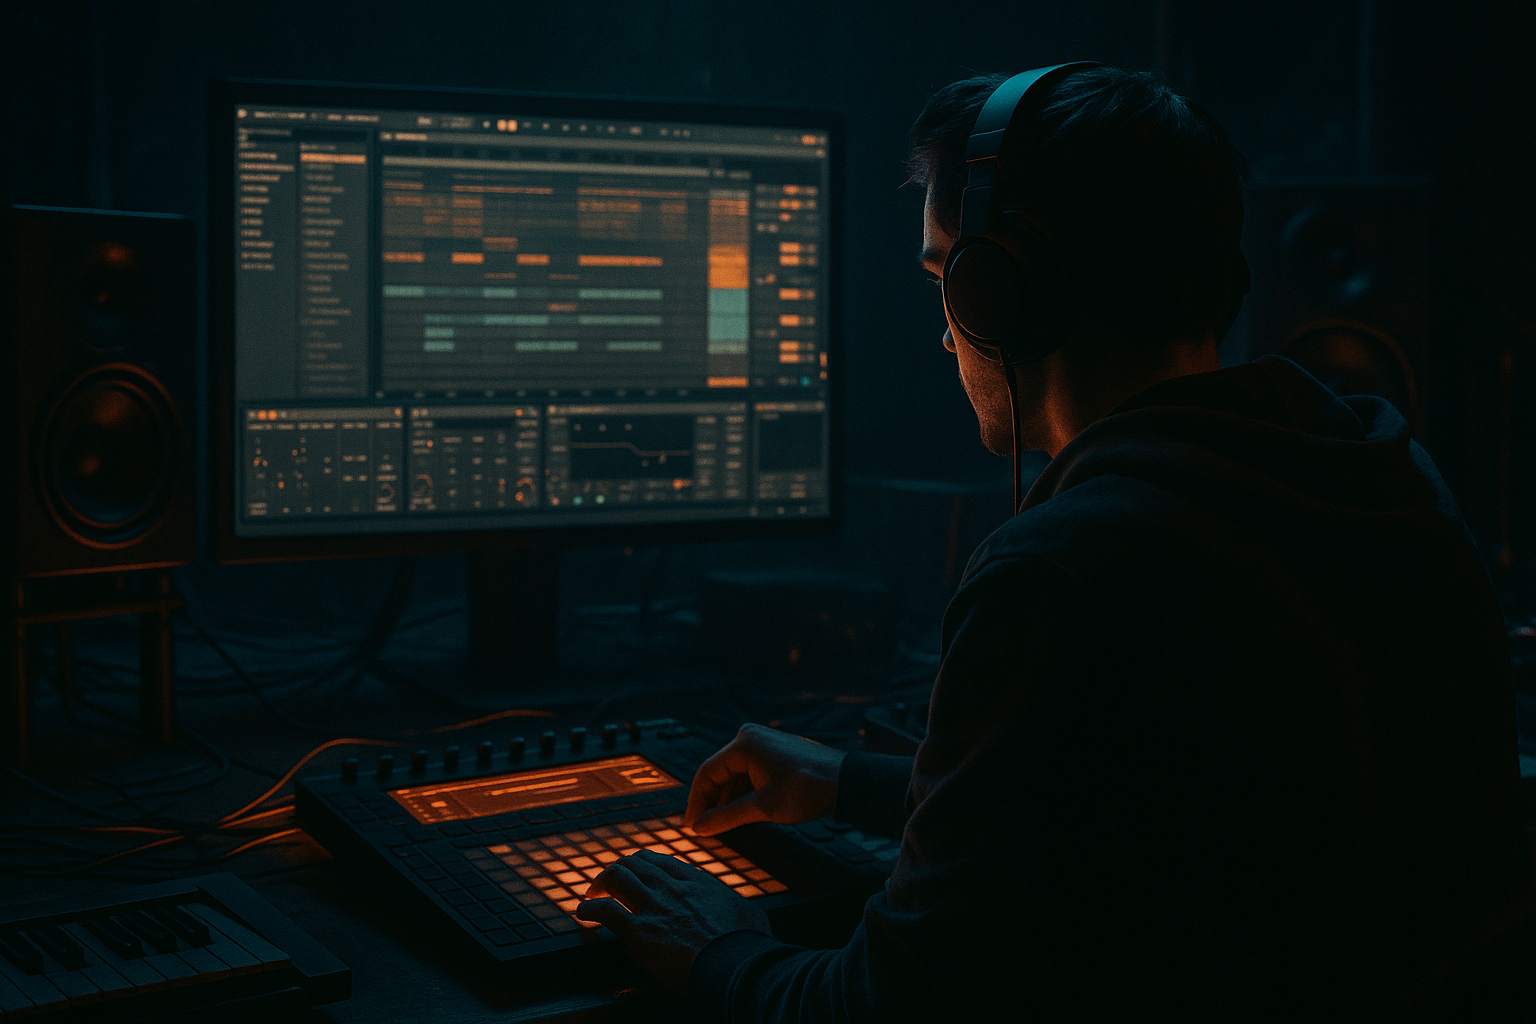
Step 1 — Create a dedicated Resample track (your printing lane) 🎛️
1. Create a new Audio Track named: RESAMPLE PRINT
2. Set Audio From to:
- Resampling (captures the master output post-master processing)
3. Set Monitor: Off
4. Arm the track (record enable)
5. Set global quantization to 1 Bar (top left)
Why this setup works:
You’ll be able to record exactly what you hear—great for making club-ready edits and printed loops fast.
Workflow tip:
Color code:
You want resamples instantly visible.
---
Step 2 — Resample your DRUM BUS for glue and punch 🥁
A) Create a Drum Bus group
1. Select all drum tracks → Cmd/Ctrl + G (Group)
2. Name it: DRUM BUS
3. Add this stock chain on DRUM BUS (in order):
Device chain (stock Ableton)
1. EQ Eight
- HP filter around 25–35 Hz (remove rumble)
- Tiny dip if needed at 200–350 Hz (boxiness)
2. Drum Buss
- Drive: 5–15% (start 8%)
- Crunch: 0–10% (start 4%)
- Boom: 0–20% (careful; DnB low end needs control)
- Damp: adjust so hats don’t get crispy
3. Glue Compressor
- Attack: 3 ms
- Release: Auto
- Ratio: 2:1
- Threshold: aim for 1–3 dB gain reduction on peaks
- Soft Clip: ON ✅
4. (Optional) Saturator
- Mode: Analog Clip
- Drive: 1–3 dB
- Soft Clip: ON
B) Print the drum bus
You have two good options:
Option 1 (simple): Record the full mix then chop
Option 2 (clean routing): Resample from DRUM BUS only
C) Consolidate & warp correctly
1. Select the recorded region → Cmd/Ctrl + J (Consolidate)
2. In Clip View:
- Warp: ON
- Set 1.1.1 as the start if needed
- Ensure it loops perfectly for 8 bars
Result: a “printed drum loop” that’s already glued and easier to process like a sample.
---
Step 3 — Resample your BASS for control + ear candy 🐍
Bass in DnB often benefits massively from printing because it lets you:
A) Split sub and mid (basic club-safe approach)
1. Group bass tracks: BASS BUS
2. Create two tracks inside/feeding it:
- SUB (sine/clean, mono)
- MID BASS (reese/growl layers)
SUB track chain (stock)
- LP around 90–120 Hz (keep it clean)
- Ensure mono using Utility
- Width: 0% (mono)
- Gain: adjust to sit stable
MID BASS track chain (stock)
- HP around 90–120 Hz (remove sub from the mid layer)
- Drive: 3–8 dB (start 5 dB)
- Soft Clip: ON
- 12 dB or 24 dB
- Map cutoff to a macro for automation
B) Print a bass phrase
C) Turn it into a fill
1. Duplicate the printed bass clip
2. On the duplicate:
- Use Beat Warp Mode (good for rhythmic stutters)
- Set Preserve to 1/16 or 1/8
3. Add Gate after the clip (or on the track)
- Sidechain it from your kick if you want space:
- Gate → Sidechain → Input: Kick
4. Chop the last 1 bar into rapid edits:
- 1/2 bar → 1/4 → 1/8 → 1/16 stutters
5. Add Reverb (short) on the last hit only:
- Decay: 0.6–1.2s
- Low Cut: 250–400 Hz
- High Cut: 6–10 kHz
Result: you’ve created a club-friendly bass fill without redesigning the synth.
---
Step 4 — Print the DROP (full mix resample) for club transitions 💥
This is the big one: printing your drop gives you “DJ-tool” edits inside your own track.
A) Master chain (keep it simple for beginners)
On MASTER (optional but useful):
1. EQ Eight
- HP at 20–25 Hz (gentle)
2. Glue Compressor
- Attack: 10 ms
- Release: Auto
- Ratio: 2:1
- Aim: 1–2 dB GR
- Soft Clip: ON
3. Limiter
- Ceiling: -0.3 dB
- Gain: only push until it feels solid; don’t crush it yet
B) Resample the full 16 bars of your drop
1. Arm RESAMPLE PRINT (Audio From: Resampling)
2. Record 16 bars (or 32 if you like longer phrasing)
3. Consolidate into a single clip
C) Create club mix moves from the printed drop
Now you can do edits that feel intentional and loud:
Move 1: 1-bar “tape stop” illusion (stock)
- Add Pitch automation in clip (Transpose down quickly)
- OR use Frequency Shifter:
- Mode: Ring or Fine
- Automate Frequency downward for a “fall”
Move 2: Stutter-fill into the next phrase
- Rate: 1/8 or 1/16
- Amount: 20–40% (subtle)
- Phase: 0 (more consistent movement)
Move 3: Impact hit + silence
This creates that “club breath” before the next slam.
---
Step 5 — Arrange with DnB phrasing in mind (so resampling serves the mix)
DnB loves clear structure. Use resamples to emphasize 8/16 bar moments.
Practical arrangement idea (simple)
Where resampling shines
---
4. Common mistakes ⚠️
1. Auto-Warping your prints badly
If your resample drifts or loops weirdly, check warp markers and set 1.1.1 correctly.
2. Resampling post-limiter too early
If you slam the limiter then resample, you can “bake in” distortion and lose headroom for later.
3. Printing everything in stereo
Club low-end must be stable. Keep sub mono (Utility width 0%).
4. Over-saturating the drum print
If hats turn into white noise, reduce Drum Buss Crunch / Saturator drive.
5. Making edits that fight the groove
DnB is hypnotic—fills should enhance the roll, not derail it every 2 bars.
---
5. Pro tips for darker/heavier DnB 😈
- Duplicate the drum print track
- On the duplicate: Saturator (Analog Clip) Drive 6–12 dB + EQ Eight (cut lows below 120 Hz)
- Blend quietly under the clean print
- Add Amp (stock) on the mid resample
- Keep it subtle; EQ after to tame harshness around 2–5 kHz
- Resample a reverb-only return (print your reverb tail)
- Stretch it (Texture mode) and tuck it behind drops for atmosphere
- On any resampled full mix clip: use EQ Eight to gently dip 250–400 Hz if it gets cloudy
- Keep sub energy consistent rather than huge
---
6. Mini practice exercise (15–25 minutes) ⏱️
1. Build an 8-bar rolling drum loop (kick/snare + break + hats).
2. Add DRUM BUS chain (EQ Eight → Drum Buss → Glue).
3. Print it to audio and make two variations:
- Variation A: clean loop
- Variation B: stutter the last 1 bar (Beat mode 1/16)
4. Create a 4-bar bass phrase, print it, then create:
- a 1-bar fill at the end with stutters + reverb tail
5. Arrange a 32-bar mini-drop:
- Bars 1–16: Variation A
- Bars 17–32: Variation A + your bass fill at bar 24 and bar 32
Deliverable: a mini arrangement that sounds like it has “mix moves” baked in—without complex sound design.
---
7. Recap ✅
- Drum bus for glue and punch
- Bass phrases for controlled edits and fills
- Full drop prints for transitions and DJ-tool style moments
If you want, tell me what style you’re aiming for (liquid / jump-up / neuro / jungle) and I’ll suggest a resampling checklist + a device chain tailored to that sound. 🎚️
```

