Main tutorial
```markdown
Resampling Your Own Fills for DJ‑Friendly Sets (DnB in Ableton Live) 🎛️🥁
1. Lesson overview
Resampling is one of the most powerful “producer-to-DJ” workflows in drum & bass: you take your own drum fills, edits, and transitions and bounce them into clean, timed audio clips that drop perfectly into a DJ set (or a live performance) with zero stress.
In this lesson, you’ll learn how to:
- Write DnB/jungle-style fills that hit hard and stay musical
- Resample them inside Ableton Live (no external bouncing needed)
- Export DJ-friendly, bar-perfect loops with the right tails and headroom
- Organize them into a personal “DJ weapons” pack ✅
- 1-bar snare rush fill (rolling 16ths into a drop)
- 2-bar jungle edit (amen-style stutter + tape stop vibe)
- 1/2-bar impact + reverse to bridge phrases
- 8-bar “pre-drop tension tool” you can slam into any breakdown
- Ableton DJ sets
- DJ software (Rekordbox/Serato/Traktor) after export
- Your next production as transition FX
- Drum Rack (great for one-shots), or
- Audio loops (great for jungle breaks)
- EQ Eight (roll off rumble below ~30–40 Hz on snares/hats)
- Saturator (soft clip for density; try “Soft Sine” curve)
- Drum Buss (gentle glue; watch the boom!)
- Compressor (light control, not smashing)
- Drum Buss: Drive 5–15%, Crunch 0–10%, Damp ~10 kHz, Boom off (or very low)
- Saturator: Drive 2–6 dB, Soft Clip ON
- EQ Eight on hats: High-pass around 200–400 Hz
- Clearly signals “something’s changing”
- Doesn’t wreck the groove or clash with bass too much
- Starts and ends exactly on the grid
- Right-click the track/group → Freeze Track
- Right-click again → Flatten
- Peaks around -6 dBFS on the clip is safe and DJ-friendly.
- You can master your DJ set later if needed.
- Bars 1–4: clean groove
- Bar 5: 1-bar fill → into Drop
- Bars 6–9: groove
- Bar 10–11: 2-bar jungle edit
- Bar 12: 1/2-bar impact tool
- Bars 13–16: groove
- Make fills “mid-forward,” not sub-heavy
- Use Saturator for grit
- Short, controlled ambience
- Pitch a snare rush up slightly
- Add a “metallic air” layer
- Write fills in musical bar lengths (1/2, 1, 2, 4, 8 bars) for clean DJ phrasing.
- Build simple FX that enhance the transition: Auto Filter + short Reverb + subtle Echo.
- Resample inside Live with a dedicated audio track set to Resampling.
- Consolidate, warp, fade, and label so your tools behave flawlessly in sets.
- Keep darker DnB fills tight, gritty, and mid-focused so they sit over any track.
---
2. What you will build
You’ll end up with a small folder of your own resampled fill clips, for example:
All rendered at the correct tempo grid (e.g. 174 BPM), labeled, and ready to drag into:
---
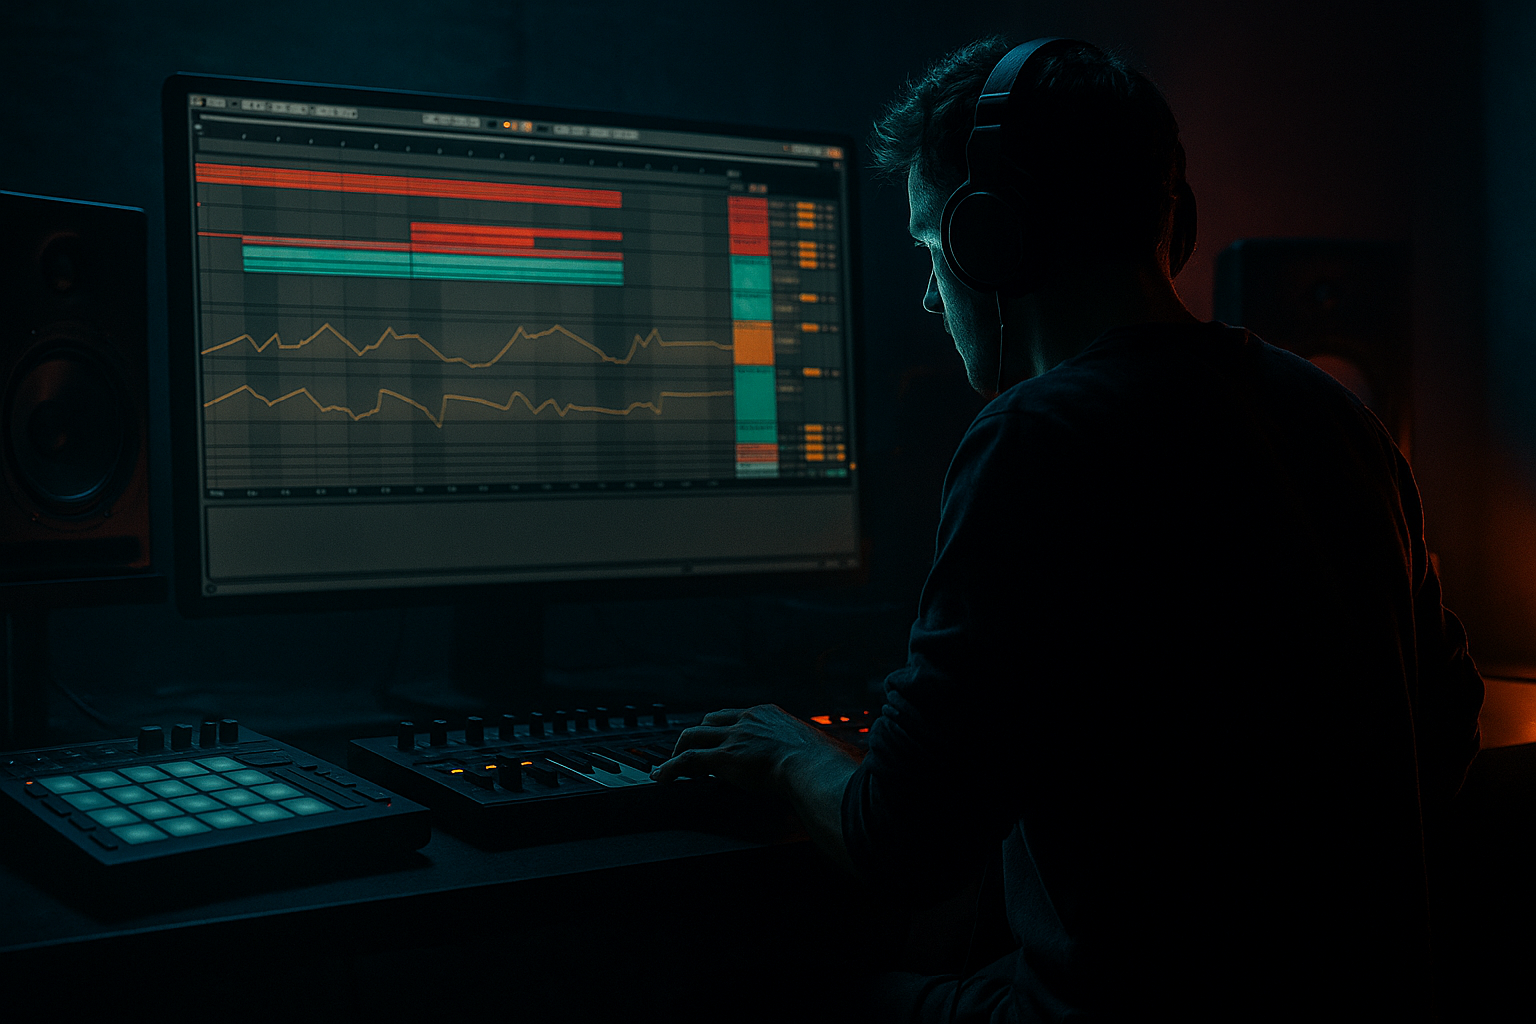
3. Step-by-step walkthrough
Step 0 — Set up a DJ-friendly project template ⚙️
1. Tempo: set to 174 BPM (or your set’s range: 170–176).
2. Global Quantization: set to 1 Bar (top-left of Live).
3. Create Markers in Arrangement (optional but helpful):
- Intro (16)
- Drop (33)
- Break (65)
- Drop 2 (97)
Why: DnB mixing is phrase-based. If your fills are 1, 2, 4, or 8 bars, they’ll drop into DJ phrasing cleanly.
---
Step 1 — Build a solid DnB drum base (so your fills make sense)
You can do this with either:
Beginner-friendly option: Drum Rack
1. Add a MIDI track → load Drum Rack.
2. Load typical DnB hits:
- Kick (punchy, short)
- Snare (crack + body)
- Closed hat, open hat
- Ride or shaker layer
Helpful stock devices (on the Drum Rack or individual pads):
Quick starting settings (safe + effective):
---
Step 2 — Write a fill that DJs actually want 🎚️
A good DJ-friendly fill:
#### Example A: 1-bar snare rush (classic rolling DnB)
1. In MIDI, create a 1-bar clip.
2. On the snare pad:
- Place a normal snare on beat 2 and 4 (standard DnB)
- Add 16th note snares in the last half bar (beats 3.3 → 4.4), gradually increasing velocity
Velocity tip: make it ramp up (e.g. 50 → 100) so it “lifts”.
#### Example B: Jungle-style stutter edit (Amen vibe)
If you’re using an audio break:
1. Drop an Amen-style break into an audio track.
2. Warp ON → Warp mode: Beats
- Preserve: 1/16
- Transients: 100
3. Duplicate a tiny slice (like 1/16–1/8) a few times right before the drop.
Add a little chaos: cut the last hit early for a “gasp” before the drop.
---
Step 3 — Add transition FX (the “DJ glue”) 🌀
You don’t need a huge chain. Keep it punchy and controlled.
#### Simple, effective fill FX chain (stock devices)
Put this on a Fill Bus group (recommended):
1. Auto Filter
- Mode: Low-pass
- Envelope: off
- Automate cutoff down slightly in the last 1/2 bar
2. Reverb
- Size: small/medium
- Decay: 0.8–1.8s
- High Cut around 7–10 kHz (keeps it darker and less splashy)
- Dry/Wet: 5–15%
3. Delay (Echo)
- Time: 1/8 or 1/4
- Feedback: 10–25%
- Dry/Wet: 5–12%
4. Limiter
- Just catching peaks (Gain 0, default ceiling is fine)
DnB-specific move: automate reverb/delay only on the last hit (using automation or clip envelopes) so the fill ends with a tail but doesn’t wash out the whole bar.
---
Step 4 — Resample inside Ableton (clean and fast) 🔁
There are two main beginner-friendly methods:
#### Method 1 (recommended): “Resampling” input on a new audio track
1. Create a new Audio Track called: `RESAMPLE_FILLS`.
2. In its Audio From chooser, select: Resampling.
3. Arm the track.
4. Solo your fill group (or mute everything else).
5. In Arrangement, set a loop brace around exactly 1 or 2 bars.
6. Hit Record and capture the fill.
Now you’ve printed your fill including FX, compression, and glue.
#### Method 2: Freeze + Flatten (good for CPU, less flexible)
This prints audio, but you don’t “perform” the record the same way.
---
Step 5 — Edit the resampled audio so it’s DJ-proof ✂️
On your resampled clip:
1. Trim to the grid
- Ensure it starts exactly on 1.1.1
- Ends exactly at 2.1.1 (for 1 bar) or 3.1.1 (for 2 bars)
2. Fade in/out
- Fade-in: 1–5 ms (removes clicks)
- Fade-out: depends on tail; keep it tight if it needs to loop clean
3. Consolidate
- Select the exact region → Cmd/Ctrl + J
4. Warp settings
- Warp ON if you want it tempo-flexible
- Warp mode:
- Drums: Beats or Complex (Beats is tighter)
- FX tails: sometimes Complex sounds smoother
5. Name it properly
- Example: `174_1bar_SnareRush_DarkPlateTail`
- Example: `174_2bar_AmenStutter_NoVox`
---
Step 6 — Export like a professional (headroom + tails) 📦
When exporting:
1. File → Export Audio/Video
2. Rendered Track: choose your resample track or master
3. Sample rate: 44.1 or 48 kHz (match your library)
4. Bit depth: 24-bit (great for further processing)
5. Dither: Off (unless going to 16-bit)
6. Normalize: OFF (keep your own levels consistent)
7. Leave ~0.5 seconds of tail if it’s a transition tool (reverb/echo)
Level target (simple rule):
---
Step 7 — Arrange your fills like DJ “weapons” 🔥
A killer approach: build a “tools” track in Arrangement at 174 BPM.
Example layout (16 bars):
Then resample/export each tool individually.
---
4. Common mistakes (and how to avoid them)
1. Fills not ending on the grid
- Fix: always consolidate to exact bar lengths (1, 2, 4, 8).
2. Too much reverb masking the snare
- Fix: high-cut the reverb, automate it only on the final hit.
3. Clipping during resample
- Fix: put a Limiter on your Fill Bus or master during printing.
4. Overcomplicated edits
- Fix: DJs need clarity. One strong idea beats five messy tricks.
5. Kick/bass conflict in the fill
- Fix: consider removing the kick in the final half-bar so the fill breathes.
---
5. Pro tips for darker/heavier DnB 🖤
- Use EQ Eight to reduce below 80–120 Hz on the fill audio so it won’t fight the DJ track’s sub.
- Drive 3–8 dB, Soft Clip ON, then reduce output so it doesn’t get louder—just denser.
- Dark DnB loves space, but tight space. Reverb decay under 2s, high cut under 10 kHz.
- Clip Transpose: +1 to +3 semitones for urgency (works great before a drop).
- Quiet ride or hat loop, high-passed, lightly distorted—gives that techy rolling feel without crowding.
---
6. Mini practice exercise (15–20 minutes) ⏱️
1. Create three fills:
- Fill 1: 1 bar (snare rush)
- Fill 2: 2 bars (Amen stutter edit)
- Fill 3: 1/2 bar (impact + echo tail)
2. Resample each to audio using Resampling input.
3. Consolidate each clip to exact lengths.
4. Export all three as 24-bit WAVs with names:
- `174_1bar_...`
- `174_2bar_...`
- `174_halfbar_...`
5. Drag them into a new Ableton set and practice launching them on the 1 with Global Quantization = 1 Bar.
---
7. Recap
If you tell me whether you’re aiming for rollers, jump-up, jungle, or neuro, I can suggest 3–5 specific fill patterns and an Ableton device chain to match that vibe.
```

