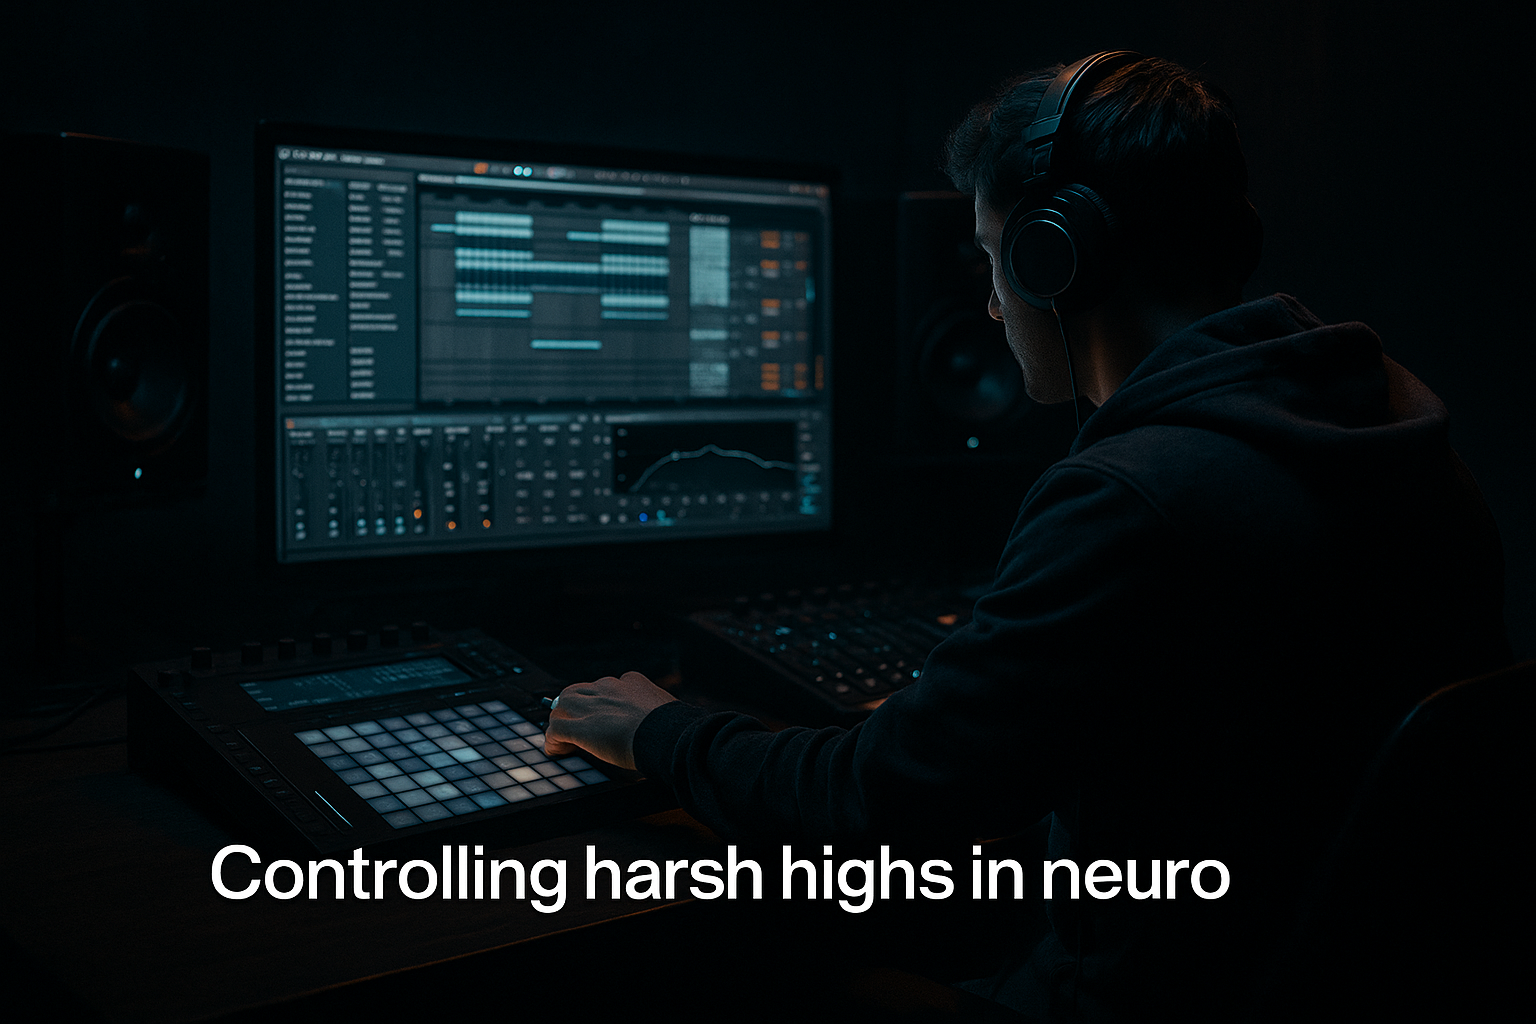
Main tutorial
Lesson Overview
This lesson is about building a retro rave ragga cut that works like a DJ tool inside a Drum & Bass set: short, punchy, instantly readable, and designed to cut between heavier rollers, jungle steppers, or darker neuro tracks. The core idea is to take a ragga vocal phrase, slice it into a tight call-and-response hook, then frame it with crisp transients, dusty mids, and controlled sub weight so it feels both old-school and modern in Ableton Live 12.
In DnB, this kind of tool is valuable because it gives you a switch-up section that DJs can use to reset energy without losing momentum. It can live as a 16-bar intro, a 16-bar breakdown, or a 32-bar bridge before the next drop. The point is not to make a full vocal song — it’s to make a mix weapon: something with strong phrasing, clear low-end discipline, and enough character to signal “new section” immediately.
Why this matters in DnB: tracks often rely on contrast. A dense bass drop hits harder when the arrangement opens up for a ragga cut, especially if the cut has sharp drum transients, dusty midrange grit, and clean sub management. That contrast gives the tune personality and makes it more DJ-friendly. Light touch of chaos, but still controlled 😈
What You Will Build
By the end, you’ll have a short Ableton Live 12 arrangement built around:
- A ragga vocal chop with an old-rave energy
- A tight break-based drum bed with crisp transient shaping
- A dusty mid bass layer that supports the vocal without crowding it
- A sub layer that stays mono and disciplined
- A set of DJ-tool-style intro/outro sections with clean transitions
- Automation moves for filters, delays, and reverb throws
- A simple arrangement that can sit inside a jungle, rollers, or darker DnB track
- Too much low end under the vocal
- Ragga chop feels random instead of rhythmic
- Drums sound flat or too clean
- Bass is wide or messy in mono
- FX overwhelm the groove
- Section doesn’t feel like a DJ tool
- Use a very short room reverb on drums to create an old-sample vibe without washing out the transient.
- Layer a subtle distorted mid-bass duplicate one octave up, then low-pass it to keep the texture gritty but controlled.
- Try Auto Filter with envelope follower movement on the vocal or break for organic wobble.
- For heavier impact, put Saturator before EQ Eight on the mid bass, then cut the uglier frequencies after the distortion.
- Add a tiny amount of sidechain on the vocal bus so the kick and snare hit cleanly, especially if the cut is dense.
- If you want more underground character, keep some sample grit and break noise instead of cleaning everything up.
- Use Utility gain automation for small drop-ins and drop-outs rather than dramatic volume swells.
- For neuro-leaning tension, automate a narrow EQ band or filter cutoff on the mid bass while the sub stays steady underneath.
- A good darker DnB rule: weight in the low end, attitude in the mids, discipline in the arrangement.
- Build the ragga cut as a DJ tool, not a full vocal song.
- Keep the sub mono, the mid bass gritty, and the vocal chopped rhythmically.
- Use Drum Buss, EQ Eight, Saturator, Compressor, Auto Filter, Reverb, and Delay to shape the section.
- Make the arrangement phrased for mixing: clear intro, useful switch-up, clean outro.
- In DnB, this works because contrast is everything: tight transients, dusty mids, and disciplined low-end make the ragga cut hit harder.
Musically, think of something that could work over a 157–174 BPM drum & bass grid, with a ragga phrase answering a classic rave stab or chopped amen fill. The result should feel like: short vocal hook, gritty break accents, bass answer, then a drop-ready transition.
Step-by-Step Walkthrough
1. Set the session up for DJ-tool logic
Start at a DnB tempo, ideally 170 BPM if you want a modern jungle/ragga feel, or 174 BPM if you want it closer to high-energy rave pressure. Work in Session or Arrangement, but keep the structure simple:
- Make three groups: DRUMS, BASS, VOCAL/FX
- Add a return track for Reverb and another for Delay
- Put a utility on your master and keep headroom around -6 dB peak
For the drum group, prepare a minimal lane with kick, snare, and break elements. For the bass group, keep separate layers for sub and mid. For the vocal group, keep your ragga sample chopped into one-shot pieces or short phrases.
Why this works in DnB: DJ tools need fast readability. When the structure is organized early, you can make decisions quickly about whether a sound is carrying the section or cluttering it.
2. Choose a ragga phrase and chop it into functional pieces
Import a vocal phrase with strong attitude, ideally one with a rhythmic cadence rather than too much melody. In Ableton Live 12, use Slice to New MIDI Track or drag the sample into Simpler and chop manually.
Aim for:
- One main phrase: the hook line
- Two or three response chops: shorter call-outs
- One tail fragment: a shout, breath, or end-word for fill-ins
In Simpler, use Slice mode if you want quick MIDI triggering, or Classic mode if you want to pitch and envelope each chop more manually. For the chop envelope:
- Attack: 0–5 ms
- Decay: 50–180 ms for shorter stabs, longer if the phrase needs space
- Release: keep short, around 20–80 ms
Keep the phrasing tight. A ragga cut works best when it feels like it’s reacting to the drums, not floating on top of them. Place the main chop on beat 1 or the “and” of 2, then answer it with a second chop before bar 2. That call-and-response pattern is classic jungle language.
3. Shape the vocal tone with EQ, saturation, and short ambience
Put EQ Eight first on the vocal chain. High-pass gently around 100–160 Hz to remove low junk. If the sample is muddy, cut a little around 250–500 Hz. If it’s harsh, notch a narrow band around 2.5–4.5 kHz.
Then add Saturator:
- Drive: 2–6 dB
- Soft Clip: On
- Output: trim to match level
This adds density and helps the cut sit on small systems without sounding thin. If the vocal feels too dry, send a little to a short reverb on a return:
- Reverb decay: 0.4–1.0 sec
- Pre-delay: 10–25 ms
- Low cut in reverb: around 200–400 Hz
Add Delay on the return if needed, but keep it controlled. A 1/8 or 1/4 dotted delay can give you that rave bounce, especially if you automate send amounts only on key words. The aim is dusty but not washed out.
4. Build the drums around crisp transients and break attitude
Create a drum loop that feels like a hybrid between breakbeat pressure and modern DnB punch. Use a kick and snare pattern that anchors the phrase, then layer a chopped break for movement.
A practical setup:
- Main kick: short, punchy, centered
- Main snare/clap: strong backbeat
- Break loop: sliced into 1/16 or 1/8 chunks
- Top percussion: hats or rides for shimmer
On the drum bus, add Drum Buss:
- Drive: 5–15%
- Crunch: small amounts, around 5–20%
- Boom: use lightly or not at all if the sub is already strong
- Transients: push slightly if you need more snap
Then use Glue Compressor or Ableton’s Compressor very lightly on the drum bus:
- Ratio: 2:1
- Attack: 10–30 ms for transient punch
- Release: Auto or 50–150 ms
- Aim for only 1–2 dB gain reduction
If the break is too loose, use Transient shaping via Drum Buss or clip the sample in Simpler. If it’s too clean, reduce the top-end polish and let the break stay a bit dusty. In ragga-jungle style, some roughness helps the character.
5. Design the bass as a sub-plus-mid call-and-response
This is where the tune starts to feel like DnB. Use two layers:
- Sub layer: Operator or Wavetable sine-based tone
- Mid layer: a detuned reese or simple dirty bass layer
For the sub in Operator:
- Use a sine wave
- Keep it mono
- Low-pass everything above the fundamental
- Hold notes cleanly, no stereo widening
For the mid bass in Wavetable or Analog:
- Use a saw or pulse-based source
- Add subtle detune
- Modulate filter cutoff with an LFO
- Keep the stereo width controlled; use Utility to narrow it if needed
Put EQ Eight on the mid bass and carve out space:
- High-pass around 90–140 Hz
- Cut mud around 250–400 Hz if it crowds the vocal
- Tame harshness around 2–6 kHz if it fights the snare or vocal
Add Saturator or Overdrive gently for grit. Keep the sub and mid separated on purpose. The sub gives weight; the mid gives character. That split is what makes the groove feel big without turning to mud.
6. Lock the rhythm: sidechain, groove, and note phrasing
Use Compressor with sidechain from the kick to the bass group if the low end is fighting:
- Attack: 1–10 ms
- Release: 50–120 ms
- Keep the gain reduction subtle, usually 2–4 dB
Don’t over-pump unless that’s the style. For a retro rave cut, you want the bass to breathe around the drums, not disappear.
In the MIDI clip, keep bass notes short and functional. Try:
- One long note under the vocal pause
- Two shorter offbeat notes after the phrase
- A rest before the drop cue
That leaves room for the ragga cut to speak. DnB bassline phrasing is often about negative space as much as movement. If your bass answers the vocal instead of competing with it, the section feels much smarter and heavier.
7. Use automation to turn it into a DJ tool
Now make it perform like something a DJ can mix with. Add automation to create transitions:
- Auto Filter on the vocal group: open from 200 Hz high-pass to full range over 8–16 bars
- Reverb send on the final vocal chop: increase for a throw at the end of a phrase
- Delay send on the last word of the bar
- Bass filter cutoff slowly opening before the next drop
- Drum break low-pass opening so the loop feels like it arrives from fog
A strong DJ-tool intro might start with:
- 4 bars of filtered drums
- 4 bars of chopped vocal tease
- 8 bars of full ragga cut + bass answer
- 4 bars of fills and riser
- then a hard turn into the next section
This kind of phrasing works in clubs because the ear recognizes each new layer. DJs can blend it with another tune because the intro/outro is not overcomplicated.
8. Add tension with short fills, reverse tails, and rave punctuation
Use small FX rather than huge cinematic gestures. Great DnB switch-ups come from precise details:
- Reverse the tail of a vocal chop and place it before a snare hit
- Use Echo or Delay throws on the final word
- Add a short riser made from noise through Auto Filter
- Drop a single crash or metallic hit before the bass returns
If you want a retro rave feel, layer a subtle stab with a synthetic chord or organ-like hit. Keep it short and rhythmic. The trick is to suggest rave history without turning the section into a full trance breakdown.
For extra movement, automate Frequency Shifter slightly on a repeat vocal fragment:
- Fine amount: tiny movement only
- Keep it subtle so it sounds like texture, not an obvious effect
These small punctuation marks make the tune feel alive and help the DJ read the structure.
9. Refine the arrangement for club utility
Build a clear structure that a DJ can trust. A practical arrangement might be:
- Bars 1–8: filtered drums + faint vocal tease
- Bars 9–16: ragga chop enters, bass answers sparingly
- Bars 17–24: full drum/bass section with call-and-response
- Bars 25–32: break strip-down or fill-heavy switch-up
- Bars 33–40: rebuild with more vocal throws
- Bars 41–48: outro with drums and filtered elements only
Keep one section dry enough for mixing, and one section more decorated for impact. That contrast is what gives the track its DJ utility. If every bar is full, the tune becomes harder to mix and less effective on a system.
10. Final mix checks: mono, headroom, and harshness
Before calling it done, do a fast technical pass:
- Check the master peak level stays around -6 dB
- Put Utility on the bass bus and test mono
- Collapse the vocal midrange if it gets too wide or phasey
- Use EQ Eight to remove any harsh vocal spikes or snare fizz
- Make sure the kick, snare, and vocal all remain readable at low volume
If the bass disappears in mono, reduce stereo processing on the mid layer. If the vocal feels too buried, cut a little from the bass around the vocal’s main formant region rather than boosting the vocal endlessly. Small subtractive moves win in DnB.
Common Mistakes
Fix: high-pass the vocal, separate sub and mid bass, and leave room around 100–300 Hz.
Fix: place chops against the drum grid with a call-and-response pattern. Treat the vocal like percussion.
Fix: use Drum Buss lightly, layer a break, and preserve transient attack with moderate compression settings.
Fix: keep the sub mono, reduce stereo width on the mid bass, and check with Utility.
Fix: shorten delays and reverbs, and automate them only at phrase endings.
Fix: make a clear intro/outro, reduce arrangement clutter, and keep at least one passage mix-friendly and uncluttered.
Pro Tips for Darker / Heavier DnB
Mini Practice Exercise
Set a timer for 15 minutes and build this from scratch:
1. Pick one ragga vocal phrase and chop it into 4 usable pieces.
2. Create a 4-bar drum loop with kick, snare, and a chopped break.
3. Add a mono sub note pattern underneath, using only 2–3 notes.
4. Add one dirty mid-bass layer with a simple filter movement.
5. Automate one vocal reverb throw at the end of bar 4.
6. Make the last 2 bars feel like a DJ mix-in or mix-out section by filtering the drums and thinning the bass.
Goal: when you loop the 4 bars, it should already feel like a section a DJ could use. Don’t overbuild it. Focus on clarity, groove, and phrasing.

