Main tutorial
Retro Rave: Breakbeat Rebuild with DJ‑Friendly Structure (Ableton Live 12)
Skill level: Advanced • Category: Vocals • Genre focus: Drum & Bass / Jungle / Rolling bass music 🔊
---
1. Lesson overview
In this lesson you’ll rebuild a retro rave/jungle-style breakbeat into a modern DnB framework and make it DJ-friendly (clean 16/32-bar phrases, intros/outros, mix points). The twist: we’ll treat vocals like a classic rave instrument—short hooks, chopped phrases, call/response, and texture layers—so the track feels authentically “old-school” but hits with modern mix clarity.
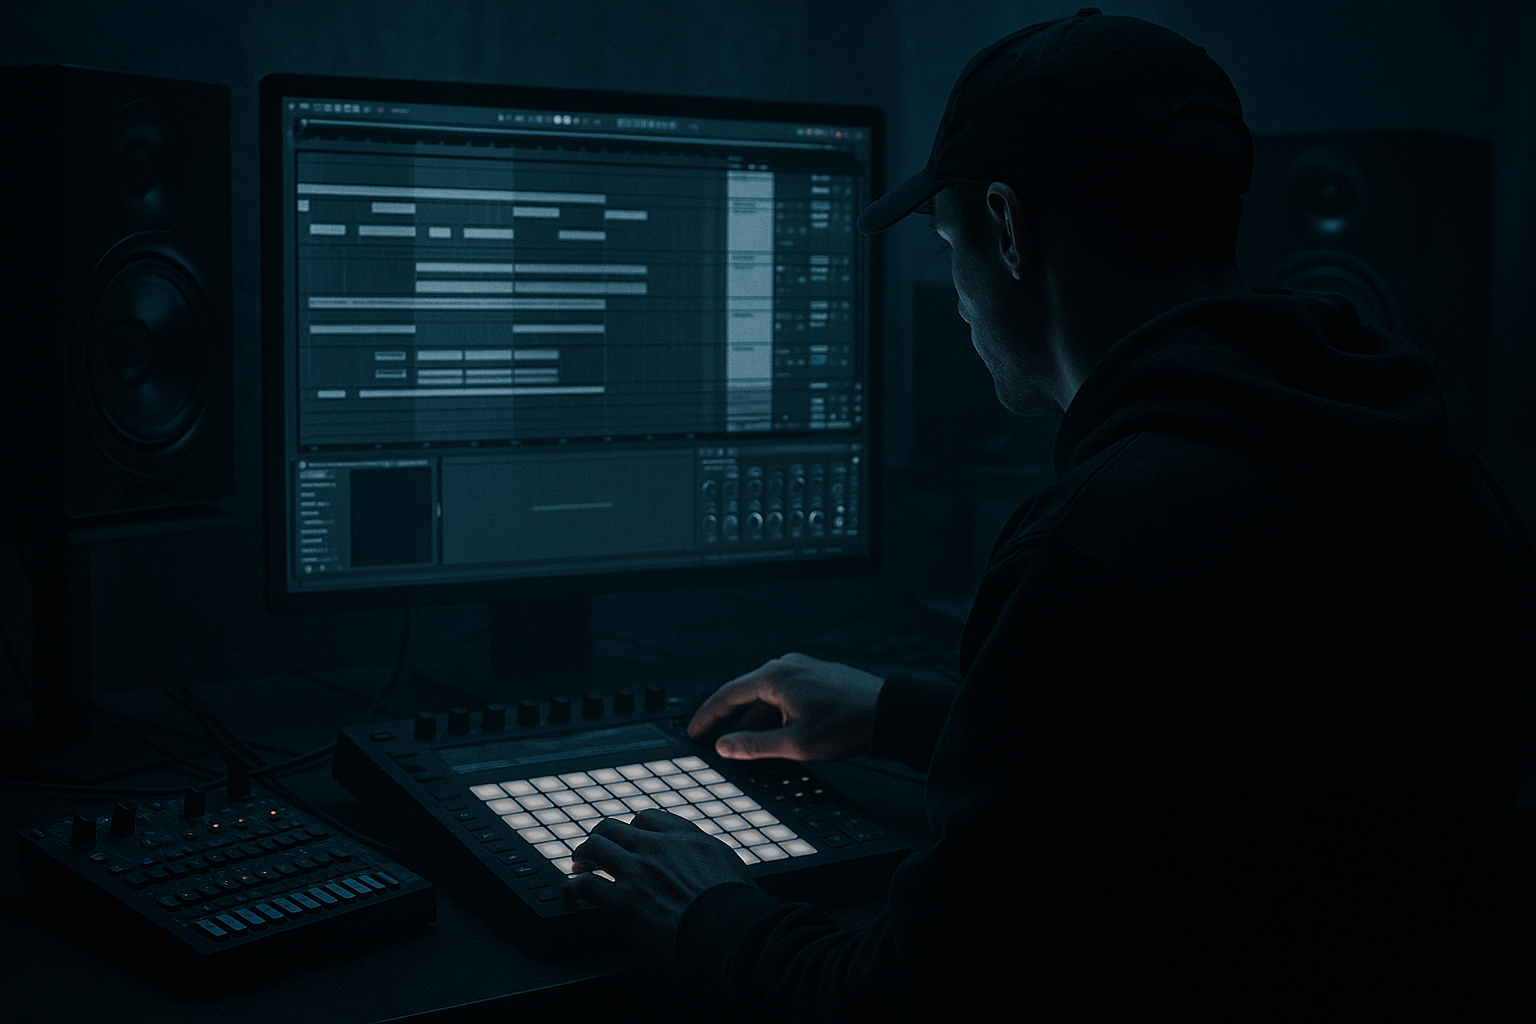
You’ll work in Ableton Live 12 using mostly stock devices: Drum Rack, Simpler, Slice to MIDI, Warp modes, Audio Effects Rack, Saturator, Glue Compressor, Drum Buss, EQ Eight, Auto Filter, Hybrid Reverb, Roar (if you’ve got it), and Limiter.
---
2. What you will build
A DJ-ready DnB arrangement at 170–174 BPM featuring:
- A rebuilt breakbeat (Amen/Think/Funky Drummer style) sliced, re-sequenced, and layered
- A vocal-led rave hook: chopped phrases + stabs + dark texture layer
- A tight intro/outro designed for mixing (minimal melodic clutter, clear drums/bass separation)
- A drop structure that works for modern rolling DnB but keeps that retro break attitude ⚡
- If the break is messy, set Warp Mode = Complex Pro just to align markers, then switch back to Beats for punch.
- Duplicate the 2-bar clip and create variations:
- Use MIDI Velocity to shape groove:
- Open the chain → Simpler
- Set:
- Group both racks into a Drum Bus Group.
- Short phrases work best: “come again,” “rush the sound,” “all crew,” etc.
- If it’s long, you’ll extract a hook.
- Put the main hook on:
- Bars 1–16:
- Bars 17–32:
- Add vocal hook and tension:
- Add a classic jungle trick:
- Drop 1 (bars 49–80): main statement
- Mid-drop variation: swap break variation every 8 bars
- Add vocal call/response:
- Strip to:
- Heavier edit: more fills, extra vocal chop rhythm, darker processing
- Remove hook, simplify drums
- Keep steady beat for mixing out
- End with hats + minimal break ghosts (classic DJ usability) 🎚️
- Compressor → Sidechain from Snare layer
- Ratio: 2:1
- Attack: 1–5 ms
- Release: 60–120 ms
- GR: 1–2 dB
- On break group: dip 1–3 kHz slightly when vocals present (automation or sidechain EQ if you prefer third-party; stock method = automate EQ Eight gain).
- Over-warping breaks: Complex/Complex Pro on breaks often smears transients. Use Beats mode for drums.
- Too many slices firing at full velocity: Jungle energy comes from dynamic ghosts, not constant 127.
- Vocal reverb washing the drop: Big verb is great in builds, but in drops it can blur snare transients. Automate sends down on impact.
- No DJ mix points: If the intro starts with full bass + hook, DJs will hate you. Give them clean drums and phrase clarity.
- Break layers fighting one-shot drums: If both are “full spectrum,” you’ll get phasey low mids. High-pass/shape the break or commit to which layer owns the low punch.
- Make a “shadow vocal” layer: Duplicate hook vocal → pitch down -5 to -12 semitones → low-pass to 2–4 kHz → add Saturator + Hybrid Reverb. Blend quietly for menace.
- Use Roar (if available) on vocal chops:
- Parallel drum distortion:
- Break “air” management:
- Drop impact trick:
- You rebuilt a breakbeat using Slice to MIDI, then shaped groove with velocity, micro-edits, and variations.
- You layered modern one-shots to keep the break’s character but add DnB punch.
- You treated vocals as rave instrumentation: hook + chops + dark texture.
- You arranged with DJ-friendly 16/32-bar phrasing, clean intros/outros, and automation-based energy control.
- You used stock Ableton tools to keep it fast, repeatable, and mix-ready.
---
3. Step-by-step walkthrough
Step 0 — Project setup (DJ-first mindset) 🎛️
1. Set tempo: 172 BPM (solid middle ground for jungle/DnB).
2. Set global time signature: 4/4.
3. In Arrangement View, create locators at:
- 1 (Intro start)
- 17 (Intro switch)
- 33 (Build)
- 49 (Drop 1)
- 81 (Break/variation)
- 97 (Drop 2)
- 129 (Outro)
Why this matters: DJs mix in phrases. If you commit to 16/32-bar logic early, your track instantly becomes more playable.
---
Step 1 — Breakbeat sourcing and warp discipline 🥁
Goal: Get a break that grooves correctly at 172 without smearing transients.
1. Drag in a classic break (e.g., Amen/Think) onto an Audio track.
2. In Clip View:
- Turn Warp = On
- Try Beats mode first
- Preserve: Transients
- Transient Loop Mode: Off
- Envelope: ~15–25 (lower = sharper)
3. Find the cleanest 1 or 2-bar section and Consolidate (Cmd/Ctrl+J).
Advanced check:
---
Step 2 — Slice to MIDI and rebuild the break (the “retro rave” way) ✂️
1. Right-click the consolidated break → Slice to New MIDI Track
2. Choose:
- Slicing preset: Built-in “Slice to New MIDI Track” default works
- Slice by: Transients
- Create one slice per: Transient
Now you have a Drum Rack full of slices. Here’s where the rebuild happens:
#### A) Make a “clean core loop”
1. Create a 2-bar MIDI clip.
2. Start with the classic jungle skeleton:
- Place kick-ish slices on 1 and (2&) / 3 (depending on the break’s kick)
- Place snare-ish slices on 2 and 4
3. Keep ghost hits, but reduce chaos initially.
#### B) Add controlled mayhem (fills + edits)
- Bar 2: add a 1/16 snare rush at the end
- Bar 4/8: add a reverse slice or pitch drop slice
- Ghost notes: 30–60 velocity
- Main hits: 90–120
#### C) Tighten slices inside Drum Rack
For key slices (kick/snare):
- Mode: One-Shot
- Warp: Off (for maximum punch) unless timing needs correction
- Fade In: 0–2 ms (click removal)
- Start: micro-adjust to align transient
---
Step 3 — Layer modern DnB drums under the break (without killing the vibe) 🔥
You want the break to be the “character,” and modern hits to be the “weight.”
#### A) Add a clean kick + snare layer
1. Create a second Drum Rack (or audio one-shots).
2. Pick:
- A short, punchy kick (50–110 Hz focus)
- A snare with body around 180–220 Hz + crack around 3–6 kHz
3. Side-by-side layering approach:
- Break provides mid grit and movement
- One-shots provide punch and consistency
#### B) Group your drums
On Drum Bus Group chain (stock devices):
1. EQ Eight
- High-pass at 25–35 Hz (24 dB/oct)
- Tiny cut 200–350 Hz if boxy
2. Glue Compressor
- Attack: 3 ms
- Release: Auto
- Ratio: 2:1
- Gain Reduction: 1–3 dB
3. Drum Buss
- Drive: 5–15%
- Crunch: 0–10%
- Boom: 0–10% (careful—DnB bass lives here)
4. Optional: Saturator (Soft Clip on)
- Drive: 2–6 dB
- Output trimmed to match
---
Step 4 — Vocal workflow: rave hook, chops, and dark layers 🎤
This lesson is “Vocals,” so we’ll do three vocal roles:
1) Hook phrase (recognizable, repeated)
2) Chop percussion (rhythmic fill)
3) Atmos layer (creepy texture, filtered, wide)
#### A) Choose/record vocals (quick criteria)
#### B) Warp vocals to DnB correctly
1. Drop vocal into Audio track.
2. Warp settings:
- For rhythmic vocals: Beats mode, Preserve = Transients, Envelope 10–20
- For sustained vocals: Complex Pro
- Formants: 0 to +20 (taste)
- Envelope: 80–120 (less artifacts)
#### C) Create vocal chops with Simpler
1. Right-click vocal clip → Slice to New MIDI Track
2. Slice by: Transient (or 1/8 if it’s very even)
3. In the new Drum Rack, for the key chop pads:
- Simpler → Warp: On (if you need consistent timing when pitching)
- Filter: LP24 around 8–12 kHz (to tame harshness)
- Amp Envelope: Shorten decay for stab-like delivery
#### D) Build the hook (DJ-friendly placement)
- Last 8 bars of build (tease)
- First 16 bars of drop (statement)
- Call/response in bars 17–32 (variation)
#### E) Vocal chain (stock, dark rave flavor)
On the Hook Vocal track:
1. EQ Eight
- HP at 90–140 Hz
- Gentle dip 2–4 kHz if harsh
2. Compressor
- Ratio: 3:1
- Attack: 10–30 ms
- Release: 60–120 ms
- Aim: 3–6 dB GR
3. Saturator
- Drive: 2–8 dB
- Soft Clip: On
4. Hybrid Reverb (Send is often better than insert)
- Algorithmic Plate or Hall
- Pre-delay: 20–40 ms
- Decay: 1.2–2.8 s (tempo dependent)
- Hi-cut: 6–10 kHz
5. Delay (Echo or Delay)
- Time: 1/8 or 1/4 dotted
- Feedback: 15–35%
- Filter: keep it darker (LP around 4–7 kHz)
Pro move: Put reverb/delay on Return tracks and automate send amounts for build/drop contrast.
---
Step 5 — Make the structure DJ-friendly (clean mix points) 🧱
A strong club track is a tool. Give DJs space.
#### A) Intro (32 bars)
- Hats, ride, light break ghosts, filtered vocal texture
- No full bassline yet
- Bring in main break + kick/snare layers
- Tease hook vocal once (1–2 hits), not full phrase
Tip: Keep the first 16 bars low-mid clean so it blends over another track.
#### B) Build (16 bars)
- Automate Auto Filter on a break layer (LP opening)
- Automate reverb send up in the last 4 bars
- Snare roll (1/16 → 1/32 feel) in final 2 bars
#### C) Drop (32 bars)
- Hook phrase on bar 1–4
- Chops answer in bar 5–8
- Repeat with variations
#### D) Breakdown / Switch (16 bars)
- Vocal atmosphere layer
- A filtered break loop
- A single sub hit or bass stab (optional)
#### E) Drop 2 (32 bars)
#### F) Outro (32 bars)
---
Step 6 — Vocal “ducking” and clarity against breaks/bass
Vocals + breaks can get crowded fast.
#### A) Sidechain vocals slightly to the snare (subtle)
On vocal group:
This makes space for snare crack without turning vocals down manually.
#### B) Midrange carving
---
4. Common mistakes
---
5. Pro tips for darker/heavier DnB 🖤
- Drive modestly, focus on mid distortion, then low-pass. Great for old-rave grit with modern control.
- Return track with Saturator (Drive 8–15 dB, Soft Clip) + EQ Eight (band-limit 200 Hz–8 kHz). Send break to it for controlled filth.
- If hats get harsh, dynamic control via Multiband Dynamics (gentle) or simply automate an EQ Eight shelf down during dense sections.
- Last 1/2 bar before drop: kill lows (Auto Filter HP sweep) + reverb throw on vocal → at drop: hard reset (dry, full drums).
---
6. Mini practice exercise (20–30 minutes) ⏱️
1. Take one 2-bar break and Slice to MIDI.
2. Create three variations:
- A: Clean backbone (minimal edits)
- B: Added ghost notes + one fill at bar end
- C: “Hype edit” with a stutter/snare rush
3. Take a vocal phrase and create:
- Hook: 4-bar repeating motif
- Chop kit: 6–10 slices mapped across pads
4. Arrange 64 bars:
- 16 intro (no hook)
- 16 build (hook tease)
- 32 drop (hook + chops call/response)
5. Automate:
- Reverb send on vocal (build up, drop down)
- Filter opening on a break layer
Deliverable: a bounce where a DJ could mix in at bar 1 and hear a clear drop at bar 49.
---
7. Recap ✅
If you want, tell me what break and vocal style you’re using (ragga, diva, spoken, eerie whisper), and I’ll suggest a specific 128-bar arrangement map + exact vocal chop rhythm that fits rolling vs. jump-up vs. jungle.

