Main tutorial
Lesson Overview
A retro rave edit in Drum & Bass is all about taking the energy of old-school rave stabs, hoover-style movement, and hands-up tension, then making it hit like a modern DnB tune. In this lesson, you’ll build a bassline turn modulate from scratch in Ableton Live 12 that feels like it belongs in a roller, jungle, or darker atmospheric track.
The goal is simple: create a bassline section that “turns” from one feel into another using automation, modulation, and arrangement movement. That “turn” is what keeps the listener hooked between 16-bar phrases, especially when you want to move from a straight groove into a more twisted, ravey drop variation.
This technique matters in DnB because the genre lives on contrast:
- heavy sub vs. bright movement
- stripped-back groove vs. full energy
- tension vs. release
- clean drums vs. messy, exciting atmosphere
- a first section with a solid sub-led foundation
- a second section that turns into a modulated retro-rave bass character
- a filter-swept reese/rave hybrid
- a slightly wider, brighter, more animated mid-bass
- an atmospheric transition that feels like a proper phrase change rather than just “more automation”
- an 8-bar bass loop for a halftime-feeling intro into a roller drop
- a 16-bar drop phrase where bars 9–16 shift the energy
- a call-and-response bassline, where the first 4 bars are tight and the next 4 bars become more rave-driven
- Making the bass too wide down low
- Automating too many things at once
- Using a bass sound that is already too busy
- Letting the atmosphere mask the drums
- Ignoring note phrasing
- Pushing distortion until the low end collapses
- Use a parallel mid-bass distortion chain: keep the clean bass on one chain and a dirtier version on another. Blend the dirty chain quietly for edge.
- Try a short filter movement on the last note of a bar. That tiny turn can feel more powerful than a long sweep.
- Add a very subtle phaser or chorus only on the high-passed bass layer to create that retro rave shimmer without ruining the sub.
- Use Delay on tiny atmosphere hits, not on the sub. Short synced delays can create tension between bass phrases.
- Layer a reese-style mid under the main bass turn if you want more underground weight. Keep it controlled with EQ and mono discipline.
- Use Drum Buss on the drum group to add a little crunch and glue, but don’t over-boom the kick if the bass is already heavy.
- For darker tension, automate a low-pass filter on the atmosphere track so the space opens up right when the bass turns brighter.
- If the bass needs more menace, automate a small resonance bump right before the phrase change. That “squeeze then release” movement is very DnB-friendly.
- Build the bass turn around phrase movement, not just sound design.
- Keep the sub mono and stable while the mid-bass evolves.
- Use Auto Filter, Saturator, EQ Eight, Utility, and Reverb/Hybrid Reverb as your core stock tools.
- Make the bassline change over 4 or 8 bars so it feels like a real DnB arrangement moment.
- Use atmospheres to make the turn feel bigger, darker, and more cinematic.
- Always check the low end in mono so the groove stays powerful and clean.
A good bassline turn modulation can make your track feel like it evolves without needing a brand-new idea every 8 bars. That’s a huge win for beginner producers learning how to build arrangement and movement inside Ableton Live. It also sits perfectly in the Atmospheres category because the bass movement can blend with texture, reverbs, and background tension to create a more cinematic DnB mood.
Why this works in DnB: the listener is always tracking groove and low-end energy. If you shift the bass timbre, filter, and stereo feel across a phrase, it sounds like the track is “breathing” and evolving, which keeps the drop alive without overcrowding the mix.
What You Will Build
You will build a two-part bassline phrase:
The result will sound like a DnB bassline that starts more controlled and then opens into:
Musically, this can work as:
By the end, you’ll have a bassline that can sit under jungle breaks, tight DnB drums, and dark atmospheres without losing low-end control.
Step-by-Step Walkthrough
1. Set up a clean DnB session and reference your structure
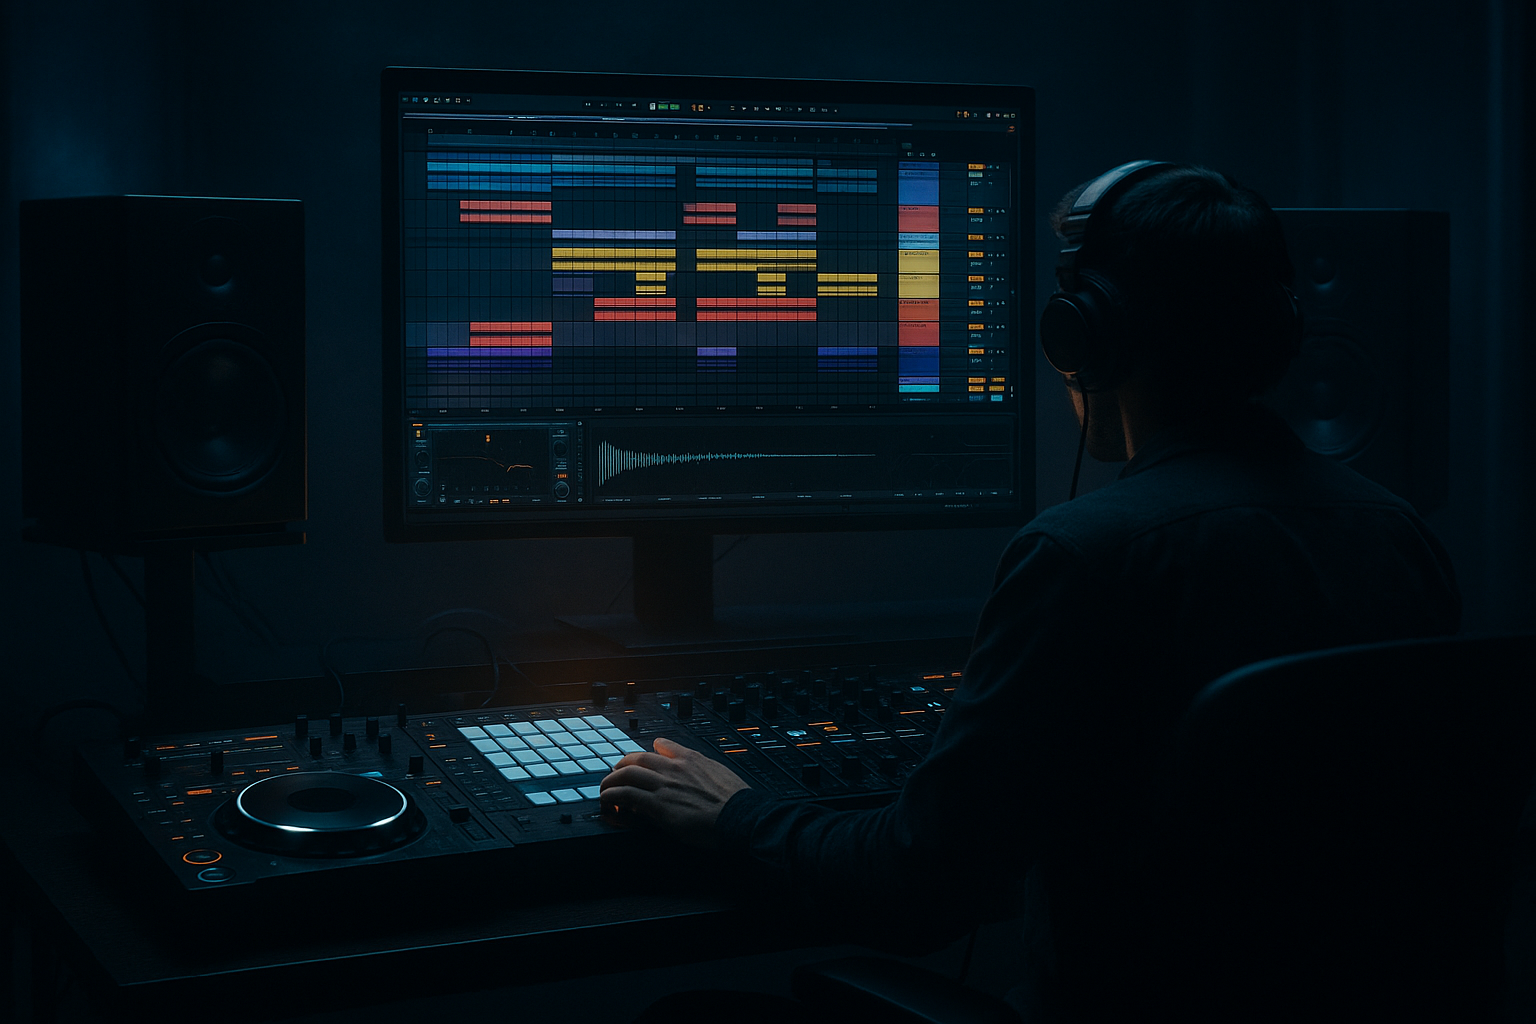
Open a new Ableton Live 12 project and set the tempo to something in the DnB zone, like 172 BPM or 174 BPM. If you want a slightly more rolling or atmospheric feel, 170–172 BPM is a nice beginner range.
Create these tracks:
- Drum rack or break track
- Bass MIDI track
- Atmosphere track
- FX track if needed
Set up an 8-bar loop to start. For beginner workflow, this is the easiest way to hear the bassline turn happen without getting lost in a full arrangement.
Add a reference track if you have one. Pick a darker DnB tune with:
- an evolving bassline
- tension atmospheres
- a clear drop phrase change
Keep your reference low in the mix. The point is to judge movement and phrase energy, not copy sound by sound.
2. Program the drum foundation first so the bass can lock properly
In DnB, bass design is never separate from the drums. Your bassline turn needs a groove to push against.
Start with a simple drum foundation:
- kick on strong downbeats or a broken pattern
- snare on the main backbeat
- a chopped break layer for movement
- small ghost notes or percussion for swing
If you’re using a break, use Simpler in Slice mode or a Drum Rack with chopped audio. Keep the break fairly dry at first so you can hear the bass clearly.
For drum bus control, you can place Drum Buss on the drum group with gentle settings:
- Drive: around 5–15%
- Boom: keep subtle or off at first
- Transients: slightly positive if you need punch
Why this matters in DnB: bass modulation only feels powerful when the drums stay stable. The listener needs a clear rhythmic anchor while the bass changes character.
3. Create the core bass instrument with stock Ableton devices
On a MIDI track, load Wavetable or Operator. For this lesson, Wavetable is great because it makes the “retro rave turn” easier to shape.
Start with a simple patch:
- Oscillator 1: a saw or basic saw-like wavetable
- Oscillator 2: a second saw or square-ish wave, tuned in unison if needed
- Unison: light, not extreme
- Filter: low-pass with moderate resonance
Suggested starting settings:
- Filter cutoff: around 150 Hz to 500 Hz, depending on the note range
- Resonance: 10–25%
- Envelope amount: moderate so the notes have movement
- Glide/portamento: very light, around 20–60 ms if you want a smoother turn between notes
Keep this patch simple. You are building a bassline turn, not a huge sound-design monster.
4. Write a short bass pattern that leaves space for the turn
In the MIDI clip, write a phrase that’s easy to hear and easy to evolve. Begin with a 1-bar or 2-bar motif. For beginner DnB, less is more.
Good starting ideas:
- a root note on the downbeat
- a syncopated answer note on the off-beat
- a small pickup note before the bar changes
- a longer held note to let modulation breathe
Example musical context:
- If your track is in F minor, try a simple pattern around F - F - Eb - C
- Keep the bass mostly in the lower register, but let one or two notes jump higher for identity
Use note lengths carefully:
- shorter notes for a more percussive roller feel
- longer notes for tension and atmosphere
- leave a gap before the bar change so the modulation has room to “turn”
This is where call-and-response starts. The first part of the phrase should feel grounded. The second part should feel like it answers with more attitude.
5. Shape the bass into a retro rave character
Now make it feel like a retro rave edit. Add movement using stock devices in a simple chain:
- Auto Filter before or after Wavetable
- Saturator for extra bite
- Chorus-Ensemble very lightly if you want width in the mids
- EQ Eight for cleanup
Suggested settings:
- Auto Filter cutoff: automate between about 200 Hz and 2.5 kHz
- Resonance: 15–35%
- Saturator Drive: 2–6 dB
- EQ Eight: high-pass very gently only if needed on non-sub layers, and cut harsh spots around 2.5–5 kHz if the tone gets aggressive
To make it “retro rave,” try increasing resonance while opening the filter at the turn point. That gives you a classic “sweep into energy” feeling. Keep the sub clean underneath by separating your low end from your mid-bass character.
If the bass sounds too wide or blurry, reduce the stereo enhancement. In DnB, the sub must stay centered.
6. Split the bass into low and mid layers for control
This is one of the biggest beginner wins in DnB. Duplicate the bass track or use an Audio Effect Rack with two chains:
- Sub layer
- Mid-bass layer
Sub layer:
- Use Operator or a simple Wavetable sine
- Keep it mono
- Low-pass around 80–120 Hz
- Avoid chorus or wide effects
Mid-bass layer:
- Use the more animated Wavetable patch
- High-pass around 80–120 Hz
- Add saturation, filter automation, and maybe light phaser/chorus if needed
This separation helps the turn modulation work properly. The sub stays stable while the mid-bass changes character. That stability is crucial in DnB because your drums and sub have to stay locked even when the top of the bass gets wild.
7. Automate the “turn” across the phrase
This is the core of the lesson. Create a turn by automating a few key parameters over 4 or 8 bars:
- Filter cutoff
- Resonance
- Wavetable position
- Saturator Drive
- Reverb send on the final hit
- Stereo width on the mid layer only
A simple 8-bar automation plan:
- Bars 1–4: darker, tighter, more filtered
- Bar 5: begin opening the filter
- Bar 6: add resonance and a little drive
- Bar 7: increase wavetable movement
- Bar 8: make a final push with a brighter tone or a short riser
You can use Clip Envelopes in Ableton Live 12 or write automation in Arrangement View. For a beginner, clip envelopes are often easier because they stay attached to the loop.
A great DnB-style trick is to automate a filter sweep while also changing note density. For example, use fewer notes in the first half and a slightly more active rhythm in the second half. That makes the bass “turn” feel musical, not just technical.
8. Add atmosphere so the edit feels bigger without crowding the mix
Since this lesson is in the Atmospheres category, give the bassline a space around it. Add a dedicated atmosphere track with one of these stock workflows:
- a long reverb-drenched pad
- a noise layer from Wavetable or Operator
- a chopped vinyl-style texture
- a reversed cymbal or filtered break wash
Use Hybrid Reverb or Reverb lightly on the atmosphere track. Suggested starting point:
- Reverb decay: 2.5–6 seconds
- Dry/Wet: keep modest, around 10–25% on a send or less on the track itself
- High-cut the reverb to keep it dark and controlled
The atmosphere should support the bass turn, not compete with it. A soft wash behind the drop makes the modulation feel more dramatic because the ear perceives contrast.
A classic arrangement move: let the atmosphere swell just before the bass switches character. This is especially effective in a retro rave edit because it hints at old-school rave euphoria without losing the dark DnB identity.
9. Shape the arrangement like a DJ-friendly DnB phrase
Build your loop into a simple arrangement:
- 4 or 8 bars intro
- 8 or 16 bars main drop
- bassline turn on the second phrase
- short breakdown or switch-up
- return with a variation
For DJ-friendly structure, keep the intro/outro elements simple:
- drums only
- filtered atmospheres
- light FX
- no full bass too early
In the drop, let the first 8 bars establish the groove. Then use your turn modulation to create the second 8 bars. This is one of the most reliable ways to keep a DnB arrangement moving without overcomplicating it.
If you want a stronger switch-up, mute one note in the bass pattern for 1 bar and replace it with a fill, reverse hit, or short impact. That little gap gives the modulation more impact when it returns.
10. Check the mix in mono and clean the low end
Before you call it done, listen in mono and make sure:
- the sub stays solid
- the kick and bass are not fighting
- the mid-bass isn’t masking the snare
- the atmosphere isn’t washing out the groove
Use Utility on the bass sub layer and set Width to 0% if needed. Keep the real low end centered.
Use EQ Eight to carve space:
- cut unwanted low rumble from atmospheres
- reduce harsh upper mids in the bass if needed
- leave room around the snare presence zone
A clean DnB mix is not about making everything tiny. It’s about giving the sub and drum transients enough space to punch through while the modulation happens above them.
Common Mistakes
- Fix: keep sub mono with Utility and only widen the mid layer.
- Fix: start with just filter cutoff and resonance. Add more movement only if the phrase still feels flat.
- Fix: simplify the oscillator setup. A clear patch is easier to turn into a strong DnB movement.
- Fix: high-pass atmospheric layers and keep reverb darker and quieter.
- Fix: leave gaps between notes so the modulation has room to speak.
- Fix: distort the mid-bass more than the sub, and check the mix at low volume.
Pro Tips for Darker / Heavier DnB
Mini Practice Exercise
Set a timer for 15 minutes and do this:
1. Make a new 8-bar loop at 172 BPM.
2. Build a simple drum foundation with kick, snare, and a chopped break.
3. Create a bass patch in Wavetable using saw waves and a low-pass filter.
4. Write a 2-bar bass phrase with only 3–5 notes.
5. Duplicate it across 8 bars.
6. Automate the filter cutoff so bars 1–4 are darker and bars 5–8 open up.
7. Add a second bass layer or widen only the mid-bass.
8. Add one atmosphere track with a long reverb wash.
9. Check the mix in mono and lower anything that clouds the sub.
10. Bounce a rough loop and listen back like a DJ would: does the phrase actually “turn”?
Do this once, then repeat with a different root note or drum break. The repetition is where the learning happens.

