Main tutorial
Lesson Overview
In this lesson, you’re going to turn a simple retro rave-style idea into a subweight roller that feels ready for a modern Drum & Bass drop. The goal is not to make something overcomplicated — it’s to build a tight, DJ-friendly, dark roller foundation using Ableton Live 12 stock devices, then shape it so it has that classic rave energy with a deeper, heavier DnB backbone.
This technique matters because a lot of great DnB tracks are built from a very simple core idea: strong drums + controlled sub + a bass movement pattern that keeps the groove alive. The “retro rave edit” angle gives you a hooky, nostalgic texture, while the “subweight roller” side gives you the weight and forward motion needed in jungle, rollers, and darker liquid-adjacent DnB.
You’ll be working in a beginner-friendly way, but the result should still feel useful in a real track. We’ll focus on:
- drum groove and break editing
- a solid sub layer
- a mid-bass or reese-style movement layer
- simple arrangement phrasing
- stock Ableton tools for saturation, filtering, and automation
- a tight break-led DnB groove
- a deep, mono sub following a simple rolling bass phrase
- a slightly ravey mid-bass texture with movement and grit
- small fill moments and switch-ups that make the loop feel like a drop section
- a basic arrangement that can become a full intro-drop-break-drop structure
- Drums: punchy break edits with ghost notes and a strong kick/snare anchor
- Bass: sustained sub notes plus a darker reese layer
- Rave edit flavor: short stab accents, filtered resonance, or a nostalgic synth hit used sparingly
- Energy level: rolling, tense, and sub-heavy rather than aggressive or hyper-complex
- Making the bass too busy
- Letting the sub and kick fight
- Over-widening the bass
- Using too much distortion too early
- Ignoring drum groove
- Making the retro rave element too loud
- Use subtle saturation on the mid-bass, not the sub
- Try a very small pitch variation on the bass layer
- Automate a low-pass filter on the rave stab
- Leave space after the snare
- Use ghost notes in the breaks
- Check the drop in mono
- Use drum bus control carefully
- Build contrast with arrangement
- Build the track from the drums up.
- Keep the sub clean, mono, and simple.
- Use a mid-bass layer for movement and character.
- Let the bass phrase support the drum groove, not fight it.
- Add retro rave accents sparingly for identity.
- Use stock Ableton tools like Operator, Wavetable, EQ Eight, Saturator, Drum Buss, Utility, and Auto Filter to shape the whole idea.
- In DnB, the strongest ideas are usually the ones that feel tight, heavy, and repeatable.
Why this works in DnB: the genre lives on contrast. The drums carry energy, the sub carries pressure, and the bass movement gives the track personality. If you can make those three parts work together, you can build a convincing roller from a very small amount of material.
What You Will Build
By the end of this lesson, you will have a 16-bar retro rave edit loop that sounds like:
Musically, think of it like this:
This is the kind of loop that can sit in a darker DJ set, work under a rewind, or form the core of a cleaner “modern retro” DnB tune.
Step-by-Step Walkthrough
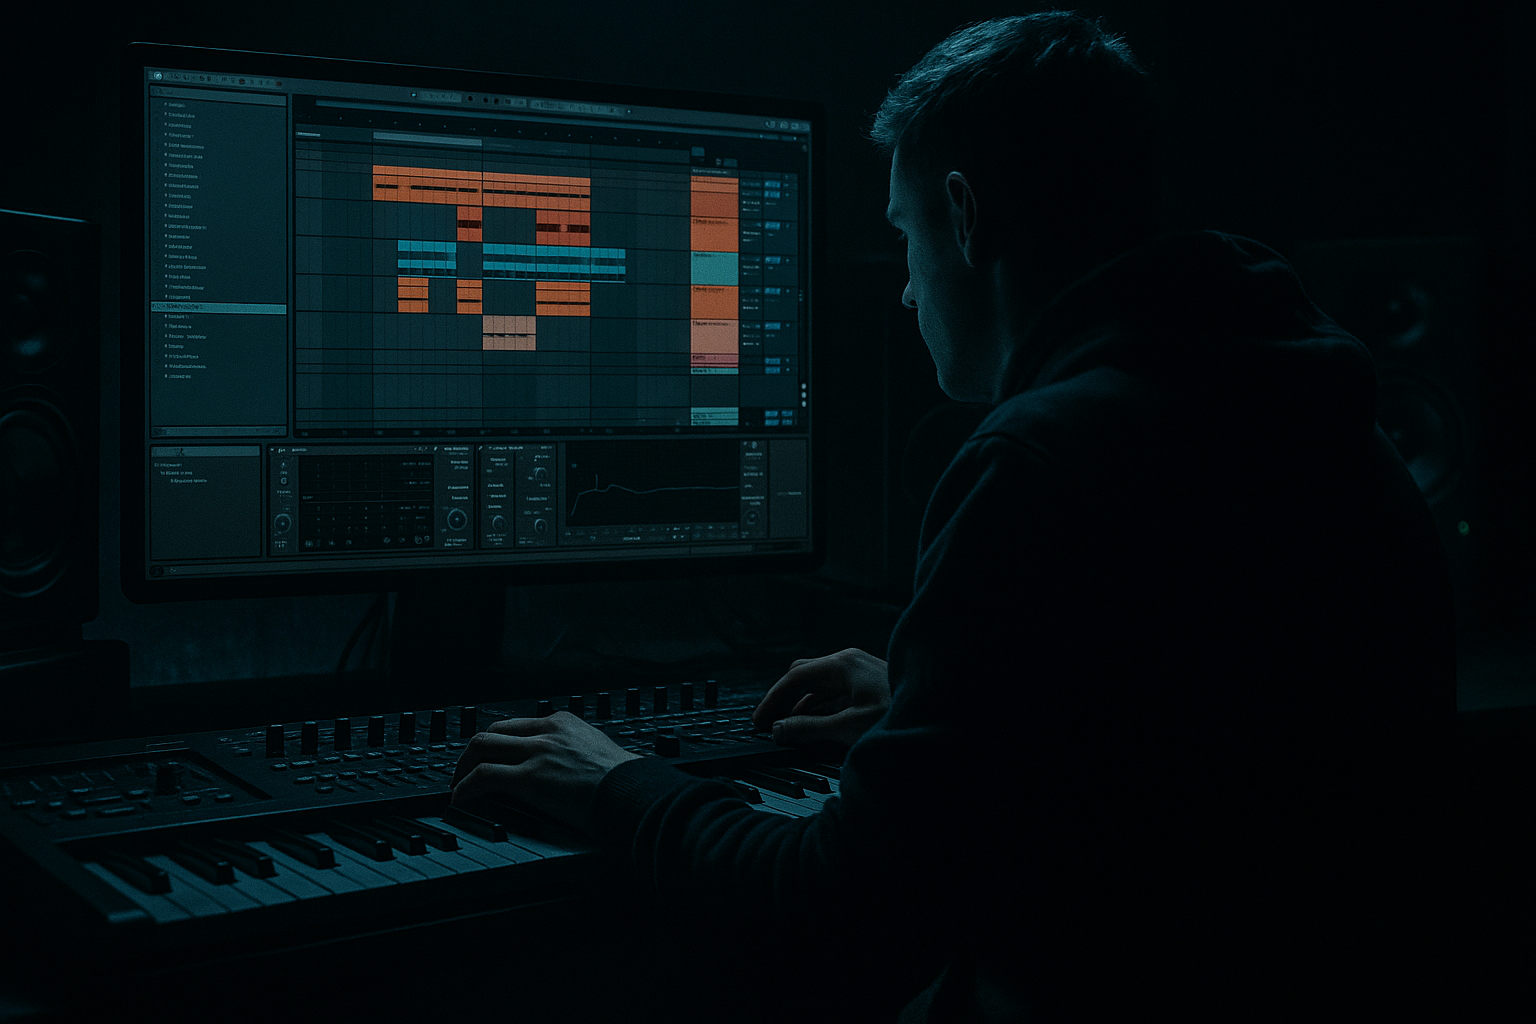
1. Set the project up for a DnB workflow
- Open Ableton Live 12 and set the tempo to 174 BPM. If you prefer a slightly slower rollers feel, 170–172 BPM also works, but 174 is a classic starting point.
- Create three tracks:
- Drums
- Bass Sub
- Bass Mid
- Optional: create a fourth track for Rave Stab / FX if you want the old-school flavor.
- Keep the session clean. Beginners often overload the project too early; here, we want each role to be obvious.
2. Build a strong drum core first
- On the Drums track, load an Audio Clip or Drum Rack with:
- a kick
- a snare or break-snare layer
- a closed hat
- an amen-style or classic break loop if you have one
- If you’re using a break, warp it carefully and keep it locked to the grid. In DnB, sloppy break timing kills the drive.
- Aim for a basic pattern:
- kick on the downbeat
- snare on the backbeat
- break ghost notes in between for swing
- If you’re using Drum Rack, try:
- EQ Eight on the drum bus, high-pass gently below 25–30 Hz
- Drum Buss with Drive around 5–15%
- Transients slightly forward, but don’t crush the kick
Beginner note: The point is not to make the drums fancy yet. You’re building the motor first.
3. Create the sub layer with an Operator sine
- On the Bass Sub track, drop in Operator.
- Set Oscillator A to a sine wave.
- Keep it simple: one oscillator is enough for now.
- Draw a MIDI clip with long notes that follow a rolling phrase. Start with 1–2 bar movement rather than busy note changes.
- Good beginner starting settings:
- Attack: 0–5 ms
- Decay: short or off
- Sustain: full
- Release: 60–120 ms
- Add EQ Eight after Operator:
- low-pass anything unnecessary above about 120–150 Hz if needed
- cut tiny amounts if the sub feels muddy around 50–80 Hz depending on your kick
- Keep this track mono. In DnB, the sub should feel centered and solid.
Why this works in DnB: the sub is the foundation that makes the drop hit physically. A clean sine-style sub gives your drums room to breathe and helps the track feel heavier without needing extra layers everywhere.
4. Write a simple roller phrase
- Use 2 or 4 notes repeated across a bar, or a call-and-response phrase over 2 bars.
- A good beginner roller pattern might be:
- note 1: short
- note 2: longer
- note 3: repeat or answer higher by a 2nd or 3rd
- Keep it musical but restrained. Roller bass is about motion, not constant change.
- Try one of these two approaches:
- Option A: steady pulse — notes are similar length for continuous drive
- Option B: call and response — one strong note, then a lighter reply
- In a retro rave edit, let the bass phrase support the old-school energy rather than competing with it.
5. Add a mid-bass layer for the “retro rave” character
- Duplicate the MIDI clip to the Bass Mid track.
- Load Wavetable or Operator with a richer patch:
- Wavetable: start with a saw-based or basic wavetable patch
- Keep unison moderate, not huge
- If you want a simple reese-like tone:
- use two detuned oscillators in Wavetable
- add a low-pass filter
- Suggested settings to start:
- Filter cutoff: around 200–600 Hz depending on brightness
- Resonance: low to moderate, around 10–25%
- Unison detune: subtle, not wide
- Add Saturator after the synth:
- Drive around 2–6 dB
- Soft Clip on if needed
- Add EQ Eight:
- high-pass the mid layer around 90–140 Hz
- tame harshness if the upper mids get sharp around 2–5 kHz
- This layer should give you attitude, but the sub should still carry the low end.
6. Shape the bass rhythm around the drums
- Now listen to the drums and bass together.
- Move note lengths so the bass leaves space for the kick and snare.
- If the kick loses impact, shorten or shift the bass note slightly.
- If the groove feels flat, add a tiny pickup note or a short offbeat stab.
- A useful beginner rule:
- keep the sub simpler than the mid-bass
- keep the mid-bass more animated than the sub
- If you want a retro rave flavor, add one short stab note or chord hit at the end of a 4-bar phrase. Keep it quick — this is an accent, not the main event.
Musical context example: a 16-bar drop could start with 8 bars of locked rolling groove, then add a small stab or filtered answer in bars 9–12, then strip back in bars 13–16 for a DJ-friendly loop feel.
7. Glue the drum bus and bass bus separately
- Group your drum tracks into a Drum Group.
- Group Bass Sub and Bass Mid into a Bass Group.
- On the Drum Group, try:
- Drum Buss with Drive around 5–10%
- Transients slightly up if the break needs more snap
- Boom very low or off unless you need extra low thump from the kick
- On the Bass Group:
- EQ Eight to keep the sub and mid layers separated
- Saturator for harmonic weight
- Use less processing than you think. For beginner DnB, clarity beats heavy-handed sound design.
8. Automate movement for tension and release
- Create a simple 8-bar automation pass on the Bass Mid track.
- Automate the filter cutoff slowly opening across a phrase, then closing again at the turnaround.
- A useful range:
- start cutoff around 250–400 Hz
- open to around 1–2 kHz if you want a brighter lift
- You can also automate:
- Saturator Drive slightly higher in the last 2 bars
- reverb send on a stab or FX hit for one moment only
- On the drum side, add a tiny fill before the phrase loops:
- snare roll
- break slice
- reversed cymbal or noise riser
- Keep transitions short. In DnB, momentum matters more than long cinematic build-ups.
9. Add a retro rave accent without losing the roller feel
- On a new track, use Analog, Wavetable, or even a sampled stab in Simpler.
- Make a short stab or chord hit:
- high-pass it around 150–250 Hz
- add Auto Filter to automate a sweep
- add Reverb lightly, then reduce decay so it stays punchy
- Place it at the start of a phrase or as a response to the bass.
- The trick is restraint: one memorable accent can make the edit feel “retro rave” without turning it into a different genre.
10. Do a quick mix check and simplify
- Mute the mid-bass and listen to the sub + drums first.
- Then unmute the mid-bass and ask:
- Does the low end still feel centered?
- Is the kick audible?
- Is the snare still strong on 2 and 4?
- Use Utility on the Bass Group and Bass Mid if needed:
- keep sub mono
- reduce width on the mid layer if it’s smearing the groove
- Check your levels:
- leave headroom on the master
- don’t let the bass dominate the entire drop
- If the track feels messy, remove one element rather than adding another. That’s a very DnB move.
Common Mistakes
- Fix: simplify the MIDI. A roller needs repetition and controlled variation, not constant note changes.
- Fix: shorten bass note lengths, high-pass the mid layer, and keep the sub mono. If needed, move a bass note slightly after the kick.
- Fix: keep the sub centered. Use width only on the higher bass texture, and even then, keep it modest.
- Fix: add saturation in small amounts. If the bass gets fuzzy and loses shape, reduce Drive and re-check the low end.
- Fix: the bass should lock to the drums, not float above them. If the beat doesn’t move, the whole roller feels weak.
- Fix: the stab or synth hit should be a seasoning, not the meal. Keep it tucked behind the main rhythm.
Pro Tips for Darker / Heavier DnB
- This adds audible harmonics on smaller systems while keeping the low end clean.
- In Wavetable or Operator, tiny movement can create tension without sounding like a lead sound.
- Start darker, then open it briefly at the end of the phrase for a classic lift.
- A lot of heavier DnB impact comes from what you don’t play. Let the snare breathe.
- Quiet break hits between main drums make the groove feel more alive and more “jungle-informed.”
- If the bass disappears or gets smaller, reduce width and simplify the stereo layers.
- A little Drum Buss goes a long way. Too much and the break can lose its snap.
- A clean 8-bar intro, a 16-bar drop, and a small switch-up are enough for a strong beginner arrangement.
Mini Practice Exercise
Spend 10–20 minutes making a 4-bar retro rave roller loop using only stock Ableton devices.
1. Set the project to 174 BPM.
2. Create:
- one drum track
- one sub track with Operator
- one mid-bass track with Wavetable or Operator
3. Write a very simple drum pattern with:
- kick
- snare
- one break loop or hat pattern
4. Make a 1-bar bass phrase and repeat it for 4 bars.
5. Add one short rave stab or synth hit on bar 4.
6. Apply:
- EQ Eight on all bass layers as needed
- Saturator on the mid-bass
- Drum Buss on the drums
7. Do one automation move:
- filter cutoff opening in the last 2 bars
8. Export mentally, not literally: ask yourself if it feels like a drop idea or just a loop.
Goal: by the end, the loop should feel like a DJ-friendly DnB drop fragment with clear low-end weight and a distinct retro edge.

