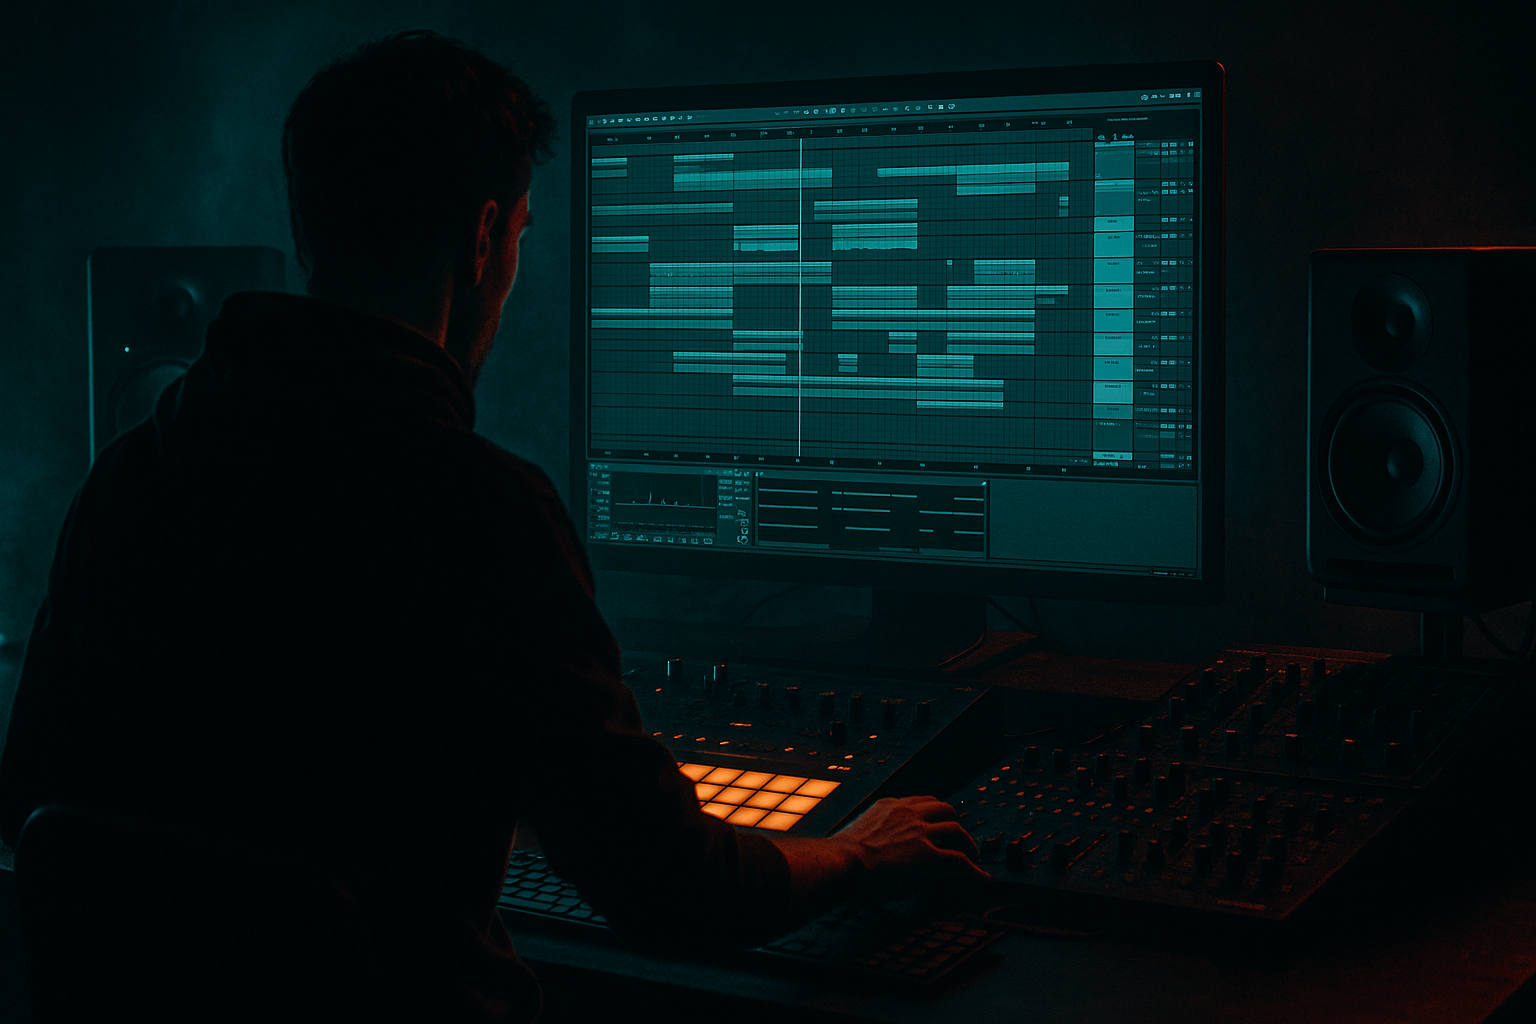
Main tutorial
Lesson Overview
Retro rave jungle is one of the best ways to inject nostalgia, urgency, and controlled chaos into a modern DnB track. In this lesson, you’ll learn how to warp, edit, and arrange a retro rave jungle sub idea in Ableton Live 12 so it hits like a proper club record: tight low-end, chopped-up breaks, rave-signalling stabs, and arrangement movement that feels both old-school and current.
This technique sits right in the middle of a lot of modern DnB writing: you’ve got a jungle-derived break groove, a sub-led bassline, and rave-era sample energy acting as a hook or transition device. The goal isn’t just to “sound retro” — it’s to make the edit language of the tune do the heavy lifting. That means clean warping, smart slice decisions, disciplined low-end routing, and arrangement choices that make each section feel like a DJ-ready event.
Why it matters: in DnB, especially jungle, rollers, and darker bass music, the difference between a rough idea and a track that bangs is often the edit logic. How you chop the break, where you leave silence, how you answer a vocal stab with a sub phrase, and how you automate energy between 8-bar blocks all shape the impact. This lesson shows you how to build that system in Live 12 without losing the rawness that makes the style work.
What You Will Build
You’ll build a retro rave jungle edit section centered around:
- A warped break loop with chopped ghost notes and swing
- A sub-bass phrase that answers the drums in a call-and-response pattern
- A rave stab / piano / vocal fragment edited into rhythmic hooks
- A DJ-friendly arrangement with intro, build, drop, switch-up, and out
- A controlled chain of saturation, filtering, transient shaping, and glue bus processing
- Enough movement to feel energetic and live, while still sitting properly in a modern DnB mix
- Over-warping the break
- Making the sub too busy
- Letting rave hooks dominate the mix
- Using too much stereo on low-end layers
- Over-compressing the drum bus
- No arrangement contrast
- Use a parallel dirty return: Saturator or Overdrive on a send, then high-pass it above 120–180 Hz so the grit enhances definition without muddying the sub.
- Add a very short Echo on rave stabs with filtered feedback; it creates haunted space without washing out the groove.
- For extra menace, layer a quiet reese texture above the sub, but high-pass it aggressively around 120 Hz+ and keep it mono-friendly in the low end.
- Use clip gain automation on break hits instead of heavy compressor pumping if you want more control over transient attitude.
- Try Resonators or Corpus subtly on a hook fragment for metallic tension, but keep it low in the mix.
- For heavier drop 2 energy, duplicate the break and create a version with one extra ghost hit, one missing snare, and a more aggressive snare tail saturation.
- Use Auto Filter on the master rave hook bus during builds, but avoid sweeping the sub or main kick path too much; low-end clarity wins.
- If the track feels too polite, remove one element per 4 bars. Dark DnB often hits harder because it leaves more room for the break and sub to threaten the space.
- Warp breaks for groove, not perfection.
- Slice edits into playable drum logic, then shape the phrasing.
- Build the sub around space and response, not constant motion.
- Treat rave samples like rhythmic hooks and arrangement markers.
- Use automation and bus processing to create energy shifts without killing punch.
- Arrange in clear 8-bar blocks so the tune feels DJ-ready and replayable.
Musically, imagine an 8-bar intro with filtered break dust, a 16-bar drop where the sub locks under the kick/snare grid, then a 4-bar rave stab switch-up before the groove returns with a more aggressive variation. Think somewhere between classic jungle urgency and a modern roller’s structural clarity.
Step-by-Step Walkthrough
1. Choose source material with the right edit potential
Start with three ingredients:
- A classic-style drum break loop or break stem
- A clean sine or triangle sub
- A rave source: piano stab, synth chord, vocal hit, or re-sampled old-school sample
In Ableton Live 12, drag each onto its own audio or MIDI track and label them clearly:
- `BREAK_RAW`
- `SUB`
- `RAVE_HOOK`
For the break, aim for something with strong transient detail and some room noise. Old-school amen-style breaks, funky breaks, or chopped halftime-to-jungle material all work. For the rave hook, don’t chase perfection — chase recognizable attitude. A slightly cheesy stab often becomes powerful when edited sharply and filtered in context.
Why this works in DnB: jungle and retro rave edits rely on contrast. The rawness of the break plus the precision of the sub plus the “memory hit” of the rave sample creates instant identity.
2. Warp the break for groove first, not perfection
Open the break clip and set Warp mode intentionally:
- Use Beats for drum breaks with strong transients
- Set Preserve to around 1/16 or 1/8 depending on the density
- Adjust Transients between 80–120 to keep attacks crisp
- Try Loop Off initially so you can focus on one clean phrase
Then place Warp markers only where the groove needs correction. Don’t flatten the natural movement unless the break is drifting badly. For jungle edits, a little timing irregularity can feel more authentic than a fully quantized loop.
Practical approach:
- Anchor the first downbeat
- Align the main snare backbeats
- Leave micro-slop in ghost notes
- If a flam or drag feels good, keep it
Advanced tip: duplicate the break clip and make a second version with slightly different warping. One version can be your main groove, the other can be a fill or switch-up break. This gives you variation without hunting for new source material.
3. Slice the break into performable edits
Right-click the warped break and choose Slice to New MIDI Track. In the dialog:
- Slice by: Transient
- Create one shot for each hit
- If the break is already tight, use a lower transient sensitivity so you don’t over-slice noise
You’ll now have a Drum Rack with slices. This is where the edit mindset starts. Program a 1- or 2-bar pattern using the sliced hits, then intentionally remove a few obvious hits to create space. In DnB, the empty gaps are part of the groove.
Recommended edit moves:
- Repeat a snare tail for momentum
- Use a tiny ghost hit before bar 2 or 4
- Cut one kick late in the phrase to create a tension gap
- Add a reverse slice into a downbeat
Use velocity shaping aggressively:
- Main snare hits: around 110–127
- Ghost notes: around 35–70
- Accent fills: 90–115
Keep the edit playable. If the slice grid feels too random, your groove will lose body. Aim for a break pattern you can understand at a glance.
4. Build the sub around the drum edit, not the other way around
Create a MIDI track and load Operator or Wavetable for the sub. For pure sub, Operator is excellent:
- Oscillator A: Sine
- Turn off other oscillators
- Add a short amp envelope: Attack 0–5 ms, Decay 100–200 ms, Sustain 0–100% depending on note length, Release 40–120 ms
Keep the sub mono:
- Add Utility
- Width 0%
- If needed, lower gain before saturation to leave headroom
Write a bass phrase that answers the break rather than constantly masking it. In jungle and dark DnB, the sub often works best in call-and-response with the snare and break accents. For example:
- Bar 1: a long root note under the first half
- Bar 2: two shorter notes after the snare
- Bar 3: a pickup note into the next phrase
- Bar 4: a held note to reset the groove
Suggested note strategy:
- Root plus fifth motion for tension
- Occasional semitone approach notes if the harmony supports it
- Leave at least one beat of space in each 2-bar phrase
This is where the track starts feeling like DnB rather than a loop. The bass should imply arrangement movement.
5. Shape the sub with controlled grit and separation
Add a light processing chain on the sub:
- Saturator: Drive 1–4 dB, Soft Clip on if needed
- EQ Eight: gentle cut around 200–350 Hz if the low-mid gets cloudy
- Utility: keep the signal mono
If you want more attitude, use a parallel return instead of over-distorting the main sub:
- Return A: Saturator or Overdrive
- High-pass the return around 120–180 Hz
- Blend quietly for audibility on smaller systems without wrecking the true sub
Advanced note: the sub should be felt more than heard. If the low end feels loud soloed but weak in the mix, check the relationship with the kick and the break’s lowest hits. In DnB, the sub often needs to duck slightly around the kick transient while staying stable in the sustain.
6. Create the rave hook as an edit object
Put your rave sample on an audio track and treat it like a drum element, not just a melodic phrase. Warp it:
- Use Complex Pro for full musical samples
- Use Beats if it’s a stab with punchy transients
- Trim the clip tightly so the attack lands on-grid
Then edit it into short phrases:
- 1/8 or 1/4 note stabs
- Offbeat chops
- A call-and-response pattern with the snare
- One or two longer held notes for contrast
Process it with:
- Auto Filter: sweep from around 200 Hz up to 2–6 kHz during buildup
- Echo: short delay time, low feedback, filtered return for space
- Reverb: short decay, high-pass the reverb signal to avoid low-end smear
Keep the hook selective. In a retro rave jungle track, the hook should feel like a memory flash, not a constant pad. Use it to mark section changes, not to occupy every bar.
7. Arrange in 8-bar functional blocks
Build the track in blocks that make sense for DJs and dancers:
- Intro 8 bars: filtered break, hint of rave stab, no full sub
- Drop 1, bars 9–24: full break + sub phrase + sparse hook
- Switch-up, bars 25–32: break variation, stab dropouts, fill emphasis
- Drop 2, bars 33–48: heavier version with extra edit detail
- Outro 8 bars: remove hook, thin the drums, keep the groove mixable
In the Arrangement View, use clips like Lego blocks:
- Duplicate your best 2-bar break edit
- Create alternate bars with one extra kick or a missing snare
- Move the rave hook to the start of phrase lines, not randomly
- Use 1-bar or 2-bar fill edits at the end of every 8-bar phrase
Musical example: if your main groove is 170 BPM and centered in F minor, your first drop might use a simple F sub pedal under a chopped break, while the switch-up hits an A♭ rave stab on the bar 4 turnaround. That gives a clear lift without leaving the DnB pocket.
8. Automate energy, not just effects
Use automation to tell the arrangement where the energy is going:
- Auto Filter cutoff on the rave hook for tension buildup
- Reverb send increasing into fills, then snapping back down
- Utility gain on the hook to make some stabs feel “far away” before the drop
- Saturator drive on the drum bus for the second drop
- Delay feedback rising only in the last beat of a phrase
On the drum bus, try subtle movement:
- Glue Compressor with light gain reduction, around 1–2 dB
- Attack around 10–30 ms
- Release on Auto or around 0.1–0.3 s
Keep automation purposeful. In DnB, too many constantly moving parameters can blur the impact of the edit. Automate the moments that announce a new section, a fill, or a lift.
9. Bus the drums and bass for cohesion
Route your break, percussion, and layered drums to a Drum Bus group. Route sub and bass character layers to a Bass Bus if you add any mid-bass later.
On the Drum Bus:
- EQ Eight: cut any harsh build-up around 3–6 kHz if the snare gets brittle
- Glue Compressor: light glue, not over-squash
- Optional Drum Buss: Amount around 5–20%, Crunch low to moderate, Boom only if the low end still has room
On the master during writing, keep processing minimal. Leave headroom:
- Peaks around -6 dBFS during arrangement is a good working target
- Avoid smashing the low end early
This is important in DnB because the drums and sub need to breathe as a system. A good edit can still fail if the bus structure destroys transients or low-end clarity.
10. Finish with DJ logic and switch-up discipline
Go back through the arrangement and ask:
- Where does the DJ mix in?
- Where does the energy reset?
- Does the second drop feel like a proper escalation?
- Are the first 16 bars mixable without giving away the hook too early?
Make sure the intro and outro work as tools:
- Intro should establish break texture and tonal identity
- Outro should thin enough for mixing out cleanly
- Keep one element that remains constant so the tune feels coherent
For the switch-up, don’t just add more. Sometimes the best move is:
- Remove the sub for half a bar
- Drop the rave hook completely
- Let the break do one exposed fill
- Re-enter with a stronger downbeat
That kind of restraint is what turns a good edit into a track with real impact.
Common Mistakes
- Fix: keep only the essential markers. Let micro timing live if it grooves.
- Fix: shorten the phrase and leave gaps. In DnB, sub space creates bigger impact than constant notes.
- Fix: treat them as accents. Filter them, chop them, and keep them out of the low-mid clash zone.
- Fix: mono the sub with Utility and keep any width above the low end only.
- Fix: chase punch, not loudness. If the break loses snap, back off the Glue Compressor and Drum Buss.
- Fix: create real switch-ups every 8 or 16 bars. Remove elements before adding new ones.
Pro Tips for Darker / Heavier DnB
Mini Practice Exercise
Spend 15 minutes building a micro-arrangement:
1. Find one break and one rave sample.
2. Warp the break in Beats mode and slice it to MIDI.
3. Program a 2-bar jungle edit with at least one ghost note and one dropped hit.
4. Write a 2-bar sub phrase that answers the break with space.
5. Chop the rave sample into 3–5 short stabs.
6. Arrange 8 bars:
- Bars 1–2: filtered intro
- Bars 3–4: main groove
- Bars 5–6: fill or switch-up
- Bars 7–8: heavier reprise
7. Add one automation lane only: filter, reverb send, or saturation drive.
8. Bounce it mentally like a DJ intro: does it mix in, hit, and move?
Goal: finish with a loop that already feels like a track section, not just a beat sketch.

