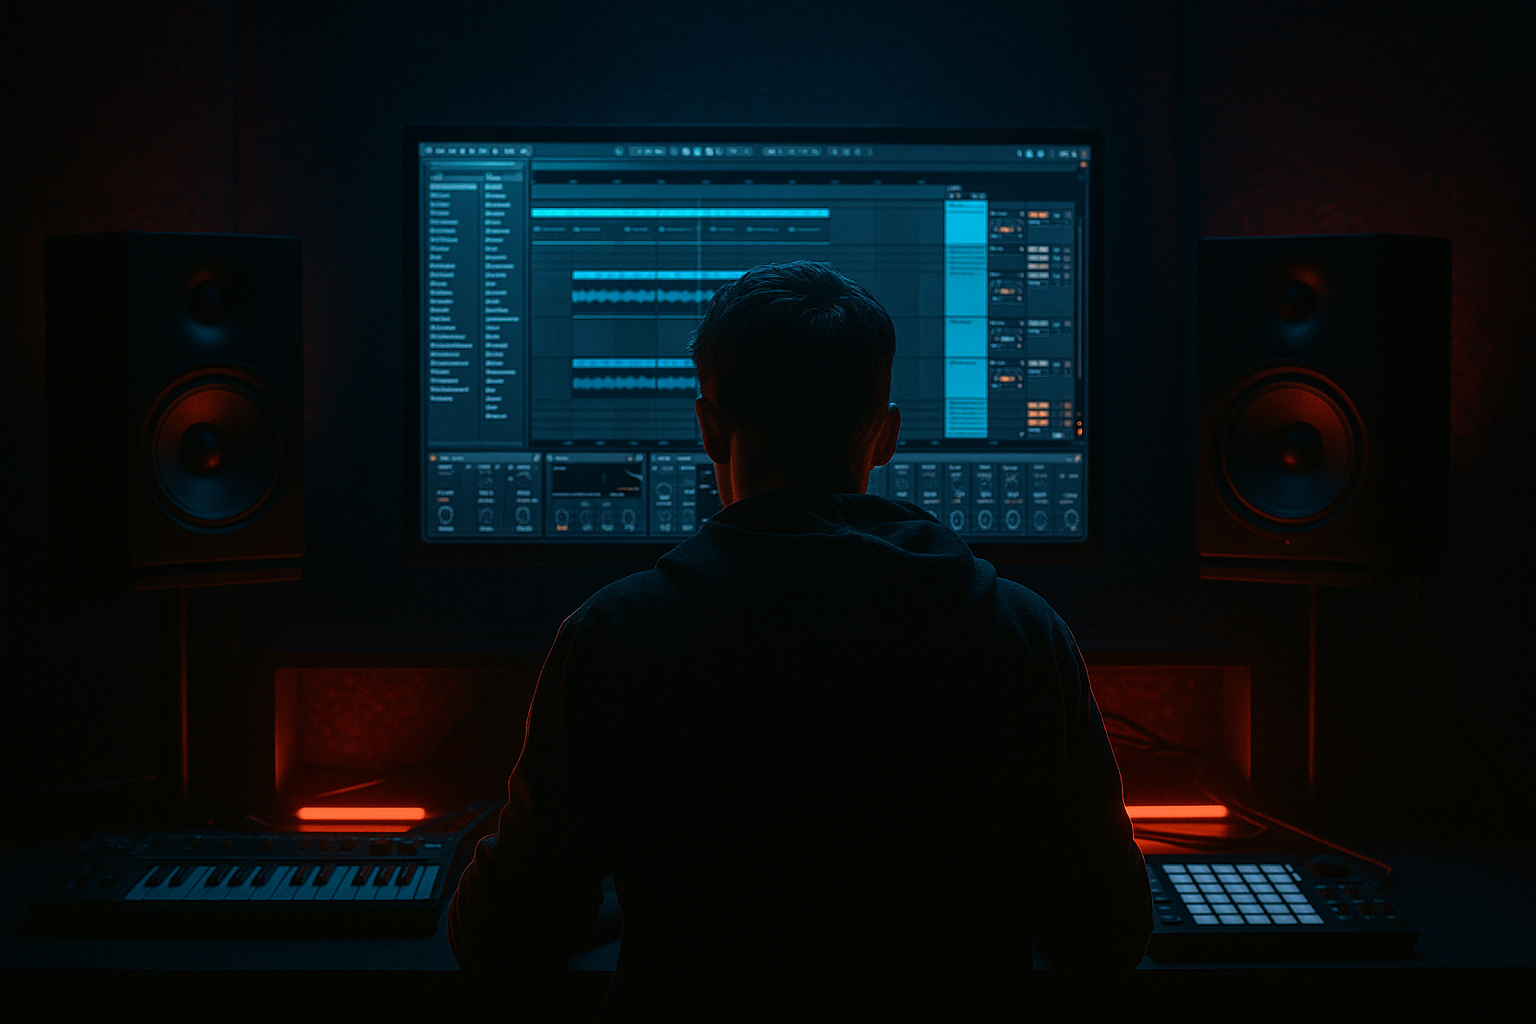
Main tutorial
```markdown
Return Chain Selector Automation for Dub FX (Ableton Live) 🎛️🌫️
1. Lesson overview
In drum & bass, dub-style FX (spacey delays, spring-ish verbs, pitch warps, resonant filters) are a huge part of movement—especially in intros, breakdowns, and those “one-bar ear candy” moments between drops.
This lesson shows you how to use Return tracks + an Audio Effect Rack + Chain Selector automation to “morph” between multiple dub FX treatments without changing send amount—perfect for tight, performable, arrangement-friendly FX.
You’ll end up with a return that behaves like a dub FX station: one send knob from your drums/bass, but the return can switch between different FX chains over time.
---
2. What you will build
A single Ableton Return track containing an Audio Effect Rack with 4 dub FX chains, controlled by Chain Selector automation:
- Chain A: Tight Dub Delay (tempo-synced, minimal smear)
- Chain B: Washed Space Verb (big, dark reverb)
- Chain C: Phaser + Filter Throw (movement + midrange carve)
- Chain D: “Tape Meltdown” (pitchy, degraded, heavy vibe)
- the Chain Selector directly, or
- the Macro (cleaner in some workflows).
- Bars 1–16 (intro): Verb + phaser moments (B/C)
- Bars 17–32 (build): Tight delays on snares (A)
- 1 bar before drop: Tape melt burst (D) then cut it dead
- Drop: Mostly A for controlled throws; occasional C for interest
- Leaving low end in the return: Your sub will smear instantly. High-pass the return aggressively (often 200–600 Hz).
- Too much feedback on tempo delays: At 174 BPM, repeats stack fast—keep feedback controlled unless it’s a deliberate “spin out.”
- Automating send level and chain selector everywhere: Choose one as the “performance control.”
- Switching chains mid-tail without planning: If you hard-switch while a tail is ringing, it can jump in tone unexpectedly. Sometimes cool, sometimes messy.
- Mono the lows on the return:
- Use resonant band-pass for “metallic air” throws:
- Add subtle pitch instability:
- Make chain D “moment-only”:
- Re-sample the return for fills:
- A Return track + Audio Effect Rack + Chain Selector automation gives you dub-style FX switching with one send knob. 🎚️
- Build multiple 100% wet FX chains (delay, verb, phase/filter, degradation).
- Assign non-overlapping chain zones and automate the selector for arrangement movement.
- Keep DnB clean by high-passing the return, controlling feedback, and using a Gate to maintain punch.
You’ll automate the rack’s Chain Selector in Arrangement so your snare throws, vocal chops, and risers can snap between FX flavors like classic dub mixing—very jungle/DnB appropriate. 🥁
---
3. Step-by-step walkthrough
Step 0 — Session setup (fast but important)
1. In your DnB project, pick 2–4 elements to test with:
- Snare (or snare/clap layer)
- Vocal chop
- Reese/bass stab (careful with low end)
- Perc loop/top loop
2. Keep your track tempo typical DnB: 172–176 BPM.
---
Step 1 — Create a dedicated Dub FX Return
1. Create a Return track: Create → Insert Return Track.
2. Rename it: `R - Dub FX`.
3. Set the return track’s monitoring as default (it’s a return, so fine).
4. Optional but recommended: add a utility at the end:
- Utility → set Width = 120% (optional)
- Don’t go too wide if it messes your mono compatibility.
Goal: This return is your “one send knob, many FX” hub.
---
Step 2 — Build the rack and chains
1. Drop an Audio Effect Rack onto `R - Dub FX`.
2. Click Show/Hide Chain List (the little rack button).
3. Create 4 chains and name them:
- `A Tight Delay`
- `B Dark Verb`
- `C Phase/Filter`
- `D Tape Melt`
Now we’ll populate each chain with stock devices. Keep Return FX 100% wet unless stated.
---
Step 3 — Chain A: Tight Dub Delay (snare throws that don’t blur)
In chain `A Tight Delay`, add:
1. Echo
- Sync: On
- Time: `1/8` or `3/16` (DnB sweet spots)
- Feedback: `35–55%`
- Filter: HP around 250–400 Hz, LP around 6–9 kHz
- Mod: subtle (a little movement is nice)
- Dry/Wet: 100% (because it’s a return)
2. Auto Filter (post-delay tone shaping)
- Mode: LP12 or LP24
- Cutoff: start around 7–10 kHz
- Resonance: low/moderate (0.8–1.5)
Why: This gives you classic throw delay that stays controlled in a fast drum grid.
---
Step 4 — Chain B: Dark Verb (big space but DnB-safe)
In chain `B Dark Verb`, add:
1. Hybrid Reverb
- Algorithm: start with Dark Hall (or similar)
- Decay: `2.5–6.5 s` (depends on section)
- Pre-delay: `10–30 ms` (keeps transients readable)
- Low Cut: `250–500 Hz`
- High Cut: `6–10 kHz`
- Dry/Wet: 100%
2. Optional: EQ Eight
- Roll off lows more aggressively if needed:
- High-pass at 300–600 Hz (24/48 dB slope)
- If it rings, dip around 2–4 kHz.
Why: Big wash without wrecking your drop.
---
Step 5 — Chain C: Phaser + Filter (movement + “whoosh” fills)
In chain `C Phase/Filter`, add:
1. Phaser-Flanger
- Mode: Phaser
- Rate: 0.10–0.30 Hz (slow sweep)
- Amount: 50–80%
- Feedback: 10–25%
- Mix: 100% (return)
2. Auto Filter
- Mode: Band-pass (BP) or Notch
- Map Cutoff later if you want manual sweeps
- If BP: keep it mid-focused so it reads on small speakers
(cutoff often 500 Hz – 3 kHz depending on source)
Why: Great for jungle percussion and vocal chops—adds motion without only relying on delay/reverb.
---
Step 6 — Chain D: Tape Meltdown (dirty dub science) 🧪
In chain `D Tape Melt`, add:
1. Redux
- Bit Reduction: light to moderate (start around 10–14 bits)
- Downsample: taste (small moves go far)
2. Delay (yes, the basic one works great)
- Sync: On
- Time: `1/8` or `1/4`
- Feedback: `40–65%`
- Filter: keep lows out
3. Frequency Shifter (subtle!)
- Mode: Ring or Single Sideband
- Fine: +10 to +40 Hz (tiny, creepy movement)
- Dry/Wet: 10–25% (don’t overcook)
4. Saturator
- Drive: `2–6 dB`
- Soft Clip: On
Why: This chain is for those one-off fills, breakdown weirdness, and “rewind energy” moments.
---
Step 7 — Set up Chain Selector ranges (the secret sauce)
1. In the Audio Effect Rack, click Chain to show the chain selector lane.
2. Set chain zones so only one chain plays at a time:
- `A Tight Delay` active from 0–31
- `B Dark Verb` active from 32–63
- `C Phase/Filter` active from 64–95
- `D Tape Melt` active from 96–127
3. Make the fade ranges tight (or none) for hard switches.
- If you want morphing, add small fades (2–6 units).
Tip: Hard switching feels like dub mixer “routing changes.” Small fades feel like cinematic morphing.
---
Step 8 — Map Chain Selector to a Macro (optional but recommended)
1. Click Map in the rack.
2. Click the Chain Selector, then assign it to Macro 1.
3. Rename Macro 1: `FX Select`.
Now you can automate either:
---
Step 9 — Use it like a DnB producer: Sends + automation workflow
1. On your snare track, raise the send to `R - Dub FX`:
- Start around -18 to -10 dB (depends on gain staging).
2. In Arrangement View, automate FX Select:
- Put `A Tight Delay` on bar ends for quick throws.
- Flip to `B Dark Verb` in breakdowns.
- Hit `D Tape Melt` for a single fill before the drop.
Classic rolling arrangement idea:
---
Step 10 — Add a “Dub Gate” to keep it punchy (highly recommended) 🔥
At the end of the Return track (after the rack), add:
1. Gate
- Threshold: set so tails duck quickly after hits
- Release: `80–200 ms` (tune to groove)
- This keeps your fast DnB drums crisp while still giving dub vibe.
Optional: sidechain gate tricks are possible, but basic gating already tightens returns massively.
---
4. Common mistakes
Usually: send amount = how much, chain selector = what flavor.
---
5. Pro tips for darker/heavier DnB 🖤
Add Utility at the end → Bass Mono (if available) or keep return HP high so it doesn’t matter.
In chain C, BP with higher resonance creates that dark techy “radio tunnel” effect—great on snares and vocals.
Echo’s modulation or a tiny Frequency Shifter adds paranoia energy without obvious chorus.
Heavier DnB relies on punch. Use the meltdown chain as a one-beat or one-bar event, then drop back to A.
Freeze/flatten or resample the return output into audio, then chop it like jungle edits. Instant identity.
---
6. Mini practice exercise (15 minutes)
1. Pick a 16-bar rolling drum loop (kick + snare + hats).
2. Send only the snare to `R - Dub FX`.
3. Automate FX Select like this:
- Bars 1–4: `A Tight Delay`
- Bars 5–8: `C Phase/Filter`
- Bars 9–12: `B Dark Verb` (but reduce snare send slightly)
- Bar 16: `D Tape Melt` for the last snare hit only
4. Add a Gate on the return and dial it until the groove feels tight again.
5. Bounce a quick export and listen:
Does the groove stay punchy while the FX change character? That’s the win.
---
7. Recap
If you want, I can also provide a ready-made 4-chain device recipe (exact values) for either roller minimal, jungle rave, or neuro-dark aesthetics.
```

