Main tutorial
```markdown
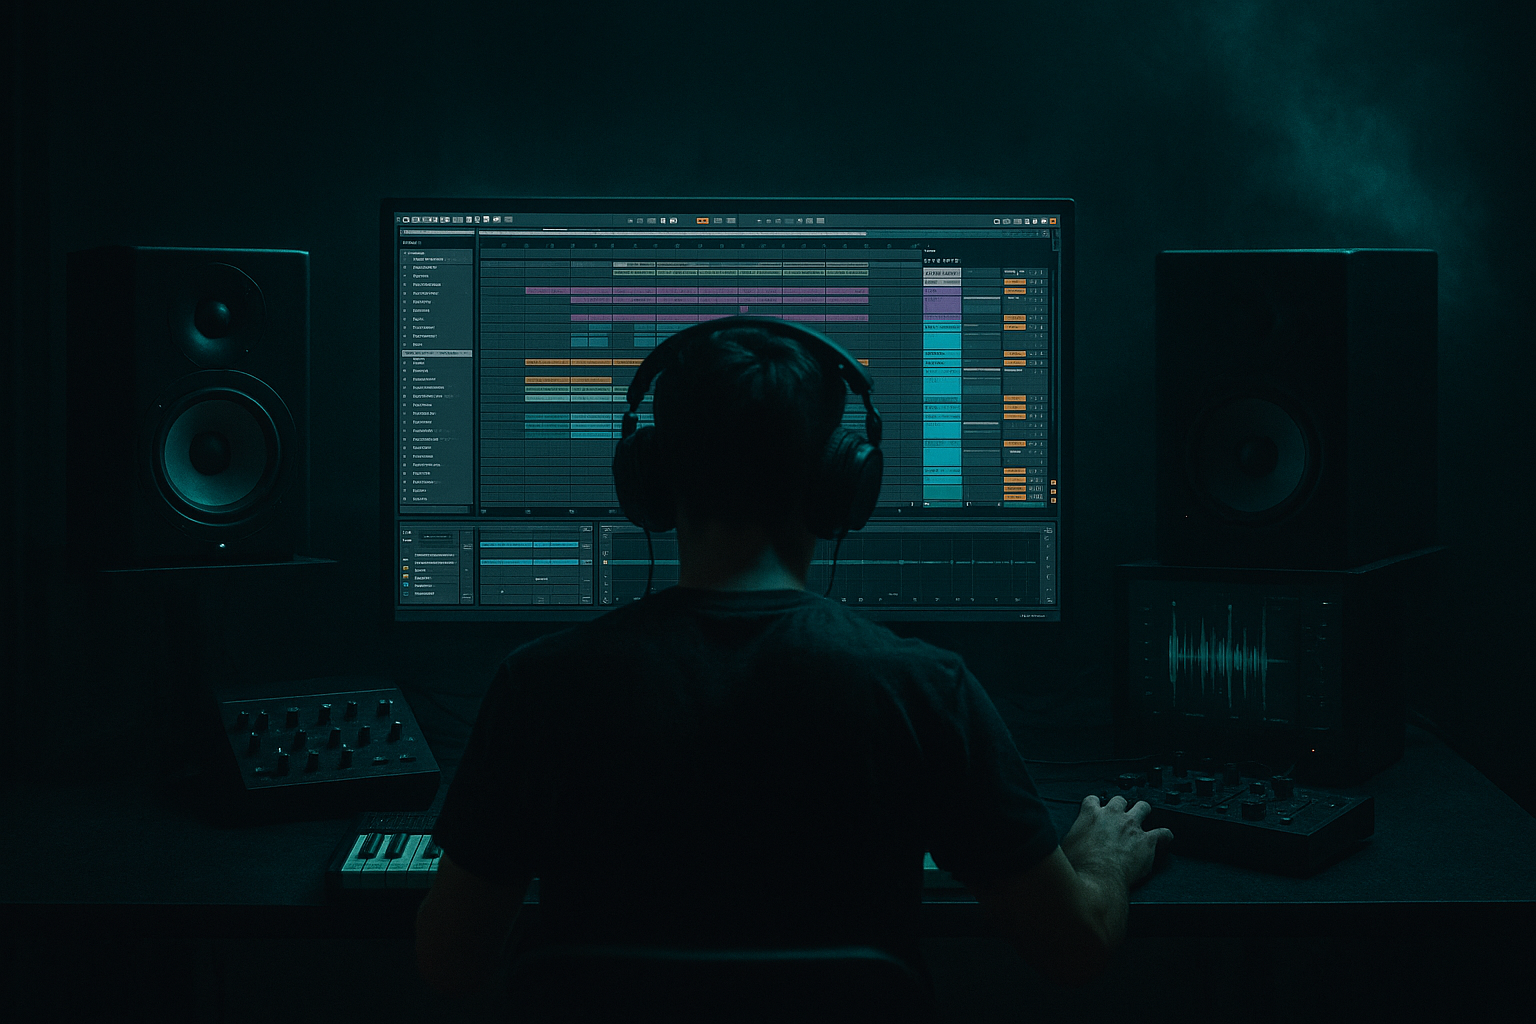
Rewind Moment Arrange Approach (90s Darkness) in Ableton Live 12 — Jungle / Oldskool DnB Resampling 🎛️
1. Lesson overview
This lesson is about creating that classic “rewind moment”—the DJ/MC-style pull-up where the track abruptly stops, rewinds, then slams back in—but built inside the arrangement using resampling in Ableton Live 12.
You’ll learn a practical workflow to:
- Freeze a “hype” moment from your drop 🧨
- Resample it cleanly (or gritty)
- Create a believable rewind/pull-up with pitch + time + noise + space
- Punch back into a dark 90s jungle groove with authority
- Rolling jungle drums (Amen-style)
- Dark sub + Reese stab
- A rewind/pull-up moment (1–2 bars)
- A slam back into the drop with extra weight and chaos
- A dedicated Rewind Audio Clip (resampled)
- A “hype hit” impact layer (also resampled)
- A repeatable template you can drop into any jungle/DnB tune ✅
- Drums: Amen / break with clear hats + snare crack
- Bass: a sub or Reese that sustains through the bar
- A signature stab/vocal shot that the listener “knows”
- Drum Group: Amen break + extra kick layer
- Bass: Operator (sub) + Wavetable (Reese)
- Music: dark stab (Sampler) + atmos pad
- Cut all other tracks (or automate their volume down fast)
- Add a tiny reverb tail so it doesn’t feel like a digital mute:
- Add Pitch MIDI effect? (doesn’t apply to audio)
- Keep clip forward (not reversed)
- Warp markers: place one at the start of the rewind bar and one at the end
- Drag the end warp marker earlier to compress time, giving that “tension pull”
- Combine with transpose automation down to `-12` or `-19 st` for nastier darkness.
- Use a vinyl/tape noise sample
- Or synth it with Ableton stock:
- EQ Eight
- Drum Buss
- Limiter (light, just catching peaks)
- Sidechain it to the kick/snare using Compressor (Sidechain ON)
- Add a tiny drum fill (snare rush or amen chop)
- Increase reverb send on snare slightly
- Add a vocal “reload!”/“rewind!” if you have one (or a stab)
- Hard cut most elements
- Rewind clip + noise layer
- Optional: a short delay throw on a vocal stab (Echo)
- Impact hit + full drums + bass
- Remove most reverb (back to dry punch)
- Optional: extra crash/ride for 1 bar
- Warp mode wrong for the material: Complex/Complex Pro can smear breaks. Try Beats for drum-heavy rewinds.
- Too long rewind: In DnB, 1/2 bar to 1 bar is usually plenty. 2 bars can kill momentum unless it’s a big “MC moment”.
- No silence in the low end: If sub/bass keeps playing through the rewind, it won’t feel like a pull-up.
- Over-reverb on the return: Reverb that’s still washing on bar +1 reduces punch. Automate sends down hard.
- Rewind doesn’t “land” on the 1: If your return transient is late, the whole trick feels amateur. Nudge and zoom in.
- Pitch the rewind down further than you think: `-19` to `-24 st` gets that sinister “tape slowing” vibe.
- Add a tiny bitcrush only on the rewind clip:
- Parallel distort the resample (classic jungle brutality):
- Make the return feel louder without actually being louder:
- Use reverb as a transition tool, not a constant: automate sends so space “opens” during rewind and “closes” on return.
- You clearly feel the track stop
- Rewind has motion + texture
- Return hits dead on the 1 and feels heavier than before
- Print your drop via Resampling
- Sculpt a rewind clip with Warp + Reverse + Transpose automation
- Sell it with noise + reverb tail
- Make the return slam with resampled impact + controlled sub
Skill level: Intermediate (you should be comfortable routing audio, warping, and basic arrangement).
---
2. What you will build
A 8–16 bar oldskool DnB section with:
You’ll end up with:
---
3. Step-by-step walkthrough
Step 0 — Prep your drop (make it worth rewinding)
Before the rewind, you want maximum recognisable energy:
Suggested quick drop core:
---
Step 1 — Create a dedicated Resampling track
1. Create a new Audio Track called: `RESAMPLE PRINT`
2. Set Audio From = `Resampling`
3. Set Monitor = `Off` (important—avoid feedback)
4. Arm the track ✅
Why: this captures exactly what your master outputs—the most authentic “tape-like” print.
> Optional but recommended: turn on Arrangement Record and record from the top of the drop into the section you want to rewind.
---
Step 2 — Print the moment you want to rewind 🎚️
1. Loop the section containing:
- The last bar before the rewind (build tension)
- The first bar of the drop (recognisable groove)
2. Hit Record and capture 4–8 bars into `RESAMPLE PRINT`.
3. Trim the recorded audio to the cleanest region.
Pro workflow tip:
Consolidate the best chunk (Cmd/Ctrl+J) so you have a single clean clip.
---
Step 3 — Build the rewind clip (Warp + Transient control)
Drag your consolidated resample clip onto a new Audio Track named: `REWIND CLIP`.
1. In the Clip View, turn Warp ON
2. Choose Warp Mode:
- Beats (classic for drums)
- Set Preserve = `Transients`
- Set Envelope around `30–60` (tighter = more choppy, looser = more smeared)
Goal: preserve the “break” attack while letting pitch/time tricks work.
---
Step 4 — The actual rewind effect (three-layer illusion)
A believable rewind usually has 3 elements:
1) the music stops
2) the audio pulls back (pitch + time)
3) a noise/space layer sells the motion
We’ll build it inside Ableton using clip tricks + devices.
#### 4A) Create the stop (hard cut + tail)
At the start of the rewind bar:
- Put Hybrid Reverb on a Return track (`Return A`)
- Preset vibe: Small Room or Plate
- Decay: `0.6–1.2s`
- HP filter in the reverb: around `250–400 Hz` (keep low end clean)
Send the last snare hit into it slightly more before the stop.
#### 4B) Create the “pull back” rewind (pitch dive + reverse motion)
Method 1 (fast + classic): Reverse a slice
1. Duplicate the `REWIND CLIP`
2. Pick a 1/2 bar to 1 bar chunk that contains loud drums + bass
3. Consolidate that chunk
4. Hit Reverse in Clip View
Now it plays backwards—instant rewind vibe.
To make it more DJ pull-up, also automate pitch/time feel:
So do it with Clip Transposition:
- Automate Transpose down over the rewind duration:
- e.g. start at `0 st`, slide to `-12 st` or `-24 st` by the end
- You can draw automation in Arrangement for the clip’s Transpose (in Clip envelopes).
Method 2 (more controllable): Time-stretch “scrub”
> For 90s grit, don’t be too smooth. Slight stepping or unevenness feels authentic.
#### 4C) Add the “tape/needle” layer (sells the illusion) 📼
Create a new Audio Track: `REWIND NOISE`
Options:
- Operator: white noise (use Noise oscillator)
- Filter it with Auto Filter:
- Mode: BP or HP
- Cutoff: `2–6 kHz`
- Resonance: `0.6–1.2`
- Add Saturator (Soft Clip ON) for grit
Automate the noise volume to swell during the rewind and cut right before the drop returns.
---
Step 5 — Make the drop return slam (impact + sub discipline) 💥
The rewind is only as good as the return. You want a physical “hit” without ruining headroom.
#### 5A) Resampled impact hit
1. Take the first kick+snare of the drop (or a stab)
2. Resample it (same `RESAMPLE PRINT` workflow)
3. Place it right on the drop return.
Process chain on the impact audio:
- HP @ `25–35 Hz`
- Small dip around `250–400 Hz` if boxy
- Drive: `5–15`
- Boom: `10–30` (tune Boom to track key-ish)
#### 5B) Sub return: clean + controlled
For jungle/DnB, keep the sub stable on the return:
- Ratio: `3:1–6:1`
- Attack: `2–10 ms`
- Release: `60–140 ms` (tempo-dependent)
- Aim for `2–5 dB` of gain reduction
Also consider a micro sub “mute” during the rewind (silence sells the pull-up), then bring it back exactly on the 1.
---
Step 6 — Arrange it like a proper oldskool moment 🧱
A reliable pattern:
Bar -2 to -1 (pre-rewind):
Bar 0 (rewind bar):
Bar +1 (drop return):
---
Step 7 — Glue and dirty it (90s darkness finish) 🌑
On your Drum Group or break track, try a subtle “tape-ish” chain:
Device chain example (stock):
1. Saturator
- Drive: `2–6 dB`
- Soft Clip: ON
2. EQ Eight
- Gentle shelf dip above `12 kHz` (old hardware vibe)
- Tiny boost around `100–160 Hz` if needed (careful!)
3. Roar (if you want heavier grit)
- Use mild settings, blend with Mix `10–30%`
4. Glue Compressor
- Attack: `3–10 ms`
- Release: `Auto` or `0.3s`
- GR: `1–3 dB`
Keep it subtle—rewind moment should feel dramatic without turning your mix into mush.
---
4. Common mistakes
---
5. Pro tips for darker/heavier DnB 🖤
- Redux
- Downsample: small amount (don’t obliterate)
- Bit reduction: light touch for grit
- Duplicate rewind clip
- On the duplicate: Overdrive + Auto Filter (HP around 200 Hz)
- Blend low (10–20%) so the rewind bites without ruining low end.
- Add extra transient layer (snare crack, ride, crash)
- Tighten sub with sidechain and keep it phase-stable (mono)
---
6. Mini practice exercise (15–25 minutes) 🧪
1. Build a simple 8-bar loop:
- Amen break
- Sub bass (Operator)
- Dark stab on offbeats
2. Print 4 bars to `RESAMPLE PRINT`.
3. Create a 1-bar rewind using:
- Reverse chunk + transpose automation to `-12 st`
- Noise layer swell
4. Add a 1-shot impact on the return and sidechain the sub.
5. Export a quick bounce and listen on:
- headphones
- low volume
- mono (to check punch and timing)
Success criteria:
---
7. Recap
You just built a 90s-inspired rewind/pull-up arrangement moment using resampling in Ableton Live 12:
If you want, tell me your current BPM and what break you’re using (Amen, Think, Hot Pants, etc.), and I’ll suggest exact rewind lengths + warp settings that fit that groove. 🎚️
```

