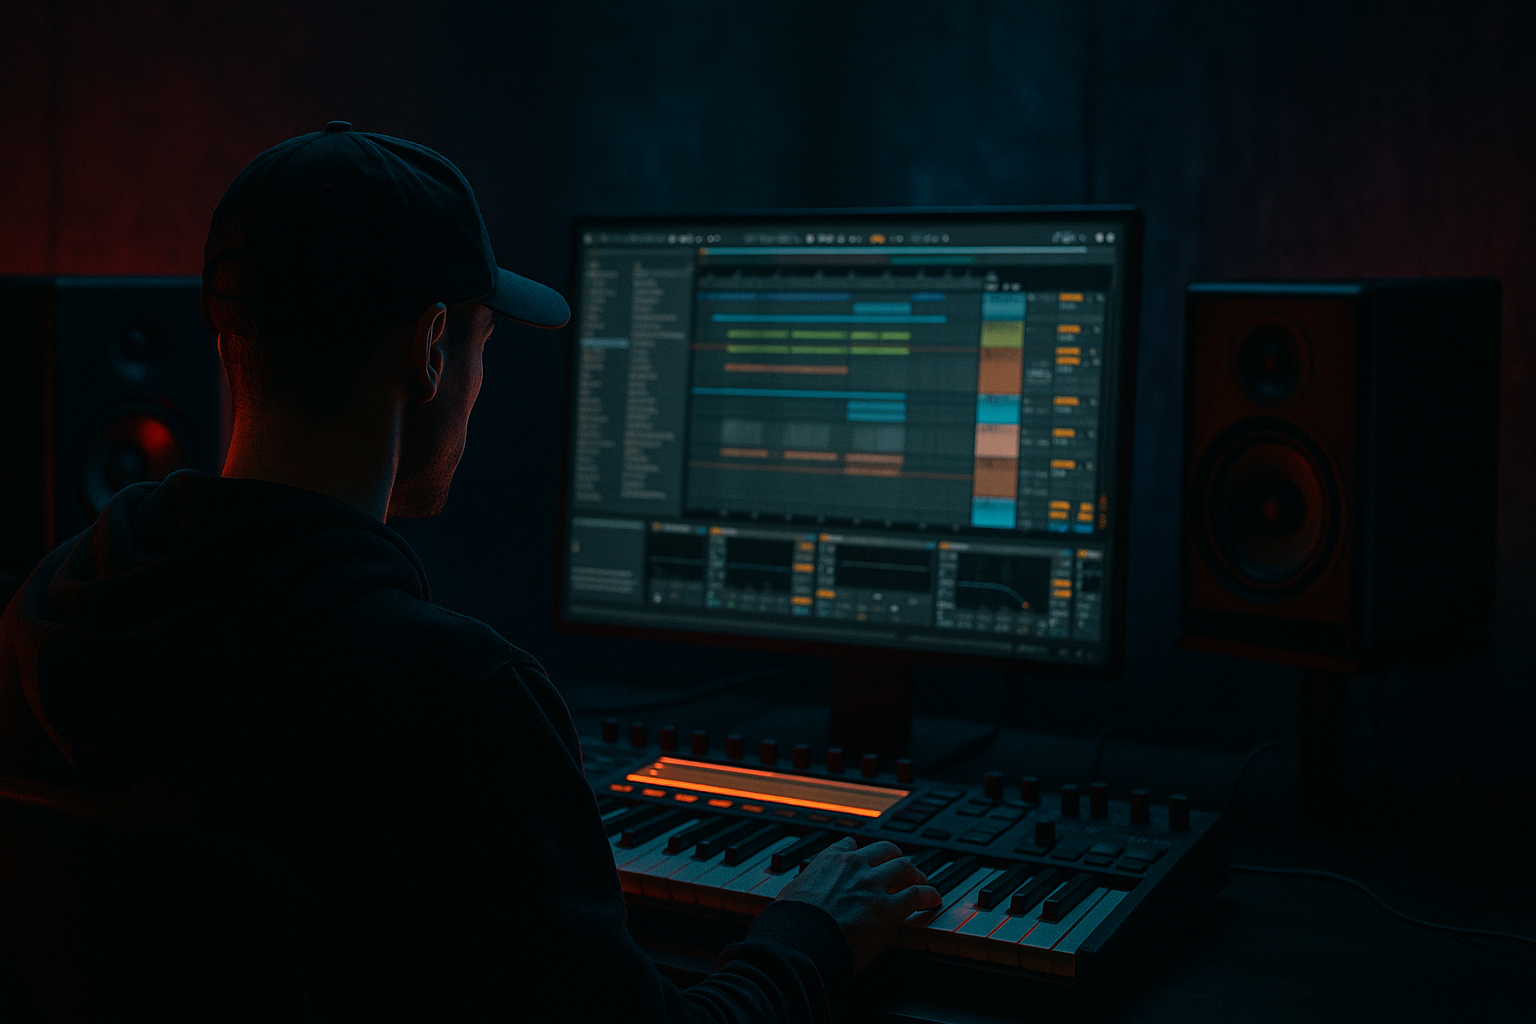
Main tutorial
Rewind Moment Offset Lab in Ableton Live 12
DJ-friendly vocal structure for jungle / oldskool DnB vibes 🎚️🔁
1. Lesson overview
In jungle and oldskool drum and bass, a rewind moment is more than a crowd-pleaser — it’s a structural tool. It creates a memorable transition point, resets energy, and gives DJs a clean place to loop, cut, or double-drop.
In this lesson, you’ll build a DJ-friendly vocal rewind section in Ableton Live 12, with a focus on:
- offsetting the rewind moment so it lands in a musical, intentional way
- making the section work for mixing, cueing, and live DJ use
- using vocals as the anchor for the rewind
- keeping the vibe rooted in jungle / oldskool DnB
- creating a structure that still works when a DJ wants to drop, backspin, or loop it
- a vocal phrase leading into a rewind
- a moment of offset where the rewind lands slightly off the obvious downbeat
- a DJ-friendly turnaround with room for mix-ins and mix-outs
- supporting elements:
- 8 bars of groove
- 1 vocal pickup
- 1 rewind moment
- 4 bars of reset / intro reprise
- clear structure for DJs to cue, loop, or blend
- Tempo: 160–174 BPM
- Time signature: 4/4
- Warp mode: Complex Pro for vocals, Beats for drums if needed
- vocals must cut through
- the break should feel punchy
- rewind effects should be obvious
- bass should support, not clutter
- Kick on 1 and the “and” of 2 or 3 for movement
- Snare on 2 and 4
- Ghost hits and chopped break fills around the snare
- high hats with swing
- Drum Buss
- Glue Compressor
- EQ Eight
- one break for body
- one chopped break for top-end movement
- low-cut the top layer around 150–250 Hz
- high-pass the texture break higher, around 300 Hz
- short
- bold
- call-and-response friendly
- emotionally charged
- rhythmically clear
- “Come again!”
- “Roll it back!”
- “Rewind!”
- “One more time!”
- “Selecta!”
- “Pull up!”
- a strong final consonant
- a tail that can be delayed or reverbed
- room for repeat slicing
- Set Warp Mode to Complex Pro
- Adjust Formants carefully if you want a lower, darker tone
- Use Transient only if the clip is percussive and short
- slightly before the downbeat
- slightly after the obvious phrase end
- or after a syncopated fill
- a tiny pause
- a snare fill
- then the rewind
- Sample reversal
- Automated pitch drop
- Tape stop-style slowdown
- Reverb throw
- Utility for hard mutes
- Complex Pro warp can help if you stretch audio
- automate clip gain down
- automate pitch down if your sample allows it
- add a resonant filter sweep using Auto Filter
- Filter type: Low-pass
- Cutoff: automate from around 18 kHz down to 500 Hz
- Resonance: 10–25%
- Drive: subtle, if needed
- Low-pass
- automate cutoff down fast
- Drive: 2–6 dB
- Soft Clip on
- Decay: 2–5 sec
- Pre-delay: 10–30 ms
- Low Cut: 200–400 Hz
- High Cut: 6–10 kHz
- Time: 1/8 or 1/4 dotted
- Feedback: 15–30%
- Filter on for darker tails
- Use gain automation for abrupt stops
- Width can narrow during the rewind for focus
- Bars 1–4: drums + texture
- Bars 5–8: vocal enters, break intensifies
- Bar 8 beat 4: vocal shout
- Bar 8 beat 4 & 1/2: rewind FX
- Bar 9: reset groove starts again or drops into the main section
- too early, it can feel rushed
- too late, it loses impact
- exactly on the bar every time, it can feel predictable
- leave one clean bar before the rewind for cueing
- leave one clean bar after the rewind for re-entry
- avoid overly dense effects on the downbeat after the rewind
- keep the low end controlled so another track can blend in
- break
- vocal hook
- filtered bass
- loop it
- transition into the next record
- use it as a crowd-control moment
- Utility: mute sub before rewind
- EQ Eight: low cut for intro style reset
- Filter Delay: for a quick “whoosh-back”
- Beat Repeat: for a machine-gun rewind texture, used lightly
- Interval: 1 Bar or 1/2 Bar
- Grid: 1/8 or 1/16
- Chance: 20–50%
- Variation: low to moderate
- gritty
- slightly mono
- wide only on the tail
- heavily processed but still intelligible
- Master filter cutoff or track filter cutoff
- Delay feedback
- Reverb send
- Utility gain
- Bass volume mute
- Drum bus saturation
- Vocal send levels
- vocal delay rises
- reverb increases
- drums narrow slightly in width
- sub drops out for a beat
- rewind hit lands
- everything resets with a dry, punchy re-entry
- filtered break with no sub
- vocal fragment only
- bass teaser on a low-passed note
- one-bar drum pickup
- ambient pad swell
- Bar 1: vocal shouts + break
- Bar 2: kick/snare + filtered bass
- Bar 3: full drums
- Bar 4: full drop
- Sampler or Simpler with noise
- EQ Eight to high-pass above 200–400 Hz
- sine or triangle sub
- pitch envelope down 12–24 semitones quickly
- keep it very short
- Operator
- Simpler
- Saturator for grit
- Pedal
- Saturator
- Drum Buss
- “rew-”
- “wind”
- “pull”
- “up”
- one breakbeat loop
- one vocal phrase
- one rewind FX
- one bass hit
- one reset loop
- Version A: rewind lands early
- Version B: rewind lands late
- Build a solid groove first
- Use a vocal phrase that can anchor the rewind
- Offset the rewind slightly for a more musical, crowd-friendly feel
- Keep bass controlled during the rewind
- Leave clean reset space so DJs can mix with it
- Use stock Ableton devices like Auto Filter, Utility, Echo, Reverb, Saturator, Drum Buss, Glue Compressor, and Beat Repeat
We’ll use stock Ableton tools and arrange the section so it feels like a proper DnB record: tight intro, strong vocal call, rewind hit, and a clean reset into the next phrase.
---
2. What you will build
You’ll build a short arrangement section that includes:
- breakbeat
- sub / bass stab
- vinyl-style FX or tape stop
- riser / impact
- optional ambient texture
Final result
A section like this:
This is especially useful for tracks with that classic jungle “pull-up” energy: vocals, breaks, tension, rewind, and back into the beat.
---
3. Step-by-step walkthrough
Step 1: Set up the project for DnB pacing
Open Ableton Live 12 and set your project around:
- For classic jungle feel, try 166 BPM
Recommended track layout
Create these tracks:
1. Drums
2. Break Layer
3. Sub Bass
4. Vocal Main
5. Vocal FX / Ad-libs
6. Rewind FX
7. Atmosphere / Texture
8. Return tracks:
- Reverb
- Delay
- Parallel Saturation
Why this matters
A rewind section works best when the elements are separated cleanly. DJs and arrangers need clarity:
---
Step 2: Build the main groove first
Before the rewind, you need a strong foundation.
Drum pattern
Use a classic jungle / DnB rhythm:
Stock devices to use
On the drum group:
- Drive: 5–15%
- Boom: subtle, around 20–40 Hz if needed
- Crunch: light for grit
- Ratio: 2:1 or 4:1
- Attack: 10–30 ms
- Release: Auto or 0.3–0.6 sec
- cut mud around 200–400 Hz if the break gets boxy
Breakbeat tip
If you’re layering a break loop, try:
This makes the rewind section feel like a real tune, not just a vocal over a loop.
---
Step 3: Choose a vocal phrase with rewind potential
For oldskool DnB, the best vocals are often:
Examples:
Best vocal characteristics
Pick a vocal that has:
Warp settings
For vocal clips:
Clip editing workflow
In Arrangement View:
1. Slice the vocal phrase so the main word lands cleanly
2. Keep a bit of pre-roll if it helps groove
3. Trim silence between words
4. Duplicate the phrase for reinforcement if needed
A rewind moment usually hits harder when the vocal is slightly anticipatory, not perfectly aligned like a pop chorus.
---
Step 4: Design the rewind moment offset
This is the core of the lesson.
A rewind moment offset means the rewind does not land exactly where people expect it. Instead, you place it:
This creates tension and makes the rewind feel more human, more DJ-driven, and more like a live crowd reaction moment.
Practical placement options
#### Option A: Rewind on the “and” before bar 9
If your phrase is 8 bars long, place the rewind on beat 4 of bar 8 or the “and” before bar 9.
This gives the impression that the tune is being yanked back before it finishes its sentence.
#### Option B: Rewind after a vocal pickup
Let the vocal end, then give:
This is very classic for jungle intros and live pull-up moments.
#### Option C: Rewind slightly late
Place the rewind half a beat late so it feels like the system is catching up.
This can work well if the crowd is already anticipating the pull-up.
How to build it in Ableton
Use a combination of:
---
Step 5: Create the rewind FX chain
There are a few ways to create a rewind sound in Live 12.
Method 1: Reverse the vocal tail
1. Duplicate the vocal clip
2. Consolidate the last word or tail
3. Reverse it
4. Place it before the rewind hit
5. Add reverb and delay for smear
Method 2: Use a tape-stop style automation
On the vocal bus or master FX send:
#### Auto Filter settings
Method 3: Build a rewind FX rack
Create an Audio Effect Rack with:
1. Auto Filter
2. Saturator
3. Reverb
4. Utility
5. Echo
#### Suggested settings
Auto Filter
Saturator
Reverb
Echo
Utility
---
Step 6: Add the offset using arrangement timing
Now we make it DJ-friendly.
Arrangement structure suggestion
Use something like this:
Why the offset works
If the rewind hits:
A slight offset creates that “the DJ pulled it back by instinct” vibe that oldskool listeners love.
---
Step 7: Make the rewind moment DJ-friendly
A good rewind moment must work in a club or on a mix tape.
DJ-friendly rules
Arrangement idea
After the rewind, bring back only:
Then open the arrangement again over 4–8 bars. This gives a DJ space to:
Stock devices to help
#### Beat Repeat tip
If used, keep it subtle:
This can add a chopped jungle flare without overcomplicating the moment.
---
Step 8: Shape the vocal for dark DnB energy
Vocals in this style often sound best when they’re:
Suggested vocal chain
On the vocal track:
1. EQ Eight
- High-pass around 80–120 Hz
- Cut mud around 250–400 Hz
- Add presence around 3–6 kHz if needed
2. Compressor
- Ratio: 3:1 to 5:1
- Fast attack, medium release
- Aim for 3–6 dB gain reduction
3. Saturator
- Drive: 1–4 dB
- Soft Clip on
4. Echo
- 1/8 or 1/4 delay
- low feedback
- filtered
5. Reverb
- Dark, short-to-medium decay
Pro vocal tip
For oldskool jungle, try gating the tail after the rewind shout so the space hits harder. A short vocal with a strong restart is often better than a long, washed-out one.
---
Step 9: Automate the rewind transition
This is where the section comes alive.
Automations to write
Example automation curve
Over 1 bar:
This gives you that satisfying “pull-up” feeling.
---
Step 10: Arrange the reset section
After the rewind, don’t just slam back into full power. Give the listener a reset.
Good reset options
Example post-rewind pattern
This structure is very effective for club DnB because it lets the crowd recognize the rewind, then re-lock into the groove.
---
4. Common mistakes
1. Rewind lands too exactly on the grid
If every rewind hits perfectly on the bar line, it can sound mechanical and lose impact.
Fix: offset it by a few 16ths or place it after a pickup.
---
2. Too much low end during the rewind
A rewind with full bass can sound muddy and reduce the dramatic effect.
Fix: automate the sub down or out before the rewind.
---
3. Vocal is too long
If the vocal keeps talking over the rewind, the moment gets cluttered.
Fix: keep the phrase short and let the pause breathe.
---
4. FX are too bright
Harsh highs can make the rewind feel cheap instead of gritty.
Fix: use low-pass filtering, darker reverb, and controlled saturation.
---
5. No reset after the rewind
If you rewind and immediately go full-force again, the section can feel random.
Fix: build a small reset phrase so the DJ and crowd can reorient.
---
6. The section isn’t mix-friendly
If there’s no clean entry point, DJs will struggle to use the track.
Fix: leave one bar of simplicity before and after the rewind.
---
5. Pro tips for darker/heavier DnB
Tip 1: Use vinyl noise or room tone quietly
A very low vinyl crackle or room ambience under the rewind can make the scene feel more authentic.
Stock tools:
---
Tip 2: Layer a sub drop under the rewind
A short, pitched-down sub hit can make the rewind feel heavier.
Try:
Use:
---
Tip 3: Try parallel distortion on the break
Send the break to a return with:
Blend lightly. This helps the rewind section feel more aggressive without wrecking the main mix.
---
Tip 4: Automate a mono collapse right before the rewind
Using Utility, narrow the stereo image a little before the rewind, then reopen it after.
This creates a powerful “tunnel then release” effect.
---
Tip 5: Use chopped vocal fragments as fills
Instead of repeating the full vocal every time, chop syllables:
This gives the section a more authentic jungle call-and-response feel.
---
6. Mini practice exercise
Task
Build a 12-bar rewind moment in Ableton Live using:
Steps
1. Make an 8-bar groove
2. Add a vocal shout on bar 8
3. Place the rewind slightly off the bar
4. Drop the bass for 1 beat before the rewind
5. Reverse the vocal tail
6. Add filter automation on the rewind FX
7. Reset with a filtered break for 2–4 bars
Challenge version
Make two variations:
Compare which one feels more DJ-friendly and which one creates more tension.
---
7. Recap
A strong rewind moment in jungle / oldskool DnB is about timing, space, and structure.
Key takeaways
When done well, the rewind becomes a signature moment — not just a gimmick. It adds energy, personality, and proper oldskool DnB attitude 🔥
If you want, I can also turn this into a bar-by-bar Ableton arrangement template or a device chain preset recipe for the rewind vocal track.

