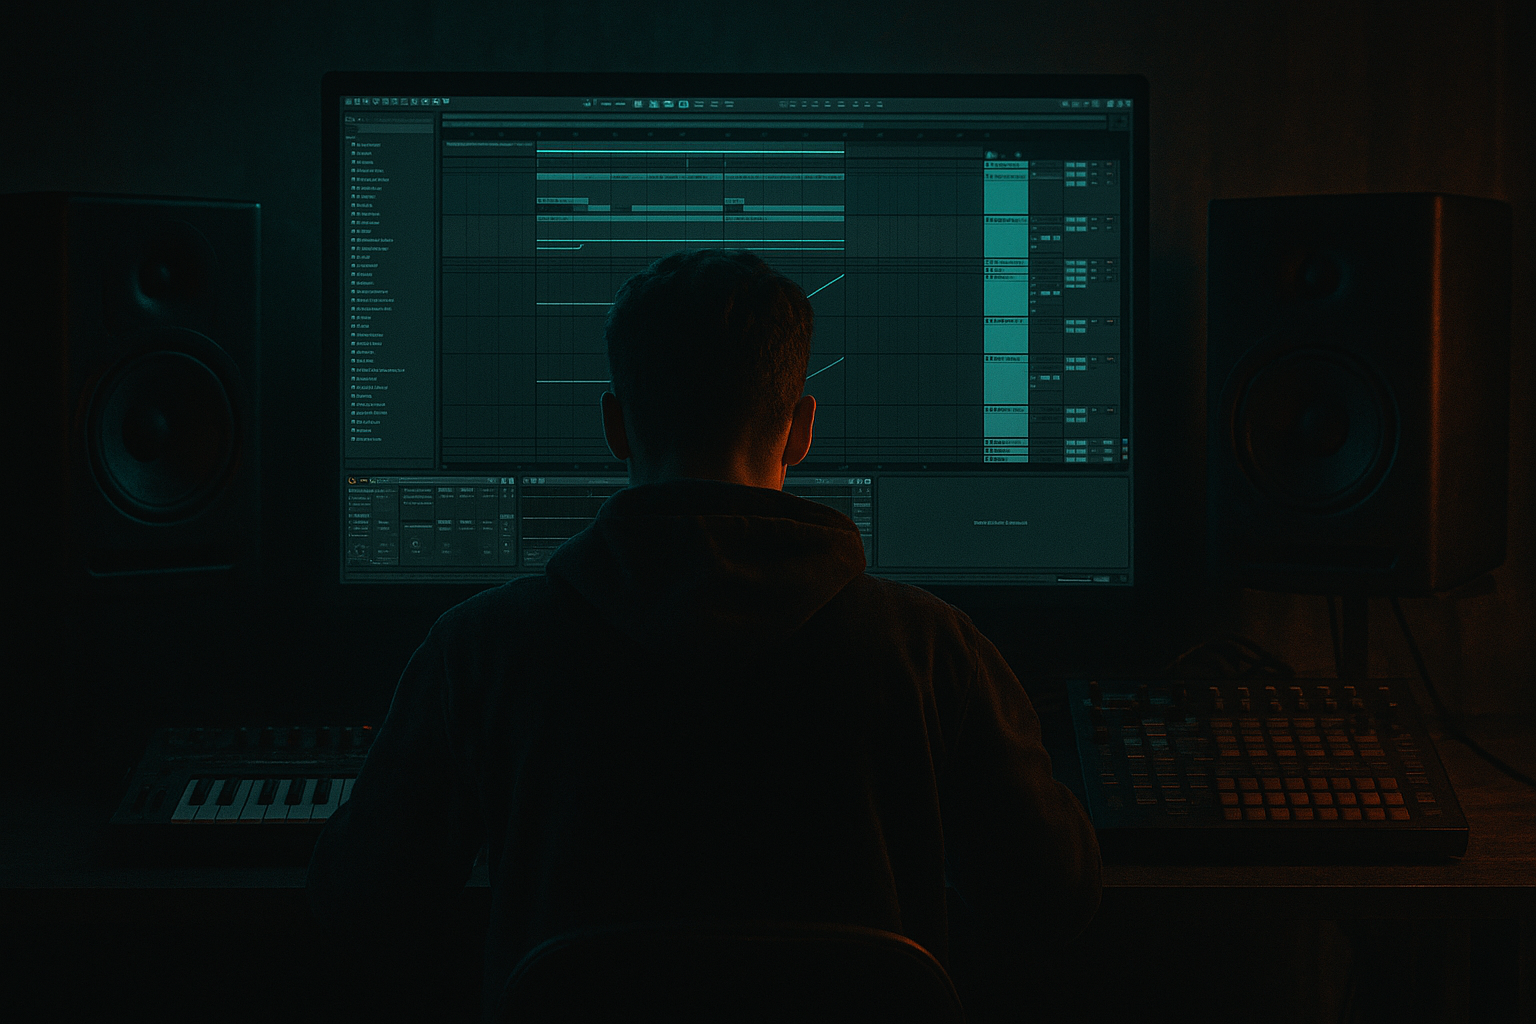
Main tutorial
```markdown
Ride Pattern Energy from Scratch (DJ‑Friendly DnB Sets) 🥁⚡
Skill level: Advanced
Category: Drums (Ableton Live, Drum & Bass / Jungle / Rolling)
---
1. Lesson overview
Ride patterns in drum & bass aren’t just “a cymbal doing 8ths”—they’re energy management. A great ride pattern:
- pushes the groove forward without stealing from the kick/snare,
- creates mix‑friendly intensity tiers (so DJs can blend cleanly),
- and gives you multiple “gears” for drops, mid‑sections, and late‑drop escalation.
- Gear 1: subtle propulsion (under hats)
- Gear 2: main ride drive (drop-ready)
- Gear 3: high-intensity “open-up” (late-drop / 2nd half)
- A Drum Rack with:
- A return bus inside the Drum Rack for reverb/space
- A group/bus chain for controlled aggression (saturation + dynamic EQ + transient control)
- Arrangement automation for DJ-intensity transitions
- Sample: short ride hit / ride bell / crisp “tick”
- Goal: transient and clarity
- EQ Eight
- Saturator
- Sample: longer ride with sustain (metallic wash)
- Goal: mid presence + rolling movement
- EQ Eight
- Drum Buss
- Sample: noisy ride, shimmery hat, or resampled wash
- Goal: air + stereo excitement without wrecking mono
- Auto Filter
- Utility
- Optional: Redux (very light)
- Keep most 16ths, but drop:
- Downbeats slightly stronger, off‑steps weaker.
- Example ranges:
- Nudge some off‑16ths 1–4 ms late for swing
- Keep key anchors (downbeats / snare-adjacent hits) tight
- Ride Top only
- Fewer 16ths (try 8ths + occasional 16th fills)
- Lower velocities (max ~95)
- Less width (Utility Width 100–120%)
- Ride Top + Body
- Mostly 16ths with planned gaps
- More velocity contrast (ghosts low, accents high)
- Slight saturation on the bus
- All three layers
- Add a few “push” moments:
- Increase Air layer width slightly
- Add subtle reverb send (see next step)
- Intro (16 bars): Gear 1 (thin, blendable), filtered/high-passed
- Build (8–16 bars): automate Gear 1 → Gear 2 (more density)
- Drop (32 bars): Gear 2 stable (don’t over-automate—let DJs mix!)
- Mid switch (16 bars): pull to Gear 1 for contrast
- Second drop (32 bars): Gear 3 (wider, louder, more aggressive)
- Outro (16–32 bars): Gear 1 then remove for clean exit
- Utility Width on Air layer: 120% → 160% for late-drop lift
- Reverb send: +1 to +4 dB during transitions only
- Auto Filter on Air layer: open cutoff over 4–8 bars into drop
- Ride as texture, not “cymbal”:
- Sidechain rides to snare (subtle):
- Resample for menace:
- Controlled “industrial” bite:
- Dark mix trick:
- Ride energy in DnB is density + velocity + tone + controlled space.
- Build layers (Top/Body/Air) so you can shape intensity like a DJ set.
- Use three gears to keep the arrangement mix-friendly: blend-safe → main drop → late-drop hype.
- Keep snares dominant by carving EQ, ducking subtly, and leaving micro-gaps.
- Use Ableton stock tools (EQ Eight, Saturator, Drum Buss, Glue, Hybrid Reverb, Utility) to make it hit hard without harshness.
In this lesson you’ll build a ride system in Ableton Live: layered rides, velocity shaping, swing, tone control, and arrangement automation that keeps your track club-usable and DJ-friendly.
---
2. What you will build
You’ll create a 3‑layer ride stack and a performance-ready pattern set:
✅ Pattern “gears” (DJ-friendly)
✅ Ableton build
- Ride Top (bright transient)
- Ride Body (mid metallic sustain)
- Ride Air/Noise (wide shimmer layer)
---
3. Step-by-step walkthrough
Step 0 — Session setup (so the groove “reads” like DnB)
1. Set tempo: 172–176 BPM (e.g. 174 BPM).
2. Create a drum group:
- `Ctrl/Cmd+G` → name it DRUMS
3. Add a MIDI track for rides:
- Name it RIDES
Tip: If you already have a break + kick/snare, keep them playing while you design rides. Ride energy is context-dependent. 🎯
---
Step 1 — Choose your ride sources (layered like a pro)
On RIDES, load a Drum Rack.
Create three pads:
#### A) Ride Top (definition)
Chain suggestion (inside pad):
- HP at ~500–900 Hz (12 or 24 dB/oct)
- Small dip if harsh: 6–9 kHz (Q ~2, -1 to -3 dB)
- Mode: Soft Sine
- Drive: 1–3 dB
- Output trim to match
#### B) Ride Body (weight)
Chain suggestion:
- HP at ~250–400 Hz
- Control “clang” around 2–4 kHz if it fights snare crack
- Drive: 5–15%
- Boom: 0 (usually off for rides)
- Transients: -5 to +5 depending on sharpness
#### C) Ride Air/Noise (width + hype)
Chain suggestion:
- HP at ~2–4 kHz
- Slight resonance (5–15%)
- Width: 140–180% (careful!)
- Bass Mono: 120–200 Hz
- Downsample: small amount for grit (use your ears)
---
Step 2 — Build the core DnB ride pattern (16th-grid with intent)
DnB rides usually live as 16ths with accents—but the magic is where you remove notes.
1. Create a 1-bar MIDI clip on RIDES
2. Set grid to 1/16
3. Start with all 16th notes on Ride Top only.
4. Now create movement:
- Remove a few 16ths before snare hits (classic “breathing”)
- If your snare is on 2 and 4 (half-time DnB), consider thinning around those hits.
Practical pattern idea (1 bar):
- the 16th right before snare (to leave transient space)
- one random 16th in the second half (adds human tension)
This keeps the ride driving while letting the snare dominate like it should. 🧱
---
Step 3 — Velocity is your energy fader (seriously)
Open the MIDI velocity lane.
Advanced velocity shape (works in rolling DnB):
- Accents: 95–120
- Ghosts: 35–70
Actionable method:
1. Select all notes → set to ~70
2. Accent the “forward” pulses:
- Try accents on 1e, 2a, 3e, 4a (depending on your drum groove)
3. Pull down the notes right before snare hits by 10–25 velocity
Why it works: your ear reads velocity pattern as groove, not just timing.
---
Step 4 — Micro-swing without ruining DJ mix tightness
You want groove, but DnB needs precision for clean blends.
#### Option A: Groove Pool (recommended)
1. Open Groove Pool
2. Load a subtle MPC-style groove (or any tight 16th groove)
3. Apply to the ride clip:
- Timing: 5–12%
- Velocity: 0–10%
- Random: 0–3%
#### Option B: Manual micro‑nudge (surgical)
Rule: If your rides start sounding “behind,” you’ve overdone it.
---
Step 5 — Make it DJ-friendly: 3 intensity gears (clips + arrangement)
Create three clips (or clip variations) that correspond to energy levels:
#### Gear 1 — “Blend-safe”
#### Gear 2 — “Main drop”
#### Gear 3 — “Second drop / late-hype”
- short 1/32 burst into bar transitions (tastefully!)
This gives you DJ-like sections: intro blend → drop → escalation. 🎚️
---
Step 6 — Create a controlled ride space (inside Drum Rack returns)
Inside the Drum Rack, use Return Chains:
1. Create Return A: “Ride Verb”
2. Add Hybrid Reverb
- Algorithmic or Convolution (small/metallic rooms can work)
- Decay: 0.4–1.2 s (DnB rides usually short)
- Pre-delay: 10–25 ms
- HiCut: 7–10 kHz
3. Add EQ Eight after reverb
- HP at ~400–800 Hz
- Dip harsh band if needed (~6–8 kHz)
Send mainly Air layer, lightly Body, almost none Top.
This keeps transient clarity while still sounding “expensive.”
---
Step 7 — Ride bus processing (glue + aggression without hiss)
Group the Drum Rack or route RIDES to a Ride Bus audio track.
Device chain (stock Ableton)
1. EQ Eight
- HP at 250–500 Hz
- Notch any constant ring (sweep narrow Q)
2. Saturator
- Drive: 2–6 dB
- Soft Clip: On
3. Glue Compressor
- Ratio: 2:1
- Attack: 3–10 ms
- Release: 0.1–0.3 s (or Auto)
- Aim for 1–3 dB GR on peaks
4. Multiband Dynamics (optional, careful!)
- Use as a gentle high-band tamer if harsh
- Don’t “smile curve” it into fizz
Key check: Solo rides, then bring in full drums. If the snare loses snap, your ride is too loud or too bright.
---
Step 8 — Arrangement: where rides should enter for maximum impact
A DJ-friendly DnB structure usually benefits from clear energy steps:
Example arrangement (ride-focused):
Automation moves that work:
---
4. Common mistakes 🚫
1. Rides masking the snare crack
- Fix: EQ dip 2–5 kHz on rides, or reduce Ride Top velocity near snares.
2. Constant 16ths with no phrasing
- Fix: intentional gaps every 1–2 bars; add mini-cadences at 8/16-bar boundaries.
3. Too wide, too early
- Fix: keep Gear 1 narrow; save width for Gear 3.
4. Harsh top end that destroys mastering headroom
- Fix: reduce 8–12 kHz, tame resonances, shorten reverb decay, avoid over-saturation.
5. Over-swinging until it feels like halftime hip-hop
- Fix: swing subtle; DnB needs tight anchors.
---
5. Pro tips for darker/heavier DnB 🖤
Layer a metallic ride with a noisy layer and distort the noise layer only. Keep the transient clean.
Use Compressor on Ride Bus with Sidechain from snare:
- Ratio 2:1, Attack 1–5 ms, Release 30–80 ms
- Just 1–2 dB duck = snare stays king.
Freeze/Flatten a ride loop with reverb + saturation, then chop it like a break. Jungle energy, modern control.
Try Erosion (very light) on the Body layer:
- Mode: Noise
- Freq: 6–10 kHz
- Amount: tiny (you want edge, not sand)
Low-pass the Air layer slightly (9–12 kHz) and boost presence around 6–8 kHz instead. Feels darker but still present.
---
6. Mini practice exercise 🎯
Goal: Make a ride system that can switch energy without changing the core drum groove.
1. Build your 3-layer Drum Rack rides as above.
2. Create 3 MIDI clips (Gear 1/2/3), each 1 bar.
3. Arrange them across 64 bars:
- Bars 1–16: Gear 1
- Bars 17–48: Gear 2
- Bars 49–64: Gear 3
4. Automate only:
- Air layer width (small increase at bar 49)
- Reverb send (transition-only)
5. Bounce a loop of bars 15–18 and 47–50 and compare:
- Does the “lift” feel real without getting louder by +6 dB?
- Can you still clearly hear kick + snare?
If not: adjust velocity and EQ before touching volume.
---
7. Recap ✅
If you want, share a screenshot of your drum rack + a short audio bounce, and I’ll suggest exact EQ points and velocity maps for your specific groove.
```

