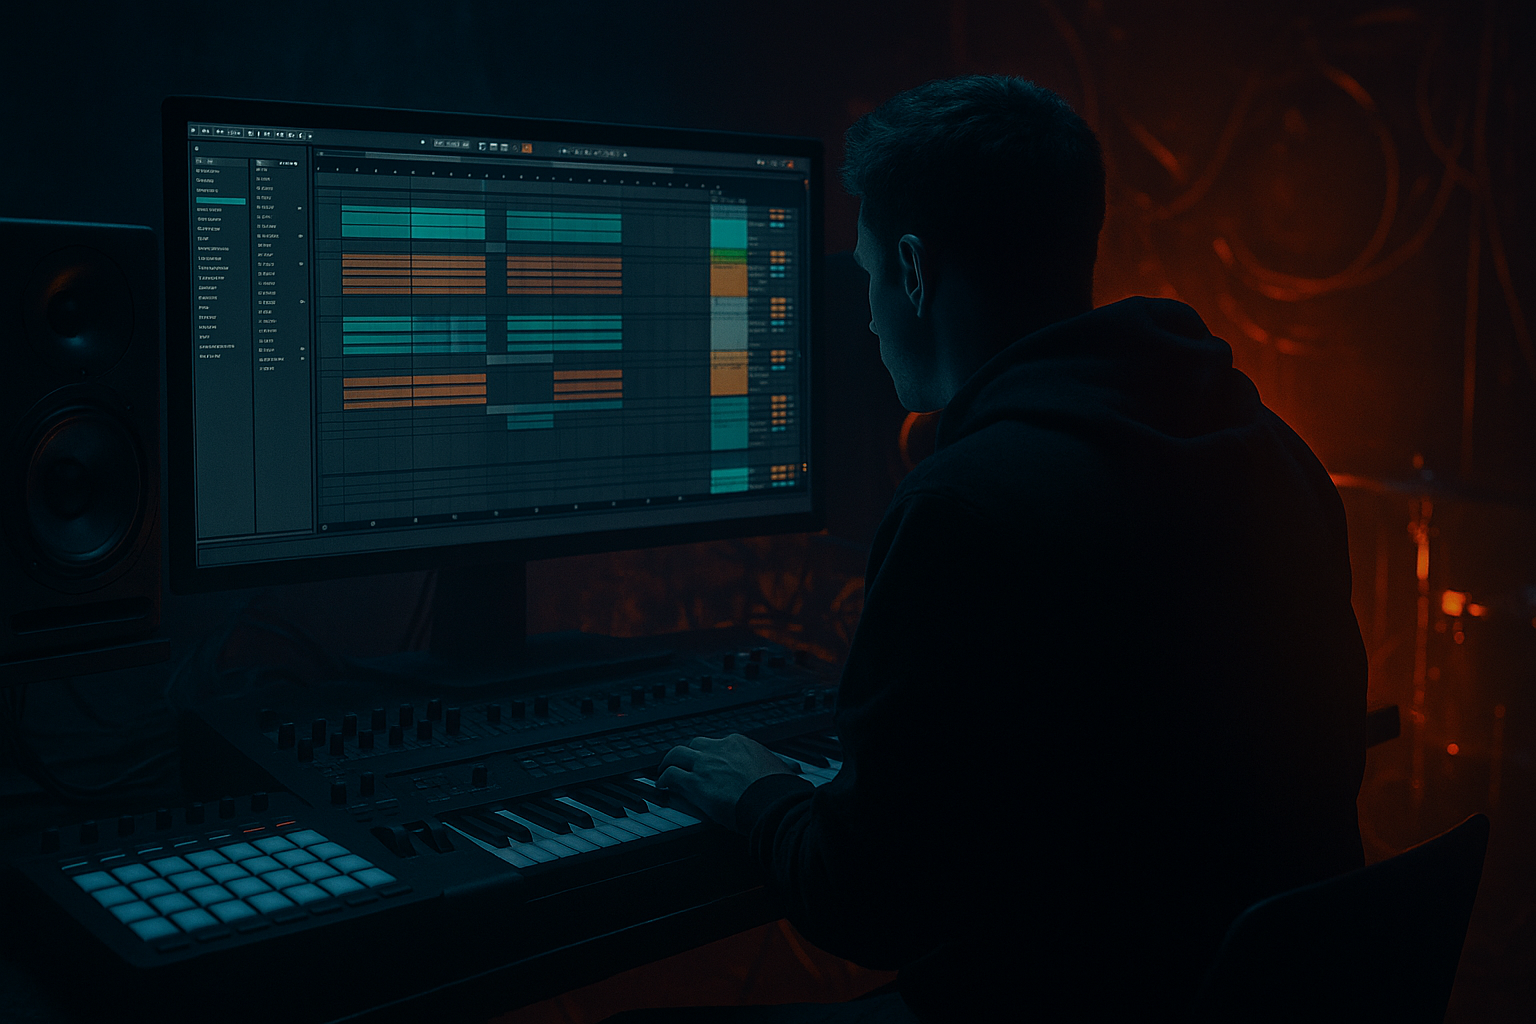
Main tutorial
Riser in Ableton Live 12: carve it for 90s-inspired darkness for jungle / oldskool DnB vibes 🌑🥁
1. Lesson overview
In jungle and oldskool DnB, risers are not just “big EDM whooshes.”
They’re often dark, gritty, tension-building movement layers that pull the listener into a drop, a switch, or a rewind moment.
In this lesson, you’ll learn how to make a carved riser in Ableton Live 12 that feels:
- 90s-inspired
- dark and unsettling
- perfect for jungle / rolling DnB
- usable as a DJ tool transition effect
- design a riser from simple sources
- shape it with EQ, filtering, saturation, and automation
- make it feel more rude, murky, and analogue
- place it in a DnB arrangement so it works musically, not just as noise
- low, filtered noise
- detuned movement
- tension rising over 4 bars
- grimey top end, but not too shiny
- a little “tape-warped warehouse” vibe
- a transition into a drop
- a DJ-style mix tool
- a breakdown swell
- a build into a rewind or switch-up
- Set tempo to 170 BPM if you want classic jungle energy
- Make sure your project is in 4/4
- Create a MIDI track
- Set your clip length to 4 bars
- Operator
- Wavetable
- Analog
- a noise sample
- a chopped vocal fragment
- a rewound break texture
- Oscillator A: Sine or Saw
- Oscillator B: Off
- Oscillator C/D: Off
- Filter: On
- Amp Envelope:
- automate the note pitch upward across 4 bars
- or use Pitch envelope on Operator if you want a more synthy lift
- Filter type: Low-pass 24 dB
- Frequency start: around 150–300 Hz
- Frequency end: automate up to 8–12 kHz
- Resonance: `10–25%` depending on how sharp you want it
- Drive: a little if you want grit
- start dark and muffled
- open slowly in the first 2 bars
- speed up the opening in bar 3
- let bar 4 scream into the transition
- Drive: `2–8 dB`
- Soft Clip: On
- Output: trim so it doesn’t overload
- jungle and oldskool DnB love edge
- saturation makes the riser feel less sterile
- it helps the sound cut through busy breakbeats and basslines
- Time: 1/8 or 1/4
- Feedback: `15–35%`
- Filter: darken the repeats
- Modulation: small amount
- Dry/Wet: `10–25%`
- Predelay: `10–25 ms`
- Decay: `2–5 s`
- Size: medium to large
- EQ inside reverb: cut low end
- Dry/Wet: keep modest, around `10–20%`
- High-pass below `80–150 Hz`
- cut any harshness around `2.5–5 kHz` if needed
- boost gently around `7–10 kHz` if you want more air
- remove muddiness around `200–400 Hz` if it clogs the mix
- Width: `120–150%` if you want a bigger stereo build
- Bass Mono: keep it low or off, since this is not your bass element
- Gain: trim to fit the mix
- Filter cutoff up
- Reverb dry/wet slightly up in the last bar
- Delay feedback up near the end, then pull it back
- Saturator drive a little more in bar 3 or 4
- Track volume for a final push if needed
- Bar 1: dark, narrow, low energy
- Bar 2: filter opens a bit
- Bar 3: tension increases, more harmonics
- Bar 4: widest, brightest, loudest point right before the drop
- Downsample a little
- Bit reduction very lightly
- Mix sparingly
- before the drop into a half-time switch
- before a breakbeat reload
- after an 8-bar drum build
- before the sub bass enters
- as a transition between two drum loop sections
- 8 bars of drums
- 4 bars of riser build
- 1 bar of silence or fake-out
- drop
- breakbeats
- sub bass
- hats
- snares
- dubby effects
- Operator noise
- Wavetable noise oscillator
- Simpl e noise sample through Auto Filter
- a break fill
- a snare hit
- a ride
- a ghosted percussion hit
- slow pitch rise
- tiny pitch wobble
- slight detune movement
- Operator
- Auto Filter
- Saturator
- Hybrid Reverb
- Noise source
- EQ Eight
- Saturator
- Redux
- Echo
- Wavetable
- Auto Filter
- Chorus-Ensemble
- Hybrid Reverb
- Utility
- which one feels darkest?
- which one cuts through best?
- which one sounds most 90s?
- how to build a riser from stock Ableton devices
- how to carve it with filtering and EQ
- how to make it darker using saturation, delay, and reverb
- how to automate it into a proper 4-bar build
- how to place it like a DJ transition tool in a DnB arrangement
- murky
- gritty
- haunted
- controlled
- rhythmically useful
We’ll use stock Ableton devices and keep the process beginner-friendly, but the result will sound like something you can actually drop into a proper DnB arrangement.
You’ll learn how to:
---
2. What you will build
You’re going to build a 4-bar dark riser that starts narrow and eerie, then opens up and intensifies into a drop.
Sound character
Think:
Use case
This riser will work as:
Final chain idea
We’ll likely use a chain like:
Operator or Wavetable → Auto Filter → Saturator → Echo → Hybrid Reverb → EQ Eight → Utility
You can do a very convincing version with just stock devices.
---
3. Step-by-step walkthrough
Step 1: Set up your project
Open a new Live Set and do this first:
- or 174 BPM for more modern DnB
For an oldskool jungle vibe, work at 170–174 BPM with short, tense build sections.
---
Step 2: Choose a source sound
A riser doesn’t have to come from a fancy sample. A good source can be:
For beginner-friendly results, start with Operator or Wavetable.
---
Step 3: Build the raw sound in Operator
Load Operator on the MIDI track.
#### Simple starting patch:
- Attack: `10–30 ms`
- Decay: `2–4 s`
- Sustain: `0%`
- Release: `200–500 ms`
#### Pitch movement
For a classic riser feel:
If you want more jungle darkness, don’t make it too clean.
A slightly detuned saw with a low filter cutoff can sound much more ominous than a glossy EDM build.
---
Step 4: Make it tense with filtering
Add Auto Filter after Operator.
#### Suggested settings:
#### Automation idea
Draw a smooth automation curve over 4 bars:
This is key for jungle: the lift should feel like it’s breaking out of the murk 🌫️
---
Step 5: Add dirt with Saturator
Insert Saturator after the filter.
#### Suggested settings:
Why this matters:
If the riser is too clean, it’ll sound modern in the wrong way.
A bit of harmonics gives it that rude warehouse energy.
---
Step 6: Add movement with Echo
Add Echo after Saturator.
#### Good starting settings:
Try syncing the delay to the groove.
In DnB, delays can help the riser feel like it’s interacting with the breakbeat space rather than floating above it.
#### Tip
If Echo gets too obvious, reduce Dry/Wet and use it just for subtle smear.
---
Step 7: Make it wide and eerie with Hybrid Reverb
Insert Hybrid Reverb next.
#### Suggested settings:
For darker DnB, don’t overdo huge bright reverb.
You want a shadowy tail, not a sparkling trance cloud.
#### Great trick
Use a dark convolution space if available, then blend in some algorithmic reverb for width. This creates a more believable underground atmosphere.
---
Step 8: Shape the tone with EQ Eight
Now add EQ Eight to carve the riser properly.
#### Basic EQ moves:
- this keeps the riser out of the sub zone
For oldskool jungle, the riser should feel dark but controlled.
It should build tension without fighting the break or bass.
---
Step 9: Use Utility for width and control
Add Utility at the end.
#### Useful settings:
If the riser is for DJ transition use, a wider stereo image helps it bloom before the drop.
Just don’t make it so wide that it falls apart in mono.
---
Step 10: Automate like a proper DnB build
This is where it becomes musical.
#### Automate:
#### A strong 4-bar structure
This shape works really well in jungle because the listener feels the pressure building before the drum break slams back in.
---
Step 11: Make it more “90s” with resampling
Want that oldskool feel? Resample your riser.
#### How:
1. Route the riser to a new audio track
2. Record the 4-bar build
3. Warp it if needed
4. Try slight pitch variation or reverse sections
5. Add a touch of Redux very subtly if you want crunchy digital character
A resampled riser often sounds more authentic than a perfectly clean synth line.
#### Optional device: Redux
Use gently:
Too much will make it harsh fast, but a touch can give it that rough sampler-era edge.
---
Step 12: Place it in the arrangement like a DJ tool
A riser in DnB should feel like part of the arrangement, not just a FX afterthought.
#### Good placement ideas:
#### DJ tool style arrangement
Try this:
That little gap or fake-out is very effective in jungle.
It creates anticipation and makes the drop feel bigger.
---
4. Common mistakes
1. Making the riser too bright
If it sounds like modern festival EDM, it may clash with the darker DnB vibe.
Keep the top end controlled and moody.
2. Leaving too much low end
Risers should usually not fight the kick/sub/bass zone.
High-pass them properly.
3. Using too much reverb
Huge reverb can blur the impact of your drop.
Keep the tail spacious but not washed out.
4. No automation
A static riser feels lazy.
Automate filter, delay, and volume so it actually develops.
5. Overcompressing
If you crush the riser too hard, it loses movement.
Use compression only if needed for control.
6. Ignoring the drum context
A riser might sound great solo but still fail in the mix.
Always check it against:
---
5. Pro tips for darker/heavier DnB
Use noise layers
Layer a low filtered noise source under the synth riser.
This gives you a more atmospheric, industrial feeling.
Stock options:
---
Add a reversed break fragment
This is very jungle.
Take a small piece of:
Reverse it and tuck it under the riser.
It adds motion and a classic tape-like tension.
---
Automate pitch for unease
Instead of a clean upward sweep, try:
This can make the riser feel more haunted and less polished.
---
Use chorus carefully
A little Chorus-Ensemble can widen the sound, but keep it subtle.
Too much chorus can make the riser soft and blurry.
---
Try a “dirty build” chain
For a meaner jungle edge, use:
Auto Filter → Saturator → Redux → Echo → EQ Eight
This can make the riser feel like it came from an old sampler or rave tape.
---
Duck the riser slightly with the drums
If the breakbeat is busy, use Compressor with sidechain from the drums or kick/snare.
This lets the riser sit in the track without masking the groove.
---
Automate the reverb return
Instead of putting too much reverb directly on the riser, send it to a return track and automate the send amount.
This is cleaner and easier to control.
---
6. Mini practice exercise
Exercise: build 3 different dark risers
Make three 4-bar risers in the same project:
#### Version A: Clean-but-dark
#### Version B: Dirty oldskool
#### Version C: Atmospheric jungle
Challenge
Place each riser before a different drop:
1. full-energy drop
2. stripped-back breakbeat drop
3. bass switch-up
Then compare:
This is a great way to learn how texture changes the emotional impact of a DnB transition.
---
7. Recap
A strong jungle / oldskool DnB riser is all about tension, dirt, and controlled movement.
What you learned
Core takeaway
For 90s-inspired darkness, don’t aim for glossy perfection.
Aim for:
That’s the sweet spot for jungle and rolling DnB. 🔥
If you want, I can also give you:
1. a ready-made Ableton device chain preset recipe, or
2. a MIDI + automation example for an 8-bar jungle build.

