Main tutorial
```markdown
Riser Intensity Shaping with Resampling Only (Ableton Live) 🚀
DnB / Jungle automation lesson (Beginner)
---
1) Lesson overview 🎛️
In drum & bass, risers aren’t just “noise going up”—they’re energy management. This lesson teaches you a powerful workflow: shape riser intensity using resampling only.
That means:
- No fancy synth programming required
- You’ll build movement with automation + recording audio
- You’ll commit to audio, then sculpt it like a producer (very DnB mindset)
- Bars 1–4: subtle, filtered, controlled
- Bars 5–8: brighter + wider
- Bars 9–12: more harmonic density (distortion/saturation)
- Bars 13–16: “redline” intensity + tight final cut into the drop
- Every 4 bars, add a new intensity automation move (e.g., resonance bump, width jump, distortion ramp)
- In the last 1/2 bar (or last 1 beat), automate clip gain down hard:
- This creates space so the drop punches.
- Duplicate the last bar of the riser audio into 1/2-beat chunks:
- Add a tiny Utility gain ramp up during the stutter.
- Duplicate the last 1 beat of the riser
- Reverse it
- Crossfade into the drop point
- Too much low end in the riser: it fights your sub + kick. High-pass it.
- Over-widening early: if it’s huge from bar 1, you have nowhere to grow.
- Resonance screaming: high resonance + open cutoff can turn into a painful whistle. Use moderation.
- Reverb washing out the transients: long reverb into the drop can blur impact—pull it down right before the drop.
- No structure: a good DnB build has “chapters,” not a flat ramp.
- Keep the riser mid-focused:
- Add controlled brutality with distortion stages:
- Use bandpass automation for “pressure”:
- Automate a slight pitch rise (if your source is tonal):
- End with silence for weight:
- You built a DnB riser using automation as the intensity engine.
- You resampled it into audio to commit the movement.
- You repeated the process to create layered intensity without complex sound design.
- You finished with audio edits that are super common in rolling DnB and jungle: cuts, stutters, reverses.
You’ll end up with risers that feel like a proper drop is coming: tighter, louder, wider, brighter, more distorted—without turning into uncontrolled mess.
---
2) What you will build 🔥
A 16-bar DnB build riser (perfect for a 174 BPM roller), evolving across 4 stages:
All done by:
1) Designing a simple source riser
2) Automating intensity
3) Resampling the result into audio
4) Repeating with more aggression
---
3) Step-by-step walkthrough ✅
Step 0 — Session setup (DnB-friendly)
1. Set tempo to 174 BPM.
2. In Arrangement View, create markers:
- `Build starts` at bar 1
- `Drop` at bar 17
3. Optional but recommended: put a simple drum loop or click so you feel timing.
---
Step 1 — Make a simple source riser (fast + effective)
You need something to process. Two solid beginner sources:
#### Option A: Noise riser (classic DnB)
1. Create a MIDI track
2. Add Operator (stock)
3. In Operator:
- Turn Osc A off (or set level very low)
- Enable Noise (in the right section; set Noise level up)
4. Draw a long MIDI note from bar 1 to bar 17 (one note is enough)
#### Option B: Tonal “whistle” riser (adds tension)
1. Operator with Osc A set to Sine
2. Long note bar 1–17
3. Keep it low in the mix for now (this is tension, not lead)
---
Step 2 — Build an “intensity chain” using stock devices
On the riser track, use this chain (in this order):
1. Auto Filter
- Mode: Lowpass
- Slope: 24 dB
- Resonance: 25–40% (don’t overdo yet)
2. Saturator
- Mode: Analog Clip
- Drive: start +2 to +5 dB
- Soft Clip: On
3. Redux (for grit + urgency later)
- Downsample: start 0%
- Bit Reduction: start 0
4. Utility
- Width: start 0–30% (narrow early build)
5. Reverb
- Size: 60–90%
- Decay: 3–6 s
- Dry/Wet: 10–20%
6. Limiter
- Ceiling: -0.3 dB
- (This is just to prevent accidental spikes while resampling)
This chain is intentionally “basic but brutal” — perfect for rolling DnB builds.
---
Step 3 — Automate intensity (the “shape”)
You’re going to automate a few key parameters across 16 bars.
#### Automation targets (recommended):
Over bars 1 → 16:
1. Auto Filter cutoff
- Start: 150–300 Hz (dark, subtle)
- End: 10–14 kHz (bright, open)
- Add a slight curve upward in the last 4 bars
2. Auto Filter resonance
- Start: 20–25%
- End: 45–60%
- Keep it controlled; resonance is “edge,” too much becomes whistly
3. Saturator Drive
- Start: +2 dB
- End: +8 to +12 dB (last 2–4 bars)
- This is a major intensity lever 🔥
4. Redux Downsample / Bits (introduce late)
- Keep at 0 until around bar 9
- Then ramp:
- Downsample: 0% → 20–40%
- Bits: 0 → 3–6
- Use this for that “everything is collapsing into the drop” vibe
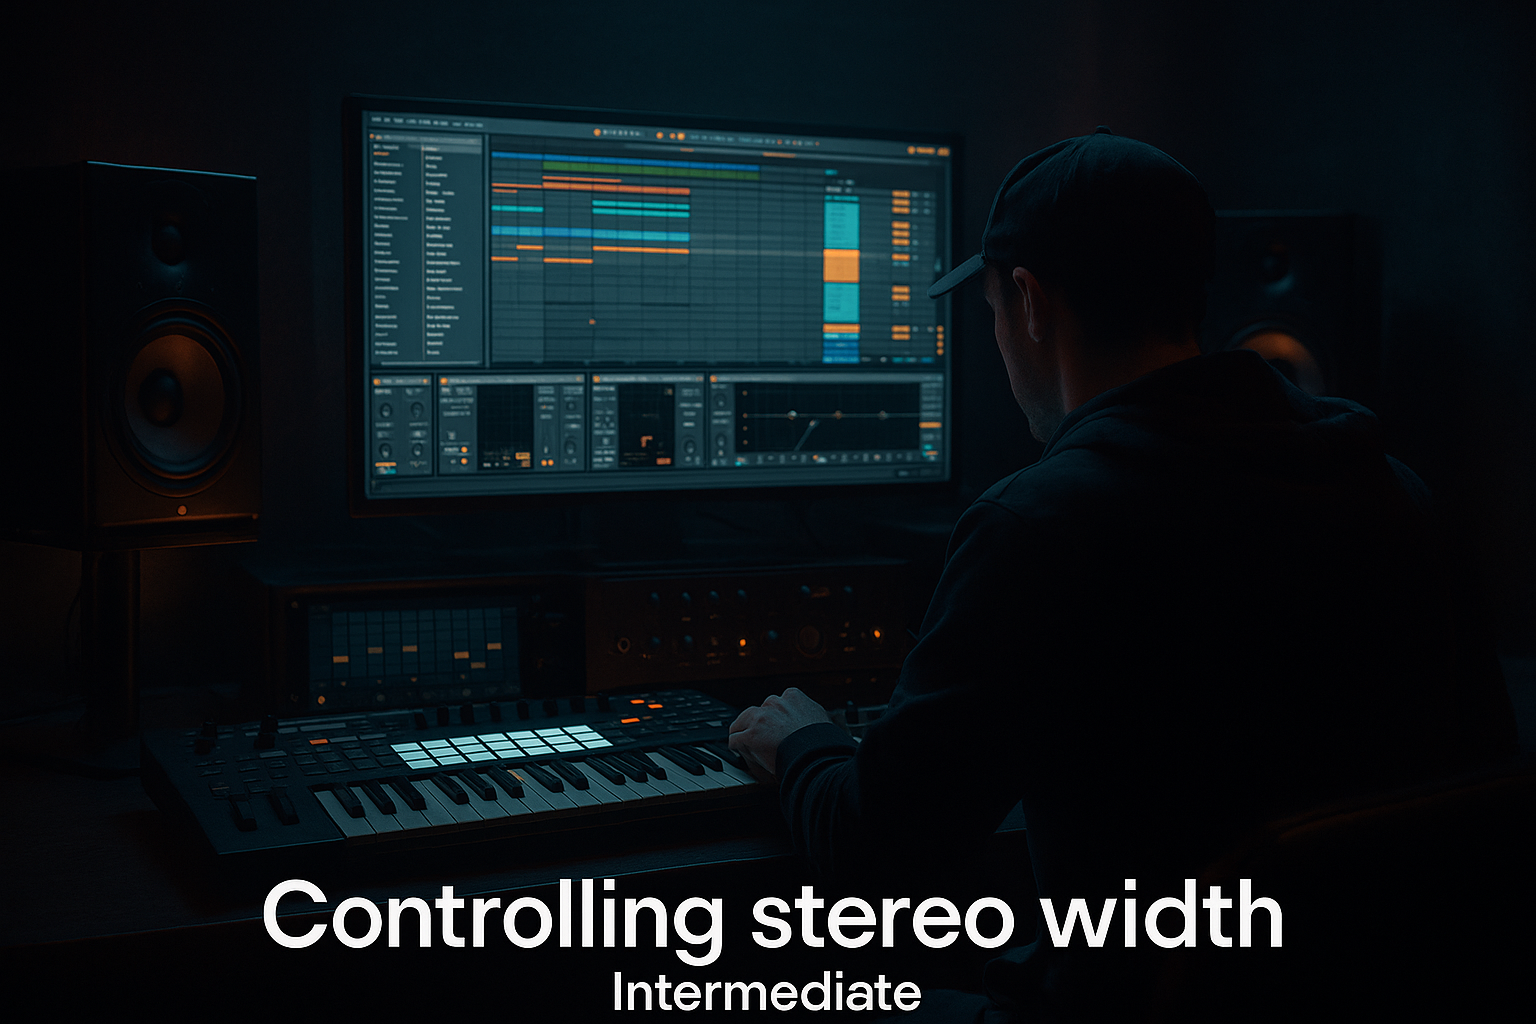
5. Utility Width
- Start: 0–30%
- End: 120–160%
- Wide risers feel bigger, but keep your drop elements ready to take over
6. Reverb Dry/Wet (use tastefully)
- Start: 10%
- End: 20–35%
- Tip: increase reverb earlier, but pull it slightly down right before the drop for impact
#### Arrangement idea (very DnB):
Split the 16 bars into 4 x 4-bar “chapters”:
---
Step 4 — Resample it (commit to audio) 🎙️
Now we print the movement to audio and shape further.
Method (simple and reliable):
1. Create a new Audio Track called `Riser RESAMPLE 1`
2. In its Input chooser:
- Set Audio From: `Resampling`
3. Arm the audio track for recording
4. Solo your riser track (optional but cleaner)
5. Hit record and capture from bar 1 to bar 17
6. Stop, then disable the original riser MIDI track (so you only hear the audio)
You now have a printed riser with automation baked in.
---
Step 5 — Intensify with a second pass (resample again)
Here’s the key concept: each resample pass is a “level up.”
On `Riser RESAMPLE 1` (audio clip), add a new chain:
1. EQ Eight
- High-pass at 80–150 Hz (keep low end clean for your sub drop)
- Optional: gentle high shelf +2 dB above 6–8 kHz
2. Glue Compressor
- Attack: 3 ms
- Release: Auto
- Ratio: 2:1
- Aim for 1–3 dB gain reduction
3. Saturator
- Drive: +3 to +8 dB
4. Auto Filter (yes, again)
- Use Bandpass for “radio tunnel” moments
- Automate it tighter in bars 13–16
5. Utility
- Automate width or automate gain for a final push
Now:
1. Create another audio track: `Riser RESAMPLE 2`
2. Set input to Resampling
3. Record again bar 1–17
You’ve now created a more intense, more controlled riser with extra density.
---
Step 6 — Final impact edits (audio-only tricks that hit in DnB) ✂️
These are big in jungle/DnB builds:
#### A) “Vacuum before drop” cut
- Fade down to near silence right before bar 17
#### B) Stutter the last 1 bar (DnB classic)
- 1/2 beat → 1/4 beat → 1/8 beat (or just 1/8s)
#### C) Reverse “suck” into the drop
This gives that “inhale” effect without extra plugins.
---
4) Common mistakes ⚠️
---
5) Pro tips for darker/heavier DnB 🖤
High-pass 120–200 Hz and don’t over-hype 10k+ if you want a dark tone.
Two lighter Saturators in series often sounds better than one extreme one.
Bandpass + increasing resonance can feel like the room is shrinking.
If using Operator: automate Coarse or Fine subtly (like +3 to +7 semitones over 16 bars).
The darker the drop, the more that micro-moment of emptiness sells it.
---
6) Mini practice exercise 🧠
Create three risers for the same 16-bar build, all resampling-only:
1. Clean riser: Filter + width only
2. Mid-grit riser: Add Saturator automation + light Glue
3. Nasty riser: Add Redux late + bandpass “tunnel” moment in the last 4 bars
Export them and A/B which one makes your drop feel biggest.
Goal: make the final 2 bars feel noticeably more urgent than the first 8.
---
7) Recap ✅
If you want, tell me your sub style (roller, jump-up, neuro, jungle) and I’ll suggest a riser “intensity curve” that matches that subgenre.
```

