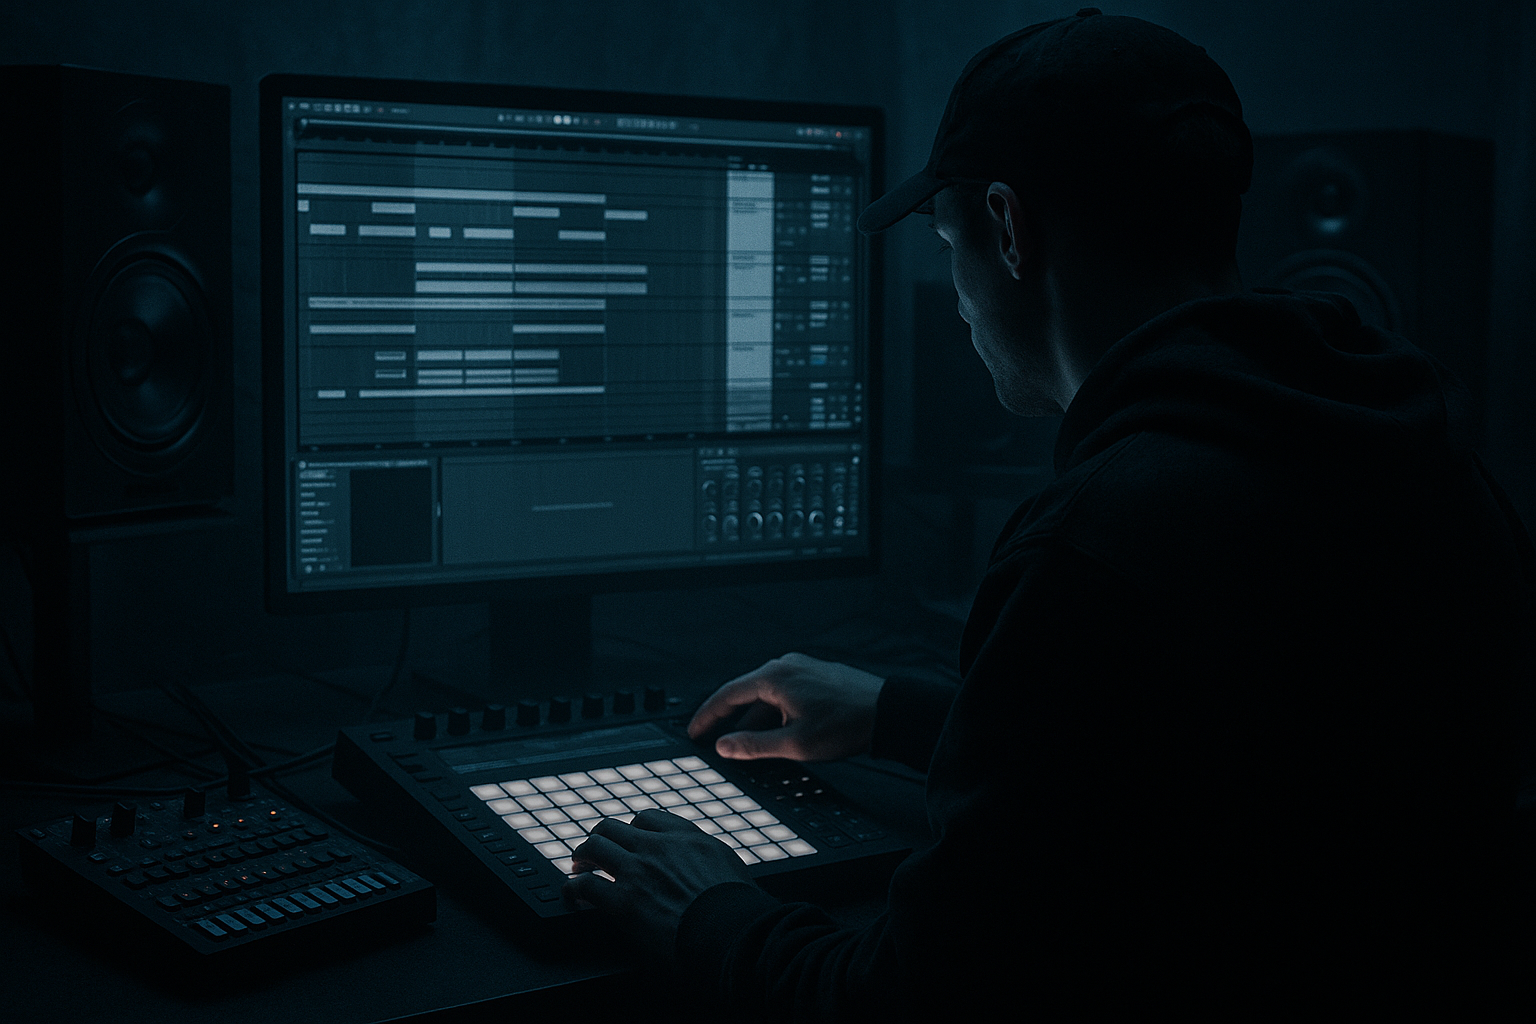
Main tutorial
Riser Stretch Method with Breakbeat Surgery in Ableton Live 12
1. Lesson overview
In drum and bass, risers are not just “whoosh” effects — they’re tension tools. A great riser can push a drop harder, glue a break edit together, and make an arrangement feel alive. In this lesson, you’ll learn a riser stretch method built from breakbeat surgery in Ableton Live 12.
Instead of using a generic synth rise, we’ll take a short breakbeat loop, slice it, stretch it, process it, and turn it into a gritty DnB riser. This works especially well for:
- build-ups into drops
- 8-bar or 16-bar transitions
- jungle-style breakdowns
- dark rolling DnB tension sections
- fake-outs before the drop 🔥
- a breakbeat-based riser that grows in energy over 1 to 8 bars
- a stretch effect that makes the loop smear into a tense upward motion
- a surgical break edit with filtered transients, pitch movement, and delay space
- a version that can sit under a DnB drop intro, pre-drop fill, or build section
- Amen break variations
- Think / Apache-style breaks
- any dusty roller loop with clear snare hits
- a chopped DnB break from your sample pack
- strong transients
- some room tone or ambience
- enough character to survive stretching
- Preserve: 1/16 or 1/8
- Transients: around 80–120
- Gain: adjust so the break sits comfortably
- kick hits
- snare hits
- small ghost notes
- a tiny bit of cymbal or room noise
- bars 1–2: sparse hits, lots of space
- bars 3–4: more frequent hits
- bars 5–6: denser pattern
- bars 7–8: rapid fragments leading to the drop
- start with a snare hit every bar
- add a kick pickup
- gradually increase to 1/8 and 1/16 slices
- finish with a snare roll-like fragment or repeated top-loop slices
- high-pass around 80–150 Hz
- cut muddy low-mids around 250–500 Hz if needed
- keep a little snare crack around 2–5 kHz
- Filter type: Low-pass 24 dB
- Cutoff: automate from about 200 Hz up to 16 kHz
- Resonance: 10–35%
- Drive: small amount if you want aggression
- Drive: 2–8 dB
- Soft Clip: On
- Output: compensate so it doesn’t jump too loud
- Ratio: 2:1 or 4:1
- Attack: 10–30 ms
- Release: Auto or around 100 ms
- aim for 2–4 dB gain reduction
- Time: 1/8, 1/8D, or 1/4
- Feedback: 20–45%
- Filter: darken the repeats
- Modulation: subtle
- Noise: optional for extra texture
- Decay: 2.5–6 seconds
- Predelay: 10–25 ms
- High Cut: around 6–10 kHz
- Low Cut: around 200–400 Hz
- raise/lower overall width
- narrow the beginning of the riser if needed
- widen the final 1–2 bars for impact
- Auto Filter cutoff: up
- Reverb send or wet amount: up
- Echo feedback: slightly up, then pull down at the end
- Saturator drive: gently up
- Utility width: up near the drop
- Volume: small ramp upward
- bars 1–4: slow rise
- bars 5–6: faster movement
- bars 7–8: intense lift and release
- automate Transpose in Simpler
- use Clip Pitch if working with audio
- pitch the sliced break fragments up by 1–12 semitones gradually
- keep the break low and gritty at the start
- raise it subtly over the build
- optionally jump it an octave in the final bar for a fake-out
- sparse break hits
- low-pass filtered
- small reverb
- minimal delay
- more slices
- cutoff opening
- more echo feedback
- slight saturation increase
- denser chopped rhythm
- wider stereo
- brighter transient detail
- stronger automation curve
- repeated snare fragments
- rapid stretch or smear
- maximum tension
- last-beat gap or stop before drop
- a reese drop
- a rolling sub-heavy intro
- a halftime fake-out
- a jungle re-entry
- Drum Buss
- white noise sweep
- vinyl hiss
- atmospheric pad tail
- one copy stays punchy and dry
- one copy gets washed out, delayed, and widened
- does it increase tension?
- does it stay clear?
- does it hit harder right before the drop?
- choose a strong breakbeat
- slice it into useful transient pieces
- stretch or smear it into a longer tension shape
- process it with filter, saturation, delay, and reverb
- automate movement over the build
- leave space before the drop for maximum impact
- a preset-style Ableton device chain
- a MIDI pattern example
- or a before-drop 8-bar arrangement template for DnB 🚀
You’ll use stock Ableton tools only, so this is fully beginner-friendly and easy to repeat.
---
2. What you will build
By the end, you’ll have:
We’ll build it in a way that feels authentic to jungle / liquid / neuro-inspired rolling bass music, not like a generic EDM riser.
---
3. Step-by-step walkthrough
Step 1: Pick the right breakbeat source
Start with a clean 1-bar or 2-bar breakbeat loop.
Good choices:
Important: choose a loop with:
If the break is too clean or too “finished,” it can sound weak when stretched. A slightly gritty break usually works better for this method.
---
Step 2: Put the break into Simpler or a clip
You have two easy options in Ableton Live 12:
#### Option A: Use Simpler
1. Drag the breakbeat sample onto a MIDI track.
2. Ableton will load it into Simpler.
3. Set playback mode to Classic or Slice depending on your taste.
For this lesson, use Classic first. That gives you a straightforward stretch workflow.
#### Option B: Use an audio clip directly
1. Drag the break into an audio track.
2. Double-click the clip to open it in Clip View.
3. Turn on Warp.
For beginners, this is often the easiest route for editing and stretching.
---
Step 3: Warp the break properly
This is where the “stretch” method begins.
In the audio clip:
1. Turn Warp on.
2. Set warp mode to:
- Beats for punchy drum preservation
- Complex Pro if the break is more textured and you want smoother smearing
For DnB break surgery, start with Beats.
Suggested settings:
If you want the riser to feel more washed out and atmospheric, try Complex Pro later.
Goal: keep the groove clear enough that it still feels like a break, but elastic enough to stretch into tension.
---
Step 4: Slice the break into useful pieces
Now we do the surgery ✂️
You want to isolate:
There are two ways to do this:
#### Method A: Slice in Simpler
1. Right-click the break clip.
2. Choose Slice to New MIDI Track.
3. Slice by:
- transients
- 1/8 notes
- or 1/16 notes if the break is busy
This creates a playable slice kit.
#### Method B: Manual audio edits
1. Duplicate the audio clip.
2. Cut the clip into small regions.
3. Keep only the best transient moments.
For beginner workflow, slice to MIDI track is the easiest.
---
Step 5: Build a rising pattern from the slices
Now map the slices into a simple buildup.
Use a MIDI clip and arrange the slices in this kind of order:
A practical pattern idea:
This keeps the rise musical rather than random.
---
Step 6: Stretch the break into a tension bed
This is the core of the method.
Take one of these approaches:
#### Approach A: Long warp stretch
1. Take a short break fragment.
2. Duplicate it across several bars.
3. Stretch the clip longer while Warp is enabled.
4. Let Ableton smear the transient texture.
This creates a grainy, unstable riser bed that works great under a drop intro.
#### Approach B: Freeze a slice into a texture
1. Process the break with reverb and delay.
2. Render or freeze/flatten the result.
3. Re-import it and stretch it across the build.
This gives a more cinematic DnB rise.
#### Approach C: Layer repeated slices with automation
1. Duplicate a snare or top-hit slice.
2. Repeat it faster and faster.
3. Automate filter cutoff and volume.
4. Stretch the last clip tail so it blooms into the drop.
This feels very jungle-inspired.
---
Step 7: Add a device chain for riser movement
Here’s a practical stock Ableton chain that works really well:
#### Device chain order:
1. EQ Eight
2. Auto Filter
3. Saturator
4. Compressor or Glue Compressor
5. Echo
6. Reverb
7. Utility
Let’s set it up.
---
#### EQ Eight
Use EQ Eight to clean the source first.
Suggested starting moves:
For dark DnB risers, don’t leave too much bass in the riser. The low end should be reserved for the kick and sub.
---
#### Auto Filter
This is your main riser motion tool.
Settings to try:
Automate cutoff upward over the build.
For a darker feel, use a lower starting point and a slower sweep.
---
#### Saturator
Use Saturator to add edge.
Suggested settings:
This helps the stretched break keep presence as it gets washed out.
---
#### Compressor / Glue Compressor
Use compression to glue slices together.
Suggested starting point:
This keeps the rise controlled and more “finished.”
---
#### Echo
Ableton’s Echo is great for DnB buildup energy.
Try:
A dotted delay can create that classic lift into the drop. ⚡
---
#### Reverb
Use reverb to create size and smear.
Suggested settings:
If you want a more jungle-style wash, push the decay longer and automate the send amount upward near the end.
---
#### Utility
Use Utility last for gain control and stereo shaping.
Useful settings:
A nice trick: keep the early part narrower, then automate width wider as the drop approaches.
---
Step 8: Automate the important controls
Automation is what makes the riser feel alive.
Automate these parameters over 4 or 8 bars:
#### Simple automation shape:
At the very end, you can do a short mute or gap just before the drop. That negative space makes the drop hit harder.
---
Step 9: Add a pitch rise for extra tension
To make it more obvious, combine your break stretch with pitch movement.
Options:
A common DnB move:
Be careful not to pitch it too much or it can start sounding cartoonish. A subtle rise often sounds heavier.
---
Step 10: Arrange it like a real DnB buildup
Here’s a strong arrangement layout for an 8-bar rise:
#### Bars 1–2
#### Bars 3–4
#### Bars 5–6
#### Bars 7–8
This works beautifully into:
---
4. Common mistakes
1. Making the riser too loud
A riser should build tension, not dominate the mix. If it is louder than your drums or sub, it will feel messy.
2. Leaving too much low end
Breakbeat risers often contain kick energy, but too much low end will clash with the drop. High-pass it.
3. Over-warping the transient detail
If you stretch too aggressively, the break may lose punch and sound mushy. Balance smear with clarity.
4. Using too much reverb too early
If the reverb is huge from the start, you lose the sense of progression. Save the biggest space for the last part of the rise.
5. No automation
Static risers are boring. Even small changes in filter, width, or saturation make a huge difference.
6. Forgetting the drop impact
Always leave a tiny pocket of silence or contrast before the drop if possible. That contrast is part of the excitement.
---
5. Pro tips for darker/heavier DnB
Use band-limited risers
For darker DnB, keep the riser focused in the midrange and upper mids. Let the sub stay clean for the drop.
Saturate the break before stretching
A little Saturator or Drum Buss before stretching can make the slices feel more aggressive.
Useful stock device:
- drive lightly
- use transient control carefully
- add a little boom only if it won’t muddy the mix
Add a second layer of noise
Layer a very quiet:
Then filter it with Auto Filter so it moves with the break. This gives the riser more width and menace.
Use reverse break fragments
Reverse one or two sliced hits and place them in the last bar. This can sound very sinister in neuro or darkstep styles.
Try rhythmic delay as motion
Set Echo to a dotted setting and automate the feedback briefly upward at the end. That creates a “pulling forward” feel before the drop.
Process in parallel
Duplicate the track:
Blend them together for a bigger, more professional result.
---
6. Mini practice exercise
Try this in your next project:
Exercise: 4-bar break riser
1. Find a 1-bar amen-style loop.
2. Slice it to MIDI track.
3. Choose just:
- 2 snare hits
- 2 kick hits
- 2 top fragments
4. Build a 4-bar riser:
- bar 1: sparse
- bar 2: slightly denser
- bar 3: add delay and more filter opening
- bar 4: repeat a snare fragment and end on a short gap
5. Add this device chain:
- EQ Eight
- Auto Filter
- Saturator
- Echo
- Reverb
- Utility
6. Automate cutoff, feedback, and width.
Listen back and ask:
Do it twice: once with a cleaner liquid DnB feel, and once with a darker, dirtier jungle feel.
---
7. Recap
You just built a DnB riser using stretch and breakbeat surgery in Ableton Live 12.
The core method:
This technique is powerful because it sounds genre-authentic. In drum and bass, the breakbeat itself is part of the energy, so turning it into a riser keeps the track feeling connected and alive.
If you want, I can also give you:

