Main tutorial
1. Lesson Overview
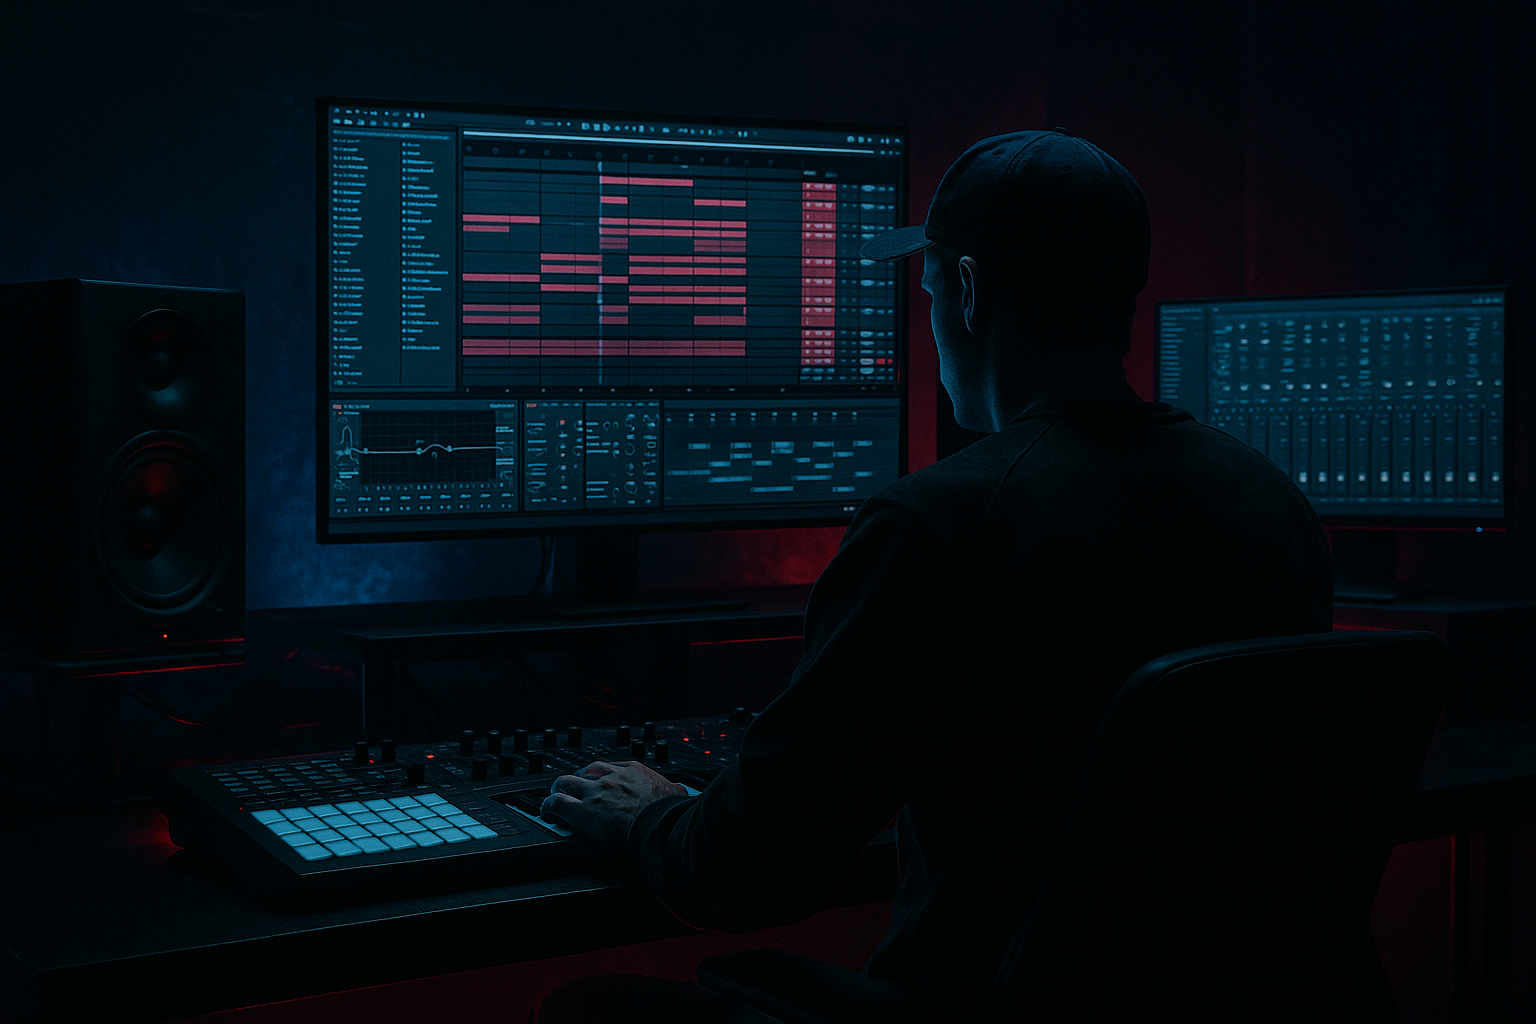
This intermediate Mixing lesson demonstrates the Rockwell approach: drive a granular burst in Ableton Live 12 for warm tape-style grit. You’ll design a repeatable audio-effect chain using Live’s stock devices (Grain Delay, Saturator, Vinyl Distortion, EQ Eight, Compressor/Glue, Auto Filter, Utility) to turn a short drum hit or synth hit into a textured, tape-like granular burst that sits in a Drum & Bass mix without muddying the low end.
2. What You Will Build
- A dedicated burst FX chain (Audio Effect Rack) that:
- A quick resampling technique to turn the processed burst into a single-shot usable as a DnB element.
- Overusing feedback in Grain Delay: causes long smeared tails that clutter the mix; keep feedback low for bursts.
- Letting saturation add low-frequency distortion: always high-pass the processed burst to protect the sub region.
- Too much Vinyl Distortion or Redux: creates obvious crackle or harshness; subtlety is key for tape vibe.
- Not using parallel/dry blend: full-wet granularization can remove attack; keep a dry blend for punch.
- Excessive stereo width: granular processes can create phasey stereo artifacts; use Utility or mid/side EQ to preserve mono compatibility.
- Mapping too many opposing controls to single macros: avoid confusing macro behavior — keep mappings intuitive (e.g., one macro = one sonic function).
- Use tiny amounts of saturation upstream (before Grain Delay) and downstream for different flavors: upstream adds coloration to grains, downstream controls overall warmth.
- Create two GrainBurst chains with different settings (one tight short burst, one looser long tail) and crossfade between them with Rack macros for instant variation.
- Resample at 24/48 or higher so your one-shot retains headroom for mastering saturation.
- For authentic tape wow, automate a Frequency Shifter very subtly rather than obvious chorus — tiny random movement reads more like tape than an LFO sweep.
- When designing for Drum & Bass, keep the burst energy in 200 Hz–6 kHz range; this is where presence lives without stealing the low-end center.
- Save your Audio Effect Rack as a Live preset labeled “Rockwell Granular Tape Burst” for reuse.
- Materials: a snare sample from your DnB kit.
- Task (30–45 minutes):
- Converts a short transient into a controlled granular spray
- Adds soft tape-style saturation and mechanical vinyl noise
- Keeps sub-energy intact while delivering warm harmonic grit
- Exposes 4 mapped macros for quick creative control (Burst Size, Drive, Tone, Wet)
3. Step-by-Step Walkthrough
Notes before starting: this assumes you know basic clip editing, device insertion, and mapping macros in Ableton Live 12.
A. Prepare the source
1. Choose a short transient (snare, rimshot, hat, synthesized hit, or vocal stab). Duplicate the track (Cmd/Ctrl+D) and name the duplicate "Burst Source".
2. On the duplicate, isolate a short region: cut/consolidate a 1/16 to 1/8 note slice that contains the transient you want to granularize. Consolidate (Cmd/Ctrl+J) to make it a clean clip so playback is consistent.
B. Create the effect chain (on the "Burst Source" track)
3. Create an Audio Effect Rack (right-click in Device area → Create Audio Effect Rack). We will create a parallel chain structure:
- Open the Rack, create two chains: "Dry" and "GrainBurst".
- Put the Dry chain first and set its gain to taste (we’ll keep some unprocessed transient if needed).
4. Insert Grain Delay on the GrainBurst chain (Device → Grain Delay)
- Purpose: produce the granular spray. Suggested starting controls:
- Delay time (L/R): set low (0–30 ms) to avoid obvious echoes. Use very short times for dense smear.
- Spray (or Spread): increase to introduce randomness; start around 40–70%.
- Pitch / Grain Pitch: introduce gentle pitch variation (±0–3 semitones) for tape-like warble.
- Frequency / Grain Rate: set moderate to high to create a burst (experiment 8–25 Hz equivalent).
- Feedback: keep low (0–12%) for a single burst; raise slightly if you want a longer, evolving tail.
- Key idea: short delay + high spray + small pitch randomness = a “burst” of grains rather than a long repeating echo.
5. Add Auto Filter after Grain Delay
- Lowpass with a gentle slope to remove brittle high frequencies from the grains.
- Start frequency around 8–12 kHz and adjust to taste; this controls the perceived warmth.
6. Add Saturator (Device → Saturator)
- Mode: keep Soft Clip enabled (gives gentle tape-like rounding).
- Drive: modest (2–6 dB) — enough to add harmonics but not hardcore clipping.
- Output: compensate so level is similar to bypassed.
- Use the “Analog Clip” curve or a similar gentle curve.
7. Add Vinyl Distortion (Device → Vinyl Distortion)
- Purpose: introduce micro-noise, mechanical grit, and very subtle flutter.
- Reduce the “Dust / Wear” parameters to taste — typically just 5–20% for subtle character. Don’t overdo it.
- If there’s a “Warp” or “Scratch” control, keep it minimal; we want texture, not audible pops.
8. Insert EQ Eight after Saturation/Vinyl
- Roll off below ~100–120 Hz (High-pass) to keep burst from adding unwanted sub energy in a DnB mix.
- Slight dip around 300–600 Hz if the burst causes muddiness.
- Gentle high shelf cut above 8–10 kHz if the grains sound too brittle.
9. Glue Compressor (or Compressor) for cohesion
- Ratio 2:1 to 4:1, medium attack (~10–30 ms) so transients remain punchy, release auto or medium-fast.
- Threshold to get a couple dB of gain reduction. This tames and glues the burst into a nice body.
10. Optional: Frequency Shifter or Chorus for slow wow
- Add a tiny amount of Frequency Shifter or Chorus with low rate and depth to simulate tape flutter. Depth very small (subtle), rate low (0.1–1.0 Hz).
- Keep this subtle; it should add “movement” not obvious pitch modulation.
11. Utility & Stereo control
- Add Utility at chain end. Use Width to reduce extreme stereo components if the burst crowds the mix (set to 70–90% stereo).
- Map Utility Gain to a Macro for quick level balancing.
C. Map Macros (use the Audio Effect Rack Macros)
12. Map these 4 macros:
- Burst Size → Grain Delay Spray/Grain Size or Frequency (controls how grainy/long the burst is)
- Drive → Saturator Drive
- Tone → Auto Filter Frequency / EQ Q (controls brightness)
- Wet → Chain Volume of GrainBurst vs Dry chain (or map Grain Delay global dry/wet)
D. Create short bursts and resample for one-shots
13. Trigger the consolidated clip as 1/16 or 1/8 bursts. Use clip transposition or follow actions if you want repeated bursts.
14. Once you like a setting, resample:
- Create a new audio track, set its input to “Resampling” (or route the Burst Source track to a return and record).
- Record 2–4 takes of the burst. Trim, consolidate, and use fades if necessary.
15. Final polish on the resampled audio:
- Apply gentle compression to glue.
- Use Redux sparingly if you want extra lo-fi grit; otherwise, keep it analog-warm.
- Add a small reverb or plate with short decay if you want space — but keep it short for DnB energy.
E. Mix integration
16. Insert the resampled burst back into the mix. High-pass everything below 120 Hz on the burst to preserve kick/sub integrity.
17. Use sidechain compression (Compressor with sidechain from kick) if the burst competes with the kick in the low mids.
18. Automate Macro controls to create variation across bars (e.g., increase Drive or Burst Size on fills).
4. Common Mistakes
5. Pro Tips
6. Mini Practice Exercise
1. Duplicate the snare track; consolidate a 1/16 slice.
2. Build the Audio Effect Rack following steps 3–11.
3. Map macros for Burst Size, Drive, Tone, Wet.
4. Create a 2-bar loop that triggers the burst on the “&” off-beats (e.g., 1/8 off-beats).
5. Resample one burst to audio, high-pass under 120 Hz, and place the one-shot under the main snare on bar 9 to accent a fill.
6. Export a short stem of the burst and compare pre/post processing: note how saturation and grain change presence and warmth.
7. Recap
The Rockwell approach: drive a granular burst in Ableton Live 12 for warm tape-style grit combines short-grain processing (Grain Delay) with soft saturation (Saturator/Soft Clip), subtle vinyl/mechanical texture (Vinyl Distortion), careful EQing to protect low end, and gentle modulation (Frequency Shifter/Chorus) for tape-like movement. Build this as an Audio Effect Rack with mapped macros, resample to create one-shots, and integrate using high-pass filtering and sidechain if necessary. Use the provided parameter starting points and the practice exercise to make a DnB-ready, warm, gritty burst that enhances fills and transitions without overpowering the low end.

