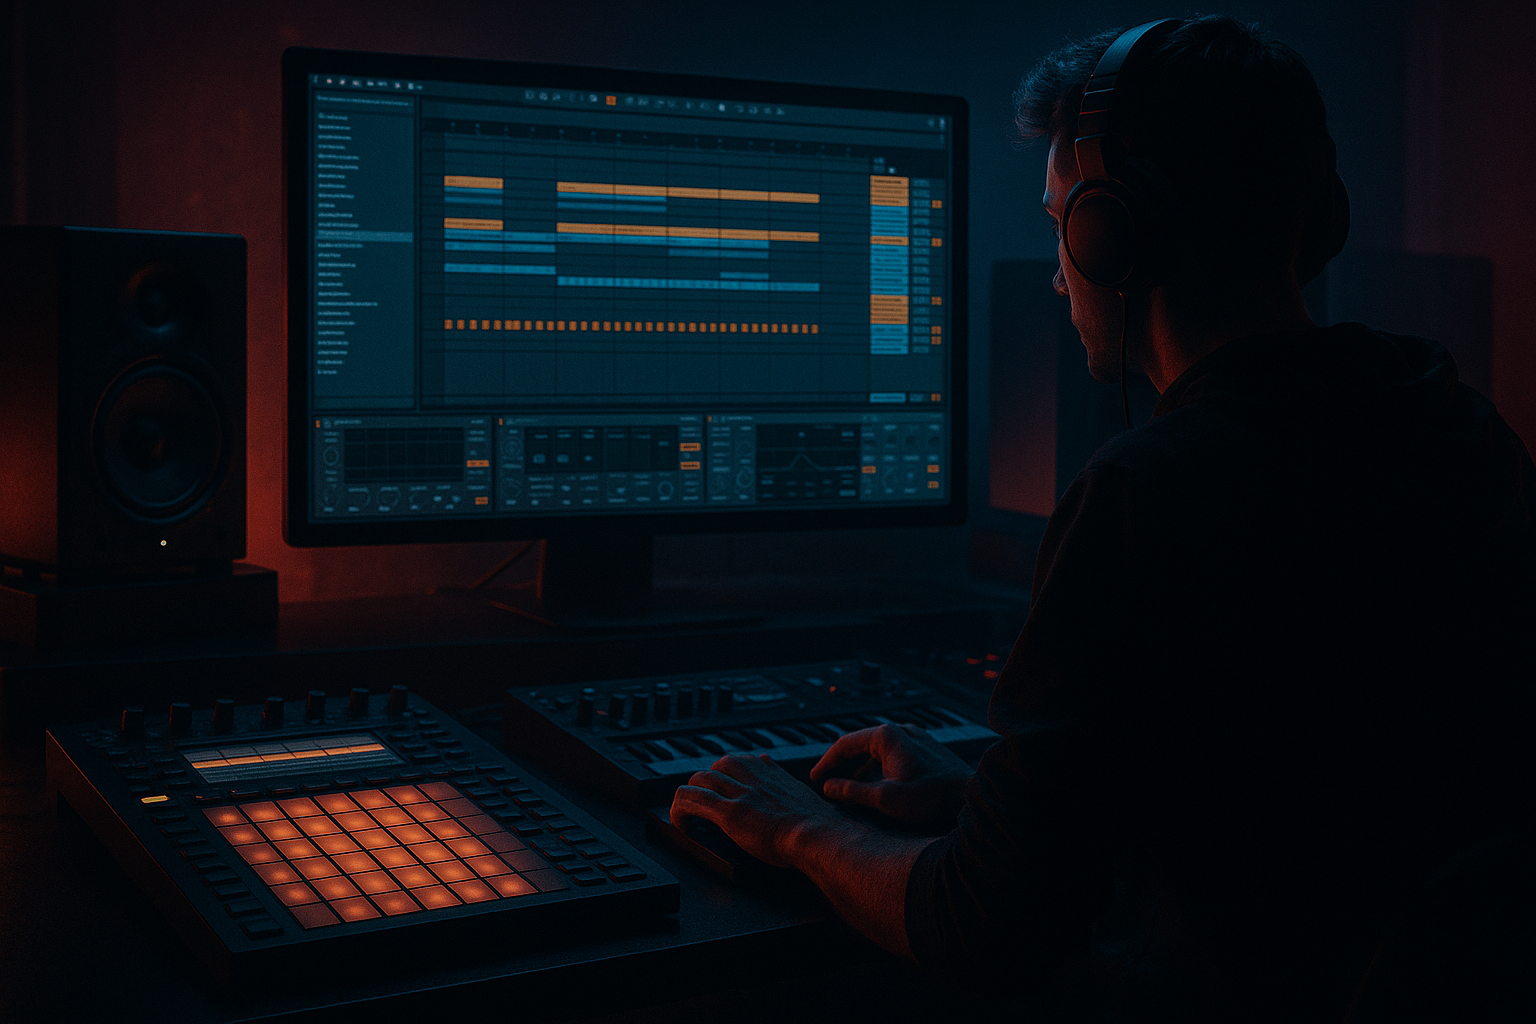
Main tutorial
Lesson Overview
This lesson is about building a warm, tape-style drum bus for a roller / jungle / oldskool DnB track inside Ableton Live 12. The goal is not to make your drums “perfect” or super clean — it’s to make them feel glued, gritty, alive, and slightly worn-in, like a classic break-driven drum section that sits naturally under a bassline and keeps the groove moving.
In Drum & Bass, especially in rollers and jungle-influenced tunes, the drum bus is a big part of the personality. A good bus can make a break sound like it was sampled from a dusty record, chopped, layered, and pushed through a warm console or tape machine. That vibe matters because DnB is often all about energy through repetition: the drums need to loop hard without sounding sterile.
We’ll focus on a beginner-friendly Ableton workflow using stock devices only, with practical routing and simple settings you can actually use today. You’ll learn how to shape your drum bus so it gives you:
- warmth
- grit
- glue
- controlled punch
- oldskool jungle character
- a drum group with kick, snare, hats, and a break layer
- a bus chain that adds warm saturation, subtle compression, and filtered grit
- a drum sound that feels:
- a version that works for:
- Kick
- Snare / clap layer
- Hi-hats
- Break loop or break chop
- Optional: top percussion
- Put each drum sound on its own track, or use a Drum Rack
- Select all drum tracks and press Cmd/Ctrl + G to group them
- Rename the group DRUM BUS
- Put a Utility on the drum bus and start with Gain at -3 dB to -6 dB if needed for headroom
- On individual drum tracks, cut unnecessary low end:
- Keep the kick and snare punchy before bus processing
- Ratio: 2:1 or 4:1
- Attack: 10 ms or 30 ms
- Release: Auto, or 0.3–0.6 s
- Threshold: aim for around 1–3 dB of gain reduction
- Turn on Soft Clip if you want a little extra bite
- slow the attack a little
- reduce gain reduction
- or use less compression and get more glue from saturation later
- Drive: +1.5 dB to +5 dB
- Soft Clip: On
- Curve Type: try Analog Clip or the default curve
- Output: turn down so the level matches bypassed volume
- keep the Drive moderate
- avoid extreme clipping
- let the harmonics thicken the snare and break mids
- Drive: 5% to 20%
- Crunch: 5% to 15%
- Boom: very low, around 0% to 10% if needed
- Transient: slightly positive if you want more punch, or slightly negative if the break is too spiky
- Damp: use to tame top-end brightness if the hats are harsh
- Add a little Drive
- Add a little Crunch
- Leave Boom almost off unless you specifically want extra low thump in the kick layer
- High-pass very gently around 25–35 Hz if there’s rumble
- Cut a little mud around 200–350 Hz if the bus gets boxy
- Add a small presence lift around 2–5 kHz if the snare needs definition
- If the hats are too bright, make a gentle dip around 7–10 kHz
- -2 to -4 dB cuts are often enough
- +1 to +2 dB boosts are usually plenty
- Saturator
- optional Redux at a very light amount
- EQ Eight to shape the tone
- Saturator Drive: +6 dB to +10 dB
- Redux: very subtle, try 12-bit or a tiny bit of downsampling only
- EQ Eight: high-pass around 120–200 Hz so the dirt doesn’t fight the kick/sub
- Start with the send very low
- Increase until you hear the drums gain texture, not noise
- Try Groove Pool with a swung funk groove if your track wants a looser jungle feel
- Nudge certain hat hits or break chops slightly late for drag
- Add ghost notes before the snare or after it to create forward motion
- Use short fills every 8 or 16 bars
- In the 8-bar intro, keep the break filtered and sparse
- In the 16-bar drop, open the hats and let the full bus chain hit
- On bar 9 or 17, add a small snare fill or reversed break slice to signal the next phrase
- Saturator Drive up slightly before a drop
- Drum Buss Crunch increase in the second half of an 8-bar phrase
- EQ Eight high shelf dip in the intro, then open it in the drop
- Glue Compressor threshold a tiny bit lower in the main drop section if you want extra push
- Bars 1–8: filtered drum intro, less saturation, fewer hats
- Bars 9–16: full groove, bus saturation engaged, break layers fuller
- Bars 17–24: add fills, reverse hits, and a small bus drive lift for energy
- Bars 25–32: strip back for a DJ-friendly transition or bass switch-up
- Put a Utility on your master or drum bus and check mono
- Lower the monitor volume
- Listen for kick and snare balance against the sub
- Make sure the saturation is adding character, not masking the bass
- the sub should stay clean and centered
- the kick should punch through without fighting the bassline
- the snare should remain the main groove anchor
- start with a clean, organized drum group
- use light compression for glue
- add moderate saturation for warmth and grit
- shape the tone with EQ Eight
- use parallel dirt for extra character
- automate the bus to support arrangement movement
- always check how the drums sit with the bass in mono
This is especially useful when your track has a subby bassline, a Reese, or a rolling low-end pattern and you need the drums to feel heavy without getting harsh or messy.
What You Will Build
By the end of this lesson, you’ll have a drum bus chain in Ableton Live 12 that can turn a basic drum group into a tape-worn DnB roller.
Specifically, you’ll build:
- tight in the low end
- slightly crunchy in the mids
- softened at the top without losing presence
- glued together like a single performance
- 146–174 BPM jungle / DnB
- half-time intros
- full-energy drops
- DJ-friendly arrangement sections
You’ll also learn how to make the bus support a roller arrangement, meaning the drums keep a consistent forward motion while still leaving room for bass call-and-response, fills, and switch-ups.
Step-by-Step Walkthrough
1) Build a simple DnB drum group first
Start with a basic drum rack or audio tracks grouped together. Keep it simple:
If you’re making oldskool jungle or a roller, a break sample is often the backbone. You can use a chopped Amen-style break, a loose funk break, or even your own programmed 2-step pattern with ghost notes.
In Ableton Live:
Why this matters: the bus formula only works properly when your drums are already organized. In DnB, the groove usually comes from the relationship between kick, snare, and break movement, so you want a group that is easy to shape together.
2) Clean up the raw drum layer before adding grit
Before any saturation, make sure the source sounds are not fighting each other.
Use these basic moves:
- Hats / tops: use EQ Eight and high-pass around 150–300 Hz
- Break layers: high-pass around 80–150 Hz if the kick and sub need space
If your break sample has too much boom, use EQ Eight to gently reduce muddiness around 200–400 Hz by about -2 to -4 dB with a medium Q.
Why this works in DnB: drum bus saturation sounds much better when it’s fed a clean signal. If the low end is already messy, the tape-style grit will smear your kick and bass relationship.
3) Add gentle glue compression with Glue Compressor
On the DRUM BUS, insert Glue Compressor.
Start with these settings:
Beginner-friendly rule: don’t smash it. You want the drums to breathe and feel like one unit, not flatten into a lifeless block.
If your snare is losing snap:
This is especially useful for roller DnB because the drum loop often repeats for long sections. Glue Compressor helps the loop feel consistent while still moving.
4) Add warm tape-style grit with Saturator
Now comes the core of the formula: Saturator.
Place Saturator after Glue Compressor.
Start with these settings:
If the sound gets too sharp, lower the Drive and use Output to keep the signal level honest. The goal is not “more volume,” it’s more density.
For a more tape-like feel:
If your drums feel too clean even after saturation, you can add a second gentle stage later using Drum Buss or Redux at very low amounts.
Why this works in DnB: jungle and oldskool drum energy often comes from breaks being driven slightly hard, which creates harmonics and perceived loudness. Those extra harmonics help drums cut through big sub bass without needing harsh EQ boosts.
5) Use Drum Buss for weight and controlled crunch
Ableton’s Drum Buss is a great stock device for this style because it gives you warmth, transient shaping, and built-in saturation in one place.
Add Drum Buss after Saturator, then try:
For a warm oldskool vibe, keep the settings subtle. If the drums start sounding distorted in an ugly way, back off the Crunch first.
A good beginner approach:
This device is powerful for DnB because it can make your drum group feel more physical without requiring a complicated chain.
6) Shape the tone with EQ Eight after the saturation
After compression and saturation, use EQ Eight to fine-tune the bus.
Try these moves:
Keep EQ moves small:
If you want more tape-style warmth, don’t over-brighten the top end. Oldskool jungle drums often feel slightly rolled off compared to modern clean neuro drums.
7) Add a Parallel Return for extra dirt without destroying the main drum bus
This is one of the most useful beginner tricks.
Create a Return Track in Ableton and put this chain on it:
Set the Return for parallel processing:
Then send a little of your drum group to this return:
This is a great way to add the “cheap sampler / dusty break / cassette wobble” feel without ruining the main punch.
In a DnB context, parallel dirt helps the break stay audible on smaller systems while the clean path keeps the kick and snare stable.
8) Use groove and break edits to make the bus feel musical
A drum bus is not only about tone — it’s also about composition.
In Ableton Live:
Musical example:
This is where composition matters. A warm drum bus sounds much better when the arrangement gives it space to breathe and evolve.
9) Automate the bus for drop movement and tension
Even a beginner should automate at least one or two things.
Good automation ideas:
Example arrangement approach:
This creates the classic DnB feeling of tension and release without needing a huge number of elements.
10) Check the drum bus against bass in mono and at low volume
The last step is about making sure the formula actually works in a DnB mix.
Do this:
In DnB, the low-end relationship is everything:
If the bus sounds good quietly, it usually translates well. That’s a strong sign your roller drum formula is working.
Common Mistakes
Overdriving the bus
Too much saturation makes drums fuzzy and smaller, not bigger.
Fix: reduce Drive, use Output compensation, and compare bypass on/off at matched volume.
Crushing the groove with too much compression
If the drums lose life, the bus is doing too much.
Fix: use less gain reduction, slower attack, or lighten the threshold.
Letting low-end clutter build up
Breaks, kicks, and bass can all fight in the same range.
Fix: high-pass non-bass drum elements and trim muddy frequencies around 200–400 Hz.
Making the top end too sharp
Oldskool DnB can be gritty, but not painfully brittle.
Fix: use Drum Buss Damp, a gentle EQ cut, or lower parallel send levels.
Ignoring arrangement
A great drum bus still needs a good phrase structure.
Fix: add fills, filter moves, and section changes every 8 or 16 bars so the loop feels like a track, not a static loop.
Pro Tips for Darker / Heavier DnB
1) Layer a clean kick with a dusty break
Use a punchy kick for the low-mid impact and a break layer for movement. This gives you both modern weight and jungle character.
2) Keep the sub mono and the drums wide only where it helps
Let hats and tops breathe, but keep the core drum energy centered. This helps the bassline feel huge.
3) Use subtle clipping instead of extreme EQ boosts
A little saturation often gives you more perceived punch than boosting highs or lows aggressively.
4) Automate bus drive into fills
A small Drive increase before a snare fill or switch-up can make the transition feel bigger and dirtier.
5) Resample your drum bus
Once the bus sounds good, record it to audio and chop it. This is very jungle-friendly and can give you unique one-shot fills, reverses, and edited loop sections.
6) Make the drums respond to the bassline
If the bassline is busy, simplify the hats. If the bassline is sparse, let the break groove more. In DnB, the drums and bass should feel like one conversation.
Mini Practice Exercise
Spend 10–20 minutes making a 16-bar drum section with this formula:
1. Load one kick, one snare, one hat loop, and one break sample.
2. Group them into a DRUM BUS.
3. Add Glue Compressor, Saturator, Drum Buss, and EQ Eight in that order.
4. Set the bus so the drums sound warm and gritty, but not crushed.
5. Create one Return Track for extra dirt and send only a little of the drum bus to it.
6. Build a simple 16-bar arrangement:
- bars 1–8: filtered intro groove
- bars 9–16: full drop groove
7. Automate Saturator Drive slightly higher in bars 9–16.
8. Add one fill at the end of bar 8 or 16 using a chopped break slice.
9. Check the whole section in mono and at low volume.
10. Save the chain as a preset or save the set as a template.
Goal: make the drums feel like a real roller section, not just a loop.
Recap
The warm tape-style drum bus formula for jungle and oldskool DnB is built on a few simple ideas:
If you keep the settings subtle and the arrangement musical, Ableton Live 12’s stock devices can get you very close to that classic worn, rolling, underground DnB drum feel. The magic is not in making the drums perfect — it’s in making them feel alive, physical, and ready to drive the track forward 🔥

