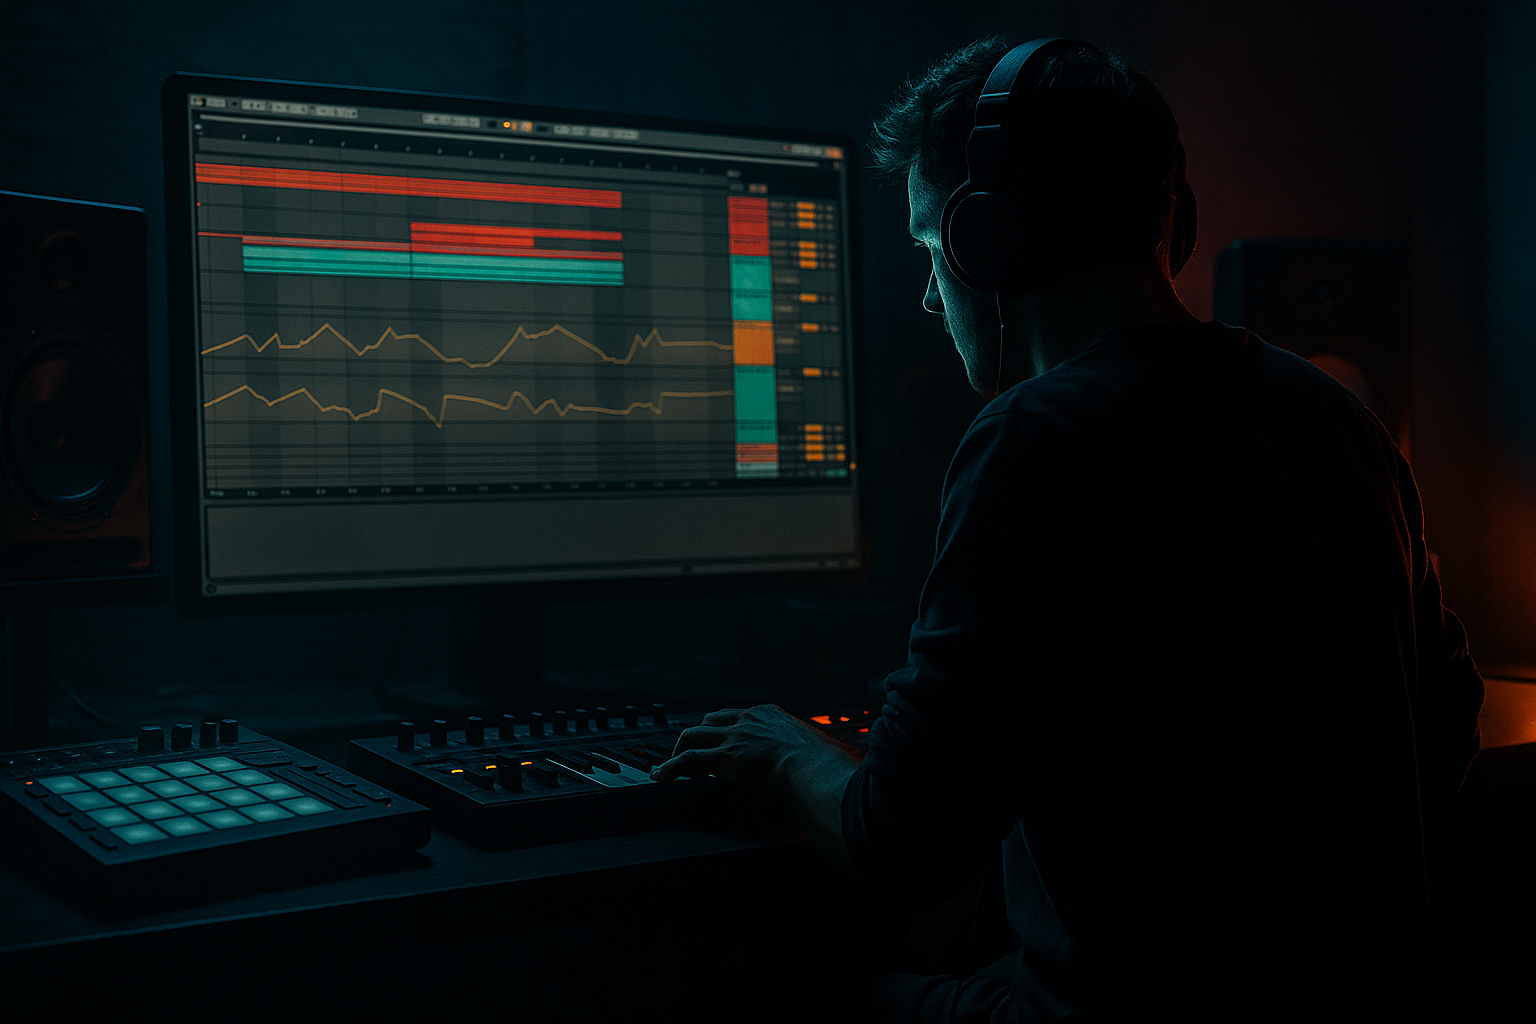
Main tutorial
Roller Amen Variation Blend Deep Dive Using Session View to Arrangement View in Ableton Live 12
1. Lesson overview
In this lesson, you’re going to build a rolling drum & bass arrangement that blends multiple amen variations smoothly from Session View into Arrangement View in Ableton Live 12. The goal is to create a tune that feels alive: steady rolling energy, evolving breaks, and enough variation to avoid loop fatigue — without losing the forward motion that makes DnB hit hard. 🥁⚡
We’ll focus on:
- building a roller foundation
- designing amen break variations
- using Session View as a sketchpad
- recording into Arrangement View
- shaping transitions with automation, fills, and impact points
- keeping the groove powerful and clean in a dark/heavy DnB context
- one amen loop for the main groove
- one for tension
- one for fills and transitions
- one for breakdown or switch-up energy
- Drum Rack or audio break loops
- a roller sub bass
- a mid-bass or reese layer
- 3 amen variations
- FX transitions
- a basic intro → drop → variation → turnaround structure
- a consistent pulse
- micro-variation in the break every 1–2 bars
- bass that locks to the drum phrasing
- transitions that don’t break the groove
- Session View = testing your loops like a DJ
- Arrangement View = telling the full story
- 170–174 BPM for classic roller/jungle territory
- 174 BPM is a very common sweet spot
- use 1 Bar loop length initially
- zoom in later for detailed edits
- enable Snap to Grid, but don’t be afraid to temporarily turn it off for break nudges
- Return A: Short Reverb
- Return B: Delay
- optional Return C: Dub Echo-style movement
- Reverb
- Echo
- Delay
- Utility
- Saturator
- Glue Compressor
- Drum Buss
- EQ Eight
- Auto Filter
- kick/snare hits
- ghost notes
- hat tails
- little cymbal stabs
- mute and unmute bits quickly
- duplicate hits
- change one ghost note instead of the whole loop
- create tension with tiny edits rather than big changes
- strong backbeat
- essential ghost notes
- enough continuity for the bass to sit on top
- main drop sections
- first 8 bars of the groove
- removing one kick
- adding a ghost snare before the main snare
- adding a hat shuffle
- reversing a tiny break fragment
- pitching a small slice up or down
- bars leading into a switch
- second half of a 16-bar phrase
- pre-fills
- snare roll into the next bar
- more open hats
- a half-bar stutter
- a one-beat gap before the downbeat
- a mini chop with FX
- bar 8 or 16
- transitions into breakdowns
- switch-ups before the next section
- one clean break
- one crushed break with Saturator + Compressor + EQ Eight
- blend subtly
- Operator
- Wavetable
- or Simpler if you want a sample-based sine/sub
- supports the kick/snare rhythm
- leaves room for the snare
- uses long notes and occasional offbeat movement
- avoids cluttering the amen pattern
- keep the sub mostly mono
- avoid too many notes
- let note lengths breathe
- Attack: 1–5 ms
- Release: 50–120 ms
- Ratio: 2:1 to 4:1
- Adjust until the bass ducks cleanly without sounding pumpy unless that’s the style
- Scene 1: Intro
- Scene 2: Groove A
- Scene 3: Groove B
- Scene 4: Fill
- Scene 5: Drop Variation
- Scene 6: Breakdown
- Scene 7: Re-entry
- atmosphere
- filtered amen texture
- sub bass absent or minimal
- FX hits
- Amen Main
- Sub Bass
- light reese or texture
- Amen Variation 1 or 2
- Sub Bass
- extra percussion
- maybe a subtle top loop
- Amen Variation 3
- bass note sustain or silence
- riser / impact
- Amen Main + a different bass phrase
- extra ghost break layer
- reese movement
- 1 Bar for clean phrase-based performance
- 1/2 Bar if you want sharper edits
- Global Quantization: 1 Bar is a safe starting point
- 4 bars for subtle movement
- 8 bars for common roller phrasing
- 16 bars for bigger evolution
- Bars 1–8: Intro build
- Bars 9–16: Main groove
- Bars 17–24: Variation and lift
- Bars 25–32: Fill and turnaround
- trim transitions
- tighten clip starts
- remove accidental launches
- automate filter movement
- add FX hits where needed
- filtered amen texture
- lowpassed bass or no bass
- atmospheric pad or field noise
- subtle riser
- Amen Main
- sub bass enters
- reese comes in slowly
- keep the energy tight, not overcrowded
- switch to Amen Variation 1
- add extra ghost hits
- increase bass motion slightly
- Amen Variation 3
- remove bass for 1 beat or 1 bar
- use a fill or impact
- re-enter with full groove
- Auto Filter cutoff
- Reverb send
- Delay send
- Utility gain
- Saturator drive
- Bass filter cutoff
- Reese width or unison movement
- Keep the reese out of the sub region
- High-pass around 90–150 Hz depending on the sound
- Let it occupy 150 Hz to 1 kHz
- Use automation to open the filter at phrase changes
- Drive lightly
- Transients slightly up if needed
- keep Boom subtle
- Glue Compressor for a little cohesion
- EQ Eight if the break stack gets muddy
- punch
- movement
- a sense of pressure
- not a flattened loop
- main
- tension
- fill
- one version dry and mono-ish
- one version with stereo hat shimmer
- one version with heavier saturation
- Simpler
- Corpus for weird resonance textures
- Auto Filter
- Redux for gritty top-end if used carefully
- automate a low-pass filter on the bass
- open it again on the drop
- snare flam
- break stutter
- reverse crash
- sub drop
- short impact
- mono
- clean tuning
- minimal overlap
- sidechain if needed
- avoid too much stereo widening on anything below about 120 Hz
- open a filter 5–10%
- increase saturation slightly
- bring in extra top percussion
- widen the reese slowly
- then snap back to dry and tight
- mute the bass for 1 bar before the fill
- use a different amen variation for the second 8 bars
- add a reverse crash into the downbeat
- Session View is your live sketchpad for testing amen variations and energy flow
- Arrangement View is where you shape those ideas into a proper DnB structure
- a strong roller uses variation, not clutter
- three amen states are usually enough:
- stock Ableton devices like Drum Buss, Saturator, EQ Eight, Glue Compressor, Utility, Auto Filter, Echo, and Reverb are more than enough to make this work
- the best darker/heavier DnB arrangements are built from tight phrase control, subtle automation, and disciplined low-end design
This is not about random chopping. It’s about controlled variation:
By the end, you’ll have a practical workflow for turning short loop ideas into a proper arrangement in Ableton Live 12.
---
2. What you will build
You’ll build a short DnB tune section with:
Suggested track layout in Ableton Live
Create these tracks:
1. Kick layer or no kick if the amen already carries enough low-end punch
2. Amen Main
3. Amen Variation A
4. Amen Variation B / Fill
5. Sub Bass
6. Mid Bass / Reese
7. Atmosphere / FX
8. Impact / Risers / Downlifters
Musical goal
A strong rolling DnB section usually needs:
Think of it like this:
---
3. Step-by-step walkthrough
Step 1: Set up your project for DnB workflow
Tempo
Set the tempo to:
Grid
In Arrangement View and Session View:
Return tracks
Set up:
Good stock Ableton devices:
---
Step 2: Build your main amen source
You have two good options:
Option A: Use audio amen loops
Drop in a clean amen break sample and warp it.
Option B: Slice the amen into Drum Rack
This gives more control and is often better for variation-heavy arrangements.
#### Slicing method
1. Drag your amen break into a new audio track.
2. Right-click the clip.
3. Choose Slice to New MIDI Track.
4. Slice by:
- Transient
- or 1/16 if the break is very consistent
Now you can trigger each hit from a Drum Rack:
Why this matters
A roller amen works best when you can:
---
Step 3: Create three amen variations
You want contrast without chaos. Here’s a practical set:
Amen Variation 1: Main loop
This is your core groove.
Keep:
Use it for:
Amen Variation 2: Tension version
This version should feel like the same break, but slightly more aggressive or more open.
Try:
Use it for:
Amen Variation 3: Fill / turnaround version
This is your short “event” break.
Try:
Use it for:
---
Step 4: Shape the amen with stock Ableton devices
On the amen track, start with this chain:
1. EQ Eight
- High-pass very gently around 25–35 Hz
- Cut any harsh resonance around 3–6 kHz if needed
- Don’t overdo it
2. Drum Buss
- Drive: 5–15%
- Crunch: subtle, if the break needs edge
- Boom: usually keep low or off unless the break is too thin
- Transients: use carefully to sharpen snaps
3. Saturator
- Soft Clip on
- Drive: 2–6 dB
- Great for thickening break layers
4. Utility
- Use for gain staging and mono checking if needed
Optional parallel processing
Duplicate the amen track or use a return:
This is very effective for darker roller drums. It gives weight without destroying the transients.
---
Step 5: Build the sub bass and make it lock to the break
A roller needs a sub that feels like it’s pushing the drum loop forward.
Use a simple sub patch
Devices:
#### Basic sub chain
1. Operator with sine wave
2. EQ Eight to clean the top
3. Saturator lightly if needed
4. Utility for mono
MIDI writing approach
Write a bassline that:
For dark roller DnB:
Sidechain
Use Compressor or Glue Compressor on the bass with sidechain from the drum bus or kick.
Suggested start:
---
Step 6: Design a Session View performance layout
Now the fun part: make Session View your arrangement playground 🎛️
Create scenes like this:
Suggested clip content
For each scene, trigger slightly different combinations:
#### Scene 1: Intro
#### Scene 2: Groove A
#### Scene 3: Groove B
#### Scene 4: Fill
#### Scene 5: Drop Variation
Clip launch settings
Set clips to launch quantization:
This helps you keep arrangement decisions musical instead of messy.
---
Step 7: Record Session View into Arrangement View
This is the key skill for this lesson.
Recording workflow
1. In Session View, arm the Arrangement Record button.
2. Start playback from the intro scene.
3. Launch each scene in order.
4. Perform the arrangement like a live set:
- bring in Amen Main
- switch to Amen Variation
- drop in the fill
- remove or thin bass for tension
- return with full energy
Think in phrases
In DnB, try switching every:
A good simple structure:
After recording
Move into Arrangement View and clean it up:
---
Step 8: Turn Session ideas into arrangement structure
Now shape the full section in Arrangement View.
A practical DnB arrangement path
#### Intro
#### First drop
#### Second 8 bars
#### Turnaround
Automation ideas
Use automation on:
This is where the arrangement starts to breathe.
---
Step 9: Add a reese or mid-bass layer for darker energy
A roller amen blend gets much bigger when the low-mid layer supports it.
Suggested device chain for reese
1. Wavetable or Analog
2. slight detune
3. Chorus-Ensemble
4. Saturator
5. EQ Eight
6. Utility
7. sidechain compression
Tips
This gives the amen something to bounce against.
---
Step 10: Glue the whole thing together
Drum bus
Put Drum Buss on the drum group:
Group processing
Group the drums and apply:
Be careful
Don’t overcompress the amen. DnB relies on sharp transient movement.
You want:
---
4. Common mistakes
1. Using only one amen loop for the whole tune
This causes repetition fatigue fast. Even a great amen gets stale if it never evolves.
Fix: create at least 3 versions:
2. Over-chopping the break
Too many edits can make the groove lose its flow.
Fix: preserve the core snare/kick identity and vary the ghost notes and tail details.
3. Forgetting phrase structure
Random clip launches can sound disconnected.
Fix: launch changes in 4-, 8-, or 16-bar phrases.
4. Bass fighting the break
If the bass is too busy, the groove collapses.
Fix: simplify the bassline and leave space for the snare.
5. Too much reverb on drums
That destroys the forward motion.
Fix: use short reverbs, filtered sends, or only reverb selected hits.
6. Not cleaning up Session View recordings
Live performance recording is great, but you must edit after.
Fix: tighten clips, remove mistakes, and automate transitions properly in Arrangement View.
---
5. Pro tips for darker/heavier DnB
Tip 1: Use contrast in the amen
For dark rollers, the amen should sometimes feel dry and close, then suddenly wider or dirtier.
Try:
Tip 2: Layer subtle noise under the break
Add a quiet vinyl, room tone, or texture layer.
Devices:
Tip 3: Use filtered bass transitions
Before a new section:
That creates tension without changing the notes.
Tip 4: Make the fill feel like a weapon
For a heavier style, your fill should hit hard:
Use Sampler/Simpler, Reverb, and Echo for reverse-style transition layers.
Tip 5: Keep the sub disciplined
Dark DnB sounds huge when the sub is controlled.
Rules:
Tip 6: Use automation to create “pressure”
A roller thrives on tension building over time:
That contrast is the magic. 😈
---
6. Mini practice exercise
Try this 30-minute exercise:
Goal
Build an 8-bar DnB loop with 3 amen variations and record it from Session View to Arrangement View.
Steps
1. Set tempo to 174 BPM.
2. Slice one amen break into a Drum Rack.
3. Create:
- Amen Main
- Amen Variation
- Amen Fill
4. Add a simple sine sub with Operator.
5. Add a basic reese using Wavetable.
6. Make 3 Session View scenes:
- Scene A: main groove
- Scene B: variation
- Scene C: fill
7. Perform the scenes and record into Arrangement View.
8. After recording, add:
- one filter automation on the bass
- one reverb send on a snare hit
- one impact before the turnaround
Challenge version
Do it again, but:
---
7. Recap
Here’s the core idea:
- main
- tension
- fill
If you want, I can also turn this into:
1. a project template for Ableton Live 12, or
2. a bar-by-bar arrangement map for a full 174 BPM roller tune.

