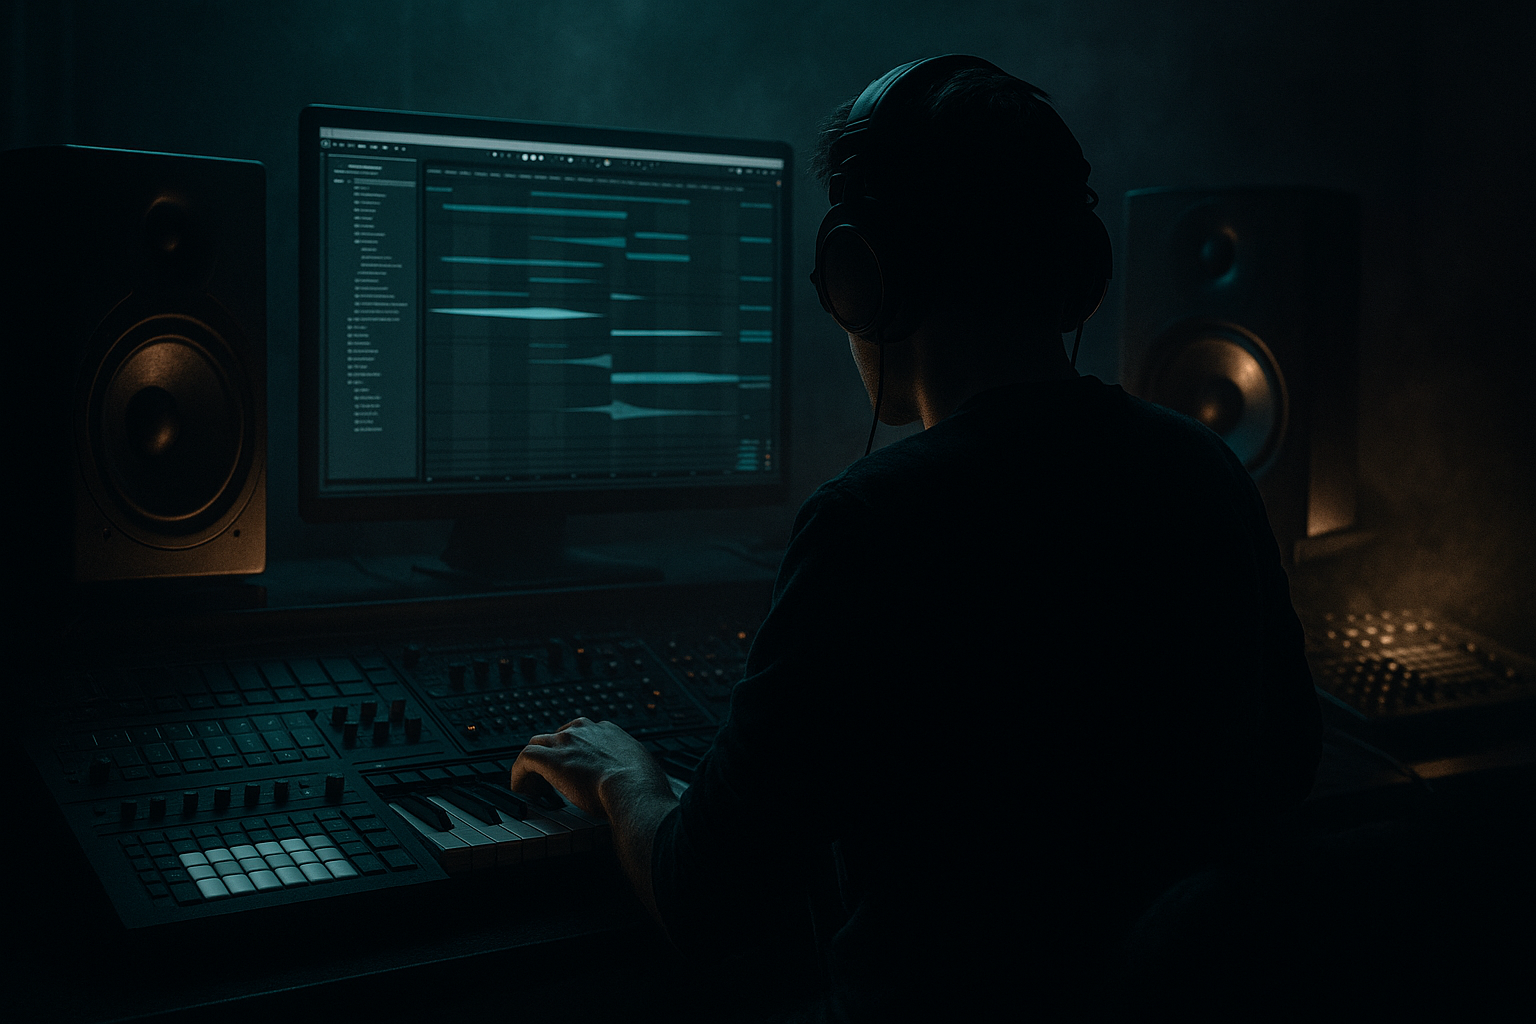
Main tutorial
Lesson Overview
This lesson is about building a ragga vocal layer blueprint that sits inside a roller / jungle-swing Drum & Bass track in Ableton Live 12. The goal is not to make a full vocal hook, but to design a usable vocal texture: a chopped, rhythmic, slightly menacing layer that pushes groove, attitude, and momentum without clogging the mix.
In a real DnB track, this kind of layer lives between the drums and the bass. It can sit:
- over the first 8 or 16 bars of a drop to add identity,
- as a call-and-response with the snare or lead bass,
- as a transition tool before a switch-up,
- or as a topline texture in the intro and breakdown that reappears in the drop in a tighter, more percussive form.
- locks to the groove instead of floating over it,
- adds swing and character without stealing focus,
- cuts through on small systems,
- and feels ready to print and arrange across a full drop.
- Sonic character: gritty, slightly saturated, midrange-forward, with some air controlled by filtering and EQ rather than raw brightness
- Rhythmic feel: swung and syncopated, sitting with jungle-style break movement rather than straight grid phrasing
- Role in the track: an attitude layer that reinforces the groove, adds forward motion, and fills gaps between drums and bass hits
- Polish level: rough enough to feel authentic, but tight enough to survive a drop and translate on club systems
- Success criteria: when muted, the track should lose attitude and momentum; when active, the vocal should feel like it belongs to the drums and bass, not like a pasted-on sample
- Use the vocal like a weaponized percussion layer. Short consonant hits can reinforce snare ghosts or hat pickups without needing more drum samples.
- For darker rollers, keep the vocal midrange-dominant and slightly filtered, then let the bass and kick own the bottom end. That separation makes the whole track feel bigger.
- If you want menace, automate the Auto Filter so the vocal opens only on the phrase’s attack, then closes quickly. That “bite then disappear” behavior creates tension.
- A subtle Redux layer can add broken-grit character, but keep it tucked under the clean layer. The dirt should read as texture, not as the whole sound.
- For heavier drops, try a second printed vocal layer pitched slightly lower or time-stretched a touch, but keep it restrained. The goal is depth, not cartoonish size.
- If the bassline is already very animated, reduce the vocal to one or two strategic hits per bar. In dark DnB, negative space is often heavier than constant motion.
- Consider making the vocal answer the last snare of a 4-bar phrase. That placement often feels especially strong in DJ-friendly rollers because it signals a section change without needing a huge fill.
- If the track feels too clean, dull the vocal slightly around the top end rather than boosting it. Roughness in the midrange often reads more “real” than hyped brightness in this style.
- Use only one vocal sample.
- Use only Ableton stock devices.
- Keep the main vocal layer mostly mono.
- Limit yourself to one processing chain and one arrangement variation.
- a 4-bar loop with at least 3 chopped vocal hits
- one filtered intro version
- one more aggressive drop version
- a quick bounce or resample of the best take
- Can you mute the vocal and still hear the drums clearly?
- Does the vocal feel like part of the groove, not a lead singer on top?
- Does it leave space for the snare?
Why it matters musically: ragga vocal fragments bring human urgency, heritage, and attitude to rollers and jungle-influenced DnB. They can make a loop feel alive even before the bassline is fully developed.
Why it matters technically: vocals are broadband and easily messy. If you layer them carelessly, they will fight the snare crack, smear the hi-hats, and clutter the sub. The point of this lesson is to build a layer that sounds raw and musical, but still DJ-ready, mono-safe, and low-end disciplined.
Best fit: roller DnB, jungle rollers, dark dancefloor, halftime-to-fulltime hybrid drops, and ragga-leaning neuro-adjacent tracks where vocal attitude should feel like part of the rhythm section, not a separate pop element.
By the end, you should be able to hear a vocal layer that:
What You Will Build
You will build a chopped ragga vocal layer in Ableton Live 12 that behaves like a rhythmic instrument.
Finished result, in concrete terms:
Step-by-Step Walkthrough
1. Start with a short vocal phrase that has attitude, not too much melody
Load a ragga-style vocal phrase into an Audio Track or Simpler if you already have a clean sample. For this lesson, the best source is usually a short spoken or shouted phrase with clear consonants and strong character. You want something that can behave rhythmically, not a long lyrical sentence that demands full attention.
In Ableton, if the sample is already edited, drop it into Simpler and set it to Classic or Slice depending on how chopped you want it. If you want more hands-on control, keep it in Audio and work with Warp markers.
What to listen for:
- strong consonants like “t,” “k,” “r,” “s,” and “d”
- a phrase that has a natural rise or bark
- no long low notes that will fight your sub
Why this works in DnB: ragga vocals often function like percussion. The attack of the words matters as much as the meaning. In a roller, the vocal’s rhythm can reinforce the snare and hats instead of competing with them.
2. Warp and trim the sample so it sits like a drum part, not a freestyle vocal
Turn Warp on and set the Seg. BPM sensibly to your project tempo. If the phrase has unstable timing, use Complex Pro sparingly; if it’s a short, chopped phrase, try Beats mode to preserve punch and transient bite.
Trim the sample tightly:
- remove dead air before the phrase,
- cut off unnecessary tails,
- and shorten the end so it doesn’t smear into the next bar.
A useful starting point is to make each phrase no longer than 1/2 bar to 2 bars in a drop context. For an intro texture, you can let it breathe longer, but for the main drop, short is usually better.
Listening cue:
- if the phrase feels late or lazy against the drums, it is probably too loose in warp timing
- if the phrase sounds grainy or phasey, Complex Pro may be overworking the audio
Workflow efficiency tip: once the timing feels right, freeze or consolidate the edited phrase so you stop constantly re-tweaking the original sample. Commit early when the groove is working.
3. Build the first processing chain: clean, focus, then distort lightly
Put this stock-device chain on the vocal:
EQ Eight → Saturator → Auto Filter
Suggested starting moves:
- EQ Eight: high-pass somewhere around 120–200 Hz depending on the source. If the voice is naturally deep, start lower; if it’s already gritty and mid-heavy, go higher.
- Cut a small pocket around 250–500 Hz if the sample sounds boxy or foggy.
- If there’s harshness, a gentle dip around 2.5–4.5 kHz can help without killing presence.
- Saturator: use a modest drive, around 2 to 6 dB. You want density, not fuzz overload.
- Auto Filter: use a low-pass or band-pass move to shape the vocal into a controlled midrange element.
The key is to make the vocal feel like it belongs inside the drum loop. The vocal should have enough edge to read in the mix, but not so much top-end that it fights the hats or rides above the track like a hook vocal.
What to listen for:
- the phrase should get denser, not just louder
- the consonants should stay intelligible after saturation
- the vocal should feel more “in the track” once filtered
4. Chop it into rhythmic hits that answer the break
Now make the vocal rhythmic. In Ableton Live 12, you can do this in the Arrangement View with careful slicing, or move the sample into Simpler in Slice mode for faster triggering.
A good roller tactic is to create a pattern that answers the snare:
- one hit just before the snare,
- one hit on the offbeat after the snare,
- one shorter tag at the end of the bar.
If you’re working at a jungle swing tempo, try phrasing it in 1-bar or 2-bar loops so it locks to the break’s natural push-pull. The vocal should feel like it’s bouncing with the drums, not marching on top of them.
If using Simpler Slice mode:
- set slices by transient
- shorten the release so each chop is tight
- use glide only if the phrase needs smoother joins, otherwise keep each hit separate
A versus B decision point:
- A: tight chopped syllables for a more percussive, jungle-authentic feel
- B: longer held chunks for a darker, more ominous roller vibe
Choose A if the drums are busy and you want the vocal to act like percussion. Choose B if the arrangement is sparse and you want the vocal to add weight and dread.
5. Program the swing so the vocal feels like part of the break edit
This is where the jungle feel really happens. Don’t place every vocal hit on the grid. Nudge selected hits slightly late or early to match the pocket of the break.
In Ableton, use:
- clip start/end edits for sample placement,
- groove if you have a break-derived swing feel you trust,
- or small manual timing nudges.
Practical timing idea:
- push a few vocal hits a hair late behind the beat for drag and menace,
- keep the most important phrase arrival tight so the vocal still punches.
If the track is a roller with a strong snare, place the vocal so it leaves space for the snare transient. The vocal should often answer after the snare, not cover the snare crack.
Listening cue:
- if the vocal makes the drums feel flatter, it’s probably too quantized or too loud
- if it feels detached from the groove, it needs more swing alignment or more aggressive chopping
6. Add motion with stock modulation, but keep low-end discipline
Now create movement without making the vocal unstable. Use a second chain:
Auto Filter → Redux (optional) → Compressor or Glue Compressor
Suggested moves:
- Auto Filter: automate cutoff in a subtle range, such as opening from 1.5 kHz to 6–8 kHz in a build or closing down for a darker drop section
- Redux: use lightly if you want grime or lo-fi edge; avoid obvious bit-crushing unless the track wants that crude jungle-tech texture
- Compressor: use gently to even out peaks from chopped syllables
If your vocal is wide or stereo-heavy, check it in mono. For this kind of layer, mono compatibility matters because the vocal often sits close to the snare and top percussion. If the wide version sounds exciting but collapses weirdly in mono, narrow it or keep the main layer centered and use stereo only on a subtle parallel copy.
Successful result should sound like: a vocal that moves and flickers, but never distracts from the drum engine underneath.
7. Decide whether to keep it raw or resample it into a new instrument
At this stage, you have a choice:
- Keep it raw if you want performance flexibility and easy arrangement edits
- Commit it to audio if the pattern is working and you want to print character into a single, permanent clip
In DnB, resampling is often the faster road to a better result. If the vocal chops are good, record them to a new audio track and then edit the new printed audio. This lets you:
- reverse bits,
- add micro-gaps,
- create one-off fills,
- and build unique second-drop variations.
Use this commit point when the vocal already fits the drums and bass. Don’t keep redesigning it endlessly.
What can go wrong:
- if you keep the source too editable, you may keep “improving” it until the groove is lost
- if you print too early, you may lock in a pattern that doesn’t yet answer the bass properly
The right moment is when the vocal already feels like a part, not a draft.
8. Check the layer against the drums and bass in context
Bring the full drum loop and bassline back in. This is non-negotiable. A vocal layer that sounds sick solo can still wreck the drop.
Check these interactions:
- Does the vocal hit steal attention from the snare?
- Does it step on the bass call-and-response?
- Does it mask the hat shuffle or ride energy?
- Does it create extra clutter in the 1–5 kHz region where so much DnB definition lives?
If it conflicts with the bass:
- reduce vocal level first,
- then carve a small EQ dip in the vocal around the bass articulation zone,
- and if necessary, shorten the vocal tail so it stops before the bass accent lands.
If the drum loop has a busy break, the vocal should probably be simpler. If the drums are stripped back and the bass is minimal, you can afford more vocal movement. This is the arrangement logic that keeps the track readable.
9. Shape the phrase for arrangement, not just the loop
Now write the vocal into the arrangement. Use it as a structural device, not just a repeating loop.
A strong jungle/roller vocal plan might look like:
- Intro: filtered fragments every 2 bars
- Drop 1, bars 1–8: sparse call-and-response with the snare
- Bars 9–16: slightly more open phrasing, maybe a repeated tag
- Break or switch-up: one reversed or stretched phrase as tension
- Second drop: reintroduce the vocal more aggressively, or chop it tighter for variation
This gives the track a sense of progression. In DnB, repetition is essential, but repetition without evolution can flatten the energy. The vocal layer is a perfect place to create that subtle lift on the second 8 or 16 bars.
Arrangement example:
- Bars 1–4: one vocal hit every 2 bars
- Bars 5–8: call-and-response on bar ends
- Bars 9–12: extra chop before the snare
- Bars 13–16: remove one phrase entirely so the drums breathe, then bring the vocal back on the next downbeat
10. Finish with a control pass: levels, mono, and contrast
Pull the vocal down until it supports the track rather than fronting it. In a dancefloor DnB mix, the vocal layer is often more effective when it’s felt as attitude and rhythm before it’s heard as “the lead.”
Do a final control pass:
- check in mono,
- make sure the vocal doesn’t inflate the low-mids,
- make sure it doesn’t cover the snare transient,
- and compare the drop with and without the vocal at the same playback level.
If the drop loses too much energy when muted, you’ve probably built a strong layer. If the track sounds better without it, the vocal is either too loud, too busy, or too unrelated to the groove.
Stop here if the vocal already feels like it belongs to the break and the bass. Don’t overcomplicate it with extra processing just because the chain is available.
Common Mistakes
1. Making the vocal too melodic
Why it hurts: ragga vocals in rollers should often function like rhythmic punctuation. Too much melody makes them compete with the bassline and dilute the jungle edge.
Fix: shorten phrases, remove sustained notes, and favor chopped syllables over full lines.
2. Leaving too much low-mid content in the sample
Why it hurts: 200–500 Hz buildup clouds the snare body and makes the drop feel boxy.
Fix: use EQ Eight to high-pass more aggressively, then make a small cut in the mud zone instead of boosting highs.
3. Over-saturating the vocal until it turns brittle
Why it hurts: too much drive makes consonants spitty and unpleasant, especially when layered with bright hats.
Fix: back off Saturator drive, or use it in parallel by duplicating the track and blending a dirtier copy underneath.
4. Quantizing every chop perfectly
Why it hurts: rigid timing kills the jungle swing and makes the vocal feel pasted on.
Fix: nudge selected hits late or early, and compare against the break in context.
5. Letting the vocal fight the snare
Why it hurts: if the vocal lands on top of the snare transient too often, the drop loses impact.
Fix: shift the vocal phrase, trim the attack, or leave a short gap before the snare hit.
6. Using too much stereo width on the main layer
Why it hurts: wide vocal layers can sound exciting in solo but collapse badly in mono and blur the center of the mix.
Fix: keep the core layer centered, and if you want width, add a quiet stereo-treated duplicate rather than widening the main part.
7. Not arranging the vocal across sections
Why it hurts: a looped vocal feels static and the track stops evolving.
Fix: create intro, drop, and second-drop variations with different phrase density and filter positions.
Pro Tips for Darker / Heavier DnB
Mini Practice Exercise
Goal: build a 4-bar ragga vocal loop that reinforces a jungle-swing drum pattern without masking the snare.
Time box: 15 minutes
Constraints:
Deliverable:
Quick self-check:
Recap
A strong ragga vocal layer in DnB is rhythmic, controlled, and arranged like a drum part. Keep it short, chop it to the pocket, and make it answer the break instead of floating over it. Use stock Ableton tools to clean, saturate, filter, and print the idea. Check it in context with drums and bass, keep mono discipline, and evolve it across the arrangement. If it adds attitude, swing, and tension without cluttering the drop, you’ve got the right result.

