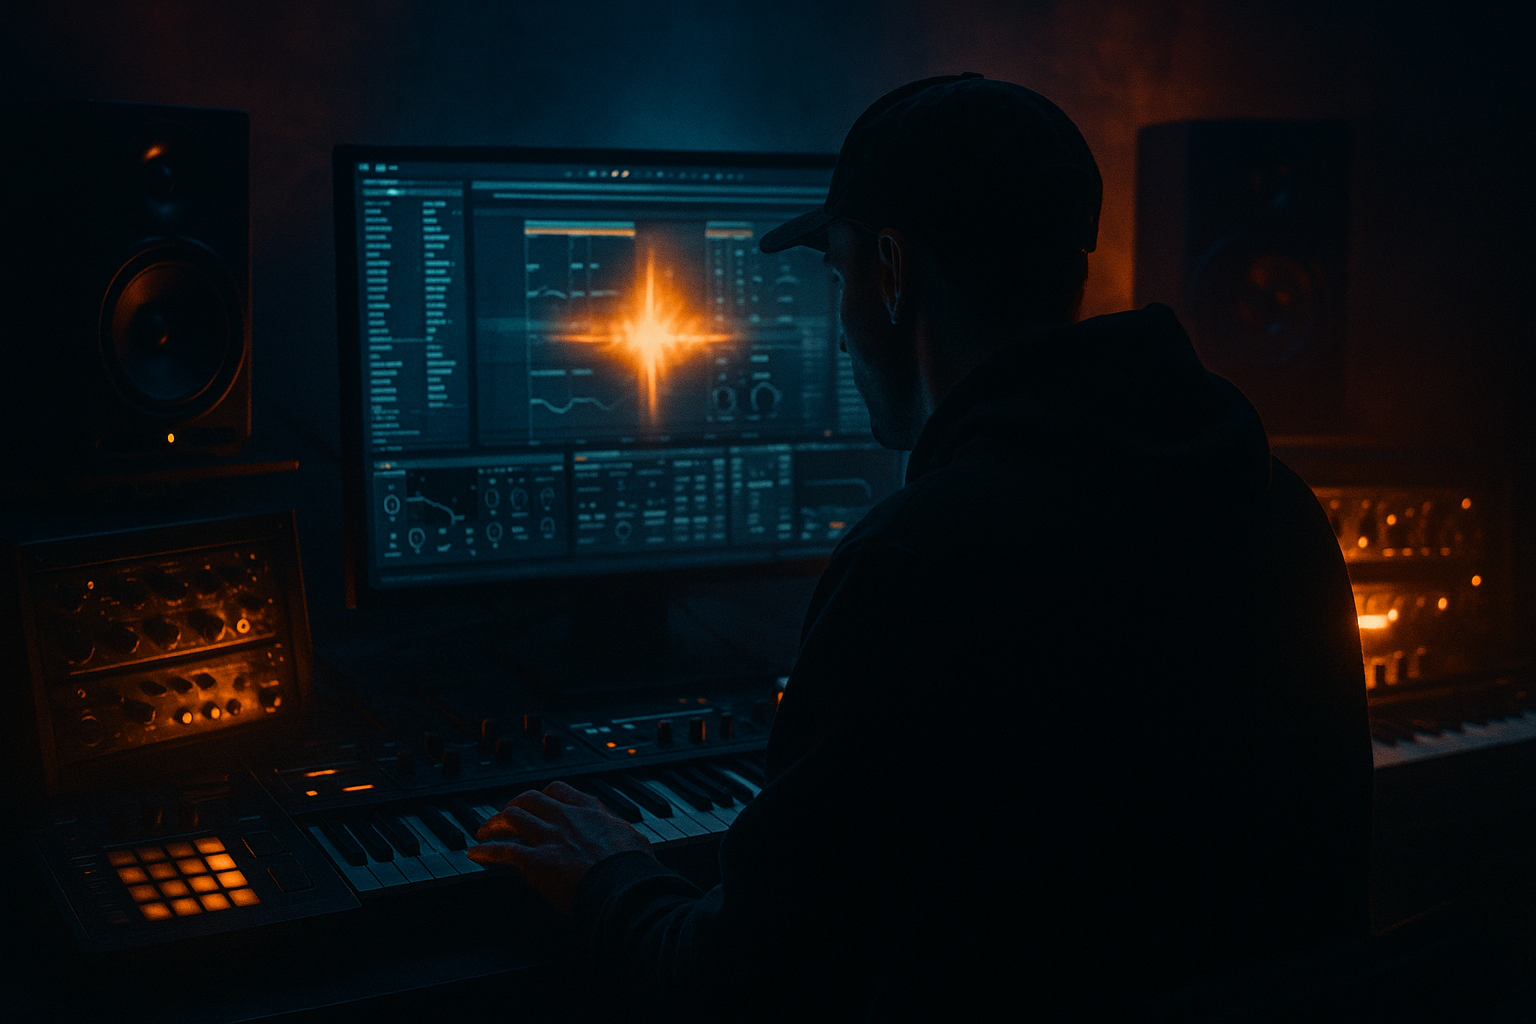
Main tutorial
Lesson Overview
This lesson is about building an oldskool DnB ride groove blueprint from scratch in Ableton Live 12, then using it as an arrangement tool so your track instantly feels like a proper roller. In drum & bass, the ride pattern is more than just a hat loop — it can become the engine that drives forward motion, fills the top end, and gives the drop that “always moving” feeling without needing loads of extra elements.
For beginner producers, this matters because a lot of DnB tracks fail not from bad bass sound design, but from weak groove placement. If the drums don’t roll, the bassline won’t feel alive. A tight ride groove helps glue the break, sub, and bass movement together, especially in oldskool, jungle-influenced, or darker roller styles.
You’ll use Ableton stock tools to build a groove that can live in a drop, support a bassline, and later evolve into fills, switch-ups, and tension sections. The goal is not just “make a ride loop” — the goal is to create a repeatable arrangement blueprint you can reuse across tracks 🎛️
What You Will Build
By the end of this lesson, you’ll have a 2-bar DnB ride groove built from scratch in Ableton Live 12, with:
- a tight ride-led top loop
- a supporting breakbeat layer
- controlled ghost notes and shuffle
- a simple sub + bass relationship that leaves space
- a drop-ready arrangement where the ride can enter, disappear, and reappear
- basic automation for energy lifts and transition movement
- Making the ride too loud
- Using a bright ride with no EQ control
- Keeping the loop identical for too long
- Letting the sub and bass fight the break
- Over-quantizing the groove
- Ignoring arrangement
- Use subtle saturation on the ride and break bus with Saturator or Drum Buss to add grit without turning the top end harsh.
- Layer a darker ride with a short metallic texture if you want more edge, but keep one layer dominant so the mix stays readable.
- Automate a low-pass filter down slightly before a drop and open it right on the first downbeat for extra impact.
- Use call-and-response bass phrasing: let the bass answer the ride instead of filling every space.
- Keep the sub clean and simple while the mid bass gets the movement. That contrast creates the underground pressure.
- Add a tiny reverse cymbal or downlifter before switch-ups to make the arrangement feel intentional.
- Try Drum Buss on the break group with careful Drive and Crunch to give the drum bed a nastier, more oldskool bite.
- Check your mix in mono. If the ride disappears or the bass gets hollow, simplify stereo processing.
- A ride groove in DnB is not just decoration — it can drive the whole arrangement.
- Start with a clean break + ride + bass + sub setup in Ableton Live.
- Keep the ride rhythm simple, then use velocity, swing, EQ, and automation to make it feel alive.
- Build arrangement movement with drops, mutes, fills, and filter automation.
- Protect the low end: mono sub, controlled bass, clean drum balance.
- Save the result as a reusable blueprint for future roller tracks.
Musically, think:
intro with filtered percussion → drop with ride groove locked to the break → 8-bar variation with a small fill → stripped section for bass focus → final lift with extra cymbal energy
This is ideal for an oldskool roller vibe, a jungle-leaning DnB groove, or a darker tune that needs urgency without getting messy.
Step-by-Step Walkthrough
1. Set up a clean DnB project and tempo
Open a new Ableton Live set and set the tempo to 172–174 BPM. That range is a sweet spot for oldskool DnB and rollers. If you want a slightly more broken jungle feel, 170–172 BPM works well too.
Before writing anything, create these tracks:
- Drums / Break
- Ride
- Bass
- Sub
- FX / Atmos
Keep the session simple. Beginners often overload the project too early. For this lesson, clarity is better than complexity.
On your Drum Group, leave headroom by keeping the master below clipping. A good habit is to aim for peaks around -6 dB on the master while building.
2. Lay down the core drum grid first
In the Drums / Break track, load a classic breakbeat sample into Simpler or directly into a Drum Rack pad. If you’re using Simpler, set it to Classic or One-Shot mode depending on the sample behavior.
Start with a 2-bar loop and place the break so it supports the DnB pulse. If the break is chopped, keep the main snare hits strong on the backbeat, but don’t over-edit yet.
The simplest beginner approach:
- Put a kick/snare backbone in place
- Let the break add movement around it
- Avoid making every hit perfect; the slight human feel is part of the roller energy
Useful Ableton stock tools here:
- Drum Rack for organizing layers
- EQ Eight to carve space
- Utility to keep low frequencies centered if needed
- Saturator for subtle grit on the break bus
Why this works in DnB: the breakbeat provides the “push-pull” feel that makes a roller breathe, while the ride will later add continuous forward motion on top.
3. Create the ride groove in MIDI, not just by looping audio
Add a new MIDI track and load a ride cymbal sample into Simpler or Drum Rack. Use a clean, bright ride with enough body to cut through, but not so harsh that it becomes painful when repeated.
In Ableton’s MIDI clip, start with a 2-bar loop and place ride hits on the offbeats and light subdivisions. A beginner-friendly starting point is:
- main ride hits on the “and” between kick/snare moments
- occasional extra notes before the snare for lift
- a small variation in bar 2 so it doesn’t sound copy-pasted
Try velocity variation like this:
- main hits: 80–110
- lighter ghost hits: 35–60
Keep the pattern simple at first. You want a groove that feels like it’s driving forward, not a busy cymbal wash.
If the ride feels too rigid, use Ableton’s Groove Pool and try a light swing groove at around 10–20% timing influence. Don’t overdo it — DnB needs tightness.
4. Shape the ride so it sits with the break, not on top of it
Put EQ Eight after the ride sample. High-pass the ride around 250–400 Hz so it stays out of the kick/sub area. If the ride feels harsh, make a small dip around 3–5 kHz or reduce the sample brightness before reaching for heavy EQ.
Then add Saturator lightly:
- Drive: 1–3 dB
- Soft Clip: On
This gives the ride a little density so it feels less like a thin top layer and more like part of the drum system.
If the ride is too sharp in the stereo field, use Utility to keep it narrow or mono-compatible if you’re layering with another stereo cymbal texture.
Beginner rule: if the ride is making you wince at low volume, it’s too bright. Fix the sample or EQ before pushing it louder.
5. Build call-and-response between ride and bass
Now add a simple bassline on a separate MIDI track. For a roller blueprint, keep the bassline restrained and rhythmic. You don’t need a huge melodic phrase yet — just a strong pattern that leaves room for the ride.
Use Wavetable, Operator, or a sampled bass chain if you already have one. For a beginner-friendly setup:
- Operator for sub
- Wavetable for a mid bass layer if needed
Start with a sub playing long notes or simple rhythm. Then add a darker mid layer with slight movement. Keep the bass notes away from the ride’s busiest moments when possible.
Example arrangement context:
- Bars 1–2: ride enters with stripped bass
- Bars 3–4: bass becomes more active
- Bar 5: brief bass drop-out or fill
- Bar 6–8: ride returns with stronger energy
This call-and-response creates space. In DnB, space is powerful because the groove feels bigger when each part has its own pocket.
6. Add ghost notes and micro-variation to stop the loop feeling fake
The difference between a beginner loop and a proper roller is often in the little details. Duplicate your MIDI clip and create tiny changes every 4 or 8 bars.
In the ride pattern, add:
- a few quieter ghost hits before a main accent
- one extra hit at the end of bar 2 to pull into bar 1
- a small drop in velocity on repeated hits so the loop breathes
In the break, nudge one or two hits slightly off the grid if the groove feels too robotic. Don’t randomize everything — just enough to create movement.
Ableton tools that help:
- Velocity lane in the MIDI editor
- Groove Pool
- Quantize with caution; use partial quantize if needed
Why this works in DnB: rollers need repetition, but repetition only works if the listener senses tiny movement and evolution. The brain locks into the pattern, while the micro-changes keep it alive.
7. Turn the groove into an arrangement blueprint
Now place the loop into Arrangement View and build a short section like a real track. This is where the lesson becomes useful beyond sound design.
Start with a simple structure:
- 8 bars intro
- 16 bars drop A
- 8 bars switch-up
- 16 bars drop B
- 8 bars outro
In the intro, filter the ride or leave it out completely. Bring it in with automation so the drop feels earned.
Arrangement ideas:
- Use Auto Filter on the ride or break and slowly open the cutoff into the drop
- Remove the bass for 1 bar before the drop
- Add a fill in bar 8 or bar 16
- Mute the ride for a bar to create a DJ-friendly breath
Beginner-friendly rule: don’t keep everything on from bar 1. A proper DnB arrangement builds tension before release.
8. Automate energy with filters, volume, and sends
Use simple automation to make the ride groove evolve:
- Auto Filter cutoff on the ride for intro and build sections
- Track Volume to slightly raise the ride in drop B
- Reverb Send for a short tail on transitional hits
- Delay Send very lightly on a last-hit fill if you want a wider lead-in
Keep automation subtle:
- cutoff movement: smooth, not dramatic
- volume lift: around 1–2 dB
- send levels: just enough to hint at space
You can also automate Utility width on a top texture if you want the section to feel wider during the final 8 bars, but keep the low end mono.
This step matters in arrangement because it stops the ride from being a static loop. It becomes a section that evolves and supports the track’s energy curve.
9. Clean the low end so the ride groove can feel powerful
A common beginner mistake is letting the ride make the track feel cluttered. The ride itself doesn’t need low-end information, and your bass/sub need a clear lane.
On the bass and sub tracks:
- keep the sub mono
- avoid unnecessary reverb or stereo widening
- use EQ Eight to make room for the kick and break
- check the balance at low volume
On the drum bus, consider gentle bus shaping:
- Glue Compressor with very light compression, around 1–2 dB gain reduction
- Saturator or Drum Buss for small amounts of impact
- keep transients punchy, not flattened
If the ride and break are fighting, cut a little harshness from the ride rather than boosting everything else.
10. Do a quick arrangement pass and save a template
Once your 2-bar groove feels good, turn it into a reusable roller starter template. Save the session with tracks already set up:
- Drum / Break
- Ride
- Bass
- Sub
- FX / Atmos
Duplicate your best 2-bar ride clip and create:
- a stripped version
- a fuller drop version
- a fill version
- an outro version
This workflow is huge for DnB because you can move fast. Instead of rebuilding from scratch every time, you’re learning how one groove can generate an entire arrangement.
Save a version with your groove clearly labeled. Future you will thank you.
Common Mistakes
Fix: pull the ride down and let its rhythm do the work. In DnB, movement matters more than raw volume.
Fix: high-pass it and tame harshness around the upper mids if needed.
Fix: change velocities, remove one hit, or add a fill every 4 or 8 bars.
Fix: keep the sub mono, simplify bass rhythms, and leave space for the snare.
Fix: keep some groove human. A roller should feel locked, not robotic.
Fix: mute, filter, or reduce layers between sections so the drop has dynamics.
Pro Tips for Darker / Heavier DnB
Mini Practice Exercise
Spend 10–20 minutes making a 2-bar roller blueprint:
1. Set the project to 173 BPM.
2. Add a breakbeat loop and a ride sample.
3. Program a simple ride groove with 2–4 main hits per bar and a few ghost notes.
4. High-pass the ride with EQ Eight.
5. Add a basic sub on a separate track with only 1–2 notes.
6. Duplicate the 2-bar loop into 16 bars in Arrangement View.
7. In bars 9–16, remove one ride hit and add one small fill.
8. Automate the ride filter to open into the drop.
9. Bounce or loop it and listen at low volume.
Goal: make the groove feel like it is rolling forward without needing constant changes.
Recap
If you can make one ride groove feel powerful, you can build a whole DnB track around it.

