Main tutorial
Lesson Overview
This lesson is about building a ragga vocal cut stretch in Ableton Live 12 that feels right in a jungle / oldskool DnB roller: chopped, pitched, stretched, slightly gritty, and arranged so it can drive a drop or act as a tension hook between drum edits. The goal is not to make a polished pop vocal — it’s to turn a short ragga phrase into a rhythmic weapon that locks with breaks, bass movement, and DJ-friendly phrasing.
In DnB, vocal chops are often used like percussion and atmosphere at the same time. A strong cut stretch can:
- fill space between snare hits and break ghost notes
- give a roller a memorable identity
- add ragga/jungle authenticity without overloading the mix
- create call-and-response with the bassline or break edits
- a short ragga phrase that gets stretched into a longer texture
- chopped into 2-beat and 1-beat gestures
- filtered and saturated so it feels dubwise, dusty, and oldskool
- arranged as a drop hook or transition motif in a roller
- usable in a dark jungle section, a half-time switch, or a tension-build before the drop
- one main vocal track
- one duplicated texture layer for grit or stereo width
- an effect rack that can be reused in future projects
- a musical phrase that reacts to the groove instead of sitting on top of it
- one shouted line
- a call like “come again,” “sound boy,” “run”, “selecta”, “rewind”
- a phrase with a strong accent on one or two syllables
- set Warp Mode to Complex Pro for longer vocal phrases
- set Formants conservatively if pitch shifting starts sounding cartoonish
- if the sample is very percussive and short, try Beats mode for more attack
- right-click the clip and choose Slice to New MIDI Track if you want pad-style triggering
- or manually split the audio clip with Cmd/Ctrl + E around each strong syllable
- or use Simpler on a MIDI track if you want fast live-style triggering
- consonant starts
- breath sounds
- vowel tails
- single words or syllables that can be repeated
- one short hit for the downbeat
- one longer tail for the offbeat
- one mid-syllable for syncopation
- one “accent” slice for fills
- shorten slice fades to around 5–15 ms to avoid clicks
- use tiny crossfades on adjacent slices if the phrase feels too abrupt
- place a main vocal hit on beat 1
- add a shorter cut just before or after the snare on beat 2
- repeat with variation in bar 2
- leave space for the kick and snare to breathe
- Bar 1: vocal hit on 1, chopped pickup on the “and” of 1, long tail into 2
- Bar 2: silence on 1, repeated chopped syllable on the “e” of 2, accent on 4
- in an 8-bar drop, let the vocal cut stretch appear only in bars 1–4
- mute it for bars 5–6 to create a drop in density
- bring it back with a filtered repeat in bars 7–8 before a switch-up
- mode: Classic or One-Shot depending on control
- turn on Warp if needed for timing
- use Transpose to move slices up or down a few semitones
- adjust Start and End to refine attack and tail
- transpose individual chops by -3, -5, or +2 semitones to create contrast
- keep the main phrase near original pitch, and detune only accent slices
- use Fade or short amplitude envelopes to avoid clicks
- stretch one syllable longer than natural to create tension
- tighten another slice to make it more percussive
- automate Warp Marker positions if a phrase needs a dramatic pull
- EQ Eight
- Saturator
- Drum Buss
- Auto Filter
- Redux at very subtle settings for crunchy texture
- Gate if the tail is cluttering the drum pocket
- Glue Compressor with gentle reduction, 1–2 dB, to keep the cut phrases consistent
- Filter cutoff on Auto Filter: open from around 300 Hz to 6–10 kHz during a build
- Reverb dry/wet: keep low in the drop, then raise for a tail at the end of a phrase
- Delay feedback: use short feedback bursts on specific words
- Pitch in Simpler or Clip Transpose: automate a quick rise of +2 semitones into a switch-up
- Utility width: narrow in the low-intensity section, widen in the final phrase
- set Echo delay time to 1/8 or 1/8 dotted
- filter out low end heavily
- automate send amount only on phrase endings
- if the bassline has a strong note on beat 1, place the vocal on the offbeat or pickup
- if the break has a snare fill, leave the vocal silent or reduce it to a tiny accent
- if the bassline is repetitive, use the vocal to create variation
- if the vocal is busy, simplify the bass phrasing for those bars
- vocal cut stretch in bars 1–4
- bass emphasis in bars 5–8
- vocal comes back with a filtered repeat in bars 9–12
- full drop tension returns in bars 13–16
- route the vocal track to a new audio track set to Resampling
- print a pass of the processed vocal
- trim the best moments and create a second texture layer
- pitch it down a few semitones for a darker undertone
- distort it more heavily with Saturator
- chop the reprinted tail into tiny ghost textures
- layer it quietly under the original
- high-pass the vocal so the sub remains clean
- make sure the vocal doesn’t mask the snare crack around 2–5 kHz
- keep the main vocal hit a few dB lower than you think; DnB can get harsh fast
- check mono compatibility with Utility
- compare the vocal against the kick/bass balance at low volume
- Making the vocal too long and too lyrical
- Over-warping until it sounds artificial and flat
- Too much low end on the vocal
- Too much reverb washing out the groove
- Clashes with snare and break accents
- Stereo widening the vocal too much
- No variation across the arrangement
- Use a dark band-pass version of the vocal as a build layer
- Layer a whispered or chopped tail underneath the main cut
- Automate subtle pitch drops on phrase endings
- Use Echo with filtered feedback for dubwise depth
- Resample the vocal through Drum Buss or Saturator
- Let the vocal answer the bass, not compete with it
- Try a brief “mute gap” before the drop returns
- Choose a short ragga vocal phrase with strong rhythm and attitude.
- Warp and slice it so it behaves like percussion plus hook.
- Build a cut stretch that interacts with the break and bassline.
- Use EQ Eight, Saturator, Auto Filter, Drum Buss, Echo, and Utility to shape it.
- Keep the main vocal tight, clear, and mostly centered.
- Automate movement across the arrangement so the phrase evolves.
- Resample for grime and depth if you want more jungle character.
This technique matters because oldskool-inspired DnB lives on energy, repetition, and variation. A vocal cut stretch gives you a hook that can evolve across 8, 16, or 32 bars without needing a full sung topline. Done well, it feels like a classic sound system shout being pulled through a modern Ableton arrangement 🔥
---
What You Will Build
You will build a loopable vocal phrase chain from a ragga or jungle-style vocal sample, then stretch, chop, and process it into a syncopated cut pattern that sits over a breakbeat and bassline.
The finished result will sound like:
You’ll end up with:
---
Step-by-Step Walkthrough
1) Pick a vocal that already has attitude and a strong rhythm
Choose a ragga, dancehall, or MC-style vocal phrase with clear consonants, midrange bite, and a natural rhythmic shape. For jungle and oldskool DnB, short phrases work better than long sentences. Look for:
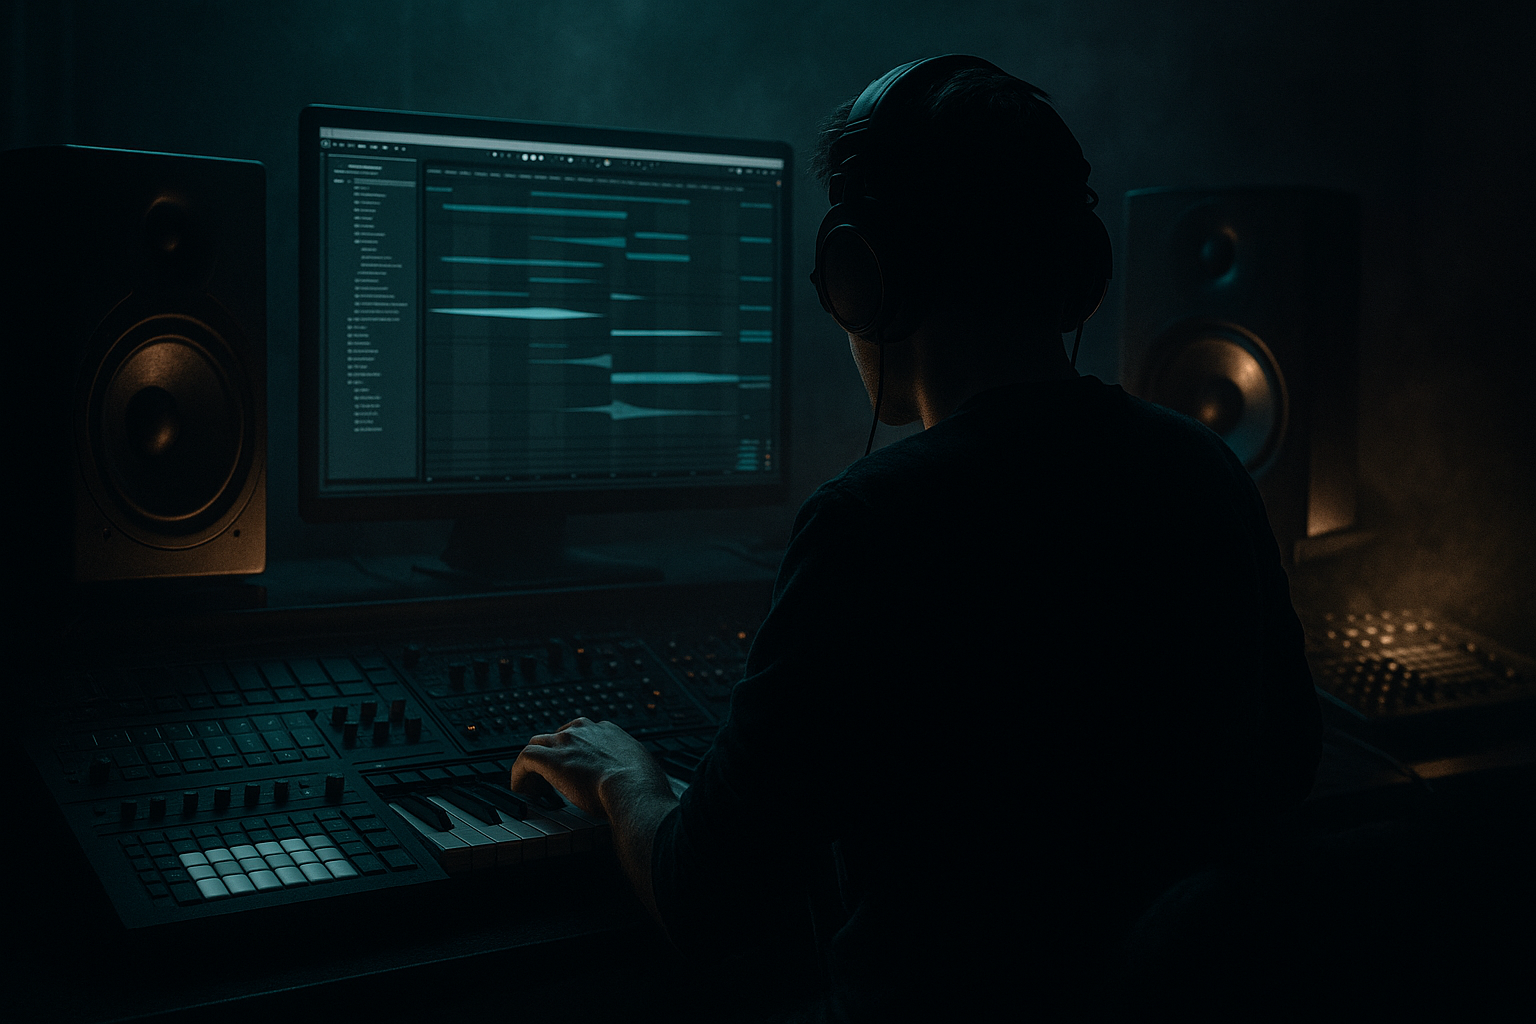
In Ableton Live, drag the vocal onto an audio track and immediately set the project tempo to your tune’s working range, usually 170–174 BPM for a roller/jungle feel. Use the Warp controls to get the clip roughly in time, but don’t over-polish it yet.
Useful approach:
Why this works in DnB: ragga vocals already have rhythmic personality. You’re not forcing a phrase to work — you’re extracting the groove that’s already inside the delivery and aligning it with break-driven drum energy.
2) Slice the vocal into usable musical units
Once the clip is tempo-locked, duplicate it and create a second version for chopping. Use one of these Ableton methods:
For an intermediate workflow, manual slicing is often quickest and most controllable. Focus on:
Try making 6–10 slices from a 1–2 bar phrase. Name or color them so you can work fast. Keep the chops musically useful:
Parameter idea:
3) Build the cut-stretch rhythm against the drum pocket
Now place the vocal slices into a 2-bar loop and make them respond to the breakbeat. Don’t think in “full sentence” terms — think in call-and-response with drums.
A strong starting pattern:
A classic jungle-feeling shape might be:
Use the grid in Ableton to stay tight, but don’t quantize every slice identically. A tiny amount of push/pull can make it feel more human and more like an MC riding the beat.
Arrangement context example:
4) Shape the vocal with Simpler or Warp for a stretched, ragged texture
If you want the “cut stretch” to feel like it’s being pulled through tape or old sampler memory, use Simpler on a MIDI track and load the vocal slice there.
In Simpler:
Good starting settings:
If you prefer staying on audio tracks, use Ableton clip warping creatively:
This gives you that oldskool “torn and dragged” quality that sits nicely on top of breaks.
5) Process the vocal like a drum element, not just a lead
Now give the vocal a proper DnB treatment using stock Ableton devices. Put these on the vocal track or inside an Audio Effect Rack for fast control.
A solid chain:
- high-pass around 120–180 Hz to keep sub space clean
- cut harshness around 2.5–5 kHz if it stabs too hard
- if it sounds thin, add a gentle presence lift around 900 Hz–1.5 kHz
- Drive around 2–6 dB
- try Analog Clip or a soft curve for grime without brutal flattening
- Drive lightly, around 5–15%
- keep Boom low or off unless you want a very weighty, lo-fi chest hit
- low-pass sweep for build-ups
- band-pass for telephone-style ragga cuts
- resonance moderate, around 0.3–0.6, depending on how nasal you want it
If the vocal needs more aggression, add:
Why this works in DnB: a vocal chop sitting over a 170 BPM break can easily fight the drums. Processing it like percussion helps it punch through without needing to be loud. Saturation adds density, EQ creates space for the snare, and filtering gives you arrangement movement.
6) Create movement with automation and return effects
The “stretch” part of the technique becomes exciting when the vocal evolves over the bars. Use automation to make the phrase feel alive.
Automate these parameters across 8 or 16 bars:
A very practical DnB move is to put Echo on a return track and send only selected vocal hits into it. For example:
You can also build a “ragga throw” by duplicating the vocal phrase, delaying the duplicate by a 1/16 or 1/8, and filtering it darker. That creates an oldskool response feel without cluttering the main line.
7) Lock the vocal to the bassline and break with contrast
Now check the relationship between the vocal and your bass movement. In rollers and jungle, the vocal chop should not sit on every bass note. Let each element own its lane.
Use this rule:
A good arrangement choice:
For stereo discipline, keep the main vocal cut mostly mono or narrow, especially below the upper midrange. Use Utility to reduce width if needed. Let the drums and bass own the core center, and use your vocal as the rhythmic spice.
8) Bounce, resample, and make a second-generation texture
Once the vocal phrase works, resample it. This is where the sound starts feeling like a real jungle production tool rather than a clean edit.
In Ableton:
Now you can process the printed version more aggressively:
This is especially effective in darker DnB because the first-generation vocal provides clarity, while the resampled layer provides grime and history. Use the original for intelligibility and the bounced version for attitude.
9) Final mix checks: make space for the kick, snare, and sub
Before you commit, check the vocal against the rest of the groove.
Checklist:
A strong mix target is to hear the vocal clearly without it overpowering the break. In a roller, the drums and bass should still feel like the engine. The vocal is the identity badge.
---
Common Mistakes
Fix: reduce it to the most rhythmic syllables. In DnB, shorter often hits harder.
Fix: keep warp adjustments minimal unless you want a deliberately chopped artifact.
Fix: high-pass with EQ Eight. Most vocal chops don’t need anything below 120 Hz, and often higher.
Fix: use short sends or automate only at phrase ends. Keep the center of the drop dry.
Fix: move vocal chops off key drum moments or shorten the tail.
Fix: keep the main chop narrow. Widening is better for effects layers than for the core phrase.
Fix: change one thing every 4 or 8 bars — pitch, filter, delay, or rhythm.
---
Pro Tips for Darker / Heavier DnB
With Auto Filter, sweep a band-pass from about 400 Hz to 2.5 kHz for tension before the drop.
Keep it low in level, heavily filtered, and slightly distorted. It adds menace without clutter.
A quick fall of -1 to -3 semitones can make the phrase feel heavier and more “sound system.”
Short, dark repeats can make ragga cuts feel ancient and huge at the same time.
This gives it the rough, pressed-to-tape energy that fits oldskool jungle aesthetics.
Call-and-response is key. If the bass says something loud, let the vocal reply with a shorter phrase or a texture hit.
One beat of silence or near-silence before the vocal hit can make the return feel much harder.
---
Mini Practice Exercise
Set a timer for 15 minutes and do this:
1. Pick a ragga vocal phrase of 1–2 bars.
2. Warp it to 172 BPM in Ableton Live.
3. Slice it into at least 6 segments.
4. Build a 2-bar loop using only those slices.
5. Add EQ Eight and high-pass it around 150 Hz.
6. Add Saturator with 3–5 dB Drive.
7. Automate an Auto Filter sweep over the last 4 bars.
8. Bounce the result and make one darker resampled layer.
9. Test it over a break and bassline, then mute it for 2 bars and bring it back.
Goal: make the vocal feel like a real DnB rhythmic element, not just a sample on top.
---
Recap
The core idea: in DnB, a ragga vocal cut stretch works when it feels like it’s riding the groove, not sitting above it. Make it rhythmic, make it gritty, and let the drums stay king 👑

