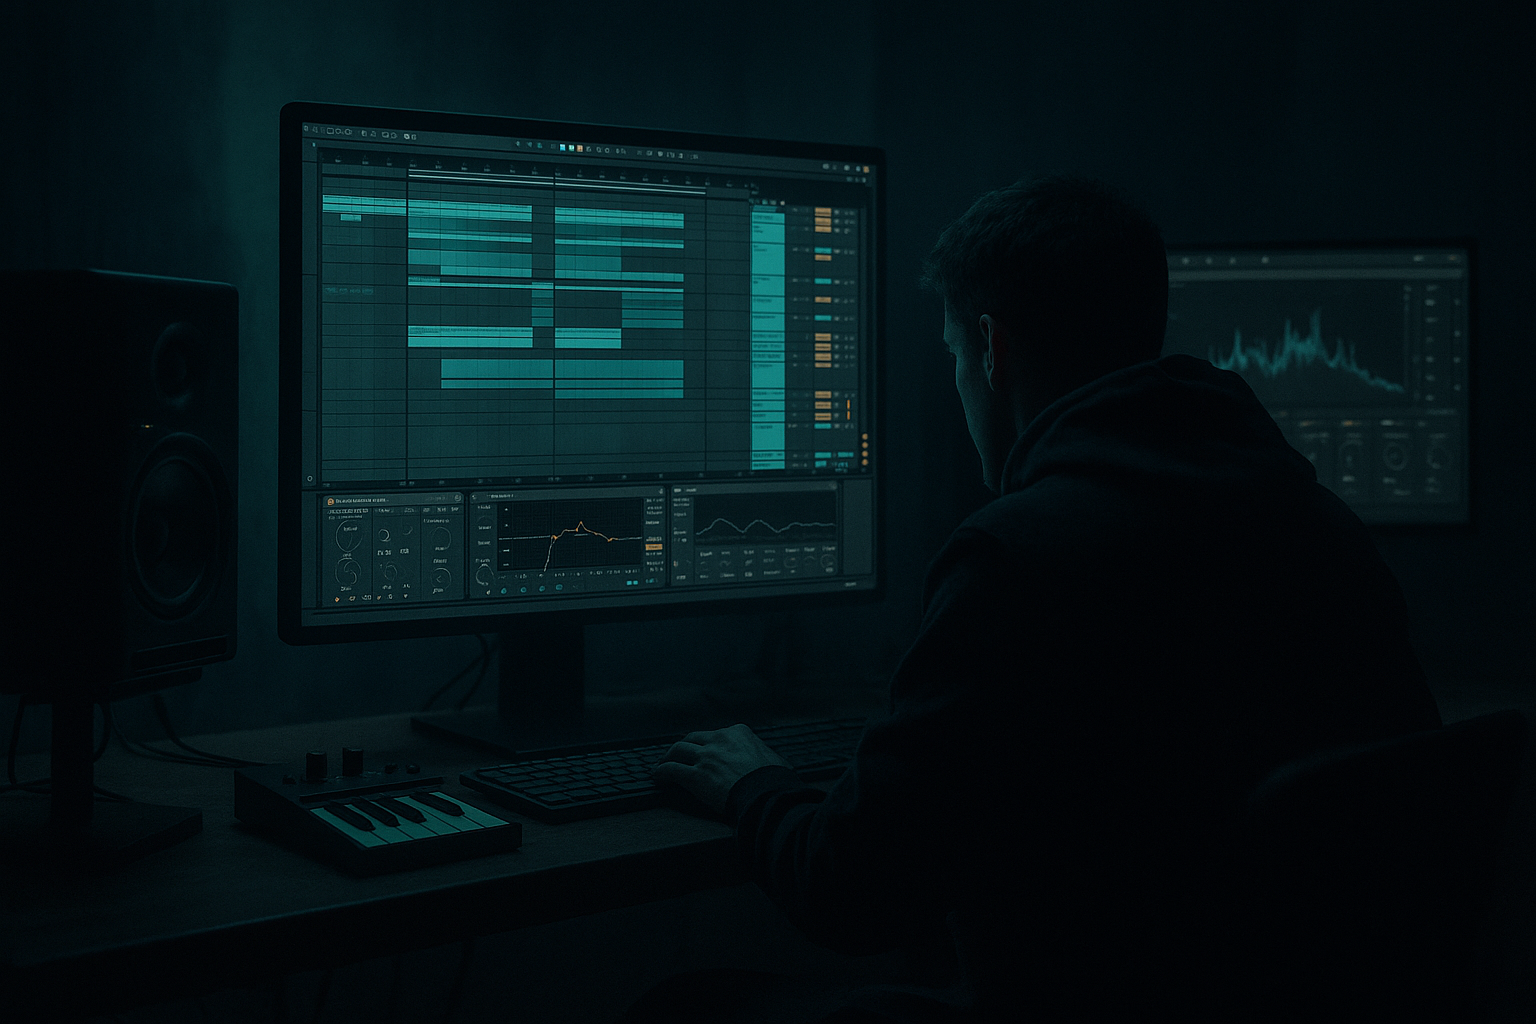
Main tutorial
```markdown
Rolling Bass Accents in Ableton Live 12 (Advanced DnB Basslines) 🔥
1) Lesson overview
Rolling bass in drum & bass isn’t just a “wub on the offbeat”—it’s micro-accent control: tiny changes in level, tone, pitch, saturation, and timing that create forward motion without cluttering the mix.
In this lesson you’ll build an accented roller using Ableton Live 12 stock devices and a workflow that’s fast to edit in arrangement.
You’ll learn:
- How to make a bass that moves using velocity → filter/drive, note-length → envelope, and ghost notes
- Two core approaches: MIDI accent mapping and audio resampling accent edits
- A clean routing method to keep sub stable while mid-bass does the talking
- Sub layer: consistent, mono, predictable (keeps the club weight)
- Mid layer: the “rolling accents” (tone shifts + loudness + bite)
- A macro-controlled Accent system you can perform/automate in Arrangement
- A sidechain + groove setup that locks to your drums
- Bar loop length: 2 bars
- Notes (F1 for mid, later sub will be F0):
- Make some notes short (staccato) and some longer (legato-ish).
- Add ghost notes: very short 1/32 or tight 1/16 notes at low velocity right before or after a main hit.
- Strong accents: 100–120
- Normal hits: 70–90
- Ghosts: 20–45
- Osc 1: Basic Shapes → choose sine/triangle-ish (or a rounded wave)
- Osc 2: optional, very low level for harmonics (try saw at -18 dB)
- Unison: Off (keep it stable for now)
- Filter: LP24
- Amp Env:
- Filter Env:
- Map Chain Selector to a Macro called `ACCENT`
- Add a MIDI Velocity device before the Rack:
- Or simply use Velocity to exaggerate differences, then automate `ACCENT` in arrangement for sections.
- Algorithm: A only
- Wave: Sine
- Pitch: F0 (or match your key)
- Amp Env:
- Add Saturator after Operator:
- Add EQ Eight:
- Add Utility:
- Copy the MID MIDI clip, then:
- Sidechain: from Kick (or from a “ghost kick” channel if you use one)
- Ratio: 4:1
- Attack: 1–5 ms
- Release: 50–120 ms (tune to tempo; you want it to “breathe”)
- Threshold: adjust for 2–6 dB reduction on strong kicks
- Bars 1–4: normal accents (moderate filter movement)
- Bars 5–8: slightly more accent drive (open filter a touch)
- Bars 9–12: add extra ghost hits (MID only)
- Bars 13–16: call & response: remove sub for 1/2 bar, let mid distort, then slam sub back in
- Wavetable Filter Freq (small moves)
- Saturator Drive (1–2 dB changes are big)
- Rack `ACCENT` macro
- Auto Filter Res (adds “ee” on select hits)
- Raise one note +3 or +5 semitones (MID only)
- Increase that note’s velocity
- Shorten it slightly (more percussive)
- Start at -18 to -12 dB send.
- Automate send higher during fills or the second 8 bars of the drop.
- Accents only = volume changes: it’ll sound static. Accents need tone changes (filter/drive/harmonics).
- Sub follows ghost notes: makes low-end flappy and inconsistent. Keep sub simpler.
- Too much swing everywhere: makes drums feel late. Swing bass ghosts, not the snare.
- Over-saturating the fundamental: distortion below ~120 Hz ruins headroom fast. Distort mids, not sub.
- Sidechain too deep on MID: your accents disappear right when they should hit.
- Pitch micro-accent: on select MID notes, add Pitch Bend (±10–30 cents) for a “strain” feel.
- Resonant “needle” accents: automate Auto Filter Res up briefly (20–40%) on a few hits per phrase.
- Noise layer on accents: in Wavetable, add a tiny bit of noise only on high velocity (map Velocity → Noise Level).
- Mid/Side discipline: keep everything under 120 Hz mono (Utility), but let gritty harmonics widen slightly above that.
- Break-driven bounce: if your drums are break-based, sidechain the MID lightly from a ghost kick AND use Groove Pool timing so bass ghosts tuck between break transients.
- Rolling bass accents in DnB come from micro-variation: velocity, tone, envelope, and timing.
- Keep sub stable and put the accent drama in the mid layer.
- Use Ableton stock tools—Wavetable/Operator, Saturator, Auto Filter, EQ Eight, Utility, Compressor, Groove Pool—to create movement that survives a loud mix.
- Arrange accents like drum fills: phrases, surprise notes, and controlled intensity ramps.
---
2) What you will build
A classic DnB rolling bass system with:
Target vibe: deep/dark roller, jungle-tempo energy, modern punch 🥁
---
3) Step-by-step walkthrough
Step 0 — Session setup (fast, intentional)
1. Set tempo to 172–176 BPM.
2. Create 3 tracks:
- Drums (Group) (Kick, Snare, Hats/Break)
- Bass SUB
- Bass MID
3. Add a Return track called `PARA GRIT` (we’ll use it later).
Why: separating sub/mid is the easiest way to make accents aggressive without destabilizing low-end.
---
Step 1 — Program a proper rolling MIDI pattern (with ghost notes)
On Bass MID (MIDI clip), set grid to 1/16.
Start with a common roller pattern in F (example):
- Bar 1: 1.1 (F1), 1.2.3 (F1), 1.3 (F1), 1.4.3 (F1)
- Bar 2: similar but change one hit to create conversation, e.g. move last note to G1 for tension before looping.
Now the important bit: accents + ghosts
Velocity map idea (MID layer):
This is where “rolling” starts—before any device touches audio.
---
Step 2 — Build the MID bass sound (stock device chain)
On Bass MID, use Wavetable (or Operator if you prefer). Here’s a solid Wavetable roller base:
Wavetable
- Freq: ~200–600 Hz (we’ll modulate)
- Res: 10–20%
- Drive: 2–6 dB
- Attack: 0–5 ms
- Decay: 250–450 ms
- Sustain: -inf (or very low)
- Release: 60–120 ms
- Amount: 15–35%
- Decay: 180–350 ms
- This is your “pluck” that reads as movement.
Now add stock devices after Wavetable:
Device chain (MID):
1. Saturator
- Mode: Analog Clip
- Drive: 3–8 dB
- Soft Clip: On
2. Auto Filter
- Type: LP24
- Base Freq: 250–800 Hz
- Res: 10–25%
3. Amp (optional but great for DnB mid grit)
- Type: Rock or Heavy
- Drive: 10–25
- Presence: 3–6
4. EQ Eight
- HP at ~90–120 Hz (MID layer should not fight sub)
- Small dip around 250–400 Hz if boxy
- Optional boost 1.5–3 kHz if you want “bite”
5. Utility
- Width: 0–40% (keep bass mid controlled)
- Bass Mono: enable if needed
You should have a bass that’s already “plucky” and consistent.
---
Step 3 — Make accents musical using Velocity → Tone (the key technique) 🎯
This is the real rolling accent sauce: velocity doesn’t just mean louder—velocity changes tone.
#### Option A (clean + controllable): use Wavetable modulation
In Wavetable:
1. Click MIDI tab (mod sources), find Velocity.
2. Map Velocity to:
- Filter Frequency: small range, e.g. +10 to +25
- Filter Drive (if available): subtle, +5 to +15
- Optional: Osc 2 Level slightly, so accents get more harmonic content
Result: louder hits also get brighter and dirtier, like classic roller phrasing.
#### Option B (post-synth shaping): Auto Filter + Saturator “accent lane”
1. Add an Instrument Rack around Wavetable + chain.
2. Create 2 chains:
- `MID Clean`
- `MID Accented`
3. On `MID Accented` chain:
- Increase Saturator Drive by +4–8 dB
- Open Auto Filter by +200–600 Hz
- Add slight Amp Drive more than clean chain
Now in the Rack:
- Mode: Drive or Compand (depending on taste)
- Set it so high velocities push more into accented chain
This creates “two personalities” without rewriting your sound.
---
Step 4 — Build the SUB layer (stable, mono, unsexy…but essential)
On Bass SUB use Operator:
- Attack: 0
- Decay: 300–600 ms
- Sustain: -inf (or low)
- Release: 80–140 ms
- Drive: 1–3 dB
- Soft Clip: On
- LP around 120–150 Hz (keep it pure)
- Width: 0%
- Gain: set for headroom (don’t slam)
MIDI pattern for SUB
- Remove tiny ghosts that make sub wobble
- Keep only the core rhythm notes
- Shorten releases if it muddies with kick
---
Step 5 — Sidechain the bass properly (so accents punch through)
On Bass MID and Bass SUB, add Compressor:
DnB tip: If you want the rolling accents to stay audible, don’t over-duck the MID. Duck the SUB a bit more than the MID.
---
Step 6 — Groove and timing: swing the accents, not the whole track 🕺
A common advanced move: keep drums tight, but let bass ghosts lean.
1. Open Groove Pool.
2. Choose a subtle swing (e.g. MPC 16 Swing 54 or similar).
3. Apply it only to the Bass MID clip.
4. Start settings:
- Timing: 10–20
- Random: 0–5
- Velocity: 0–10 (careful—your velocity is your accent logic)
This creates a rolling “human push-pull” without wrecking the drum grid.
---
Step 7 — Arrangement accents (turn a loop into a drop)
Now use accents as structure:
A) 16-bar drop plan
Automation lanes to use (choose 2–3 max):
B) The “one-hit surprise”
Once every 2 bars:
This is a classic roller hook technique.
---
Step 8 — Parallel grit for heavier accents (Return track)
On `PARA GRIT` return:
1. Saturator (Analog Clip, Drive 8–14 dB, Soft Clip ON)
2. Amp (Heavy, Drive 20–35)
3. EQ Eight
- HP at 150–250 Hz
- Optional peak around 2–4 kHz
4. Compressor (glue it lightly)
Send Bass MID to this return:
Parallel = aggression without destroying the main tone.
---
4) Common mistakes
---
5) Pro tips for darker/heavier DnB 🖤
---
6) Mini practice exercise (15 minutes) ⏱️
1. Make a 2-bar rolling pattern with at least 3 ghost notes.
2. Map Velocity to Filter Freq and Drive (either inside Wavetable or via dual-chain Rack).
3. Create 3 accent “levels”:
- Ghost (low vel, dark)
- Normal (mid vel)
- Accent (high vel, brighter + more drive)
4. Arrange an 8-bar drop:
- Bars 1–4: normal
- Bars 5–6: raise parallel grit send
- Bars 7–8: remove sub for 1/2 bar, then bring back with a big accent note
Export a quick bounce and listen quietly: do the accents still read? If yes, you nailed it.
---
7) Recap
If you want, tell me your preferred sub style (pure sine vs reese sub) and your drum approach (breaks vs modern punch), and I’ll tailor an accent rack specifically for your sound.
```

