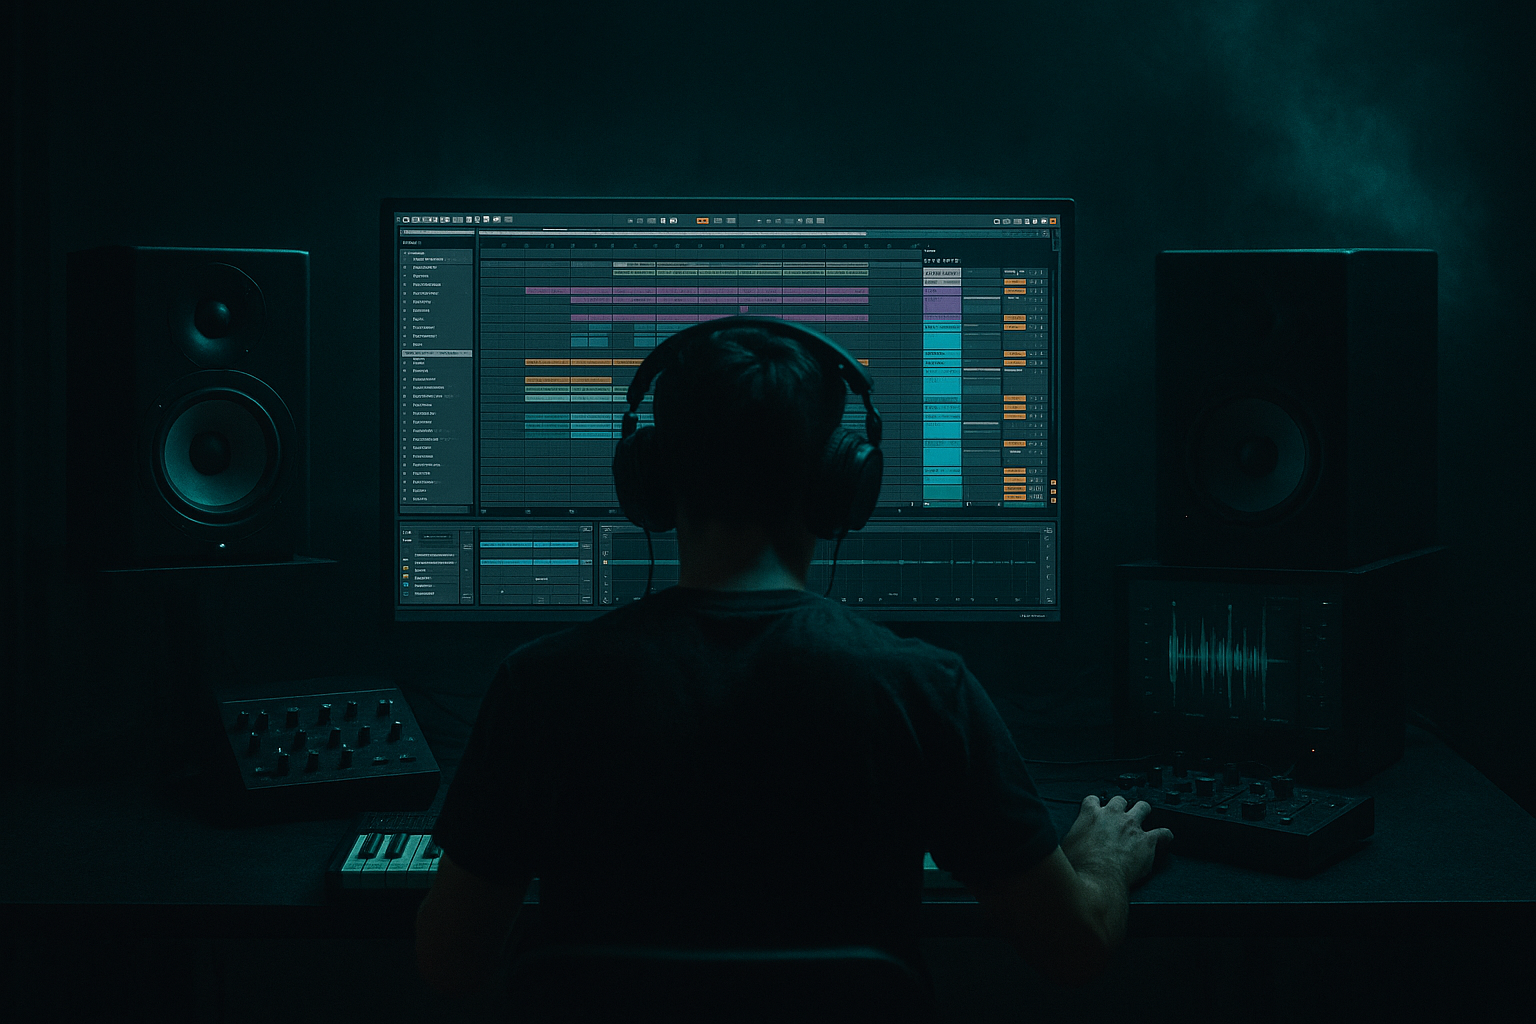
Main tutorial
```markdown
Rolling Bass Accents (Resampling Only) — Ableton Live (Intermediate) 🔊🥁
1. Lesson overview
Rolling DnB basslines live or die on accents: those little pushes that make a simple “wub-wub” feel like it’s galloping under the drums.
In this lesson you’ll create rolling bass accents using resampling only—meaning no MIDI velocity tricks, no automation lanes on the synth, no “just modulate the filter” shortcuts. Instead, you’ll print audio variations, then slice + arrange them like jungle-era sound design discipline.
This is a very real workflow in DnB: commit early, resample, and build movement through editing. 🎛️✂️
---
2. What you will build
You’ll end up with:
- A steady rolling sub + mid bass audio loop (1–2 bars)
- A set of accent “hits” (brighter / longer / noisier / distorted)
- A resampled bass kit you can play like drums
- A grooving arrangement with accent patterns that lock to a classic DnB drum grid
- Tempo: 174 BPM
- Make a 1-bar MIDI clip.
- Notes: try F1 (or any key) on:
- Length: start with 1/8 notes, then vary later.
- `Bass Source - Base`
- `Bass Source - Accent Bright`
- `Bass Source - Accent Grit`
- `Bass Source - Accent Long`
- Wavetable Filter cutoff: slightly higher
- Add Amp Envelope slightly snappier (shorter decay)
- Add Overdrive (stock) after Saturator
- Optional: Auto Filter (static!)
- Add Pedal
- Add Redux
- Increase amp release (longer tail)
- Slightly less saturation (so it stays round)
- Add Corpus (very subtle) for “note body”
- Put all accent prints end-to-end in one audio clip first
- Consolidate
- Slice once → gives you a bigger kit in one Drum Rack
- Base: 1.1, 1.2.2, 1.3, 1.4.2
- Accents:
- Nudge some MIDI notes -5 to -15 ms earlier for urgency (especially pre-snare hits)
- Or use Groove Pool:
- Add Drum Buss on the rack
- Use Saturator after Drum Buss if you need consistent density.
- Bars 1–4: Base only (establish)
- Bars 5–8: Add Bright accents on downbeats
- Bars 9–12: Swap one hit per bar to Grit (heavier movement)
- Bars 13–16: Add a Long tail hit every 2 bars for tension
- Parallel “savage” chain (resample-friendly):
- Reese-style smear without LFO automation:
- Keep the sub mono and boring (in a good way):
- Make accents feel like “pressure,” not volume:
- Rolling bass accents don’t require automation—resampling + slicing is a powerful DnB method.
- Print multiple versions of the same groove with static tone changes.
- Slice to Drum Rack and swap hits to create accents like you would with drums.
- Control the mix: keep sub stable, let accents live in mids, and lock timing to the snare.
All created by printing audio, then manipulating it.
---
3. Step-by-step walkthrough
A) Start with a solid rolling bass “source”
You can use any synth, but keep it simple and stable. Two solid stock options:
Option 1: Wavetable (recommended)
1. Create a MIDI track: `Bass Source`
2. Add Wavetable
- Osc 1: Basic Shapes → Sine or Triangle
- Osc 2: off (or very low)
- Filter: LP24, Drive ~ 10–20%
- Envelope 2 to Filter: small amount (like 10–20) for slight bite
3. Add Saturator
- Mode: Soft Clip
- Drive: 2–6 dB
4. Add EQ Eight
- HP filter at 25–30 Hz (clean rumble)
- Small dip around 200–350 Hz if it’s boxy
MIDI pattern (classic roll)
- 1.1
- 1.2.2 (the “a” of beat 2)
- 1.3
- 1.4.2
This gives you a consistent foundation—we’ll generate accents by printing variations, not by automating.
---
B) Set up resampling properly (clean + fast)
1. Create a new audio track: `Bass Resample`
2. In Audio From, choose your `Bass Source`
3. Set Monitor to In
4. Arm `Bass Resample`
5. Record 2–4 bars of your rolling bass
Now you have a printed bass loop you can commit to and mangle.
> If you prefer: set Audio From = Resampling to capture the entire mix, but routing directly from Bass Source is cleaner and avoids accidental drum bleed.
---
C) Create accent variations (print multiple “performances”)
Here’s the key: accents are different audio takes, not automation.
Duplicate `Bass Source` 3 times:
Each duplicate uses the same MIDI clip—but you change the sound design static settings, then resample each version.
#### Variation 1: Accent Bright ✨
On `Accent Bright`:
- Drive: 10–25%
- Tone: 60–75%
- LP12, Cutoff a bit open, Drive low
Resample 2 bars into `Bass Accents Print` audio track.
#### Variation 2: Accent Grit 😈
On `Accent Grit`:
- Mode: Distortion
- Drive: 20–40%
- Subtle, not fizz-only
- Downsample a touch (start around 4–8)
- Bit Reduction low (2–4) if needed
Resample 2 bars.
#### Variation 3: Accent Long (tail / sustain) 🌊
On `Accent Long`:
- Tube/Beam modes can work; keep Mix low (5–15%)
Resample 2 bars.
You now have multiple printed versions of the same groove, each with a different attitude.
---
D) Slice your prints into a “bass accent kit”
This is where it becomes rolling.
1. Pick the cleanest printed audio (Base), consolidate it:
- Select 1–2 bars → Cmd/Ctrl + J
2. Right-click the consolidated clip → Slice to New MIDI Track
- Slicing preset: Transient (or 1/8 if transient detection is messy)
- Create one slice per hit (aim for 8–16 slices)
Repeat slicing for the accent prints (Bright/Grit/Long), OR:
Result: a Drum Rack full of bass hits, each slightly different.
---
E) Program rolling accents with audio slices, not synth automation
Now you’ll “play” the bass like drums.
1. In the sliced MIDI track (Drum Rack), create a new MIDI clip (1–2 bars).
2. Lay down your standard roll using the “Base” slices.
3. Replace certain hits with accent slices:
- Bar start hit (1.1): use Accent Bright
- Pre-snare (1.2.4 or 1.2.3 area depending on your groove): use Accent Grit
- End of bar: use Accent Long
Very DnB-jungle pattern idea (1 bar):
- Replace 1.1 with Bright
- Replace 1.3 with Grit (to push into snare)
- Add a quiet ghost hit at 1.4.4 using Base or a short slice
Even though it’s all resampled, the pattern feels “performed” because the tone changes per hit.
---
F) Tighten the pocket like real DnB
Accents are nothing if they don’t sit with the drums.
Timing tips (no automation needed):
- Add a groove like Swing 16-XX (subtle)
- Apply at 10–20%
- Commit if it feels good
Transient control (on the Drum Rack):
- Drive: 3–8
- Crunch: 0–10
- Boom: OFF (usually for bass)
---
G) Arrange it: make accents evolve across 16 bars
A rolling DnB bassline should develop.
Try this 16-bar plan:
Because you’re using slices, variation is quick: copy the MIDI clip, swap slices, done.
---
4. Common mistakes
1. Too many accents
If every hit is “special,” none of them are. Keep accents to 1–3 per bar.
2. Accents fighting the snare
Gritty mid accents around 180–250 Hz can mask snare body. Use EQ Eight on the rack to carve a little.
3. Sub gets inconsistent
If your accent slices change sub level too much, split bands:
- Duplicate the rack: one for sub-only (lowpass at ~90 Hz), one for mids
- Keep sub mostly base hits; accent the mids.
4. Slicing creates clicks
Fix with clip fades:
- In audio clip view, enable Fade (tiny 1–5 ms)
- Or in Simpler/Drum Rack, adjust Fade In.
---
5. Pro tips for darker/heavier DnB 🖤
Create a return track with Roar (or Saturator + Pedal if you don’t have Roar) → EQ Eight (band-limit 150–4k) → Compressor. Send only accent slices to it.
Print two versions of the same bass with different unison/detune settings, then alternate slices between them. Movement without modulation.
On the sub chain, use Utility:
- Width: 0%
- Bass Mono: On (if using Live’s Utility features available)
Accents often work better with more harmonics (Saturator/Overdrive) rather than simply louder hits.
---
6. Mini practice exercise (15 minutes) ⏱️
1. Make a 1-bar rolling MIDI bass loop at 174 BPM.
2. Resample three static variations:
- Clean Base
- Bright
- Grit
3. Slice them into a single Drum Rack.
4. Write a 4-bar bass pattern:
- Bar 1: no accents
- Bar 2: accent on 1.1
- Bar 3: accents on 1.1 and 1.3
- Bar 4: add a tail accent near the end
5. Bounce the 4-bar result to audio and listen against a basic DnB break (Amen-style or a modern 2-step). Adjust timing until it “pulls.”
Deliverable: a 4-bar bass loop that feels like it’s driving the drums forward.
---
7. Recap ✅
If you want, tell me what subgenre you’re aiming for (minimal roller, jungle, neuro-ish, foghorn, etc.) and I’ll suggest an accent map + device chain tailored to that vibe.
```

