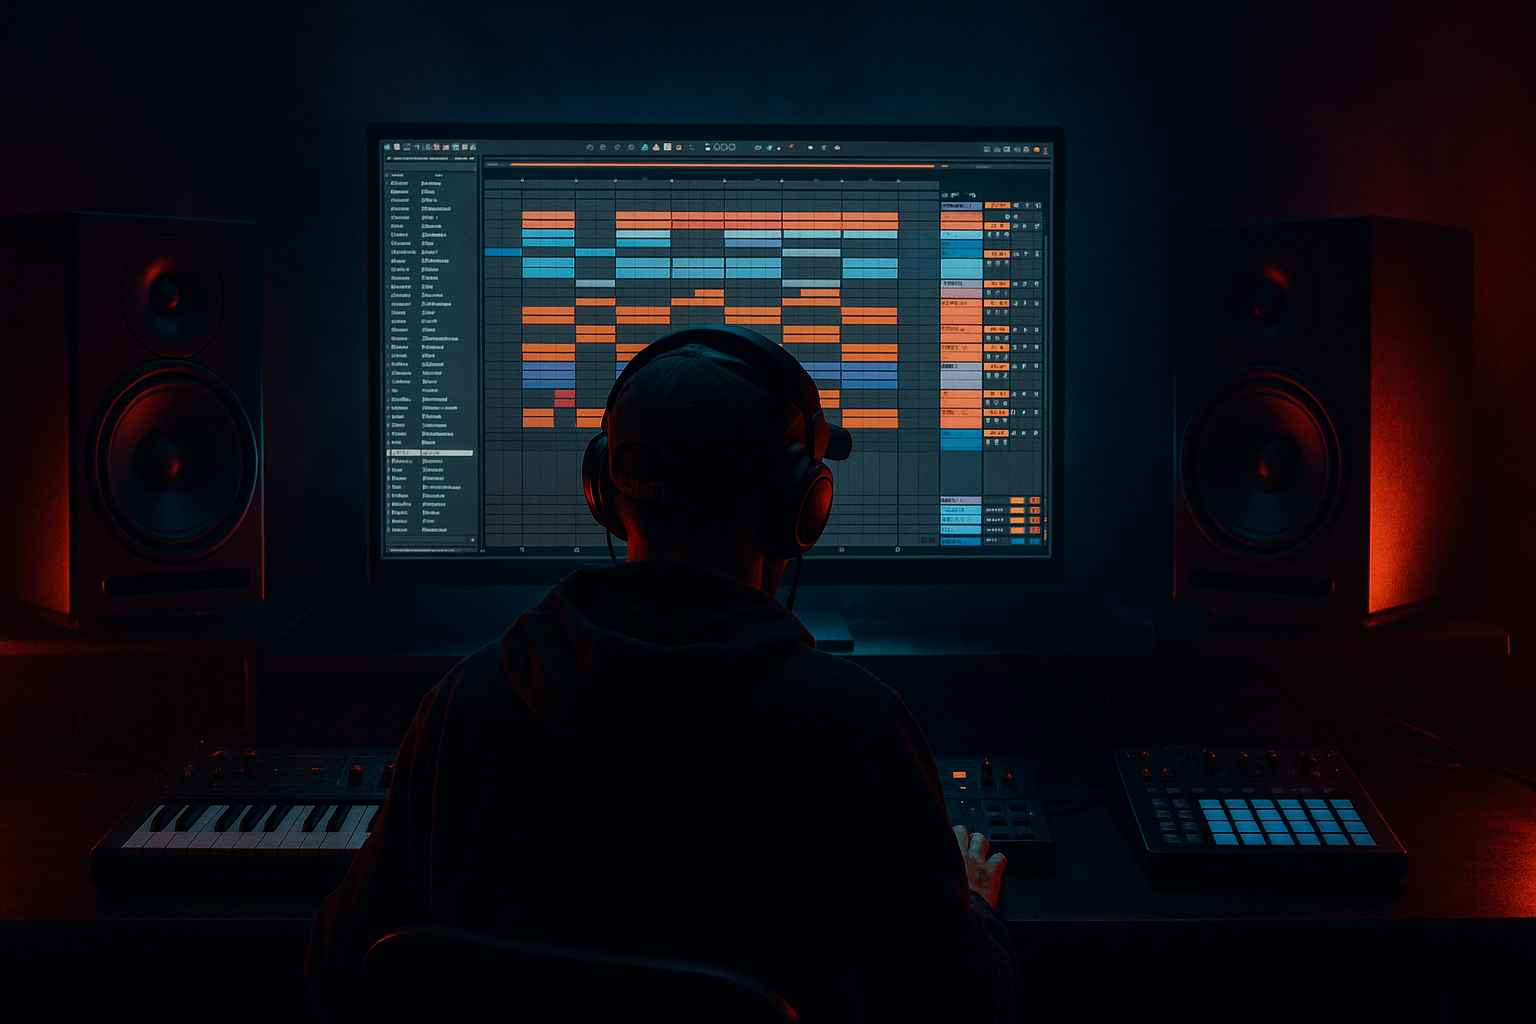
Main tutorial
Lesson Overview
In jungle and oldskool DnB, atmospheres are not just “background.” They’re part of the bassline’s personality. A routed atmosphere with macro control lets you perform tension, width, grit, and motion from one rack instead of juggling ten clips and automation lanes. In an advanced Ableton Live 12 workflow, this becomes especially useful in bassline-heavy arrangements where the sub must stay solid but the top layer can breathe, smear, distort, and duck around the drums.
The goal of this lesson is to build a single atmosphere rack that can be played like an instrument: clean and narrow for the intro, smoky and animated under the verse, then wide, degraded, and more aggressive in the build and drop transitions. This matters in DnB because your atmosphere has to support the groove without masking the break edits, ghost notes, or the low-end relationship between kick, sub, and reese. If you can route and macro-control the atmosphere properly, you can create oldskool jungle tension, roller hypnosis, and darker bass pressure with very little CPU and maximum recall.
This is a strong fit for advanced producers because the technique is less about “how do I add reverb?” and more about “how do I design a controllable layer that reacts musically to the arrangement?” That’s the difference between a static pad and a production-ready atmospheric system. 🎛️
What You Will Build
You will build a dedicated Atmosphere Rack for DnB that can sit behind a bassline and drums, then morph from subtle to cinematic with eight macro controls. The rack will combine:
- a filtered noise-and-pad atmosphere
- a resampled break texture layer
- sidechain ducking keyed from the drum bus
- stereo control for intro width and drop discipline
- saturation and degradation for oldskool character
- automation-friendly macros for movement, darkness, and tension
- hover quietly in a 16-bar intro with dubby space
- thicken around bass call-and-response phrases
- swell into a pre-drop without muddying the sub
- open wider in breakdowns and tighten back up in the drop
- add jungle-era grit and “air” without turning into wash
- Wavetable or Analog for the tonal base
- Hybrid Reverb
- Auto Filter
- Saturator
- Utility
- In Wavetable, choose a saw or square-based patch with slow attack.
- Set Attack around 40–120 ms.
- Use a long Release, around 2–6 seconds.
- Detune lightly: 5–15 cents or very modest unison spread.
- High-pass the oscillator or tone-shape early if the patch is too full.
- Macro 1: Darken
- Macro 2: Width
- Macro 3: Motion
- Macro 4: Dirt
- Macro 5: Duck
- Macro 6: Bloom
- Macro 7: Freeze
- Macro 8: Tune/Shift
- Auto Filter cutoff to Darken, range roughly 300 Hz to 8 kHz.
- Utility width to Width, range 0% to 140%.
- Wavetable LFO amount or filter modulation amount to Motion.
- Saturator drive to Dirt, range 0 to 8 dB.
- Compressor threshold or sidechain amount to Duck.
- Hybrid Reverb dry/wet to Bloom, range 5% to 35%.
- Hybrid Reverb freeze or decay behavior to Freeze, if used sparingly.
- Fine pitch or device transpose to Tune/Shift, kept subtle: -7 to +7 semitones if it’s a resampled texture, or -12 to +12 cents if it’s a tonal layer.
- Sidechain input: Drum Bus
- Attack: 1–10 ms
- Release: 80–180 ms for rhythmic pumping, or 200–350 ms for slower cinematic pullback
- Ratio: 2:1 to 4:1
- Aim for 2–5 dB gain reduction on average, more if the atmosphere is dense
- Low-mid haze layer: heavily sidechained, narrower
- Upper texture layer: less sidechained, more stereo
- Chain 1: low-mid atmosphere, bandpassed roughly 200 Hz–2.5 kHz
- Chain 2: airy texture, high-passed above 2.5 kHz
- Record 1–2 bars of your atmosphere plus a break loop or chopped vinyl-like noise.
- Bounce or resample to audio.
- Drag that sample back into a Simpler on a separate track or into the same rack as an additional layer.
- Use Classic mode for a more sample-like response.
- Set Warp only if needed; for short atmospheres, be conservative.
- Filter the sample with a low-pass around 6–10 kHz if it is too bright.
- Add a little Saturator or Overdrive for character.
- Bars 1–16 intro: Darken high, Width moderate, Dirt low, Duck moderate
- Bars 17–24 breakdown: Bloom up, Motion up, Freeze momentarily for tension
- Bars 25–32 pre-drop: Darken slowly opens, Dirt increases, Duck slightly reduces
- Drop: Width tightens slightly, Darken sits lower, Duck stronger, Motion more rhythmic
- Darken: automate from 25% to 70% over 8 bars, then open it just before the drop.
- Bloom: raise from 10% to 30% in breakdowns, then pull it back to 5–12% in the drop.
- Dirt: automate from 0–2 dB up to 4–6 dB in transitions, not continuously.
- Width: keep intro wider, then narrow the drop atmosphere so the bass can hit harder in mono.
- Freeze: use for one-bar or half-bar moments before a drop to create a held “air lock” effect.
- High-pass the atmosphere around 120–250 Hz depending on the bass arrangement.
- If the bass has a strong 200–400 Hz body, cut the atmosphere slightly there.
- If the mix gets harsh, reduce 2.5–5 kHz on the atmosphere by 2–4 dB.
- Keep anything under 150 Hz mono using Utility.
- Use Width on the atmosphere itself, but not on the sub or low-mid energy.
- If the track relies on a reese bass, reduce atmosphere width during drop sections so the reese occupies the outside image more intentionally.
- High shelf +1 to +3 dB above 8 kHz only in breakdowns.
- Low-mid cut by 1–3 dB around 250–400 Hz if the texture clouds the snare.
- Wavetable LFO on wavetable position or filter cutoff
- Auto Pan at very slow rates, synced or free-running
- Grain Delay for rare, tension-heavy moments
- Redux for crunchy, old cassette-like edge
- Echo for dubby tails, especially in intros and breakdowns
- Auto Pan rate: 1/2 to 2 bars, Amount 10–35%
- Redux downsample: subtle at 2–4 bits of reduction, not full destruction
- Echo feedback: 15–35%, Filter in Echo trimmed below 6–8 kHz
- Grain Delay spray: very small amounts for nervous motion, not obvious glitching
- Sidechain the atmosphere from the kick/snare bus so it breathes with the break.
- Use clip envelopes or track automation to mute or reduce the atmosphere during dense fills.
- Let the atmosphere rise in the gaps between bass notes, not on top of sustained bass holds.
- If your bassline is syncopated, use the atmosphere’s Motion macro in a complementary rhythm, not the same rhythm.
- Intro: atmosphere wider and more exposed
- Drop: atmosphere narrower, darker, and more compressed
- Switch-up: briefly open Bloom and Freeze for a cinematic stutter
- Outro: strip the dirt, widen the top, and leave only the texture tails for DJ-friendly blend-out
- Making the atmosphere too full-range
- Using too much stereo width in the low mids
- Over-automating everything at once
- Letting reverb wash cover the snare and break detail
- Distorting the atmosphere before checking the bass balance
- Forgetting mono compatibility
- Use saturation in stages rather than one big hit. A mild Saturator before reverb and another after filtering can feel heavier than one aggressive drive stage.
- Try very subtle frequency shifting or tuning movement on the texture layer only. This can add unease without trashing the mix.
- Use Hybrid Reverb’s convolution side for physical space and the algorithmic side for synthetic tail. Keep it dark and short in drops, more open in intros.
- In neuro-leaning sections, automate Dirt and Duck together: more distortion, more sidechain. That keeps the atmosphere aggressive but controlled.
- If the bassline is a reese, carve the atmosphere around the reese’s main formant area, often somewhere in the 150 Hz–800 Hz zone depending on the sound.
- For oldskool jungle flavor, resample the atmosphere through a slightly crunchy break bus, then chop the resample into 1/2-bar or 1-bar phrases.
- Use the Freeze macro sparingly. One frozen swell before a drop can feel huge; constant freezing usually removes the movement that makes DnB breathe.
Musically, the result is a layered atmosphere that can:
Think of it as a performance-ready atmosphere engine for a roller or jungle-influenced arrangement, especially useful when the bassline is doing most of the musical talking.
Step-by-Step Walkthrough
1. Set up the atmosphere source like a real DnB layer, not a generic pad
Create a new MIDI track called Atmosphere. Load Ableton stock devices in this order:
For the source sound, keep it simple and dark:
For oldskool jungle vibe, you want a source that feels sampled or synth-like, not glossy EDM. A slight instability in tuning is good. If you use Analog, a single saw + pulse blend can work beautifully when filtered and later resampled.
Why this works in DnB: the atmosphere needs enough harmonic content to sit behind a reese or sub, but not so much that it competes with the bass movement. A simpler source gives you more control later via routing and macros.
2. Build the rack and create macro control over the atmosphere’s core movement
Select the device chain and group it into an Instrument Rack. Now map the most important controls to macros. Start with these eight:
Suggested mappings:
Keep this rack performance-oriented. Do not map too many unrelated parameters to a single macro. In advanced DnB work, the best macro racks feel like instruments, not “everything knobs.”
3. Create the atmosphere as a routed layer with sidechain discipline
To make the atmosphere sit correctly with jungle drums and bass, set up a dedicated sidechain path from your drum bus or kick/snare group.
Use Ableton Compressor or Glue Compressor on the Atmosphere track:
If the kick and snare are very busy, use a multiband approach conceptually by separating the atmosphere into two layers:
You can do this with Audio Effect Racks and chain split points:
Map each chain’s volume or filter amount to separate macros if needed. This gives you control when the break starts throwing ghost notes and kick variations at the mix.
4. Resample a jungle-style texture and route it through the rack
For authentic oldskool vibe, take a short resample route:
In Simpler:
Then route this layer into the same Atmosphere Rack, or into a nested Audio Effect Rack after it. This is where the oldskool jungle flavor becomes real: a moving synth bed plus a noisy sampled layer gives you the “produced from the break culture” feeling rather than a polished pad.
If you want it more like a roller, keep the sample subtle and looped. If you want it more like a darker neuro-adjacent wash, automate the resampled layer’s filter and distortion more aggressively.
5. Use macro automation to shape arrangement energy across the track
Now treat the rack like a performance instrument in arrangement. In a DnB tune, the atmosphere should evolve with the 8-, 16-, and 32-bar phrasing.
Example arrangement context:
Suggested automation moves:
This is especially effective when your bassline has call-and-response phrasing. Let the atmosphere swell during the “answer” gaps, then pull back as the bassline returns. That keeps the arrangement conversational instead of cluttered.
6. Shape the atmosphere to leave room for the bassline and the break
Basslines in jungle and darker DnB are often moving between sub foundation and midrange attitude. The atmosphere must be carved so it supports that relationship.
Use Auto Filter or EQ Eight inside the rack:
For stereo discipline:
For a more modern sound, use EQ Eight after the rack to perform a gentle shelf:
Why this works in DnB: drum and bass is built on clear low-end hierarchy. If the atmosphere owns too much low-mid, the bassline loses authority and the drum break loses snap. Carving the atmosphere lets it feel huge without actually being huge everywhere.
7. Add movement with modulation, resampling, and automated degradation
Movement is what makes the atmosphere feel alive instead of looped. In Live 12, you can make this very performance-friendly.
Use one or more of these:
Suggested settings:
If the atmosphere is too static, resample it after automation passes. Then chop the resample into phrases and place them as audio clips. This creates organic variation that feels more like jungle sample culture than a pristine synth pad.
8. Integrate the atmosphere with the drums and bass as a single musical system
The final advanced step is making the atmosphere respond to the groove, not just the arrangement.
Try these strategies:
Practical example:
If the bassline hits on beat 1, the “and” of 2, and beat 4, then automate the atmosphere’s Bloom or Motion to swell on the spaces after those hits. That creates tension-and-release phrasing without stepping on the groove.
For final arrangement polish:
Common Mistakes
Fix: high-pass it harder than you think. In DnB, atmosphere often sounds “better” solo when it is actually worse in the mix.
Fix: keep sub and low-mid energy centered. Reserve width for the air and noise layers.
Fix: pick one or two main macro moves per section. Too many macro changes make the arrangement feel nervous and unfocused.
Fix: shorten decay, reduce dry/wet in drops, and sidechain the atmosphere.
Fix: set bass and drums first. Then add dirt until the atmosphere supports the track, not dominates it.
Fix: check the Atmosphere Rack in mono. If the important vibe disappears, your width is too dependent on phase tricks.
Pro Tips for Darker / Heavier DnB
Mini Practice Exercise
Set a 15-minute timer and build a one-rack atmosphere system from scratch:
1. Make a simple pad or noise-based source in Wavetable or Analog.
2. Group it into an Instrument Rack and map at least six macros.
3. Add sidechain compression from your drum bus.
4. Create a high-passed texture layer and a darker low-mid layer.
5. Automate Darken, Width, and Dirt across 8 bars.
6. Resample 1 bar of the result, then chop it into two clips.
7. Arrange a 16-bar loop with:
- 8 bars intro
- 4 bars tension
- 4 bars drop support
8. Check mono and remove any low-end smear.
Goal: make the atmosphere feel like part of the tune’s phrasing, not an effect pasted on top. If you can make it breathe with the drums and leave space for the bassline, you’ve got a usable DnB atmosphere tool.
Recap
The core idea is simple: build one atmosphere rack, then control it with macros like an instrument. In DnB, that gives you tension, width, dirt, and motion without sacrificing bass clarity. Keep the low end out of the way, sidechain it properly, and automate the atmosphere in musical phrases that support your drums and bassline. When done right, the atmosphere becomes part of the arrangement language — not just a layer behind it.

