Main tutorial
Lesson Overview
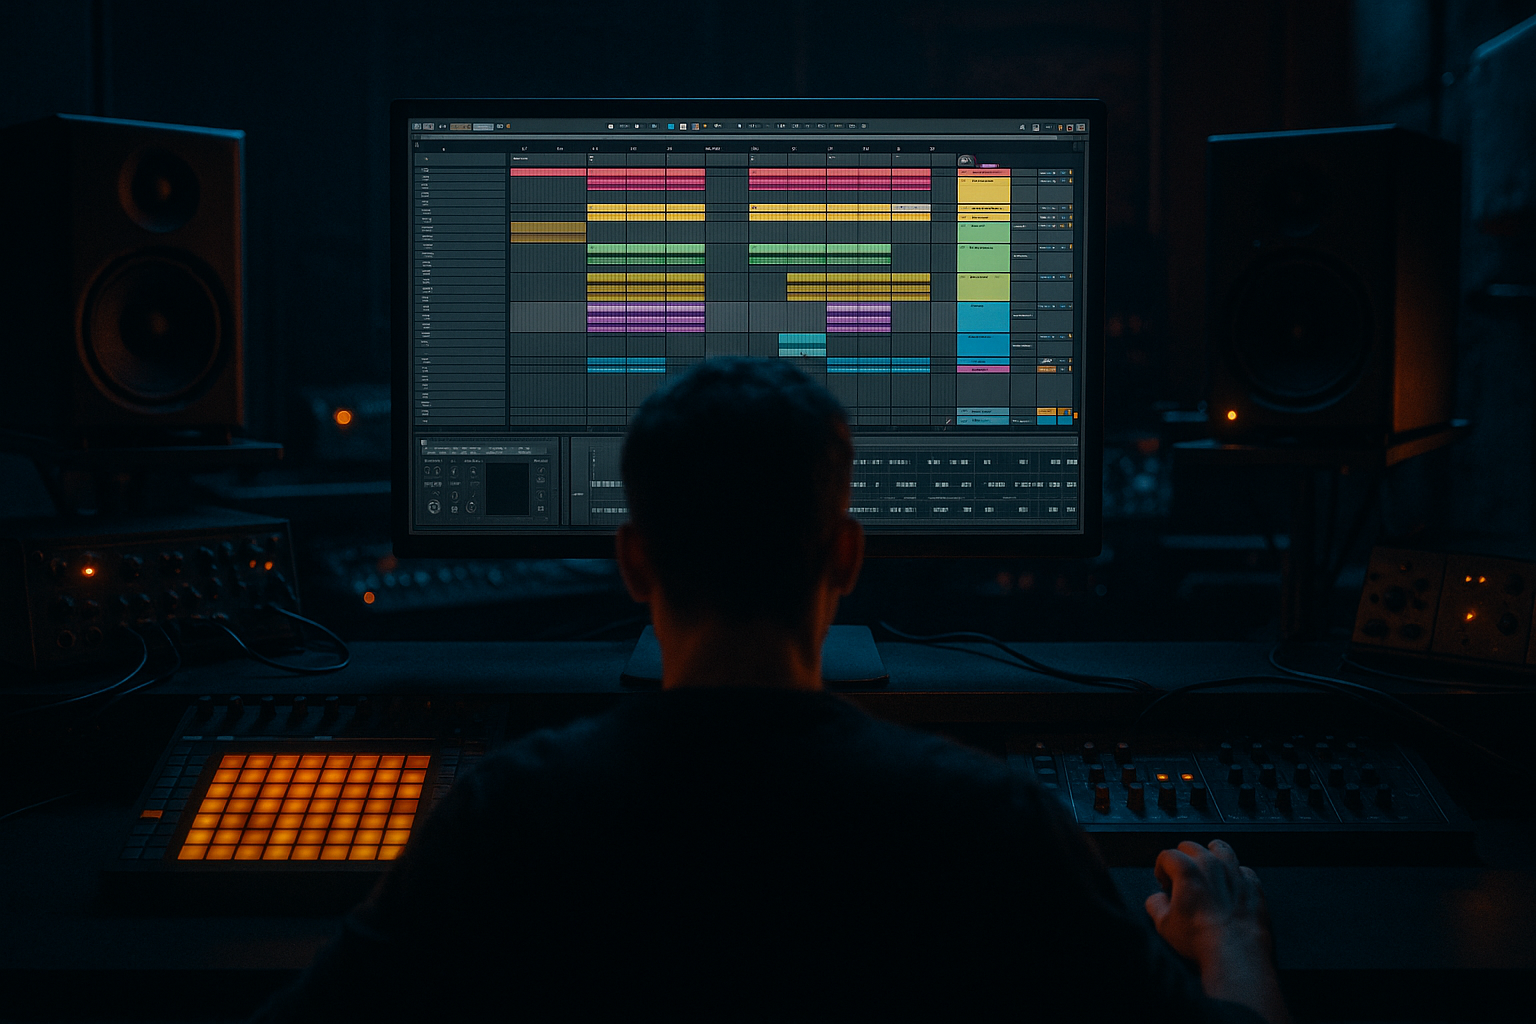
Routing a breakdown in Ableton Live 12 is one of the fastest ways to make a jungle or oldskool DnB arrangement feel intentional instead of random. In this lesson, you’re going to build a breakdown route that creates tension before the drop, clears space for the low end, and makes the return feel bigger and more physical.
In Drum & Bass, breakdown routing matters because the contrast is everything. A strong drop only hits if the breakdown has a believable shape: drums thin out, bass gets filtered or removed, atmospheres take over, and small rhythmic details keep the energy alive. For jungle and oldskool DnB specifically, the breakdown is often where you hear chopped breaks, sub hints, dub-style echoes, filter sweeps, and a sense of “something is about to come back in hard.” That’s the vibe we’re building here.
We’ll use Ableton Live 12 stock tools to route the breakdown cleanly and musically:
- group-based routing for fast control
- Return tracks for shared atmosphere and delay throws
- utility and EQ for low-end control
- automation for tension curves
- resampling workflow ideas to make the breakdown feel more organic and oldskool 🎛️
- pulls the kick, snare, and bass out gradually without killing groove
- keeps chopped breaks and ghost notes alive in the background
- uses a filtered reese or bass texture as a memory of the drop
- adds dubby delay throws, atmosphere, and noise risers for movement
- leaves enough headroom and stereo discipline for a clean drop return
- feels like jungle / oldskool DnB with a modern Ableton workflow
- bars 1–4: groove starts thinning, bass loses weight, drums still pulse
- bars 5–8: break edits and FX take over, sub is mostly gone, tension rises
- bars 9–12: filtered bass motif returns in fragments, snare ghosts and delay tails
- bars 13–16: full anticipation, then a clean pre-drop setup
- jungle with amen-style break energy
- oldskool rave-inspired DnB
- rollers that need a clean reset before the next groove
- darker bass music where atmosphere and tension are part of the drop design
- Muting the bass too early and making the breakdown feel dead
- Using too much reverb on the low end
- Letting the break loop fight the kick or snare ghosts
- Over-automating random knobs instead of shaping the phrase
- Making the breakdown too wide and blurry
- Not leaving enough headroom for the drop
- Adding too many FX layers
- Use a filtered reese tail instead of a huge pad if you want menace without washing out the mix.
- Put Saturator lightly on the breakdown bass memory to make it feel closer and more physical. Try Drive 2–4 dB and adjust Output to match.
- On the Drum Group, try Drum Buss with Drive 5–10% and keep Boom minimal so the break stays punchy, not bloated.
- Use Echo on snare hits with filtered repeats for that dark dub pressure. Keep feedback modest so it doesn’t turn into fog.
- If the breakdown needs more underground character, automate a subtle filter resonance bump right before the drop, then pull it back fast.
- For neuro-leaning darkness, use a chopped bass texture with tiny motion changes rather than a long evolving pad. Small, controlled movement reads as intentional.
- For jungle authenticity, keep some break chop imperfections. Don’t quantize every slice perfectly; a little swing and offset helps the groove breathe.
- If you want more impact on the drop return, reduce reverb and delay density in the final bar. Space creates punch.
This is not just about making a section quieter. It’s about designing a transition that sounds like DnB.
What You Will Build
By the end of this lesson, you’ll have a breakdown route that:
Musically, think of a 16-bar breakdown after a first drop:
This kind of routing works especially well for:
Step-by-Step Walkthrough
1. Set up a clean routing structure before you automate anything
In Session or Arrangement View, group your main elements into clear busses:
- Drum Group
- Bass Group
- Music/Atmosphere Group
- FX Group
Inside the Drum Group, keep your kick, snare, break loop, percussion, and fills as separate tracks if possible. Inside the Bass Group, separate sub and mid bass if they’re different tracks.
On each Group, drop an Audio Effect Rack only if you need macro control, but for this lesson start simple:
- Drum Group: EQ Eight, Glue Compressor, Utility
- Bass Group: Utility, EQ Eight, Saturator
- Music/Atmosphere Group: Auto Filter, Reverb
- FX Group: Delay, Reverb, maybe a Limiter if needed
Why this matters in DnB: breakdown routing is much faster when you can control sections at the group level instead of drawing 40 tiny automation curves. It also keeps your low-end decisions consistent across the arrangement.
2. Create a breakdown “path” instead of a hard mute
In jungle and oldskool DnB, hard-cutting everything often feels too modern and too empty. Instead, build a path from full energy to reduced energy.
Start by automating:
- Bass Group volume down over 4–8 bars
- Utility Width on mid/high elements only if you want the breakdown to narrow slightly
- EQ Eight low cut on the bass mid layer, not the sub layer
A good starting point:
- Bass Group volume: fade down by about 3 to 6 dB over 4 bars
- Mid bass low cut with EQ Eight: sweep from around 120 Hz to 250 Hz
- Music/Atmosphere Group high-pass: set around 150–300 Hz to keep mud out of the breakdown
Keep the sub discreet rather than gone immediately. In DnB, the listener should feel the low-end leaving, not just notice it disappearing.
3. Route the break so it can stay alive while the main drums pull back
For oldskool/jungle vibes, the break is often the emotional anchor of the breakdown. Keep your break loop on its own track or inside the Drum Group so you can route it separately from the main kick/snare.
Inside the break track:
- Add EQ Eight to carve space
- Add Drum Buss lightly for body
- Add Utility so you can mono the low-mid if needed
Suggested approach:
- Use EQ Eight to trim a bit around 250–400 Hz if the break gets boxy
- Add Drum Buss Drive around 5–15%
- Keep Boom low or off during the breakdown if the break is fighting the sub
Automation idea:
- Let the break loop run into the breakdown
- Gradually filter its top end down with Auto Filter from around 10–12 kHz to 3–6 kHz
- Bring in extra ghost hits or sliced snare fills at the end of every 2 or 4 bars
This keeps rhythmic identity in the breakdown even when the main drums are softened.
4. Use resampled bass fragments to imply the drop without fully giving it away
A very effective DnB workflow is to create a “memory” of the bassline. Duplicate your bass track or resample a phrase and turn it into a breakdown texture.
In Ableton Live 12:
- Freeze and Flatten a bass clip if needed
- Or record the bass to a new audio track
- Chop a 1-bar or 2-bar bass phrase into fragments
- Add Auto Filter, Saturator, and Echo or Delay for movement
Suggested settings:
- Auto Filter: low-pass around 300–900 Hz, with resonance around 10–25%
- Saturator: Drive 2–6 dB
- Echo/Delay: short feedback, around 15–35%, with filtered repeats
Then automate the bass fragments to answer the drums. For example:
- first 4 bars: one filtered stab every 2 bars
- next 4 bars: more frequent chopped reese bits
- final 4 bars: a rising filtered loop that hints at the drop bass
Why this works in DnB: the listener’s ear remembers the bass identity, so the next drop feels like a return rather than a restart.
5. Build shared atmosphere on Return tracks for glue and scale
Don’t put all your reverb and delay directly on tracks unless you want to work slowly. For breakdowns, Return tracks are ideal.
Create at least two Returns:
- Return A: short dub delay
- Return B: large dark reverb
On Return A:
- Use Echo or Delay
- Filter the repeats with low cut around 200–400 Hz and high cut around 4–8 kHz
- Keep feedback moderate, around 20–40%
On Return B:
- Use Hybrid Reverb or Reverb
- Decay around 2.5–6 seconds
- Pre-delay around 15–40 ms
- Low cut around 250–500 Hz
Send your snares, break chops, vox hits, and bass stabs into these returns sparingly. Use automation to push specific hits into the delay at the end of phrases. That classic dubby “throw” is gold in jungle and darker DnB.
Workflow tip: if you know the breakdown needs more space later, set the sends now and automate the send amounts instead of inserting new devices halfway through the arrangement.
6. Automate a tension curve with filters, sends, and drum density
The breakdown should feel like it’s moving somewhere. In Ableton, that movement can be controlled with a few key automations:
- Bass filter closes or opens
- Snare send level increases
- Reverb send rises
- Break loop high-pass moves upward
- Volume of full drum bus dips subtly
A strong 8-bar breakdown curve might look like this:
- Bars 1–2: mild bass reduction, break loop active, minimal reverb
- Bars 3–4: snare echoes and filtered percussion enter
- Bars 5–6: bass fragments become more sparse, atmosphere rises
- Bars 7–8: everything narrows, then a riser or reverse crash leads back in
Concrete automation ranges:
- Bass Send to Reverb: from -inf to around -15 dB for selected hits
- Break loop Auto Filter high-pass: from 80 Hz to 250 Hz
- Drum Group volume: reduce only 1–3 dB if you still want groove
- FX noise riser volume: fade in over 1–2 bars
In DnB, automation should feel like pressure being released and rebuilt at the same time.
7. Use Arrangement View to make the breakdown DJ-friendly
A lot of DnB arrangements fail because the breakdown is musically strong but structurally awkward. Think like a DJ and give the listener clear phrase lengths.
A practical breakdown layout:
- 16-bar breakdown after the first drop
- 8-bar intro to the breakdown with drums thinning out
- 4-bar middle section with bass fragments and FX
- 4-bar pre-drop lift with riser, snare roll, or tension hit
For oldskool vibes, consider:
- leaving a short break loop running in the first 4 bars
- adding a vocal chop or atmospheric stab in bar 5 or 9
- using a reverse crash or noise sweep in the final bar
- dropping the full drums and bass exactly on the phrase boundary
This helps the track feel mixable and classic. DJs love clean 8s and 16s, especially in rolling or jungle-leaning material.
8. Control the low end so the breakdown breathes but doesn’t hollow out
A breakdown can still have low-end psychology even if the sub is mostly gone. Use low-end restraint intelligently:
- keep only a hint of sub in the first part of the breakdown
- remove deep sub before heavy reverb or delay enters
- use Utility to mono the lower elements
- use EQ Eight to make sure bass remnants don’t clash with kick ghosts
Good starting moves:
- Sub track: automate a low-pass or volume fade so it’s nearly gone by the midpoint of the breakdown
- Mid bass: keep it stereo-safe or narrowed with Utility if needed
- Drum Group: high-pass any atmospheric layers above 150–250 Hz
If your breakdown starts sounding weak, don’t immediately add more low end. Instead, add rhythmic detail, better filtering, or a more obvious bass memory line.
9. Finish with a pre-drop cue that makes the return obvious
The end of the breakdown should signal the drop without being cheesy. In DnB, that cue can be:
- a snare roll
- a filtered amen fill
- a reverse bass swell
- a short sub pickup note
- a final delay throw on the last snare
In Ableton Live 12, try:
- Beat Repeat on a send or duplicate track for a final stutter
- Auto Filter opening over the last 1–2 bars
- Saturator or Overdrive for a touch more edge on the pickup
- a final Impact/Crash on the one before the drop
Keep the last bar readable. If you pile on too many cues, the drop loses power. One strong final gesture is enough.
Common Mistakes
- Fix: keep a filtered bass memory, sub hint, or rhythmic fragment alive.
- Fix: high-pass sends and keep sub mostly dry and controlled.
- Fix: carve with EQ Eight and reduce unnecessary low mids.
- Fix: think in 4-bar or 8-bar energy curves, not constant movement.
- Fix: keep low frequencies mono and narrow the most important elements.
- Fix: avoid pushing the breakdown bus into clipping just because it’s quieter overall.
- Fix: use one or two strong atmospheres and automate them well rather than stacking ten sounds.
Pro Tips for Darker / Heavier DnB
Mini Practice Exercise
Spend 10–20 minutes building this breakdown route in one existing DnB project:
1. Pick an 8-bar section right before a drop.
2. Group your drums, bass, music, and FX if they aren’t already grouped.
3. Automate the bass group down by 4 dB across the 8 bars.
4. Add an Auto Filter to a bass fragment or reese layer and sweep it from about 500 Hz down to 200 Hz, or the reverse depending on your arrangement direction.
5. Send 2–3 snare hits into a delay return with 20–30% feedback.
6. High-pass the break loop from about 80 Hz up to 220 Hz over the phrase.
7. Add one final riser, reverse crash, or snare fill in the last bar.
8. Listen once with the track muted in sections, then once in full context.
Your goal: make the breakdown feel like a clear descent and rebuild, not just a quieter version of the drop.
Recap
A strong DnB breakdown route in Ableton Live is about controlled contrast, not emptiness. Group your tracks cleanly, automate the low end with intention, keep the break loop alive, use shared returns for dubby space, and shape the phrase in 4-bar or 8-bar chunks. For jungle and oldskool vibes, the magic is in the balance between memory and tension: the groove fades, but its character stays present until the drop slams back in.

