Main tutorial
Lesson Overview
This lesson shows you how to build an oldskool DnB sampler rack in Ableton Live 12 and control it with macros so you can shape a loop into a full arrangement fast. The goal is not just to make a sound—it’s to make a performance-ready rack that helps you move from a raw jungle-style sample into a tight, arranged drum and bass section with energy, variation, and control.
This technique fits perfectly in the early-to-middle stages of a DnB track: after you’ve chosen your break, bass, and main vibe, but before you get lost in tiny details. In jungle, rollers, or darker liquid DnB, arrangement is often what keeps a loop from feeling flat. A sampler rack with macro controls lets you quickly change filter tone, sample start, reverb space, transient bite, and saturation movement without rebuilding the sound from scratch.
Why this matters in DnB: drum and bass depends on fast decisions and strong section changes. You need drops that hit hard, breakdowns that create tension, and switch-ups that keep the energy moving. A macro-controlled sampler rack gives you a simple way to automate those changes inside Arrangement View, so your track feels alive even when the core loop stays the same.
What You Will Build
You will build a classic oldskool DnB sampler rack in Ableton Live 12 using Simpler or Drum Rack, then map key sound-shaping controls to macros. The result will be a rack that can:
- play an oldskool break or one-shot drum kit
- shift between dry and roomy drum states
- add grit and punch for harder sections
- create arrangement movement with macro automation
- work as a reusable drum bus for intros, drops, and switch-ups
- Mapping too many macros to the same sound-shaping job
- Making the rack too wide in the low end
- Overusing reverb on the whole drum bus
- Pushing Saturator or Drum Buss too hard too early
- Forgetting arrangement purpose
- Leaving the break static for the whole track
- Use a darker filter curve in the intro, then open it quickly at the drop. That contrast feels huge.
- Drive the break lightly with Saturator, then add a second jump in drive during the final 4 bars before a drop.
- Keep the kick and snare mono, but let top hats and noise percussion get a little width.
- Use Drum Buss Transients sparingly to bring out snare crack without destroying the oldskool feel.
- Try a short Reverb with a small size and low dry/wet for “warehouse” space rather than a big lush wash.
- If the rack feels too clean, add a touch of Sample Start movement on break slices so the groove feels more animated.
- For neuro-influenced darker DnB, automate Filter cutoff and Resonance more aggressively, but keep the low end controlled.
- For rollers, keep the changes smaller: tiny macro movements often sound more professional than huge sweeps.
- Build an oldskool DnB drum rack with simple, useful Ableton stock devices.
- Map macros to tone, grit, space, width, and level.
- Use Arrangement View automation to create intro, drop, and breakdown states.
- Keep the low end controlled and the groove punchy.
- Small macro moves can make a loop feel like a full DnB arrangement.
Musically, this can become the backbone of a jungle intro, a halftime-feeling breakdown that opens into a full-speed drop, or a rollers groove with evolving hats and snare weight. You’ll end up with a rack that can move from “tight and dry” to “loose, dirty, and wide” with a few knob turns.
Step-by-Step Walkthrough
1. Set up a clean Drum Rack lane for your oldskool material
Start by creating a new MIDI track and loading Drum Rack. Drag in either:
- a chopped breakbeat loop
- individual oldskool drum hits
- a break sliced into Simpler chains
For a beginner-friendly setup, keep it simple: one Drum Rack pad for kick, one for snare, one for hats, and one pad for your break slice loop. If you want a more classic jungle feel, put your break into Simpler in Slice mode and let the rack control the character of the whole kit.
Keep the track organized from the start:
- rename the track “OLDSKOOL DRUM RACK”
- color it clearly
- put it near the top of your arrangement so you can automate it easily later
Why this works in DnB: oldskool drum programming is often about energy from repetition and variation, not tons of layers. A structured rack makes it easier to keep the groove strong while you automate sections later.
2. Choose the right source and set the basic playback behavior
If you’re using Simpler, drop your break sample in and try one of these modes:
- Classic mode for straightforward sample playback
- Slice mode for break chopping and rhythmic rearrangement
Useful starting settings:
- Warp: Off for one-shots, On only if the sample needs tempo syncing
- Gain: lower the sample until the rack peaks safely
- Start: around 0–5% for hits, or more if you want a tighter chop
- Filter: lowpass around 12–18 kHz if the break is too bright
If you use Drum Rack with multiple pads, keep each sound short and focused. An oldskool DnB rack should feel punchy and modular. Don’t over-process yet—just get a solid base.
Arrangement note: decide early where this rack will live in the track. For example, you might use it:
- in an 8-bar intro with filtered drums
- in a first drop with full break energy
- in the breakdown with a simpler snare-hat pattern
- in the second drop with more grit and movement
3. Build a useful effect chain inside the rack
Before mapping macros, add a few stock Ableton devices that are perfect for DnB drum shaping:
- Saturator for weight and edge
- Auto Filter for tone control
- Drum Buss for punch, boom, and drive
- Reverb for controlled space
- Utility for width and mono checks
A practical chain could be:
Simpler/Drum Rack source → Saturator → Auto Filter → Drum Buss → Utility
Suggested starting settings:
- Saturator Drive: 2–6 dB for subtle grit, 8–12 dB for heavier sections
- Auto Filter cutoff: start around 200 Hz for dark intro tone, open to 10–18 kHz for drops
- Drum Buss Drive: 5–20%
- Drum Buss Boom: keep low, around 0–15%, unless you want extra sub thump on the kick layer
- Utility Width: 0% for low-end safety, up to 120% only for higher percussion layers
Keep the chain light. The point is not to destroy the break; it’s to make the break respond musically as the arrangement changes.
4. Group the rack and expose only the controls that matter
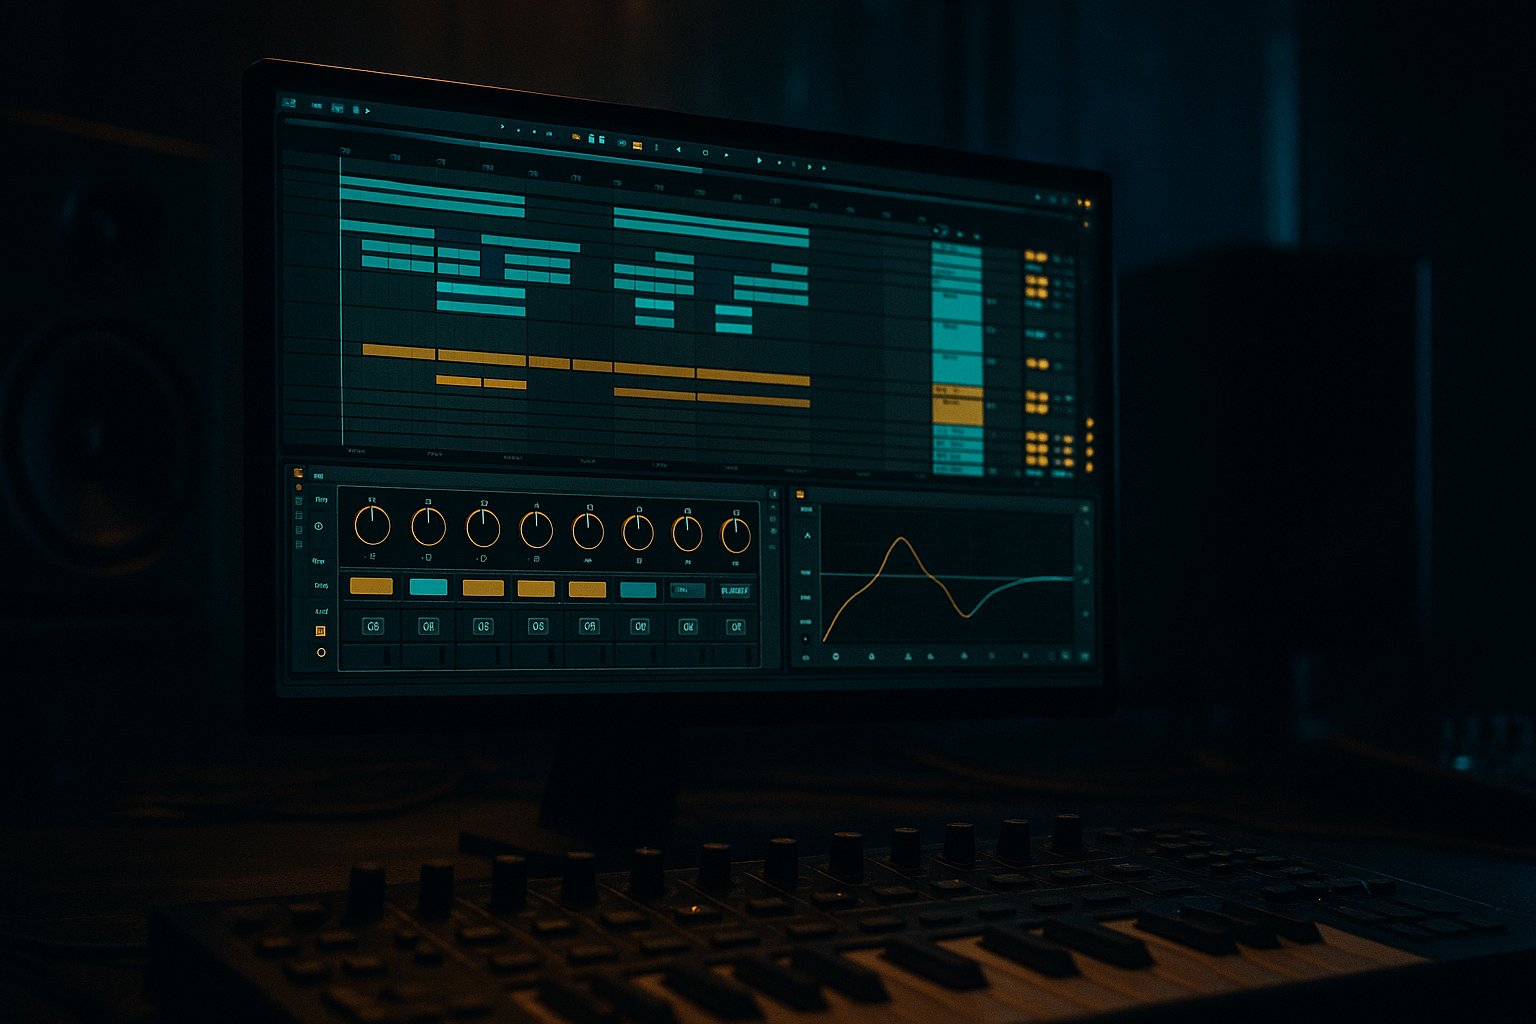
Select your Drum Rack or rack chain and press Cmd/Ctrl+G to group it into an Instrument Rack if needed. This gives you Macro controls at the top.
Now click Map and assign the most useful parameters:
- Macro 1: Filter Cutoff
- Macro 2: Resonance or Filter Drive
- Macro 3: Saturator Drive
- Macro 4: Drum Buss Drive
- Macro 5: Reverb Dry/Wet
- Macro 6: Sample Start or Chain Selector position
- Macro 7: Utility Width
- Macro 8: Volume or Output Level
Beginner tip: do not map too many things that do the same job. Each macro should feel meaningful.
Good macro naming ideas:
- TONE
- GRIT
- SPACE
- START
- WIDTH
- PUNCH
- DIRT
- LEVEL
Keep the rack simple enough that you understand what each macro does without thinking. That speed matters when arranging DnB.
5. Create three clear “states” for your arrangement
This is where the technique becomes musical. Instead of thinking of your rack as one static sound, think of it as three versions of the same drum idea:
- Intro State: filtered, narrower, more atmosphere
- Drop State: open, punchy, dry, and direct
- Breakdown/Switch State: filtered again, with extra reverb or grit
Set macro ranges to support those states:
- Filter Cutoff: 200 Hz to 18 kHz
- Reverb Dry/Wet: 0% to 25%
- Saturator Drive: 0 dB to 10 dB
- Utility Width: 0% to 100% on top-end percussion, but stay narrow if it affects the whole drum bus
- Drum Buss Drive: 0% to 20%
Musical example: in an 8-bar intro, automate the Filter macro from 300 Hz to 2.5 kHz over four bars. Then at the drop, snap it open to 14 kHz or higher. That contrast makes the drop feel bigger without adding more sounds.
Why this works in DnB: arrangement contrast is a big part of impact. DnB often uses repetition, so the mix and tone changes have to do a lot of the storytelling.
6. Automate macros in Arrangement View for movement
Switch to Arrangement View and draw automation for the macros rather than editing every sound individually.
Try these simple automation moves:
- Filter cutoff slowly opens over 8 bars before the drop
- Reverb increases slightly in the breakdown, then cuts out at the drop
- Saturator Drive rises by 2–4 dB in the last 2 bars before the drop
- Sample Start nudges forward for a tighter, more chopped feel in the second verse or second drop
- Width closes to mono in the intro, then opens slightly on higher percussion in the drop
Practical arrangement idea:
- Bars 1–8: filtered drums, light hats, low space
- Bars 9–16: add more break presence and snare ghosts
- Bars 17–24: breakdown with a higher reverb send and slightly darker tone
- Bars 25–32: full drop with open filter, more saturation, and stronger punch
Keep automation smooth unless you want a dramatic switch. In DnB, even tiny automation moves can keep a loop from sounding dead.
7. Layer your drum bus with ghost notes and small variations
Once the macro rack is working, add subtle musical variation inside the arrangement:
- duplicate a snare hit and lower its velocity for ghost notes
- mute the kick for one beat before a drop
- automate the Filter macro down briefly on bar 8 or 16 for a quick tension dip
- use a hat layer with slightly higher width in the second half of the phrase
If you’re working with a breakbeat, leave some imperfections in the groove. Oldskool DnB and jungle feel good when the rhythm breathes a little. The rack should make the break more controllable, not robotic.
Arrangement context example: a roller can stay mostly in one groove for 16 bars, but you can make the listener feel progression by opening the filter slightly every 4 bars and pushing a little more saturation into the second half of the phrase.
8. Finish with headroom and a simple reference check
Before moving on, balance the rack so it sits well with bass and leaves room for the rest of the track.
Use Utility to check the low end:
- keep the drum rack mono-compatible if it contains kick/snare weight
- avoid too much stereo widening on the full kit
- if the break is harsh, use Auto Filter or EQ Eight to trim some upper fizz
Useful stock devices for cleanup:
- EQ Eight: cut unnecessary low rumble below 25–35 Hz
- Utility: mono-check the drum bus
- Drum Buss: use the Transients and Crunch carefully for extra presence
Leave headroom in the arrangement. If the drum rack is already too loud, your bass and FX will feel cramped later.
Common Mistakes
Fix: keep each macro specific. One macro for tone, one for grit, one for space.
Fix: keep kick and snare energy centered. Use Utility width carefully and check in mono.
Fix: keep reverb as an arrangement effect, not a permanent setting. Automate it for breakdowns and transitions.
Fix: start subtle. In DnB, too much distortion can blur the groove and weaken the snare impact.
Fix: ask what the rack is doing in each section: intro, build, drop, or switch-up.
Fix: automate at least one macro every 8 bars so the drums evolve.
Pro Tips for Darker / Heavier DnB
Mini Practice Exercise
Spend 10–20 minutes making a 16-bar drum arrangement using one oldskool break or a simple Drum Rack.
1. Load one breakbeat into Simpler or Drum Rack.
2. Add Saturator, Auto Filter, Drum Buss, and Utility.
3. Map 4 macros only: Filter Cutoff, Saturator Drive, Reverb Dry/Wet, and Width.
4. Create a 16-bar loop in Arrangement View.
5. Automate the filter to open gradually from bars 1–8.
6. Add a small drive increase in bars 13–16 before the drop.
7. Put a short reverb swell at the end of bar 8 or bar 16.
8. Check your low end in mono and adjust width if needed.
Goal: make the same drum loop feel like it changes across the arrangement without adding extra samples.

