Main tutorial
Lesson Overview
A Ruffneck edit is one of the most effective ways to turn a standard top loop into a rolling, oldskool-flavoured Jungle / DnB weapon that feels like it came straight out of a sweaty early-90s warehouse set. In this lesson, you’ll learn how to build a modulated top-loop edit from scratch in Ableton Live 12, then arrange it so it works like a proper DnB support layer: sharp enough to cut, loose enough to swing, and dirty enough to feel alive.
This matters because in DnB, especially Jungle, the top loop is not just “hi-hats and percussion.” It’s part of the groove engine. A well-edited top loop can:
- glue your break and bass together,
- create forward motion without overcrowding the kick/snare,
- add switch-up energy before drops or after 8-bar phrases,
- and give your track that Ruffneck / oldskool / amen-adjacent tension that screams “rewind material” 🔥
- a tight loop chop from a percussion or break-top source,
- a modulated version with movement from Auto Filter, Beat Repeat, Frequency Shifter, and/or Resampling,
- a ghosty, syncopated top layer that can sit above your main drums,
- and an arrangement-ready variation for intro, buildup, drop, or 2nd-drop switch-up.
- crisp shuffles and break fragments,
- slight pitch and filter drift,
- swung micro-edits,
- occasional stutters or reverse tails,
- and a gritty top-end energy that still leaves room for sub, snare, and reese bass.
- Overfilling the loop
- Ignoring the snare pocket
- Using too much Beat Repeat
- Too much high-end brightness
- Not resampling
- Forgetting mono compatibility
- Use filtered noise layers under the top loop
- Automate tiny pitch shifts
- Push saturation before filtering
- Use Frequency Shifter for eerie metallic tension
- Make the loop answer the bassline
- Clip the return hits, not the whole loop
- Use contrast between sections
- Start with a top loop that already has groove and character.
- Chop it into a short phrase, then add swing and space around the snare.
- Use Auto Filter, Saturator, Beat Repeat, and resampling to create movement and attitude.
- Treat the loop as an arrangement element: intro, build, drop, switch-up.
- Keep the low-end clean and the top loop controlled so it supports the kick, snare, and bass.
- Resample and re-chop to get that authentic Ruffneck / jungle “print and mutate” workflow.
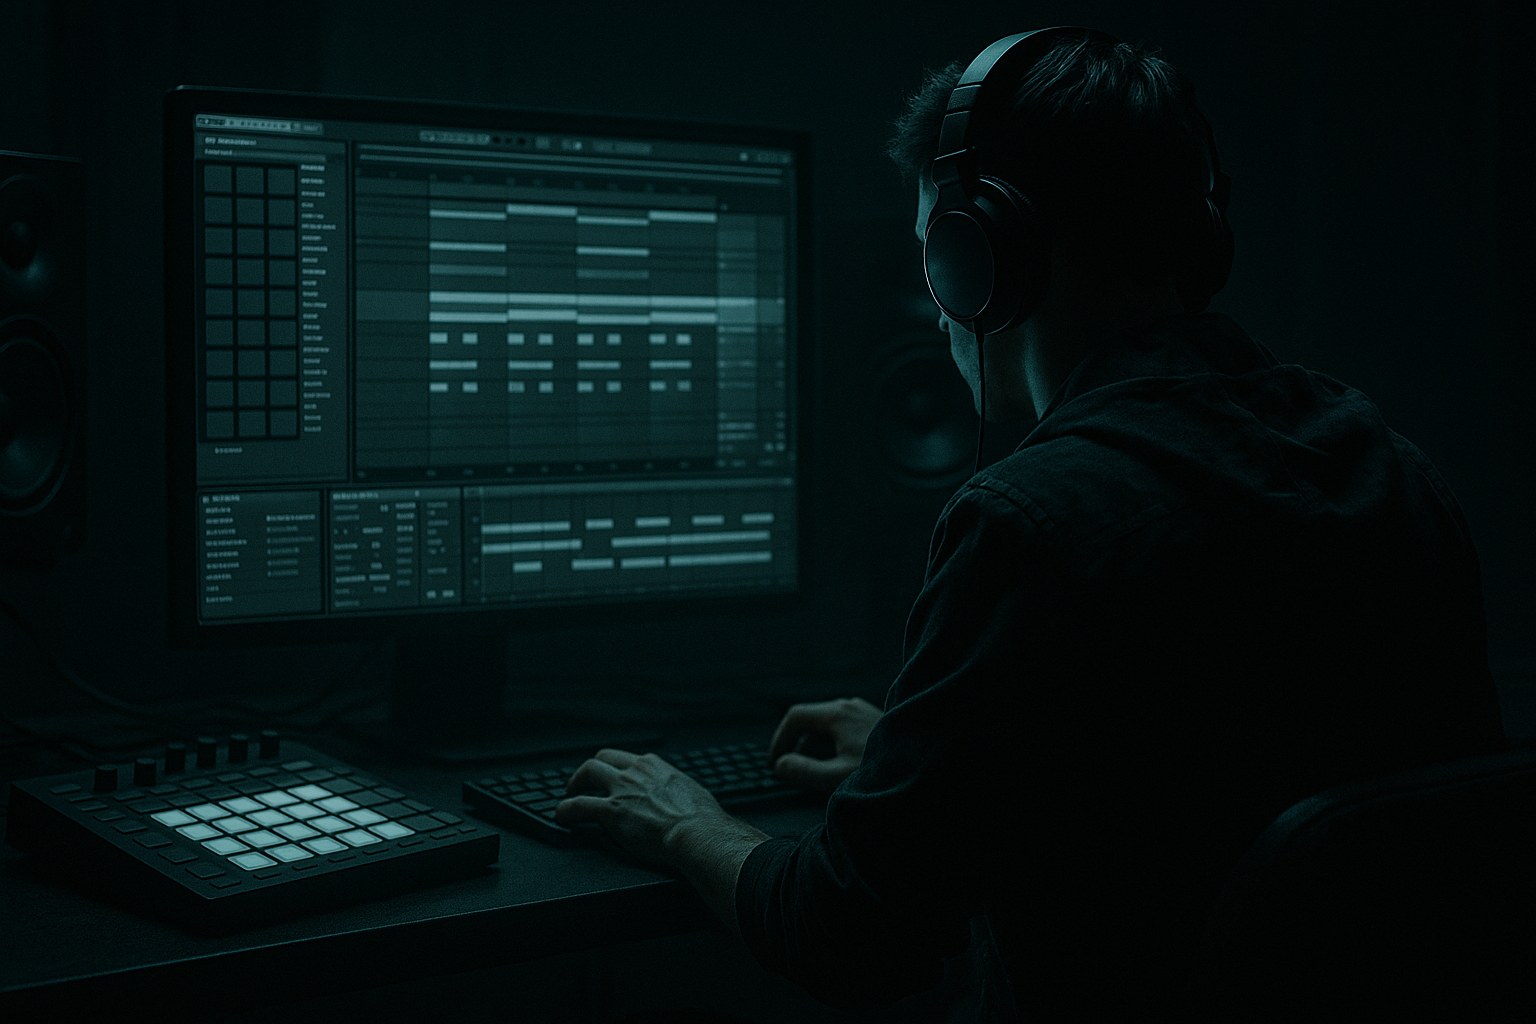
We’ll keep this rooted in an Arrangement workflow inside Ableton Live 12, using stock devices and practical edits that suit jungle, rollers, darker DnB, and even neuro-leaning drum programming. The focus is not on making a flashy loop for its own sake — it’s on building a musical, mix-ready top-loop modulate that you can drop into a proper track structure.
---
What You Will Build
By the end, you’ll have a 4- to 8-bar top loop edit that feels like an oldskool jungle percussion bed, but with modern control.
Specifically, you’ll build:
Musically, it should feel like:
You’re aiming for something that could sit under a half-time breakdown, a jungle drop, or a roll section and make the groove feel more urgent without turning into clutter.
---
Step-by-Step Walkthrough
1. Choose a top-loop source with character, not perfection
Start with a loop that already has movement. Good options in Ableton-land:
- a short break top from a drum break,
- isolated hats/shakers/cymbal textures,
- a percussion loop with ghost hits,
- or a chopped top layer from an amen / think-type break.
In Ableton Live 12, drag the audio into an Audio Track and immediately set Warp correctly:
- For rhythmic loops, try Beats mode.
- Start with Transient Loop Mode if the hits are punchy.
- Keep Preserve around 1/16 or 1/8 depending on the density.
- Set Transient Envelope around 70–100 for cleaner hit retention, or lower it if you want more smear.
If the source is too clean, good — we’ll dirty it later. The key is to start with a loop that has natural swing or unevenness, because oldskool jungle edits depend on feel more than polish.
2. Trim it into a phrase that feels like a drum statement
The top loop shouldn’t just run endlessly. We want a phrase that behaves like an arrangement element.
Slice or duplicate a 1-bar or 2-bar segment and create a short musical statement:
- keep the strongest hit at the start of the bar,
- leave a small gap before the second accent if needed,
- and make room for a fill or pickup at the end.
Practical approach:
- Zoom in and make the clip start exactly on the bar line.
- If there’s a weak pickup, nudge it earlier by a few milliseconds.
- Use Clip Gain to balance any hit that jumps out too hard.
For a Ruffneck-style feel, think in call-and-response:
- Bar 1: main top rhythm
- Bar 2: variation or gap
- Bar 3: repeat with added stutter
- Bar 4: fill into the next section
This is where the arrangement mindset begins: not “loop forever,” but “phrase with intention.”
3. Chop the loop in Simpler or Slice to New MIDI Track for control
If you want real flexibility, right-click the audio clip and choose Slice to New MIDI Track. For an intermediate workflow, this is one of the fastest ways to turn a top loop into a playable edit.
Use:
- Slice by Transients
- Suggested slice preset: Drum Rack
- Trigger the slices from MIDI and create a 1-bar MIDI clip with selective hits
Alternatively, if you want to stay audio-based, drop the loop into Simpler in Classic mode and play with:
- Start/End markers
- Warp On
- Transpose for tiny pitch shifts
- Filter if you want a more controlled tone
For jungle edits, slicing is powerful because it lets you create micro-variations:
- repeat one hat hit three times,
- mute a ghost note,
- or shift a shuffle fragment earlier for that rushed oldskool sensation.
Keep the first version simple: one 1-bar MIDI pattern with 8th and 16th-note accents. The goal is to establish a believable groove before modulating it.
4. Build the core groove with groove and swing, not over-editing
The best top-loop edits still feel like a human break being pushed by the machine. That tension is the sauce.
Try these moves:
- Apply a Groove from the Groove Pool, such as MPC-style swing or a lightly shuffled template.
- Start around 54–58% groove amount for a subtle pocket.
- If the loop feels too rigid, offset a few notes slightly late by 5–15 ms.
- If it feels lazy, tighten key hits back to the grid and keep only ghost notes loose.
For oldskool jungle, the top loop should dance around the snare, not fight it. If your main break/snare is strong, leave a pocket in the top loop at the snare hit so the transient can breathe.
Why this works in DnB: the genre thrives on interlocking rhythmic layers. The top loop becomes a moving shimmer above the snare anchor, creating momentum without needing extra MIDI notes everywhere.
5. Add modulation with stock Ableton devices
Now we make it feel “modulate from scratch.” Put these devices on the top-loop track in this order:
- Auto Filter
- Saturator
- Beat Repeat
- Optional: Frequency Shifter or Echo
Suggested starting settings:
Auto Filter
- Mode: Band-Pass or Low-Pass
- Frequency: start around 4–8 kHz for a bright top loop, or 1.5–4 kHz if you want it darker
- Resonance: 0.80–1.50
- Drive: small amounts if needed
Automate the filter over 8 bars so it opens slightly into the drop or tightens down during breakdowns.
Saturator
- Drive: 2–6 dB
- Soft Clip: On
- For harsher edge, use Analog Clip or push Drive harder, but watch cymbal harshness.
Beat Repeat
- Interval: 1 Bar or 1/2
- Grid: 1/8 or 1/16
- Chance: 10–30%
- Gate: 60–90%
- Variation: subtle, around 0–15%
Beat Repeat is perfect for quick jungle tension. Use it sparingly so it acts like a fill generator, not a constant glitch machine.
Frequency Shifter (optional)
- Shift: small values like +10 to +40 Hz or automated tiny movements
- Fine mode if you want subtle metallic motion
- Use lightly for eerie movement on intros or pre-drop tension
6. Resample the loop for a tougher, more committed edit
Once the modulation sounds good, resample it. This is where the edit becomes a real DnB tool instead of a live effect stack.
In Ableton:
- Create a new Audio Track.
- Set Audio From to your top-loop track or the relevant return.
- Arm the track and record 4 or 8 bars of the processed loop.
- Consolidate the best section into a new clip.
Why resample?
- It commits the movement.
- It lets you cut the loop into a more musical arrangement.
- It gives you a new audio source you can reverse, gate, pitch, and re-chop.
After resampling, try these edits:
- Reverse the last 1/8 or 1/4 note for a pickup.
- Slice a 1-bar clip into 4 chunks and reorder them for a fill.
- Pitch the second half down by -1 to -3 semitones for a darker turn.
- Add a tiny fade on the end to stop clicks.
This is classic jungle workflow: process, print, chop again. That’s how you get a loop with attitude.
7. Arrange the top loop as a structural device, not background wallpaper
Now place it in Arrangement View with purpose.
A strong DnB arrangement use-case:
- Intro (8–16 bars): filtered version of the top loop, maybe with only hats and ghost hits
- Pre-drop (4–8 bars): automate the filter open, add Beat Repeat bursts, increase tension
- Drop A (16 bars): full loop with main drums and bass
- Mid-switch (4 bars): remove the kick and let the top loop + snare carry the energy
- Drop B or second phrase: bring back a mutated version with extra stutter or reverse hits
Use automation on:
- Auto Filter cutoff
- Saturator drive
- Beat Repeat chance
- reverb send for selected hits only
- clip volume for phrase-level dynamics
A good arrangement trick: mute the top loop for one or two beats before the drop, then slam it back in with a short fill. That micro-drop makes the return feel heavier.
8. Layer and balance against drums and bass
This step keeps the edit usable in a real mix.
Check the top loop against:
- kick and snare,
- sub bass,
- reese or mid-bass,
- and any atmospheric FX.
Mixing moves:
- High-pass the top loop if needed around 150–300 Hz to keep low-end clean.
- If it’s harsh, dip 6–9 kHz gently with EQ Eight.
- Use Utility to narrow the stereo image if the loop is too wide.
- Keep the loop in mono in the low-mids if it’s carrying any body.
If the loop steals attention from the snare, reduce its transient with a light Drum Buss transient control or tame the attack with Envelope Shaper if you’re using it conceptually via routing; otherwise, clip gain and EQ are enough.
The target balance: the loop should feel like motion above the groove, not a second drum kit fighting your main one.
---
Common Mistakes
- Problem: too many edits make the groove sound nervous instead of driving.
- Fix: keep one dominant rhythmic idea and one variation per 4 bars.
- Problem: top-loop hits mask the snare and weaken the drop.
- Fix: leave space around the backbeat, or cut the top-loop level slightly on snare hits.
- Problem: constant stutters sound like a demo, not a track.
- Fix: automate it for fills, drop-ins, or transition bars only.
- Problem: the loop becomes brittle and fatiguing.
- Fix: tame 7–10 kHz with EQ Eight, or use Auto Filter to darken the loop in dense sections.
- Problem: the arrangement stays static and “looped.”
- Fix: print the processed version and create new clips from it.
- Problem: wide shimmer disappears in club playback or sounds phasey.
- Fix: use Utility to check mono, and keep the core rhythmic energy center-focused.
---
Pro Tips for Darker / Heavier DnB
- A quiet noise bed through Auto Filter and Saturator can thicken the sense of motion without adding obvious percussion.
- In Simpler or on a resampled clip, subtle pitch automation of ±1 semitone across 4–8 bars creates unease and movement.
- A lightly driven Saturator into Auto Filter can make the top loop feel more “wired” and aggressive, especially for darker rollers.
- Small shifts create a haunted top-end sheen that works great in intros, breakdowns, and neuro-leaning transitions.
- If the bassline has a gap after the snare, let the top loop fill it. If the bassline is busy, strip the top loop back. That call-and-response mindset is very DnB, and it stops the mix from turning to mush.
- Send only selected top-loop hits to a reverb or delay return. A short atmospheric splash on the last hit of an 8-bar phrase can make the arrangement feel huge without washing out the drop.
- Dark intro top loop: filtered, narrow, dry.
- Drop top loop: brighter, more forward.
- Second drop: more broken, more bitty, more twisted.
---
Mini Practice Exercise
Set a 15-minute timer and do this:
1. Pick one top-loop source from your own library or a break top in Ableton.
2. Warp it and make a clean 1-bar phrase.
3. Slice it to a Drum Rack or edit it as audio.
4. Add Auto Filter + Saturator + Beat Repeat.
5. Automate the filter cutoff over 8 bars.
6. Resample 4 bars of the processed result.
7. Re-chop the resampled audio into one fill and one main loop.
8. Arrange it into:
- 4 bars intro,
- 8 bars drop,
- 4 bars switch-up.
9. Do a mono check with Utility.
10. Compare the original loop to the edited version and ask: does it push the track forward more?
Goal: finish with a loop that feels like it could live in a real jungle or oldskool DnB arrangement, not just a standalone idea.
---
Recap
If you do it right, your top loop stops being background texture and becomes part of the track’s identity — the kind of detail that makes an oldskool DnB drop feel alive and replay-worthy.

