Main tutorial
Lesson Overview
Ruffneck jungle bass wobble is one of those techniques that sounds simple when done right and instantly exposes weak design when done wrong. In Drum & Bass, especially jungle-leaning rollers, darker half-time switch-ups, and neuro-influenced drops, a wobble bass is not just “movement” — it is arrangement. It creates tension, answers the drums, and gives the listener a low-end narrative that can evolve across 8, 16, or 32 bars without losing impact.
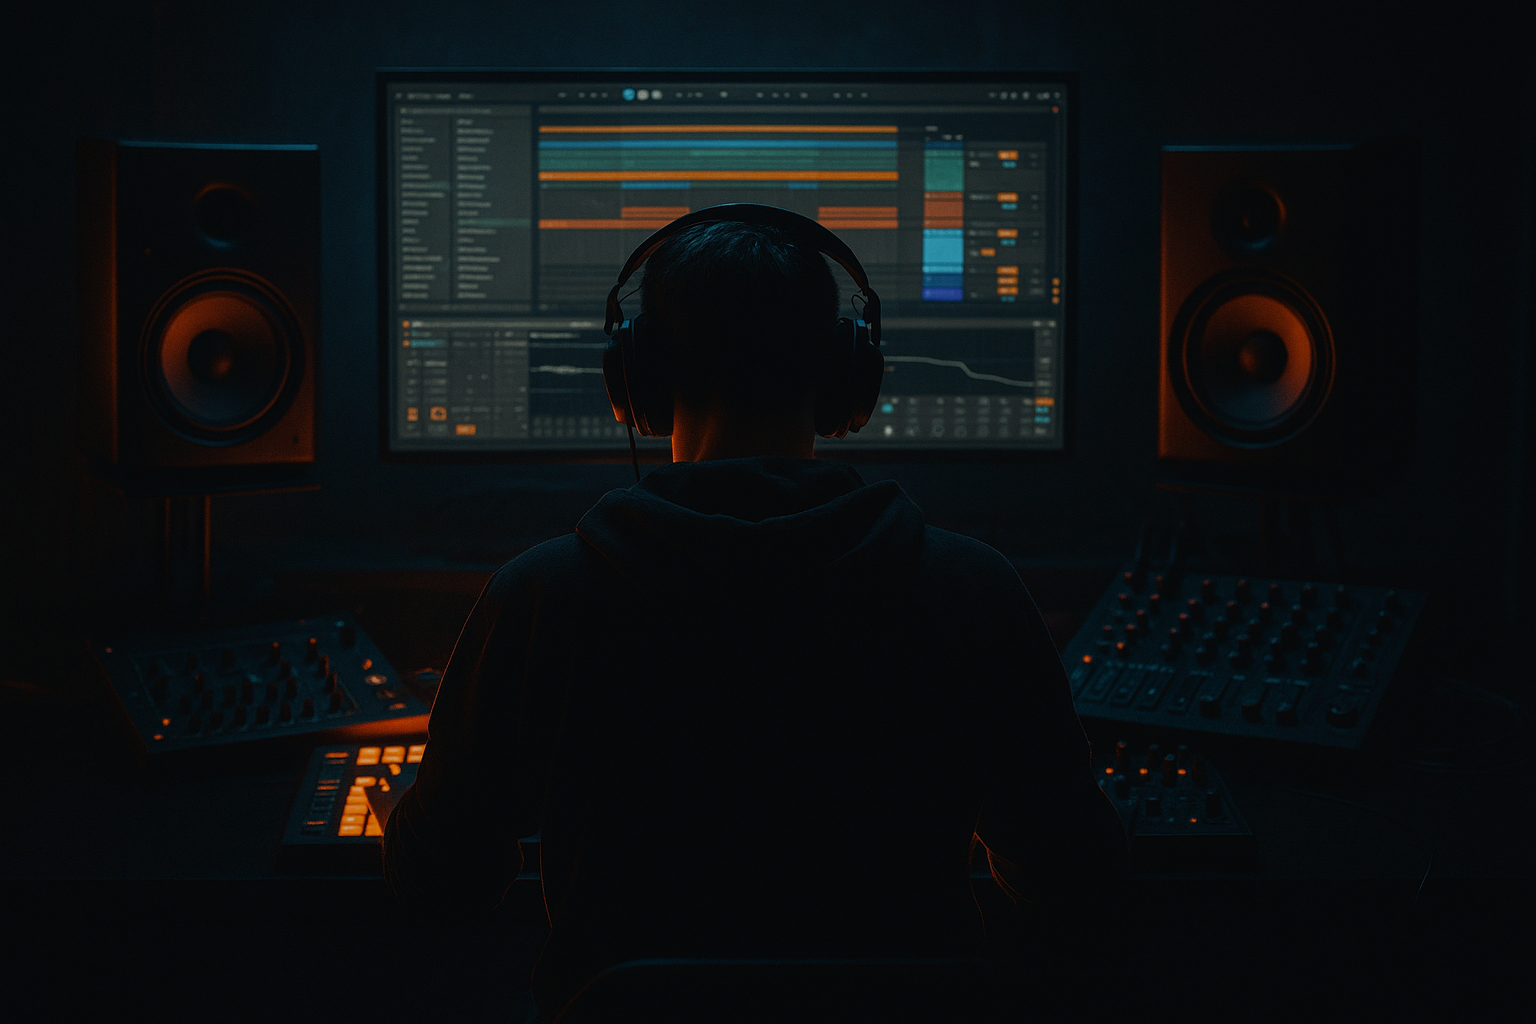
In this lesson, you’ll build a resampled jungle bass wobble inside Ableton Live 12 using stock devices only. The focus is not on a clean, polished pop bass; it’s on a rough, characterful bass phrase that can sit under edited breaks, reinforce a drop, and shift between groove states without sounding static. We’ll shape it with synth modulation, resample it into audio, then arrange the audio into a proper DnB phrase with switch-ups, call-and-response, and mix discipline.
Why this technique matters in DnB: bass movement is often more effective when it’s committed to audio. Resampling lets you “print” a sound’s attitude, then edit it like a drum break. That is especially powerful in jungle and darker rollers, where the bass can behave like a chopped rhythm instrument rather than a continuously modulated synth patch. It keeps your low end intentional, your arrangement faster, and your sound more unique.
What You Will Build
You will build a heavy, ragged jungle wobble bass that:
- carries a solid mono sub foundation
- has a midrange reese/wobble layer with controlled grit
- uses filter and amplitude movement to create a “talking” bass phrase
- is resampled into audio and rearranged into a 16-bar DnB section
- includes a tension-building intro bar, a main 2-bar loop, and a switch-up fill
- works against a chopped breakbeat with room for kick/snare impact
- can function in a ruffneck jungle tune, dark roller, or techy DnB drop
- Making the bass too wide in the low end
- Designing a huge synth patch but never resampling it
- Overusing LFO movement so the bass becomes seasick
- Leaving too much 200–400 Hz energy
- Letting the bass talk over the snare every bar
- Over-warping the resampled audio
- Print multiple resamples at different drive levels: one clean, one gritty, one nearly broken. Layer them for arrangement contrast.
- Use band-pass filtered bass hits in transitions. A narrow, nasal wobble can feel more violent than a huge full-range one when used sparingly.
- Try a second bass version with a slightly different note length, not a different sound. In dark rollers, phrasing often matters more than timbre.
- Add tiny pre-hit noise through a filtered Operator or Simpler layer, then resample. It can make the bass feel like it bites into the beat.
- Use Drum Buss on the mid layer only if the sub is already stable. That keeps the weight clean while the aggression lives higher up.
- For extra ruffneck energy, automate a short filter open on the last 1/16 before the snare hit. That little “suck and snap” gesture reads hard in DnB.
- If the bass feels too polite, resample it again after a Saturator or Overdrive pass and slice the louder peaks. Commit to the dirt instead of endlessly tweaking synth parameters.
- Build at least one phrase where the bass and break call each other: bass hit, drum fill, bass answer. That interaction is classic jungle language.
- Build the bass with a clean sub and a moving mid layer.
- Shape the wobble with modulation, then resample it to audio.
- Edit the audio like a drum break: slice, leave gaps, and create call-and-response.
- Arrange the bass around the snare and the phrase boundaries.
- Keep the low end mono, controlled, and supported by the drums.
- Use automation and resampling to turn one sound into a full DnB section.
Musically, imagine a 174 BPM section where the bass answers a break chop every 2 bars: the first bar holds a growling wobble on the offbeats, the second bar opens the filter and lands a more aggressive phrase before a snare-fill transition. That is the kind of practical, mix-ready result we’re aiming for.
Step-by-Step Walkthrough
1. Set up a tight DnB foundation and reference the role of the bass
- Set the project tempo to 174 BPM.
- Load a breakbeat on one audio track and program a simple drum lane if needed: kick on the 1, snare on the 2 and 4, with chopped hats/ghosts around it.
- Add a reference loop if you have one, or at least audition your bass against a basic DnB drum pattern while designing.
- Keep the master peaking around -6 dB to leave headroom for resampling and later arrangement.
- Why this matters: in DnB, bass tone is inseparable from the drum grid. A wobble that sounds huge solo can be useless if it clashes with the snare pocket or floods the low mids.
2. Build the source bass as a simple but expressive synth patch
- Create a MIDI track with Wavetable, Operator, or Analog. Wavetable is ideal here because you can shape a strong mid bass quickly.
- Start with a saw-based or square-rich oscillator. For Wavetable:
- Osc 1: a saw wave or aggressive wavetable
- Osc 2: either off or subtly detuned for thickness
- Sub oscillator: on, but keep it clean and centered
- Add Filter section:
- Low-pass filter with 24 dB slope
- Cutoff around 120–250 Hz for the initial dark state
- Resonance moderate, around 10–20%
- Add a touch of glide/portamento if the bass line uses connected notes. Keep it short, around 40–90 ms, so it feels rude rather than legato.
- Use an LFO mapped to filter cutoff or wavetable position:
- Rate: 1/8 or 1/16 synced
- Amount: enough to create movement, not so much that the sub loses focus
- Add Saturator after the instrument:
- Drive around 2–6 dB
- Soft Clip on
- Keep the core MIDI phrase simple: one or two notes per bar is enough at this stage. The character will come from modulation and resampling, not note density.
3. Design a bass phrase that behaves like a rhythm section, not a lead
- Program a 2-bar MIDI clip with strong DnB phrasing:
- Bar 1: one sustained note or two short stabs that leave space for the snare
- Bar 2: a slight variation, such as an octave drop, a shorter tail, or a different note length
- Use note lengths deliberately:
- Shorter notes for attack-focused wobble
- Longer notes for gritty filter movement
- Add velocity variation if your instrument responds to it, even subtly. In DnB, micro-differences in note emphasis help the bass breathe against edited drums.
- If the bass line is in a dark minor key, try movement between the root and flattened fifth or minor third for menace. Keep it musically limited so the groove stays dominant.
- A practical pattern: root note on the offbeat, then a quick answer note before the snare. This creates the classic jungle call-and-response feel.
4. Shape motion with Ableton stock modulation and transient control
- Add Auto Filter after your synth if the patch needs extra movement.
- Mode: Low-pass 24 or band-pass for more nasal wobble
- LFO amount: low to moderate
- Envelope: use subtle envelope follower if you want the bass to open more on each hit
- Add Redux carefully if you want more broken, digital grit:
- Downsample very lightly
- Bit reduction only a little, unless you want obvious lo-fi bite
- Add Drum Buss for punchy density:
- Drive modestly
- Transients slightly up if the attack needs edge
- Boom usually off or very restrained on bass unless you’re designing a special effect
- For a darker, more ruffneck tone, layer a second MIDI track with a midrange oscillator or a noise element filtered high enough not to interfere with the sub.
- Group the sub and mid layers so you can control them together later. Keep the sub path clean and mostly mono.
5. Resample the bass into audio and commit the movement
- Create a new audio track and set its input to Resampling, or route the bass group output to the audio track.
- Arm the audio track and record a 2-bar or 4-bar pass of the bass while the drums play.
- Capture multiple passes if the modulation is evolving. In advanced workflow terms, think of this as printing “performance variations” rather than just making a static loop.
- After recording, consolidate the best region into a clean audio clip.
- Why this works in DnB: once the wobble is printed to audio, you can chop it like a break, reverse it, transient-shape it, and place it with surgical timing. It also forces commitment, which often leads to stronger arrangements.
- Keep the original MIDI rack muted but saved. You may need it later for alternate passes or a new layer.
6. Edit the resampled audio like a jungle break
- Slice the audio clip at transient points or at quarter-note/8th-note boundaries depending on the groove.
- Use Warp only as needed. If the resample is already in time, avoid over-warping and flattening the groove.
- Create a call-and-response pattern with the audio slices:
- First half-bar: bass hit + short tail
- Second half-bar: filtered wobble swell
- Next bar: leave a gap for drum fills or a snare pickup
- Use Clip Gain and fades to shape each slice so the bass hits stay tight.
- Reverse one short tail or use a tiny reversed pre-hit before a drop for tension.
- Add very short silences between some slices. In jungle and rollers, space is part of the bass rhythm.
- If you need sharper attacks, duplicate the clip and apply different warp markers or fades to create alternative versions.
7. Arrange the wobble into a real DnB section
- Build a 16-bar structure:
- Bars 1–4: stripped intro to the drop phrase, filtered version, or tension-only bass fragments
- Bars 5–8: main wobble loop with a clear 2-bar identity
- Bars 9–12: variation with extra chops, a higher octave hit, or a filter-open moment
- Bars 13–16: switch-up and release before the next section
- For a DJ-friendly arrangement, keep the intro/outro sparse enough for mixing: drums, atmospheres, maybe a bass tease with heavy filtering.
- Put the strongest bass moment at the end of bar 4 or 8, where it lands cleanly on the phrase boundary.
- Add a one-bar fill every 8 or 16 bars using a reversed bass slice, a snare pickup, or a filter sweep to prevent loop fatigue.
- In a jungle context, a nice move is to let the bass duck for one bar while the break edits become more active, then slam the wobble back in. That contrast reads as heavy, not empty.
8. Mix the resampled bass with low-end discipline
- Keep the sub layer mono using Utility:
- Width at 0% on the sub track, or use Utility to collapse the bass below your preferred cutoff by workflow
- Check the bass against the kick:
- If the kick is dominant at 50–70 Hz, let the bass emphasize 35–50 Hz or shape its upper harmonics instead
- Use EQ Eight on the bass group:
- High-pass gently on the mid layer if needed, around 80–120 Hz
- Cut mud around 180–350 Hz if the bass clouds the drums
- Control harsh upper mids around 2–5 kHz if the wobble bites too hard
- Sidechain the bass group lightly to the kick and/or snare using Compressor:
- Fast attack, medium release
- Just enough gain reduction to clear the transient, not pump like house music
- If the resampled audio is overly spiky, use a transient-softening move:
- Tiny fade ins
- Drum Buss with modest transient reduction
- Utility gain automation for smoother phrases
9. Automate for tension, release, and switch-ups
- Automate Auto Filter cutoff across 8 or 16 bars for opening tension.
- Example: start at 150 Hz and rise to 1.5–3 kHz over a build section
- Automate Saturator drive by a small amount during the drop:
- Example: +1 to +3 dB in the strongest section
- Automate reverb or delay only on selected bass tails, not on the full low end.
- Use Echo or Reverb on a send, then automate send amounts for transitional moments
- Use Utility gain automation to create “bass duck gaps” before a re-entry. That tiny negative space can make the next hit feel much larger.
- For darker neuro-leaning moments, automate wavetable position or filter resonance on the resampled source version before printing another pass. Then resample again and compare.
10. Finalize with A/B decisions and version control
- Duplicate the entire bass group and keep Version A and Version B:
- A: more rude and dry
- B: more filtered or more distorted
- Listen in context with drums, not solo.
- Toggle mono on the master or use Utility on the return path to check low-end compatibility.
- Commit to the version that supports the groove best, even if the solo tone is less spectacular.
- Export a quick reference bounce and listen on headphones and small speakers. If the wobble disappears entirely, bring back upper harmonics via mild saturation or a parallel mid layer rather than just turning the bass up.
Common Mistakes
Fix: keep the sub mono and let only the mid layer carry stereo interest if needed.
Fix: print at least one pass to audio and arrange it like a break. That’s where the personality appears.
Fix: reduce LFO depth and let rhythm, slicing, and automation do some of the work.
Fix: cut mud on the bass group and check the break loop at the same time, because the clash often appears only in context.
Fix: leave intentional holes. In DnB, the snare is part of the bass arrangement.
Fix: use clean slices and minimal warp correction if the recording is already tight.
Pro Tips for Darker / Heavier DnB
Mini Practice Exercise
Spend 15 minutes building a 2-bar wobble phrase and turning it into an 8-bar DnB section.
1. Set the tempo to 174 BPM and load a breakbeat with kick/snare emphasis.
2. Create a Wavetable bass with a mono sub, low-pass filter, and mild LFO movement.
3. Write a 2-bar MIDI bass phrase with no more than 4 note events per bar.
4. Resample the result into audio.
5. Slice the audio into 4–8 pieces and rearrange them into a call-and-response pattern.
6. Duplicate the phrase across 8 bars, then make two changes:
- one filter automation move
- one drop in the bass for a drum fill
7. Check mono compatibility and trim mud with EQ Eight.
8. Bounce a quick loop and compare it against your reference idea.
Goal: by the end, you should have one resampled bass phrase that feels like part of a real DnB arrangement, not just a loop.

