Main tutorial
Lesson Overview
A ruffneck jungle break roll is one of the most effective ways to make a DnB track feel alive, dangerous, and forward-driving without overcrowding the mix. In this lesson, you’ll build a tight, rolling break-based drum phrase in Ableton Live 12, then arrange it so it works as a proper section in a darker jungle, rollers, or neuro-influenced DnB track.
The goal is not just to chop a break and loop it. The goal is to make the break roll behave like a designed musical event: it should push energy into the drop, create tension between phrases, and sit cleanly with a sub and bassline. That means thinking like a mixer and arranger at the same time.
This matters in DnB because the break is often the emotional engine of the track. In ruffneck jungle especially, the drums are not merely percussion; they are motion, attitude, and identity. If the roll is too static, the track feels like a loop. If it is too messy, the low end collapses and the groove loses impact. Done well, the break roll becomes the “swinging spine” of the arrangement — gritty, urgent, and DJ-friendly.
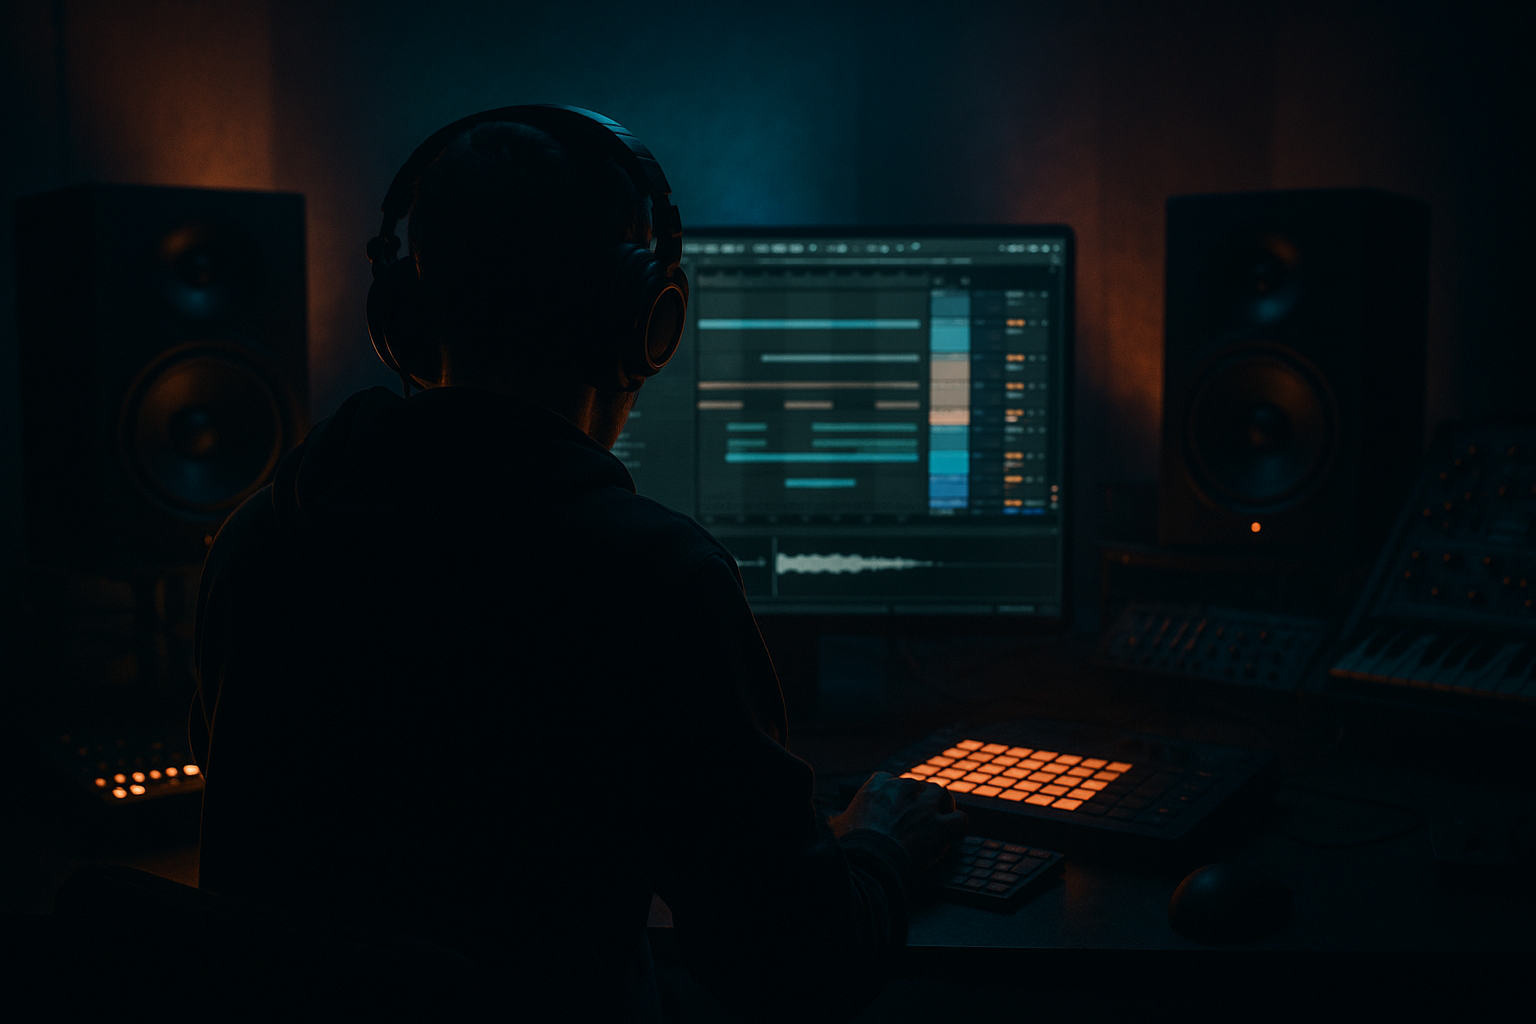
We’ll use Ableton Live stock tools throughout: Drum Rack, Simpler, Warp, Auto Filter, Saturator, Drum Buss, EQ Eight, Compressor, Utility, Reverb, Echo, and automation in Arrangement View. The emphasis is mixing-aware: punch, low-end separation, mono discipline, transient control, and controlled chaos.
What You Will Build
You will build a 16-bar ruffneck jungle break roll section made from a sliced amen-style or similar break, with:
- a main break roll loop that evolves every 2 or 4 bars
- ghost notes and micro-edits that make it feel human and aggressive
- layered top percussion for extra snap and density
- a sub-friendly low end with the kick and snare carved so the bass has space
- controlled saturation and transient shaping for grit without flattening the drums
- arrangement automation for tension, fills, and transitions
- a DJ-friendly intro or turnaround that can land into a drop cleanly
- Over-chopping the break so it loses identity
- Making everything loud instead of balancing layers
- Letting low-mid buildup bury the sub
- Using too much stereo width on drums
- Over-compressing the drum bus
- Programming fills too often
- Ignoring arrangement context
- Duplicate the break and create a “dirty parallel” lane with Saturator, Drum Buss, and EQ Eight. Blend it low for grime without killing the clean transient lane.
- Use a very short Echo throw on isolated snare hits with low feedback and filtered repeats for underground tension.
- Automate a slight pitch drop on a fill break hit or reverse hit for a grimy horror-jungle feel.
- Keep the sub utterly stable while the mid-bass movement reacts to the roll. That contrast reads as power.
- Try very subtle transient enhancement with Drum Buss Transients only on the break tops, not the whole group.
- If the roll needs more menace, layer a muted metallic texture filtered above 4 kHz and pan it slightly off-center. Keep it low in the mix.
- For neuro-leaning darkness, let the bass answer the drums on the off-beats while the roll stays dry and urgent in the center.
- Use Automation Lanes to open density over time rather than making the first bar the most intense. Great DnB arrangements earn the payoff.
- Build the roll with phrase logic, not just repetition.
- Keep break, tops, snare support, and bass/sub in separate roles.
- Use Ableton stock devices to shape punch, grit, and clarity.
- Automate density, tone, and transitions across the arrangement.
- Protect the mono low end and keep the drum bus controlled.
- In DnB, the best ruffneck rolls feel wild — but the mix always stays disciplined.
Musically, think of a dark 172–174 BPM track where the break roll starts sparse for 4 bars, intensifies over the next 8, then opens up into a heavier 2-bar switch-up before the next phrase. This could sit under a reese bass call-and-response, or under a sub-driven roller where the drums need to stay busy without fighting the bass.
Step-by-Step Walkthrough
1. Set up a clean drum architecture before you chop anything
Create a dedicated Drum Group called BREAK ROLL and route all break layers into it. Inside the group, make separate tracks or chains for:
- Main break slice
- Top loop / hats
- Snare support
- Ghost percussion / textures
- Drum FX / fills
Keep your sub and bass on separate tracks, not inside the drum group. This is essential for mixing later.
On the BREAK ROLL group, place these stock devices in order:
- EQ Eight
- Drum Buss
- Glue Compressor or Compressor
- Utility
Start with headroom: pull the group fader down so your drums are not slamming the master. Aim to leave enough room for bass and sub later. In DnB, a powerful drum bus that is already clipping the master is usually a problem, not a vibe.
Why this works in DnB: the break roll needs to be energetic, but the track still has to accommodate a wide-moving bassline and a stable sub. Clean routing keeps the roll punchy and mixable.
2. Choose and prepare the break with a ruffneck mindset
Pick a break with strong transient contrast and some grit — amen, think, or a looser old-school jungle source works well. Drag it into Simpler or Slice to New MIDI Track if you want detailed MIDI control. For advanced control, use Simpler in Slice mode with Transient detection, then map slices to a Drum Rack.
Suggested starting settings:
- Warp mode on the audio clip: Beats
- Preserve: Transients
- Segment size: 1/16 or 1/32 depending on slice density
- In Simpler, keep Start/End minimal so each slice stays tight
If the source is too clean, don’t over-process it immediately. First, get the rhythm right. Then dirty it. Ruffneck energy comes from edit choice and groove, not just distortion.
Use Clip View to shorten certain slices so they don’t ring into the next hit. If the break has a long tail, create a second muted version with tighter decay for the roll section only. That contrast is often what makes a drop feel bigger.
3. Build the core roll pattern with phrasing, not just repetition
Program a 1-bar or 2-bar MIDI pattern from your slices. Don’t start with a full manic pattern. Build a phrase that evolves in density:
- Bar 1: foundational kick/snare skeleton with a few ghost hits
- Bar 2: add syncopated 16ths or 32nd pickups
- Bar 3: increase hat chatter and break fills
- Bar 4: release tension with a stronger snare lead-in to the next phrase
Use velocity to create contour. A good starting range for ghost notes is around 20–60 velocity, while main accents sit around 90–127 depending on the sample response. In Drum Rack, Velocity can make the difference between “edited loop” and “rolling percussion performance.”
For groove, try nudging selected late hats or ghost snares a few milliseconds behind the grid. The goal is not sloppy timing; it is controlled drag. Jungle rolls breathe when the ghost material leans back against the kick/snare spine.
If the break feels rigid, add Groove Pool swing lightly — often 54–58% on an appropriate funk-based groove can help, but keep it subtle. Too much swing can blur the attack in a dense DnB mix.
4. Layer the break with top-end support and snare reinforcement
Add a separate top loop or hat layer that follows the break but provides consistent high-frequency motion. Keep this layer filtered and narrow so it acts like glue, not clutter.
Stock-device chain for the top layer:
- Auto Filter: high-pass around 250–500 Hz
- EQ Eight: trim harsh resonances around 6–9 kHz if needed
- Saturator: Soft Clip on, Drive 1–3 dB
- Utility: narrow width slightly if it feels too wide
For snare reinforcement, add a clean, short snare sample on the main backbeat or on key fill moments only. This is especially useful if the source break has a weak center snare or too much room tone. Keep it short — you want impact, not a second tail fighting the break.
Suggested snare support approach:
- transient-heavy snare sample
- short decay
- high-pass the layer if it has unnecessary low-mid body
- align phase by ear with the main break
Layering in DnB works best when each element has a job. The break gives movement. The top loop gives continuity. The support snare gives authority.
5. Shape the drum bus for punch, grit, and control
On the BREAK ROLL group, start your bus processing gently and make changes in context with bass on.
Suggested starting chain:
- EQ Eight: high-pass only if low rumble is cluttering the sub zone; often 25–35 Hz is enough
- Drum Buss: Drive 5–15%, Crunch 0–10%, Transients +5 to +20, Boom usually low or off for jungle breaks
- Compressor or Glue Compressor: 2:1 ratio, slowish attack, medium release, 1–3 dB gain reduction
- Utility: use mono or reduced width on the low end if the break is too wide
Keep an eye on the kick/snare impact. Drum Buss can make a break sound exciting fast, but it can also flatten transients if overdone. In dark DnB, a small amount of controlled crunch often works better than heavy distortion.
If the break has boxy mids, cut a little around 250–500 Hz with EQ Eight. If the snare is harsh, try a narrow cut around 3–5 kHz or use a Dynamic EQ-style approach with Compressor sidechain behavior on a duplicate layer if needed. You want the snare to stab, not spit.
6. Carve the bass and sub around the roll, not against it
This is where the mixing side becomes critical. The break roll should live with the bass, not on top of it.
Keep the sub in mono using Utility. A solid starting point is 100% mono below roughly 120 Hz conceptually; in practice, just make the sub track fully mono and avoid stereo effects on it. If using a reese, split the bass into a mono sub layer and a mid/high movement layer.
Sidechain the bass lightly to the kick/snare hierarchy if needed. In Ableton’s Compressor, use sidechain from the break kick or from a ghost trigger if the bass is fighting the drum accents. Keep it musical:
- Ratio: 2:1 to 4:1
- Attack: 1–10 ms
- Release: 50–140 ms depending on groove
- Gain reduction: often 1–4 dB is enough
For a reese bass, automate an Auto Filter or Phaser-Flanger on the mid layer only to create motion while leaving the sub stable. The drums and bass should feel like they are interlocking, not competing.
Why this works in DnB: the genre relies on fast rhythmic information in the drums, but the sub still has to feel huge. If the break owns too much low-mid energy, the bass loses weight and the whole drop feels smaller.
7. Automate the roll across 16 bars for real arrangement movement
Don’t leave the roll static. In Arrangement View, automate density and tone across phrases.
Good automation moves:
- Auto Filter cutoff on the break top layer: slowly open over 4 or 8 bars
- Drum Buss Drive: increase slightly into a fill, then pull back after the switch
- Reverb dry/wet on select snare hits: 5–15% only on transition hits
- Echo on a crash or snare throw: use momentary send automation for a tape-like tail
- Utility width: narrow in the intro, open slightly at the drop for perceived size
A strong arrangement example:
- Bars 1–4: stripped roll, sparse kick/snare, filtered tops
- Bars 5–8: more ghost notes, hats, and a few doubled snare accents
- Bars 9–12: fuller roll with tiny fills every 2 bars
- Bars 13–16: switch-up with a fill, reverse swell, or amen-style fill into the next section
Use automation to create a “conversation” between tension and release. This is especially effective in darker jungle where the vibe should feel relentless but still structured.
8. Add fills and transitions without breaking the groove
For fills, keep them short and intentional. A roll that over-fills every 4 bars loses danger. Use 1/2-bar or 1-bar fills at the end of phrases, and keep them rhythmically related to the main break.
Useful stock tools:
- Beat Repeat for occasional glitch-style throws
- Reverb with short decay for a snare hit before the drop
- Reverse a clipped break hit for a pre-impact swell
- Auto Filter with a fast sweep for transition moments
A strong technique is to duplicate a snare hit, reverse it, and tuck it under the last beat before the next phrase. Keep it subtle. In DnB, transitions hit harder when they are felt more than heard.
If you’re arranging for DJs, leave a clean intro and outro version of the roll section:
- intro: 8 or 16 bars with reduced elements and clear kick/snare pulse
- outro: strip the bass and keep a recognizable drum signature for mixing out
9. Final mix check: mono, harshness, and translation
Before you commit, test the roll in context. Turn the monitor down. If the groove disappears quietly, the drum architecture is probably too dependent on top-end fizz. If the break sounds huge solo but small with bass, you likely have too much low-mid buildup.
Do these checks:
- Mono check on master or group: does the roll still punch?
- Low-end check: is the sub clean underneath the kick/break?
- Harshness check around 7–10 kHz: does the hat layer hurt?
- Club translation check: does the snare still feel centered and strong?
If needed:
- cut a little 300–400 Hz from the break bus
- reduce stereo width on high-frequency percussion
- tame sharp transient peaks with a Compressor or Drum Buss
- lower the break bus instead of boosting the bass if the mix feels thin
The best ruffneck rolls are aggressive but disciplined. The listener should feel pressure, not clutter.
Common Mistakes
Fix: keep at least one or two signature break gestures intact, especially the main snare relationship.
Fix: lower the break bus and build impact through contrast, saturation, and groove.
Fix: cut around 250–500 Hz where needed, and keep the bass/sub split clean.
Fix: keep the core kick/snare energy centered; widen only airy layers and FX.
Fix: aim for punch and cohesion, not flattening. If transients disappear, back off.
Fix: use fills as punctuation, not constant decoration. Every 4 or 8 bars is usually enough.
Fix: audition the roll against the bassline and transitions. Soloed drums can mislead you fast.
Pro Tips for Darker / Heavier DnB
Mini Practice Exercise
Set a 15-minute timer and build a 4-bar ruffneck jungle roll that could lead into a drop.
1. Load one break into Simpler or Slice to New MIDI Track.
2. Program a 4-bar phrase with:
- one main kick/snare spine
- at least four ghost notes
- one tiny fill at the end of bar 4
3. Add a top hat layer high-passed above 300 Hz.
4. Put EQ Eight, Drum Buss, and Utility on the drum group.
5. Make one automation move:
- open a filter over 4 bars, or
- increase Drum Buss Drive by 2–3% into the fill
6. Add a bass/sub track and check whether the roll still punches in mono.
7. Render a quick loop and listen at low volume.
Goal: make it feel like a believable DnB section, not just a chopped loop.

