Main tutorial
Lesson Overview
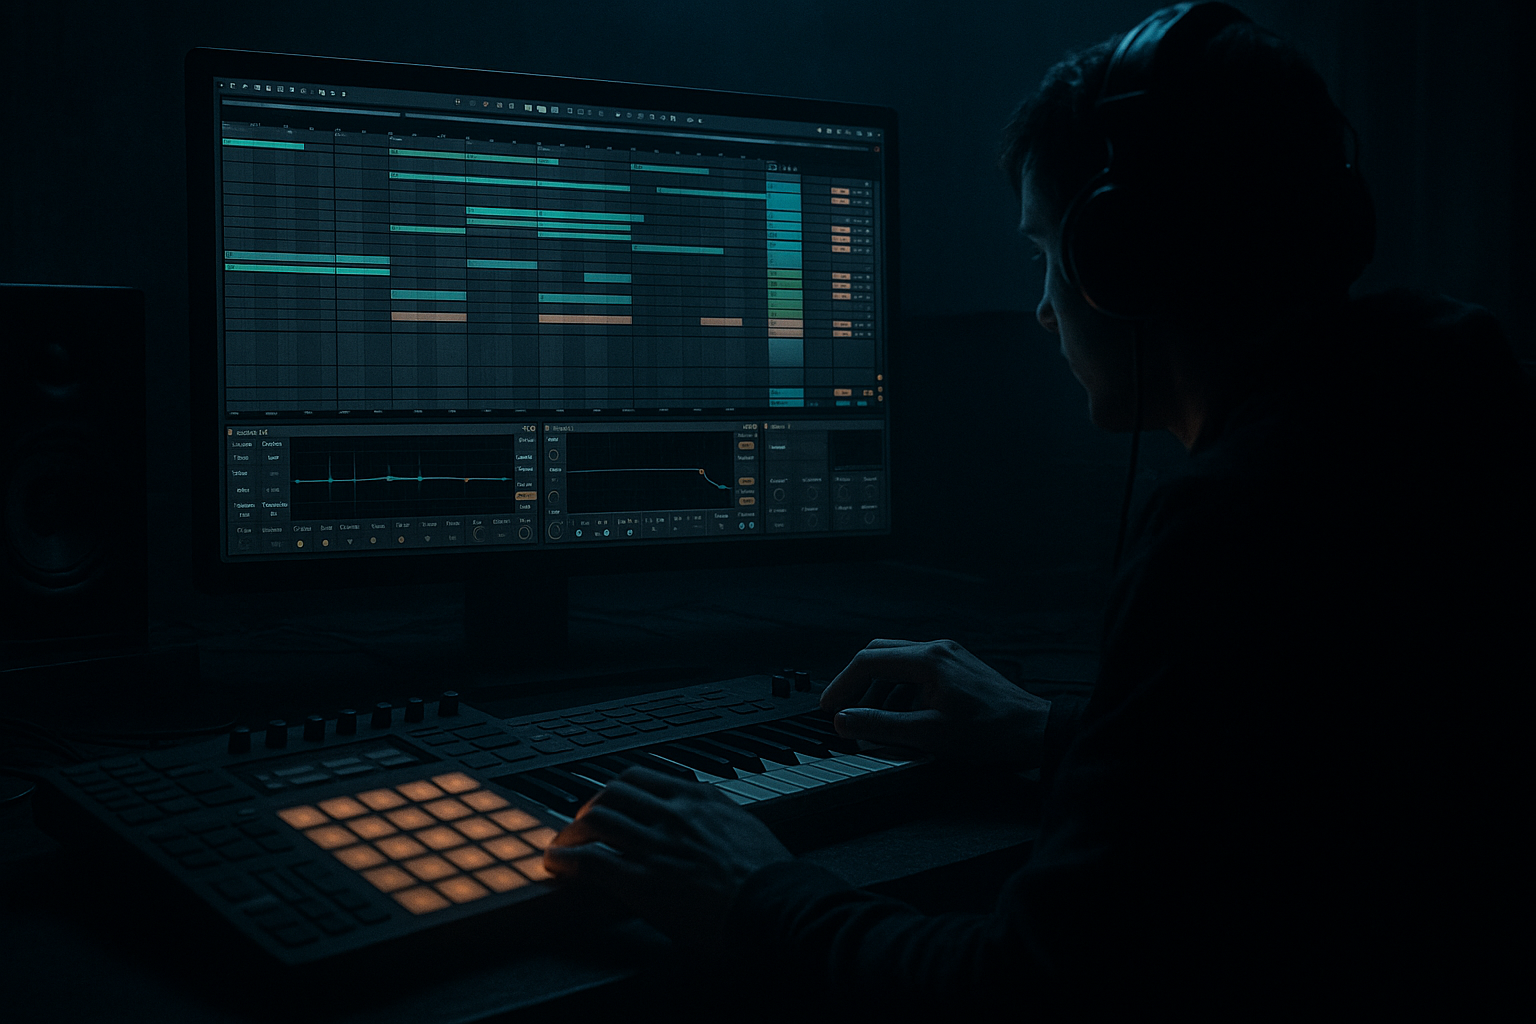
The ruffneck rewind moment is one of the most effective crowd-control moves in drum & bass history: you build pressure, fake the drop, slam the brakes, and hit the listener with a warm, tape-grit edit that makes the rewind feel like part of the groove instead of a random effect. In this lesson, you’ll build that moment in Ableton Live 12 using stock devices and a proper DnB workflow geared toward jungle, oldskool, rollers, and darker bass music.
This technique matters because a rewind is more than a transition. In DnB, it can become:
- a phrase reset before a second drop,
- a DJ-friendly tension tool,
- a way to spotlight a break edit, bass switch, or call-and-response phrase,
- and a chance to inject warm tape-style grit so the edit feels musical, not just stop-start.
- a faked-out drop into a rewind
- a tape-warp style backspin or reverse pull
- filtered break fragments that sound chopped and oldskool
- a sub-backed re-entry for the next phrase
- warm saturation, wow/flutter-style movement, and transient softening
- a clean arrangement that can work in:
- the end of an 8-bar or 16-bar phrase
- just before a drop variation
- after a call-and-response bass phrase
- or after a drum fill / break switch
- Use an 8-bar phrase if you want a cleaner, DJ-friendly rewind.
- Use a 4-bar phrase if you want a more aggressive, modern fake-out.
- Use a 2-bar sting only if the track is already very dense and you need a fast reset.
- a breakbeat loop
- a sub note or bass stab
- a snare hit
- and a short FX tail like noise, vinyl crackle, or ambience
- Drum Buss
- Saturator
- EQ Eight
- Consolidate the source phrase.
- Duplicate it onto a new audio track.
- Use Reverse in the clip view on selected audio clips.
- Move the reversed clip so the energy pulls backward into the rewind point.
- Route your drum/bass group to a new audio track set to Resampling.
- Record the last bar of the phrase.
- Edit the recorded audio manually for a more organic pullback.
- nudge one or two chopped hits a few milliseconds early or late
- don’t quantize every piece perfectly
- let the break breathe like an old record being yanked back
- For rhythmic break pieces, try Beats mode.
- For a smoother stretched tail, try Complex Pro on the recorded FX tail only.
- If the rewind sounds too digital, reduce overly precise warp correction.
- a final snare or rim hit
- a reverse break swell
- a sub drop-out
- and a short moment of tape wobble / pitch bend feel
- Saturator
- Roar or Pedal if you want more aggressive color
- Echo
- Auto Filter
- Vinyl Distortion if you want grime and movement
- saturation first,
- filtering second,
- short smeared delay third,
- then a little movement and automation.
- track volume
- filter cutoff
- send to Echo / Reverb
- Pitch on a bass or FX sample if using a rendered clip
- Clip gain or fades for a soft pullback
- Bar 1: let the phrase hit, then reduce bass by 1–3 dB and begin filtering drums
- Mid-bar: start pulling the break and bass backward with a reverse FX or filter sweep
- Last beat: drop to near silence except for a tail or reversed snare
- Re-entry: slam back in with full drums and a sub punch
- Auto Filter cutoff from about 18 kHz down to 600 Hz over 1–2 bars
- Send to Reverb up to 10–25% only on the final snare or tail
- Track volume dip by 2–6 dB just before the rewind hit, then back to unity on the next phrase
- Hard stop + reverse tail
- Pitch-down pull
- Tape-style backspin illusion
- cut the drums sharply
- keep a short reverb or delay tail
- immediately reverse the final snare or break slice
- render the final phrase or FX tail
- warp it subtly downward by changing clip transposition if appropriate
- automate a gentle pitch fall over the last half-bar
- duplicate the last impact
- reverse it
- add a little Reverb before the reverse
- filter the top off so it feels like a dusty vinyl rewind instead of a clean reverse
- 1 bar of full energy
- 1 bar fake-out with filter and rewind motion
- 1 beat of near silence
- next 8 bars drop back in with the main drum pattern and a slightly modified bassline
- full kick/snare/drum break
- sub back in mono
- bass phrase either simplified or revoiced
- a small fill or crash to mark the return
- sub sine or triangle for the first hit
- filtered reese or low-mid movement above it
- keep sub below roughly 120 Hz in mono
- return with a single bass stab before the full pattern
- use a call-and-response phrase for the first 2 bars
- add a ghost snare pickup or short break fill to bridge the silence
- check Utility on bass or master groups for mono below the sub region
- keep the rewind FX wide if you want, but keep the re-entry core centered
- avoid letting the rewind tail and the incoming kick fight in the same frequency band
- Does the rewind clearly read at low volume?
- Does the bass re-entry feel stronger after the silence?
- Does the break still groove after the edit?
- Is the intro/outro usable for DJ mixing?
- EQ Eight for low-end cleanup and harshness control
- Utility for mono checks and gain trims
- Glue Compressor lightly on the drum bus if needed
- Limiter only for safety on the master during checking, not as a crutch
- leave 4–8 bars before or after the rewind with cleaner drums or reduced bass
- avoid making the edit so chaotic that a selector can’t cue it
- ensure the rewind doesn’t obliterate the downbeat when the next section starts
- Making the rewind too empty
- Using too much reverb
- Letting the sub reverse with the FX
- Quantizing everything perfectly
- Overdistorting the whole mix
- No contrast on re-entry
- Layer a low passed reese under the rewind return
- Use ghost edits in the break
- Automate saturation, not just volume
- Try a short mono delay on the break fragment
- Use frequency-limited ambience
- Make the last snare hit uglier
- For neuro-influenced tracks, keep the rewind brutal and short
- For jungle, let the break do more of the storytelling
- A good ruffneck rewind in DnB is phrase-based, not random.
- Keep the break, bass, and FX tail working together so the rewind still grooves.
- Use Ableton stock tools like Reverse, Saturator, Auto Filter, Echo, Drum Buss, Utility, and Glue Compressor to shape warm tape-style grit.
- Protect the sub, keep the re-entry strong, and leave enough DJ-friendly structure around the edit.
- The best rewind moments sound like they were pulled out of a real session: worn, heavy, and intentionally musical.
We’re aiming for that classic ruffneck energy: chopped break momentum, sub pressure, a gritty reverse tail, and a rewind that sounds like it came off a worn dubplate or overcooked tape deck 🎛️
Why this works in DnB: the genre thrives on contrast and propulsion. A rewind moment creates a hard contrast in energy, but if you keep the groove, bass tone, and texture consistent, the listener still feels the track’s identity. That balance is what makes rewind edits feel powerful instead of awkward.
What You Will Build
By the end of this lesson, you’ll have a short rewind edit section in Ableton Live that includes:
- a jungle intro into second drop
- a roller switch-up
- a DJ mix-friendly breakdown
- or a neuro/roughstep style fake-out
The end result should feel like a dirty, musical rewind moment with enough low-end discipline to still slam in a club system.
Step-by-Step Walkthrough
1. Choose the exact phrase where the rewind belongs
Start by locating a spot where the track already has natural tension. In DnB, the best rewind moments usually happen at:
In Ableton, set the loop to a section where your drums and bass are already working hard. You want a place where the rewind feels earned. For oldskool jungle, this is often after a snare fill or break roll. For rollers, it might be after a bass note answer phrase. For darker neuro-influenced stuff, it can come right after a stuttered bass burst to reset tension.
Practical rule:
Keep your bass and drums organized on separate groups so you can edit the rewind moment quickly.
2. Build the core rewind source: drums, bass, and a tail
A convincing rewind needs something worth “pulling back.” Don’t just reverse silence. Build a short source section from:
In Ableton Live 12, duplicate the last 1–2 bars of your phrase into a new section. Consolidate the elements you want to reverse or manipulate. For jungle/oldskool vibes, use chopped break audio with a little swing. For rollers, keep the bass note phrase simple and let the drums do the talking.
Stock device chain suggestion on the drum group:
- Drive: 5–15%
- Crunch: low to moderate
- Boom: subtle, or off if sub is already strong
- Soft Clip: on
- Drive: +2 to +6 dB
- High-pass the FX return or top loop around 100–150 Hz if it competes with sub
- Tame harsh hats around 7–10 kHz if needed
Why this works in DnB: the rewind moment feels powerful when the source has transient energy, low-end identity, and rhythmic shape. If the source is too empty, the rewind sounds fake.
3. Create the rewind motion using resampling or reverse editing
There are two clean Ableton stock workflows here. Pick one depending on your arrangement style.
Option A: Reverse the audio
Option B: Resample the phrase
For a warm tape-style rewind, add slight timing imperfection:
Use Warp carefully:
A strong rewind in DnB often includes:
4. Shape the “tape-style” grit with stock Ableton devices
Now make it feel warm, worn, and slightly unstable. This is the character layer.
Put these on a group or return track feeding the rewind section:
- Drive: +3 to +8 dB
- Curve: keep soft and rounded
- Soft Clip: on
- Use it to thicken the midrange and glue the break fragments
- Keep drive moderate
- Focus distortion more in the mids than the sub
- Blend subtly; too much will flatten the groove
- Time: 1/8 or 1/4 dotted for rhythmic smear
- Feedback: 15–35%
- Wobble: subtle
- High-pass and low-pass inside Echo so the repeats don’t clog the mix
- Use a band-pass or low-pass sweep
- Automate cutoff down during the rewind, then open it on the re-entry
- Resonance: 10–25% for a more vocal, oldskool feel
- Dust and Scratch: subtle
- Tracing Model: mild
- Drive: careful—just enough to roughen the top edge
A good tape-style formula is:
Don’t overdo the top end. A rewind should sound worn, not fizzy.
5. Automate the rewind moment like a phrase, not an effect
This is where the edit becomes musical.
Create automation on:
A practical 2-bar rewind shape:
Concrete automation suggestions:
If you’re making an oldskool jungle edit, automate the break to feel like it’s being physically dragged backward. If you’re making a darker roller, keep the move tighter and more minimal so the bass re-entry stays intimidating.
6. Add the rewind signature: stop, pull, or backspin
Now give the moment its recognizable identity. There are three classic approaches in Ableton Live:
For the hard stop:
For the pitch-down pull:
For the backspin illusion:
Use a short impact sample or sub drop on the restart if the track needs extra weight. Keep it minimal for jungle; go heavier for modern halftime-adjacent DnB.
Arrangement example:
That tiny silence is important. In DnB, a well-placed gap can hit harder than a giant effect because the groove’s momentum does the work.
7. Re-enter with a controlled bass and drum return
The rewind is only satisfying if the re-entry lands properly. Bring the track back with a deliberate contrast:
For bass, use Operator or Wavetable if you need to build a clean re-entry layer:
Good re-entry moves:
Mix discipline:
This is where the edit starts to feel like a proper DnB arrangement, not a random reverse trick.
8. Final polish: glue the edit and make it DJ-safe
Now make sure the moment works in a real mix environment.
Check:
Ableton stock tools to use here:
- Ratio: 2:1
- Attack: 10–30 ms
- Release: Auto or medium
- Gain reduction: just 1–2 dB
For DJ-friendliness:
Common Mistakes
- Fix: keep a break fragment, snare tail, or noise layer in motion so the moment still has groove.
- Fix: shorten decay, filter the return, and keep the tail focused. Too much wash kills DnB punch.
- Fix: separate sub from the reversed texture. Keep the sub controlled and mono, then reintroduce it on the downbeat.
- Fix: let the rewind feel a little hand-made. Micro-timing imperfections help it sound like a real edit.
- Fix: distort the break and midrange more than the low end. Preserve sub clarity.
- Fix: make the return noticeably fuller, sharper, or more open than the rewind section.
Pro Tips for Darker / Heavier DnB
- Keep it subtle, around 120–250 Hz presence, so the re-entry feels huge without muddying the sub.
- Chop tiny reversed hats or rim shots into the rewind tail for that haunted jungle feel.
- Pushing Drive up slightly during the rewind can mimic a tape deck choking under pressure.
- A tiny delay smear can make the rewind feel unstable and more underground, especially in rollers or darkstep.
- High-pass reverbs and low-pass delays so only the character lives in the FX, not the bass.
- A clipped, saturated snare before the rewind often sounds more authentic than a pristine one.
- One bar or even half-bar can work if the bass design is already complex.
- Slice the Amen, Think, or another classic break so the rewind feels like part of the sample culture, not just a modern automation trick.
Mini Practice Exercise
Spend 10–20 minutes building a rewind moment from one of your current DnB loops.
1. Pick an 8-bar loop with drums and bass.
2. Duplicate the last 2 bars into a new section.
3. Reverse one break fragment and one short FX tail.
4. Add Saturator and Auto Filter to the rewind section.
5. Automate the filter cutoff down over 1–2 bars.
6. Mute the sub for the final beat before the rewind.
7. Re-enter with a full drum hit and bass stab.
8. Check it in mono using Utility and listen at low volume.
9. Make one version for jungle/oldskool and one version for darker roller energy.
10. Bounce both and compare which rewind feels more believable.
Goal: create two rewind edits that each feel musical, but with different tension levels.

