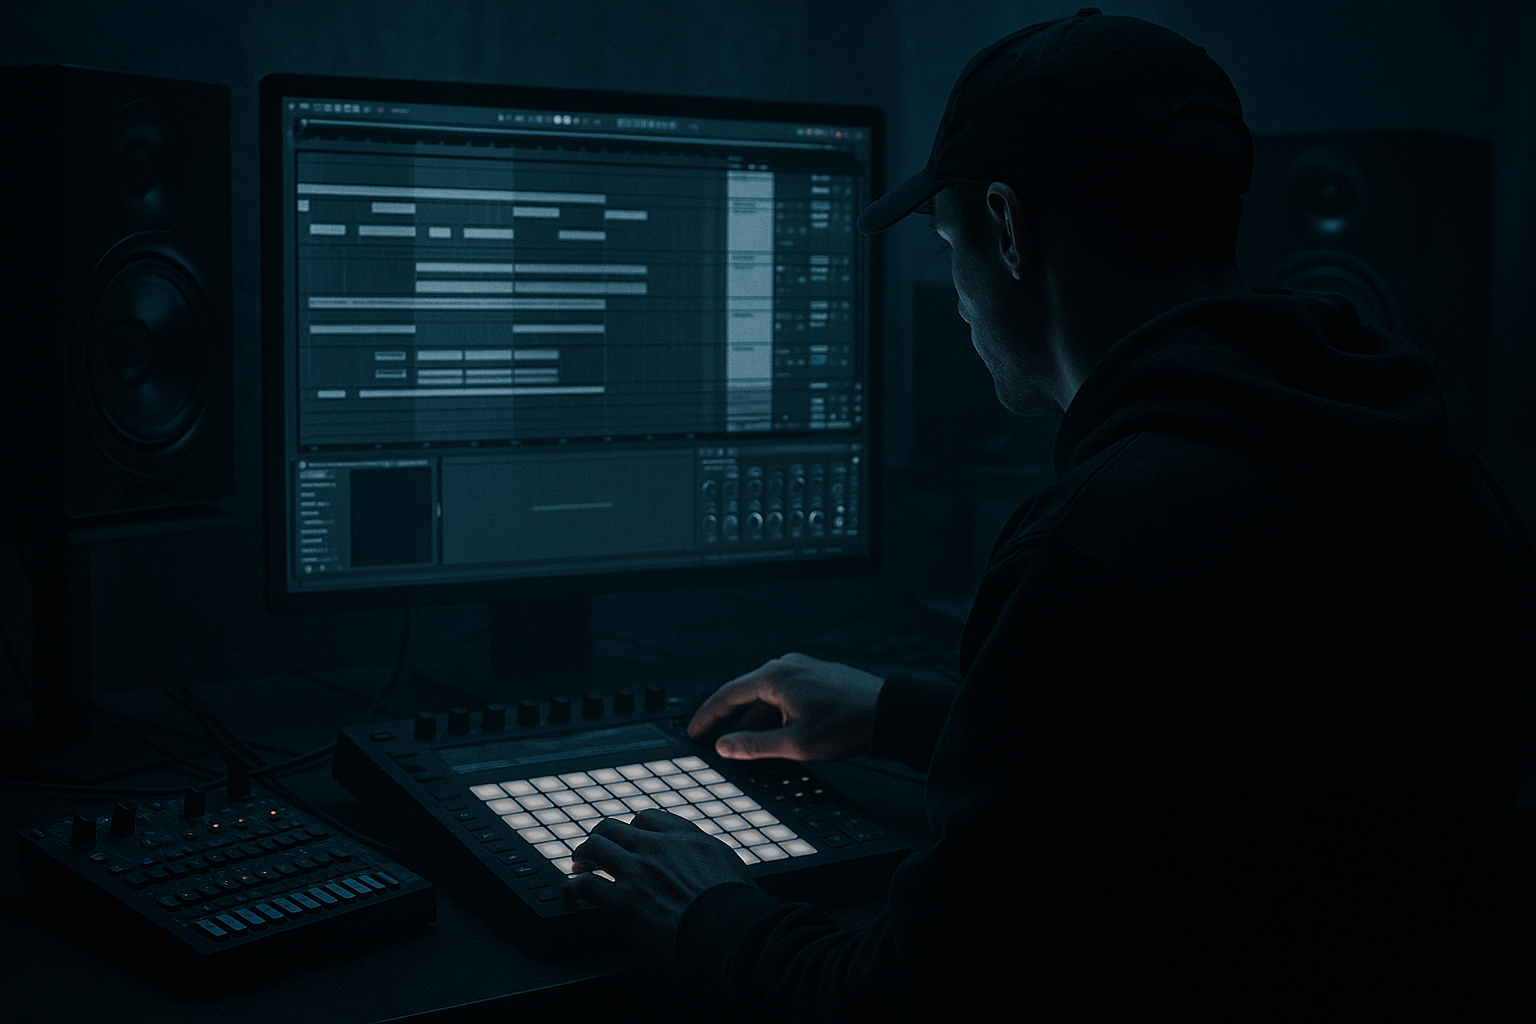
Main tutorial
Sampler Envelopes for Chopped Vocal Phrases (DnB in Ableton Live) 🎛️🎤
1) Lesson overview
Chopped vocal phrases are a core DnB/jungle weapon: quick stabs, tight call-and-response hooks, and rhythmic “ghost” snippets that glue a roller together. In this lesson you’ll use Sampler envelopes (Amplitude + Filter + Pitch) to turn a raw vocal line into tight, tempo-locked chops that sit with breakbeats and rolling bass.
We’ll keep it Ableton Live stock: Sampler, Simpler (optional), EQ Eight, Saturator, Auto Filter, Compressor, Reverb, Delay, Utility, and Drum Rack.
---
2) What you will build
A playable “vocal chop instrument” that:
- Triggers multiple vocal slices across the keyboard (or pads)
- Has snappy amplitude control so chops are clean and punchy
- Uses filter envelopes for movement and groove
- Uses pitch envelopes for quick dive-ups/dive-downs (classic jungle flavor)
- Sits in a DnB mix with a clean device chain and arrangement ideas for a rolling drop
- On a slice pad, right-click Simpler → “Simpler → Sampler” (or drag Sampler in and drop the sample into it).
- Do this on the pads you’ll actually use (you don’t need to convert all 64).
- Attack: `0.0 – 3 ms`
- Decay: `80 – 200 ms`
- Sustain: `-inf dB` (or very low)
- Release: `30 – 90 ms`
- If the chop “hangs over” your snare → shorten Decay/Release.
- If you hear clicks → increase Attack slightly (1–2 ms) or Release (10–30 ms).
- Env Amount: `+20 to +45` (positive opens the filter)
- Attack: `0 – 10 ms`
- Decay: `120 – 300 ms`
- Sustain: `0`
- Release: `60 – 150 ms`
- Amount: `-12 to -3 st` (downward dive)
- Attack: `0 ms`
- Decay: `40 – 120 ms`
- Sustain: `0`
- Voices: `1` (mono) for clean one-shot behavior
- Retrigger: ON (optional; helps consistent attacks)
- If you want legato phrases, go Voices: 3–6 and longer Release.
- Place main chop on `1.2`, `1.4.3`, `2.2`, `2.3.3`
- Add a tiny “ghost” chop very low velocity on `1.3.4` or `2.4.4`
- Duplicate across 16 bars
- Change 1–2 hits per 4 bars (don’t rewrite everything)
- Too long Release → vocals smear over snares and hats. Keep it tight.
- No high-pass filtering → mud fights the sub and kick.
- Overusing pitch envelope → it turns into a cartoon. Pick a few moments.
- Too much reverb in the drop → loses impact. Use sends + automate throws.
- Chops not gain-staged → some slices jump out. Normalize slice levels or use Velocity → Volume carefully.
- Resample + distort: Route chops to audio, resample, then hit with Saturator or Overdrive and re-chop. Dark minimal rollers love this.
- Band-limit for menace: Use Auto Filter (BP mode) around `700 Hz – 2.5 kHz`, automate slowly for radio/telephone threats.
- Layer a whisper layer: Duplicate Sampler chain:
- Sidechain to the drums: Use Compressor sidechained from your drum bus, subtle `1–3 dB` to keep chops tucked behind the break.
- Formant-style illusion (stock): Use Frequency Shifter very subtly (fine mode, tiny Hz shifts) for eerie metallic movement.
- Amp envelope = cleanliness and punch (short Decay/Release wins in DnB) ✂️
- Filter envelope = groove and articulation without extra notes 🎚️
- Pitch envelope = spice for jungle-style flicks and dives 🎯
- Use mono/1 voice chops for tightness, sends for space, and small variations to keep a 16-bar drop rolling 🥁
---
3) Step-by-step walkthrough
Step 0 — Prep your vocal (clean + time-ready)
1. Drag a vocal phrase (1–4 bars) into an Audio Track.
2. In the Clip View:
- Warp: ON
- Choose Complex Pro (best for full phrases) or Complex if CPU is tight.
- Set the correct Seg. BPM (right-click → “Warp From Here (Straight)” if needed).
3. Consolidate a clean region:
- Highlight the phrase you want → `Cmd/Ctrl + J`
- This gives you a neat audio file to feed into Sampler.
DnB context tip: If your project is 172–175 BPM, make sure the phrase loops cleanly at that tempo before slicing.
---
Step 1 — Slice the vocal into chops
You have two solid workflows. Pick one:
#### Option A (fast): Slice to Drum Rack (then upgrade to Sampler)
1. Right-click the consolidated vocal clip → Slice to New MIDI Track…
2. Choose:
- Slice By: Transients (good starting point)
- Or Warp Markers if you manually placed warp markers on key syllables
3. This creates a Drum Rack with slices loaded (usually in Simpler by default).
Upgrade to Sampler:
#### Option B (precise): One Sampler, multi-sample via Zones
1. Create a MIDI Track → drop in Sampler.
2. Drag your consolidated vocal audio into Sampler.
3. In Sampler, go to Zone tab:
- Use Slice controls (or create multiple samples manually by duplicating the sample in the zone list).
- Map slices across keys (C1, C#1, D1…) for performance.
Why Option A is common in DnB: It’s quick to build a rhythmic palette like a break chop kit.
---
Step 2 — Dial in the Amplitude Envelope (the “tightness” control) ✂️
Open Sampler → Amp section. Start with these DnB-friendly settings:
(Keep it super fast for crisp articulation.)
(Gives a short tail without smearing.)
(For stab-style chops.)
(Prevents clicks but keeps it tight.)
What to listen for:
Workflow move: Map Decay to a Macro (if using an Instrument Rack) so you can quickly switch between stabs and phrases.
---
Step 3 — Add a Filter Envelope for movement and groove 🎚️
This is where the chops start to speak rhythmically.
1. In Sampler, enable the Filter:
- Type: LP24 (classic punch) or LP12 (more open)
2. Set:
- Freq: `1.0 – 6.0 kHz` (start around 2–3 kHz)
- Res: `10 – 25%` (a touch of bite, not whistles)
- Drive: `2 – 6 dB` (subtle grit)
Now shape the Filter Envelope:
DnB groove trick:
Set filter Decay so the chop “opens and closes” in sync with your off-beat hats—it creates motion without adding more notes.
---
Step 4 — Add micro “yoi” movement with a Pitch Envelope (tastefully) 🎯
Pitch envelope = instant jungle sci-fi if used subtly.
In Sampler → Pitch/Osc area (Pitch Envelope):
or `+3 to +7 st` (upward flick)
Use case: On one or two key chops, not everything. It’s a spice, not the meal.
---
Step 5 — Tighten timing + avoid overlap with Voice settings
In Sampler, set:
DnB reason: Mono chops punch through busy drums and bass, and stop syllables clashing.
---
Step 6 — Build a clean stock device chain (mix-ready) 🔧
On your vocal-chop track (after Sampler), try:
1. EQ Eight
- HP filter: `120–200 Hz` (remove rumble)
- Dip harshness: sweep around `2.5–5 kHz` if needed (small -2 to -4 dB)
2. Saturator
- Mode: Soft Sine or Analog Clip
- Drive: `2–6 dB`
- Turn on Soft Clip
3. Compressor
- Ratio: `2:1 – 4:1`
- Attack: `10–30 ms` (lets transient through)
- Release: `60–120 ms` (musical recovery)
- Aim for `2–5 dB` gain reduction on peaks
4. Utility
- If it’s too wide/weird: reduce Width to `70–100%`
5. Reverb (send is usually better)
- Use a Return Track for space:
- Reverb: short Room or Plate, `0.8–1.6 s`
- Low Cut: `250–400 Hz`, High Cut: `6–10 kHz`
6. Delay (also best as a send)
- Echo or Simple Delay
- Try dotted timings: `3/16` or `1/8` with low feedback (`10–25%`)
DnB arrangement note: Keep the main chop fairly dry in the drop; push bigger space in fills and pre-drop moments.
---
Step 7 — Make it playable and arrange it like a roller 🥁
1. Put your chops into a Drum Rack (pads = slices).
2. Create a 16-bar drop MIDI clip.
3. Rhythm ideas that scream DnB:
- Call/response with the snare: hit chops on beat 2 and 4 just after the snare for bounce.
- Use 1/8 or 1/16 gaps: chops love silence.
- Add a one-bar variation every 4 bars (pitch one chop up + add delay throw).
Simple 2-bar starter pattern (grid = 1/16):
Then:
---
4) Common mistakes
---
5) Pro tips for darker/heavier DnB 🖤
- Layer A = bright, transient
- Layer B = lowpassed + distorted + quieter
Blend for weight without clutter.
---
6) Mini practice exercise (15 minutes) ⏱️
1. Pick one 2-bar vocal phrase.
2. Slice to Drum Rack by Transients.
3. Convert your 8 favorite slices to Sampler and apply:
- Amp: A `1 ms`, D `140 ms`, S `-inf`, R `60 ms`
- Filter LP24: Freq `2.5 kHz`, Res `18%`, Drive `4 dB`
- Filter Env: Amount `+35`, Decay `180 ms`
4. Program a 16-bar pattern:
- 4-bar loop with one variation
- Add one delay throw on bar 4 and bar 16 (automate send)
5. Bounce to audio and listen against your drums at full volume. Tighten releases until nothing masks the snare.
---
7) Recap
If you want, tell me your tempo (e.g., 174), the vibe (liquid vs techy vs jungle), and whether the vocal is sung or spoken—I can suggest envelope ranges and a device chain tailored to that style.

