Main tutorial
Lesson Overview
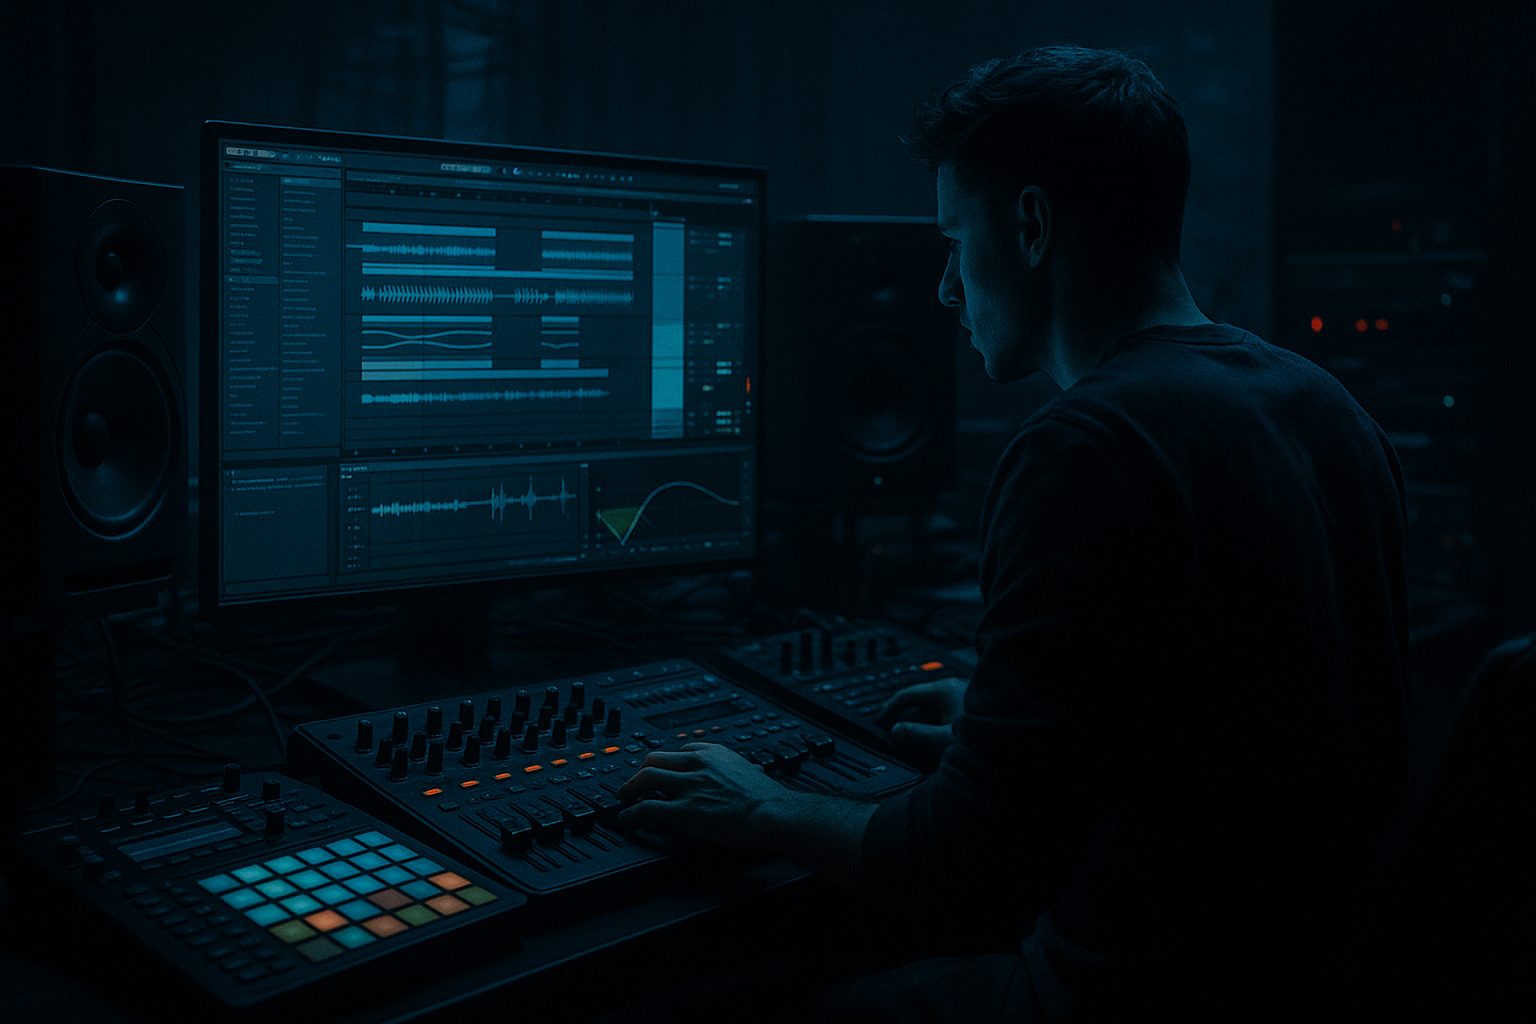
In this lesson, you’re building a Sampler rack stack riser instrument in Ableton Live 12 that sounds like it belongs in an oldskool jungle / DnB record, but with enough modern control to fit rollers, darker halftime, or neuro-intro tension. The core idea is simple: instead of relying on one riser sample, you’ll stack multiple Sampler instances inside an Instrument Rack and control the whole movement with a tight set of macros.
Why this matters in DnB: risers are not just “effects” — they are phrase glue. In jungle and oldskool DnB, tension often comes from break edits, pitch climbs, reverse textures, tape-style movement, and sudden vacuum before the drop. A good riser rack gives you that classic urgency while staying mix-ready, DJ-friendly, and customizable per section. It also helps you make rises that feel like part of the tune rather than a generic FX preset.
We’ll focus on a rack stack that can go from subtle 1-bar lift to frantic 8-bar cyclone, using Ableton stock devices only: Sampler, Instrument Rack, Auto Filter, Saturator, Redux, Chorus-Ensemble, Reverb, Utility, and Envelope Follower/automation where useful. The goal is to create a macro-controlled instrument you can reuse across your project for intros, pre-drop tension, switch-ups, and fake-outs. 🔥
What You Will Build
You’ll build a multi-layer Sampler riser rack with four core layers:
- a pitched break/noise lift for jungle character
- a tonal upward sweep for musical tension
- a grainy midrange texture layer for grit and movement
- a filtered sub-less impact tail that feels big without muddying the low end
- Rise Time — lengthens or shortens the energy curve
- Pitch Lift — moves the tonal center upward
- Filter Open — opens the high end progressively
- Grind — increases saturation/bit reduction for dirtier tension
- Width — spreads only the upper layer, not the low mids
- Throw — controls reverb/delay-like space on the tail
- Tension Start — sets the initial filter and playback start position
- Impact Snap — tightens the final hit or tail end
- a 4- or 8-bar pre-drop riser
- a 2-bar fill into a drum switch
- a call-and-response transition before the second drop
- an oldskool rewind-style lift with breakbeat energy
- a dark intro sweep that hints at the drop without giving it away
- Making the riser too broadband
- Using one generic sweep for every transition
- Over-widening the whole rack
- Letting the reverb wash into the drop
- Ignoring key center
- Driving the rack too hard before resampling
- Use break-derived source material
- Add a hidden rhythmic pulse
- Use subtle pitch instability
- Accent the final bar, not the entire rise
- Monitize the low end
- Add distortion selectively
- Try a fake-out ending
- Which one makes the drums hit harder?
- Which one leaves better low-end space?
- Which one feels more “jungle” versus more “modern dark DnB”?
- once into the main drop intro
- once into a mid-track switch-up
The rack will respond to macros like:
Musically, the result is ideal for:
Step-by-Step Walkthrough
1. Create a dedicated FX instrument rack track and set the timing target
Start with a new MIDI track named something like `RISER - Sampler Stack`. Drop an Instrument Rack onto it, then create 4 chains inside the rack. This is your stack architecture.
Before loading devices, decide your musical job:
- 1-bar riser for quick fills
- 2-bar riser for pre-drop tension
- 4-bar riser for “classic DnB intro lift”
- 8-bar riser for bigger arrangement sections
For oldskool jungle vibes, 4 bars is the sweet spot: it gives enough time for break energy, pitch climb, and filter motion without sounding EDM-polished. Keep the MIDI clip simple at first: one sustained note or a simple ascending pattern using the song’s root note plus a fifth or octave. For example, in F minor, use F → C → F if you want a recognizably tonal lift.
Set headroom early. Keep the rack output peaking around -12 to -8 dB while building it. Risers should feel dramatic, but they shouldn’t dominate the master before the drop.
2. Build the main tonal layer in Sampler
On Chain 1, load Sampler and choose a source sample that has oldskool DNA:
- a chopped break fragment
- a reversed cymbal or hat tail
- a short synth stab with harmonic content
- a noisy vocal breath or vinyl texture
In Sampler:
- Turn Classic playback on if you want more vintage behavior, or keep it clean if you want tighter control.
- Enable Loop if the source has a strong texture you can sustain.
- Set Start around 10–35% if you want the riser to begin deeper into the sample for a less obvious attack.
- Use the Filter section with a Low-Pass starting around 300–900 Hz and automate or macro it upward.
- Set Pitch Envelope subtly if the source needs a more exaggerated climb; keep it modest so it feels musical, not cartoonish.
If you want a classic jungle feel, use a break-derived sample and tune it to the track key. In DnB, this works because the riser inherits the rhythmic DNA of the drums, not just a synthetic sweep. That makes transitions feel connected to the groove rather than pasted on.
Suggested Sampler settings:
- Filter cutoff start: 400 Hz
- Resonance: 10–25%
- Envelope amount: 20–35%
- Pitch bend up: +7 to +12 semitones across the phrase
3. Add a second Sampler layer for tonal lift and harmonic pressure
On Chain 2, add another Sampler with a more tonal source:
- a detuned synth stab
- a single note from a reese-ish bass resample
- a choir-like texture
- a metallic hit with sustain
This layer is what makes the riser feel like it is “harmonically climbing.” In DnB, tonal tension is critical because it gives the drop a stronger sense of release. A purely noisy rise can work, but the tonal layer makes the eventual drop hit harder.
Inside Sampler:
- Set Transpose to match the key center, then automate up over time.
- Use Coarse tuning to climb +12 semitones over 4 bars if you want a classic rising motion.
- Set a short amp attack if the source has clicks; keep release around 100–250 ms so it doesn’t chop unnaturally.
- Use a band-pass filter if you want a more focused midrange sweep.
To create movement, route this layer through Auto Filter after Sampler:
- Start cutoff around 500 Hz
- Open to 6–10 kHz
- Add a small resonance boost of 15–30%
- Use Filter LFO very subtly if you want nervous motion, but keep it controlled so it doesn’t feel wobbly.
4. Create the grit layer with Redux, Saturator, and tight filtering
On Chain 3, build a dirtier texture layer. Duplicate one of the previous Sampler chains or load a new sample with more transient energy, then add:
- Redux
- Saturator
- Auto Filter
This layer is what gives the riser the “hard drive spinning up” / “air being torn apart” feel that suits darker DnB and neuro intros.
Suggested settings:
- Redux: Bit reduction around 10–14 bits, Downsample slightly at 1.2x–2.5x for grime without total destruction
- Saturator: Drive around 3–8 dB, Soft Clip on if you want safer peaks
- Auto Filter: High-pass around 120–250 Hz to keep low-end clean
Use this layer sparingly under the main tonal riser. If you overdo it, the riser becomes noisy and masks drums. The point is to add harmonic roughness in the upper mids so the transition feels more intense on smaller speakers too.
5. Add a tail layer for space, but keep the low end disciplined
On Chain 4, use a short percussive sample or a reverse texture, then add:
- Reverb
- Utility
- optionally Chorus-Ensemble for width
This layer should not add bass. Its job is to create a halo around the rise and make the transition feel bigger. Set:
- Reverb Decay: 1.8–4.5 s
- Predelay: 10–30 ms
- Size: moderate, not huge
- Dry/Wet: macro-controlled, often between 0–35%
Use Utility after the Reverb:
- Reduce width on the low-mids if needed
- Keep the return mono-compatible by not spreading everything too aggressively
For DnB, this matters because reverb tails can blur the kick/snare relationship right before the drop. A controlled tail adds atmosphere while preserving punch and impact.
6. Map macros creatively and make them musical, not just technical
Now map the rack macros so the instrument behaves like one performance-ready riser device.
Recommended macro assignments:
- Macro 1: Rise Time
- Maps to clip length feel via sample start, amp envelope, and filter envelope timing
- Also can slightly lengthen release across chains
- Macro 2: Pitch Lift
- Maps to Sampler transpose on tonal layers
- Range: 0 to +12 semitones or 0 to +19 semitones for more aggressive modern lifts
- Macro 3: Filter Open
- Maps to filter cutoff on all layers
- Range: 300 Hz to 14 kHz
- Macro 4: Grind
- Maps to Saturator drive and Redux amount
- Keep it tasteful: 0 to +6 dB drive, 12 to 10 bits
- Macro 5: Width
- Maps to Chorus-Ensemble amount and Utility width on the top layer only
- Avoid widening anything that contains low mids
- Macro 6: Throw
- Maps to Reverb dry/wet and decay
- Keep the tail controlled: 0–35% wet
- Macro 7: Tension Start
- Maps to sample start position and initial filter cutoff
- Great for making the riser start from different “positions” in the same sound
- Macro 8: Impact Snap
- Maps to final filter opening, slight volume boost, and a short release tightening near the end
The creative trick: don’t map every macro to everything. Use each macro to control a specific musical behavior. That way, one knob turn changes the riser in a believable way instead of sounding like random automation.
7. Program the automation curve like a DnB arrangement tool
Create a MIDI clip that lasts 4 bars. Keep the note simple, then automate macros with intention.
Suggested automation shape:
- Bars 1–2: gradual build
- Filter Open slowly rises from 20% to 55%
- Pitch Lift moves from 0 to +5 semitones
- Grind stays low, around 0–20%
- Bar 3: acceleration
- Pitch Lift climbs more aggressively to +8 or +12 semitones
- Throw increases
- Width opens on the top layer
- Bar 4: peak tension
- Filter Open nearly maxes
- Grind rises
- Impact Snap adds final brightness and level
For oldskool/jungle energy, you can automate a slight rhythmic pulse in the last bar rather than a perfect straight ramp. That gives the riser a more break-driven attitude.
Arrangement example: use this riser in the 8 bars before the drop, but automate it to begin subtly under the last two snare hits, then open fully in the final 2 bars. This makes the drop feel earned while keeping the intro DJ-friendly.
8. Bounce, resample, and test against the drum/bass arrangement
Once the rack feels good, resample it to audio. This is crucial in advanced DnB workflows because it lets you commit to the shape, place it accurately, and process it like a transition element rather than an endlessly tweakable instrument.
After resampling:
- trim the clip so it lands exactly on the drop
- add a fade-in if needed, but keep the end crisp
- check the waveform against the snare buildup
- ensure the final transient doesn’t fight the drop snare or kick
Test in context with:
- a rolling breakbeat
- a sub-heavy bassline
- a reese or neuro bass layer
- a lead-in snare fill
Why this works in DnB: the riser has to support the drum programming hierarchy. If the riser is too wide or too dense in the mids, it will flatten the snare impact and reduce perceived drop weight. Resampling lets you shape it against the actual groove and edit around the drums, not in isolation.
Common Mistakes
- Fix: high-pass everything below 120–250 Hz, and keep width away from the low mids.
- Fix: vary the sample start, pitch curve, and grit amount so each riser has a slightly different emotional job.
- Fix: widen only the upper layer. Keep the tonal center and anything below the mids more focused.
- Fix: shorten decay, reduce wet amount in the final beat, or automate a hard cut before the drop hits.
- Fix: tune tonal layers to the track key or the fifth for a more musical lift.
- Fix: leave headroom and use saturation intentionally. If the rise is already clipped, it will flatten the impact of the drop.
Pro Tips for Darker / Heavier DnB
- A chopped Amen fragment, reverse snare tail, or hat spray instantly gives the riser jungle identity.
- Put a very quiet gated or filtered layer underneath with tiny automation movement. This creates tension without sounding busy.
- Slight detune or pitch offset on one Sampler layer can make the rise feel more analog and unstable, which suits darker DnB.
- Heavier genres often hit hardest when the last 1/2 bar becomes the most aggressive section.
- Keep Utility on the rack’s low layers to enforce mono discipline. The low end should feel like it’s clearing space for the drop, not spreading into it.
- Put Drive on the mid layer, not the whole rack. That keeps the riser fierce without turning the mix into static.
- Automate a brief dip in volume or filter right before the drop, then slam open on the downbeat. Classic tension move, very effective in drum and bass.
Mini Practice Exercise
Spend 10–20 minutes building two versions of the rack:
1. Version A: Oldskool jungle lift
- Use break fragments and a tonal stab.
- Keep saturation moderate.
- Make the rise feel rhythmic and warm.
- Aim for a 4-bar build with noticeable movement by bar 3.
2. Version B: Darker neuro tension lift
- Use noisier sources and stronger Redux/Saturator.
- Make the filter opening slower at first, then more aggressive in the final bar.
- Add more controlled width and a tighter tail.
Then audition both versions before the same drop and decide:
Finally, resample your winner and place it in two spots:
Recap
A strong Sampler rack stack riser in Ableton Live 12 is about layered tension, controlled macro design, and arrangement-aware automation. Build separate tonal, gritty, and spatial layers; map macros to musical behaviors; keep the low end clean; and resample once the shape works in context.
For DnB, the key is not just making something rise — it’s making the rise feel like it belongs to the drums, the bassline, and the phrasing of the tune. That’s how you get risers that sound intentional, dark, and replay-worthy.

