Main tutorial
Saturate a Vocal Texture for Sunrise-Set Emotion (Ableton Live 12)
Advanced Edits for Jungle / Oldskool DnB vibes 🌅🎙️
---
1. Lesson overview
In sunrise jungle/DnB, vocals aren’t “lead pop vocals” — they’re texture, memory, and atmosphere. The trick is to saturate them so they feel warm, glued, slightly worn, and alive over breakbeats and rolling subs, without turning into harsh fizz that fights your hats/snare.
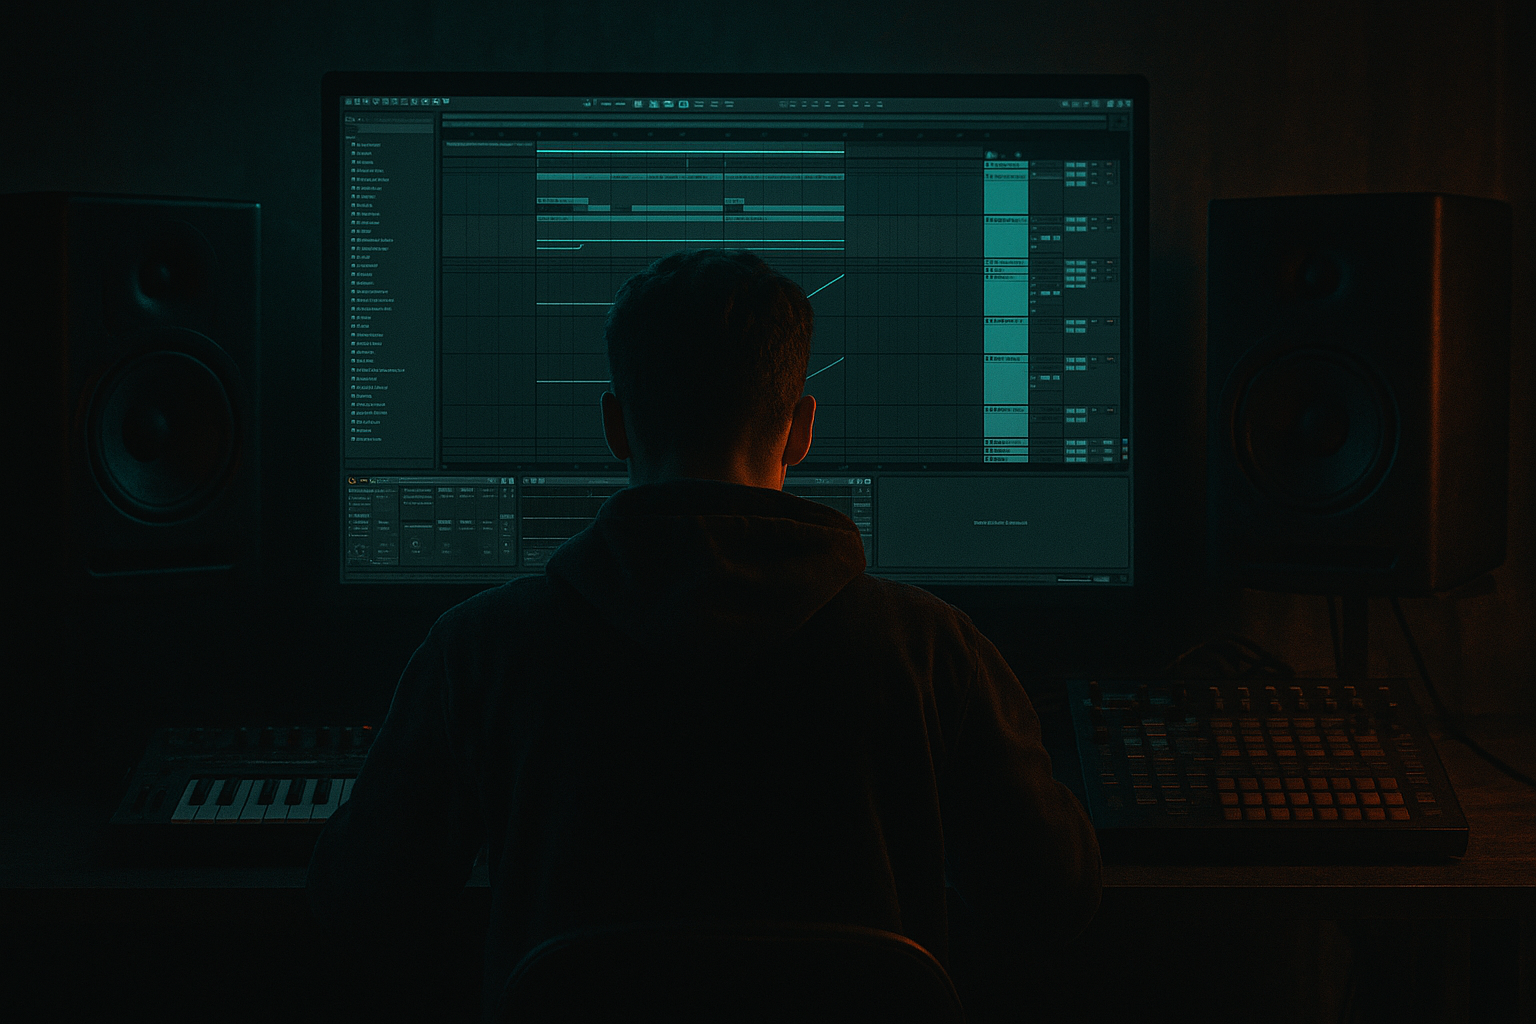
In this lesson you’ll build a multi-lane vocal texture rack using stock Ableton Live 12 devices: gentle preamp drive, harmonic enrichment, band-limited grit, time-smear, and controlled width — all automatable for edits and transitions.
---
2. What you will build
A 3-layer vocal texture chain (inside an Audio Effect Rack) that gives you:
- Core Warmth (tape-ish saturation + compression glue)
- Air Halo (sparkly harmonic lift that stays smooth)
- Mid-Grime Band (oldskool grit that reads on small speakers)
- Macro controls for Drive, Tone, Width, Smear, Movement
- Arrangement-ready automation ideas for sunrise lifts, breakdowns, and drop re-entries
- Bring in vocal texture before the breaks return.
- Automate:
- Increase Grit Amount + Movement
- Shorten reverb decay slightly right before the drop (feels like the room tightens)
- Hard cut the vocal on beat 4, leave only the throw tail
- Keep Chain A (Warm Core) steady
- Duck Chain B (Air Halo) slightly so hats dominate
- Bring Chain B back at bar 9 for that “sunrise lift” moment
- Over-saturating full-range vocals: You’ll get harshness at 3–6 kHz and lose that tender sunrise emotion.
- No band-splitting: One chain trying to do everything usually ends up loud-but-flat.
- Reverb eating the groove: Long tails without HP filtering will smear the kick/bass pocket.
- Too much stereo on the core: Width on the main lane causes phasey mono collapse and weak center energy.
- Not level-matching: Saturation “sounds better” because it’s louder — match outputs to judge properly.
- Swap Chain B “Air Halo” into a darker halo:
- Make Chain C nastier but controlled:
- Add Roar at the end of the Rack (very low mix 5–15%) for unified aggression.
- Use Gate keyed by the break to rhythmically chop the texture:
- For neuro-ish weight without ruining sunrise tone: keep the vocal mid-forward, but duck it harder with sidechain so it’s felt between hits.
- You built a DnB-ready vocal texture rack: Warm Core + Air Halo + Mid-Grime.
- Saturation works best when banded + level-matched + automated.
- Use throw returns and resampling for authentic jungle-style edits.
- Keep your core mono-stable, filter reverbs, and sidechain lightly to the break for pocket.
Plus:
---
3. Step-by-step walkthrough
Step 0 — Pick the right vocal source (and prep it)
Goal: a clean-ish phrase that can take processing.
1. Choose a short, emotional phrase (1–4 bars). Classic jungle vibe: “remember / hold on / love / tonight” type one-liners.
2. Warp mode:
- If it’s sung: Complex Pro
- If it’s spoken: Complex or Beats (try both; Beats can add nice grain)
3. Tight edit:
- Trim breaths you don’t want
- Consolidate (`Cmd/Ctrl+J`) so automation behaves predictably
4. Gain staging:
- Aim input around -18 to -12 dB RMS-ish (don’t slam the chain yet)
---
Step 1 — Create a 3-lane Audio Effect Rack (the “Sunrise Vocal Texture”)
1. Select your vocal track → drop an Audio Effect Rack
2. Show Chain List and create 3 chains:
- A: Warm Core
- B: Air Halo
- C: Mid-Grime
Set each chain volume initially to -6 dB so you don’t overload while building.
---
Step 2 — Chain A: Warm Core (the “tape memory” layer)
This is your intelligibility + emotional glue.
Device order (stock):
1. EQ Eight
- HP filter: 90–140 Hz, 24 dB/oct (keep subs clean for the bassline)
- Gentle dip if needed: 300–500 Hz -2 dB (mud control)
2. Saturator
- Mode: Soft Sine (smooth harmonics)
- Drive: +3 to +7 dB
- Output: adjust so level matches bypass (critical!)
- Soft Clip: On
3. Glue Compressor
- Attack: 3 ms
- Release: Auto
- Ratio: 2:1
- Threshold: aim 1–3 dB gain reduction on peaks
- Makeup: Off (match output manually)
4. Utility
- Width: 80–100% (keep this lane mostly centered)
Why this works: Saturator adds “sunrise warmth,” Glue stabilizes it so it sits under breaks without poking out.
---
Step 3 — Chain B: Air Halo (shine without harshness)
This layer creates that “heavenly, early-morning” lift that floats above the Amen hats. Keep it controlled.
Device order:
1. EQ Eight
- HP filter: 2.5–4 kHz (yes, high — it’s an air-only layer)
- Optional shelf: +1 to +3 dB above 10 kHz if it’s dull
2. Roar (Ableton Live 12)
- Choose a gentler style (avoid aggressive fuzz unless you want bite)
- Drive: low (start 5–15%)
- Tone: slightly darker if it gets spitty
- Mix: 20–40%
3. Chorus-Ensemble
- Mode: Ensemble
- Rate: 0.15–0.35 Hz
- Amount: 20–35%
- Width: 120–160%
4. Reverb
- Size: Medium
- Decay: 2.5–4.5 s
- Pre-delay: 15–30 ms
- High Cut: 7–10 kHz (keeps it smooth)
- Wet: 10–20% (or set 100% and use chain volume)
Tip: If this fights your hats, EQ a narrow notch around 8–12 kHz depending on where your breaks are sizzling.
---
Step 4 — Chain C: Mid-Grime (band-limited jungle grit)
This is the “pirate radio / VHS / dubplate dust” energy. It reads in mono and on small speakers.
Device order:
1. EQ Eight
- Band-pass it:
- HP: 250–400 Hz
- LP: 3–5 kHz
2. Pedal
- Mode: Overdrive or Distortion
- Drive: 20–40%
- Tone: 30–45% (avoid harsh top)
- Output: match level
3. Redux
- Downsample: 2.5–8 kHz (go higher if it’s too crunchy)
- Bit Reduction: 0–3 (subtle; jungle grit ≠ total destruction)
- Dry/Wet: 10–30%
4. Auto Filter
- Mode: LP or BP depending on vibe
- Add subtle movement:
- LFO Amount: 5–15%
- Rate: 1/8 or 1/4 (sync)
- Phase: 0° (mono stability)
Key idea: This layer provides character without making the main vocal ugly.
---
Step 5 — Macro mapping (make it playable for edits)
Map these to Rack Macros so you can perform automation like a DJ/engineer:
1. Macro 1 – Drive
- Saturator Drive (Chain A)
- Roar Drive or Mix (Chain B)
- Pedal Drive (Chain C)
2. Macro 2 – Tone (Dark ↔ Bright)
- EQ Eight high shelf gain (Chain B)
- Auto Filter cutoff (Chain C)
3. Macro 3 – Smear
- Reverb Wet (Chain B)
- Optional: add Delay (below) and map feedback
4. Macro 4 – Width
- Utility width on Chain B
- Keep Chain A at/near 100% to avoid phase issues
5. Macro 5 – Grit Amount
- Redux Dry/Wet (Chain C)
6. Macro 6 – Movement
- Auto Filter LFO amount (Chain C)
- Chorus amount (Chain B)
---
Step 6 — Add “sunrise motion” with delay throws (classic DnB edit move) 🌄
Create a Return track for vocal throws (clean workflow for arrangement).
1. Return A: Vocal Throw
- Delay (or Echo if you like, but Delay is clean & classic)
- Time: 1/8D or 1/4
- Feedback: 25–45%
- Filter: HP 200 Hz, LP 6–9 kHz
- Saturator (Soft Sine, Drive +2 to +5 dB)
- Reverb (small/medium, short-ish: 1.2–2.2s)
2. Automate Send level on the last word of a phrase (especially before a drop or a breakdown).
3. Pro move: freeze the throw by resampling:
- Create an audio track “Resample Vox FX”
- Set input to Resampling
- Record a bar of the throw → slice/reverse/pitch for edits
---
Step 7 — Arrangement ideas rooted in jungle / rolling DnB
A) Breakdown “sunrise wash” (8–16 bars)
- Macro “Smear” up (more reverb)
- Macro “Width” up slightly
- Roll off lows (HP to 200 Hz) so the sub drop hits clean
B) Pre-drop tension (last 2 bars)
C) Drop re-entry (first 8 bars)
---
Step 8 — Final glue: keep it in the mix with sidechain
To sit vocals under breaks cleanly:
1. Add Compressor after the Rack on the vocal track.
2. Enable Sidechain from your Drum Bus (or breakbeat group).
3. Settings:
- Ratio: 2:1
- Attack: 5–15 ms
- Release: 80–180 ms
- Threshold: aim 1–3 dB reduction on loud break hits
This keeps the vocal texture present but never in the way of the snare crack. 🥁
---
4. Common mistakes
---
5. Pro tips for darker/heavier DnB (still using this concept) 🌑
- Lower Reverb high cut to 5–7 kHz
- Add a small resonant bump around 2.5–3.5 kHz only if you need presence
- Push Pedal Drive higher, but tighten LP to 2.5–3.5 kHz
- Gate sidechain from drums, set it so the vocal “pumps” in classic techstep fashion.
---
6. Mini practice exercise (15–20 minutes)
1. Take a 2-bar vocal phrase and build the 3-chain rack.
2. Write an 8-bar loop:
- Breakbeat + sub + pads
3. Automate across 8 bars:
- Bars 1–4: Macro Smear 20% → 45%
- Bars 5–6: add Send to Vocal Throw only on last word each bar
- Bars 7–8: Grit Amount rises, then hard cut vocal on the last beat
4. Resample the throw tail, reverse it, and place it as a riser into bar 1 of the next section.
Deliverable: one 16-bar “sunrise edit” with a vocal texture that evolves without stepping on the drums.
---
7. Recap
If you want, share what kind of vocal you’re using (sung/spoken, male/female, clean/lofi) and your tempo (160–175), and I’ll suggest tighter starting values for the three chains.

