Main tutorial
Saturate an Amen-style Breakbeat for Pirate-Radio Energy in Ableton Live 12
1. Lesson overview
In this lesson, you’ll learn how to add controlled saturation to an Amen-style breakbeat in Ableton Live 12 so it sounds:
- louder
- grittier
- more urgent
- more “pirate radio”
- still clean enough to mix into a drum & bass track 🎛️
- snare crack
- kick weight
- hi-hat texture
- midrange aggression
- perceived loudness
- set the break up correctly on a drum bus
- drive saturation without killing transients
- use parallel warmth
- make it hit harder for jungle / dark DnB / rolling bass music
- avoid common beginner mistakes
- Keep your break grouped with other drum elements.
- If you have extra percussion, route them too if you want them processed together.
- Leave enough headroom: aim for the break bus peaking around -6 dB to -8 dB before mastering processing.
- High-pass very low rumble around 25–35 Hz
- If the break is muddy, gently dip 200–400 Hz
- If the hats are piercing, reduce a little around 7–10 kHz
- Band 1: High-pass, 24 dB/oct, 30 Hz
- Band 3: Bell, -2 dB at 300 Hz, Q around 1.2
- Band 6: Bell, -1.5 dB at 8.5 kHz, if needed
- Type: `Analog Clip` or `Soft Sine`
- Drive: `2 to 6 dB`
- Soft Clip: `On`
- Output: adjust to match bypass level
- Base: default unless you want frequency-dependent color
- Color: use lightly if you want more bite
- Drive: 4 dB
- Soft Clip: On
- Output: -3 dB to -5 dB, depending on gain increase
- Snare gets more snap
- Kick gets a little more thud
- Hats gain sand and texture
- Break becomes more forward in the mix
- punch
- weight
- compression-like glue
- extra harmonics
- controlled low-end drive
- Drive: `5–15%`
- Crunch: `0–20%`
- Boom: `0–15%`
- Damp: adjust if the top end gets too sharp
- Transient: `+5` to `+15` for more snap, or lower if too spiky
- Start with Drive at 10%
- Add a little Transient if the break needs more snap
- Use Boom carefully on Amen breaks, because too much can blur the kick and make room for the sub bass awkwardly
- Attack: `3 ms` or `10 ms`
- Release: `Auto` or `0.3 s`
- Ratio: `2:1`
- Threshold: aim for about `1–3 dB` of gain reduction
- Makeup: off at first, then compensate manually
- more cohesion
- slightly denser groove
- no pumping that fights the bassline
- final gain trim
- checking mono compatibility
- narrowing the break if needed
- Width: `100%` normally
- Try `80–90%` if the stereo hats feel too wide or messy
- Use Mono briefly to check whether the snare and kick still feel strong
- Ceiling: `-1.0 dB`
- Keep gain reduction minimal
- Watch for over-limiting of the snare
- Dry chain: 60–80%
- Saturated chain: 20–40%
- sub bass
- reese bass
- atmospheres
- stabs
- FX
- Use lighter saturation in the intro
- Automate more drive in the drop
- Reduce intensity in breakdowns to create contrast
- Intro: Saturator Drive at 2 dB
- Drop: Drive at 5 dB
- Breakdown: back to 1–2 dB
- EQ Eight high-pass cleanup
- moderate Saturator drive
- subtle Drum Buss Crunch
- snare hits
- ghost notes
- chopped break loops
- +1 dB to +2 dB on Saturator Drive
- or a slight boost in Drum Buss Drive
- Reverb with very short decay
- very low wet amount
- high-pass the reverb return
- mute the bass
- hear the break alone
- unmute the bass
- confirm the drum energy still holds
- EQ Eight: HP at 30 Hz
- Saturator: Drive 4 dB, Soft Clip On
- Drum Buss: Drive 8%, Transient +8
- Glue Compressor: 2:1, 1–2 dB GR
- Utility: width 100%
- Limiter: ceiling -1 dB
- If the break is too thin, reduce EQ cutting and slightly increase Drive
- If it’s too harsh, lower Saturator and soften top end
- If it loses punch, reduce compression
- clean up the low end with EQ Eight
- add controlled grit with Saturator
- enhance attitude with Drum Buss
- tighten with Glue Compressor
- trim and check stereo with Utility
- protect peaks with Limiter
- use parallel processing if you want more aggression without losing punch
- a specific Ableton device rack preset recipe
- a before/after checklist
- or a full DnB drum bus mastering chain for Live 12.
This is a mastering-style approach, which means we’re not destroying the break with wild distortion. We’re using saturation to bring out:
For DnB and jungle, this is especially useful because the Amen break often needs to sound raw and energetic while still leaving room for the bassline and sub.
---
2. What you will build
By the end, you’ll have a simple mastering chain for an Amen break bus in Ableton Live 12:
Suggested chain:
1. EQ Eight – cleanup and tone shaping
2. Saturator – main harmonic drive
3. Drum Buss – punch and glue
4. Glue Compressor – controlled cohesion
5. Utility – mono check / gain trim
6. Limiter – final safety ceiling
You’ll also learn how to:
---
3. Step-by-step walkthrough
Step 1: Prepare the Amen break properly
Before adding any saturation, make sure the break is cleanly organized.
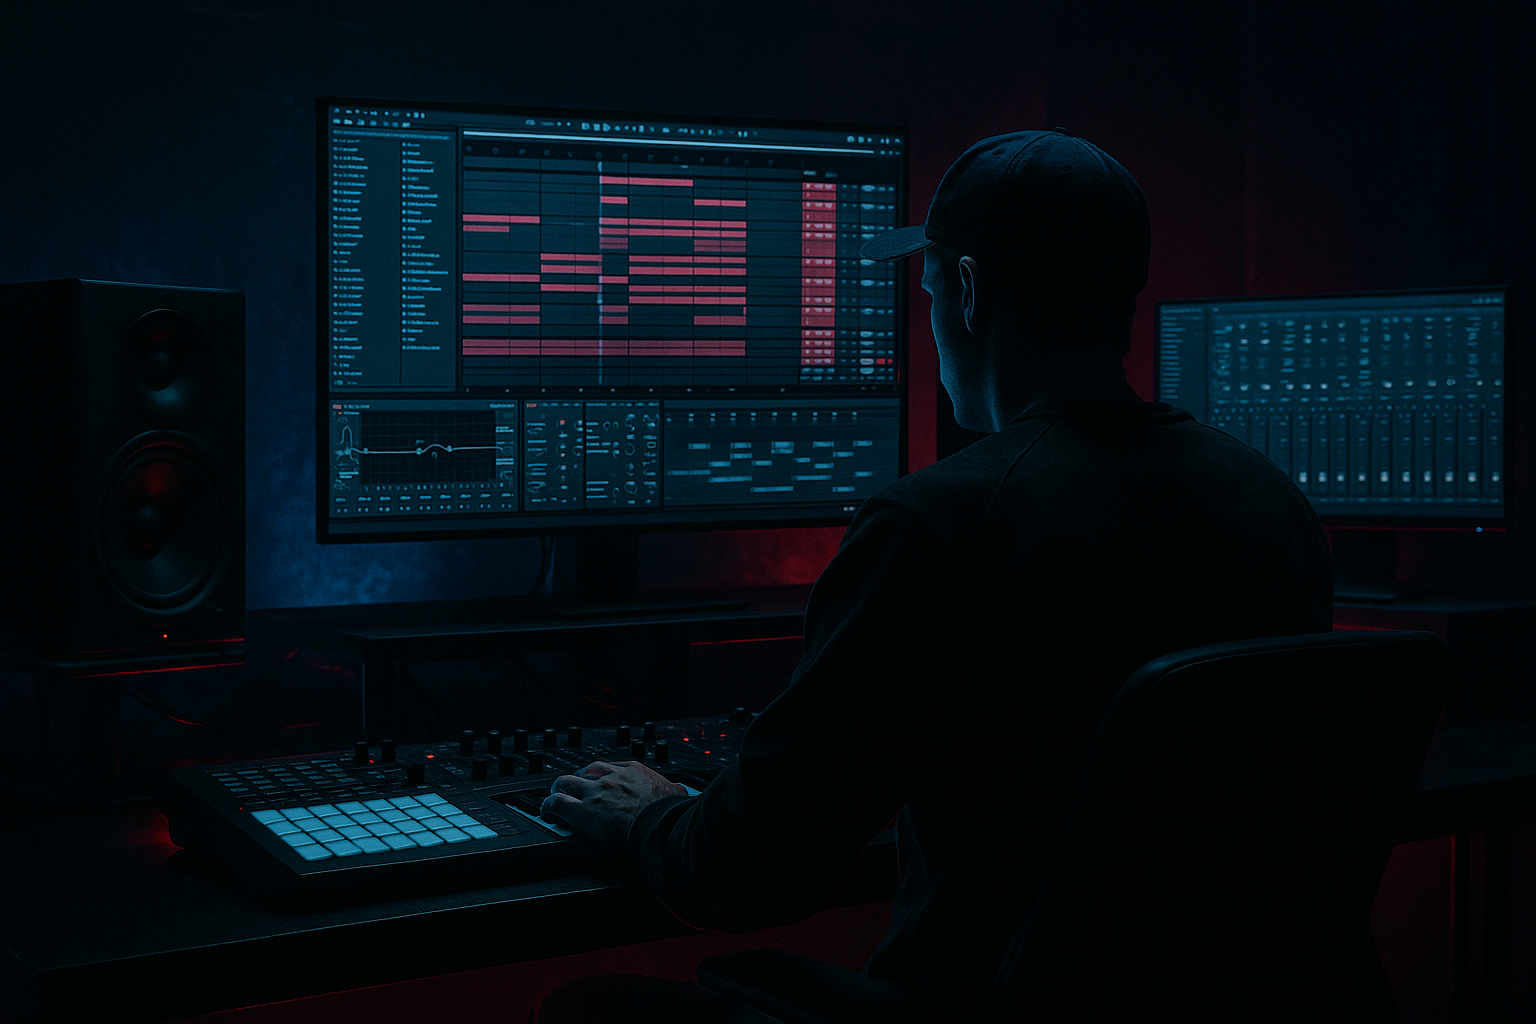
#### In Ableton Live:
1. Drag your Amen-style break sample into an audio track.
2. Right-click the clip and choose Warp if needed.
3. Make sure the break starts tightly on the grid.
4. If you’ve chopped the break into slices, route all slices to a drum bus.
#### Best practice:
✅ Goal: clean signal in, so the saturation behaves predictably.
---
Step 2: Add EQ Eight first
Put EQ Eight before saturation to remove unwanted rumble and harsh junk.
#### Suggested starting moves:
#### Example settings:
This makes the saturation more focused on the useful drum energy instead of sub-rumble and brittle hiss.
🎯 In DnB, cleaner low-end before saturation usually means harder-hitting drums after saturation.
---
Step 3: Add Saturator for the main grit
Now the fun part: add Saturator after EQ Eight.
Saturator is one of the best Ableton stock devices for this job because it gives you controlled harmonic density without completely wrecking the break.
#### Start with these settings:
#### Practical approach:
1. Turn the Drive up until the break starts sounding more urgent.
2. Toggle Bypass to compare.
3. Back off slightly if the snare loses punch or the hats become too fizzy.
4. Match the output level so the louder sound doesn’t trick your ears.
#### Good starting point for pirate-radio energy:
#### What to listen for:
⚠️ If the break starts sounding flat or “squashed,” reduce drive and let the next device do the heavy lifting.
---
Step 4: Add Drum Buss for extra attitude
Next, add Drum Buss after Saturator.
This device is brilliant for DnB because it adds:
#### Suggested starter settings:
#### Useful workflow:
For darker jungle, a touch of Crunch can give that ripped speaker / warehouse / pirate-transmission vibe 📻
---
Step 5: Glue Compressor for control, not punishment
Now add Glue Compressor to keep the break cohesive.
The goal here is not to crush the life out of it. You’re just tightening the groove.
#### Suggested starting settings:
#### Why this matters in DnB:
Amen breaks are fast and complex. A little compression helps the kick/snare/hat relationship feel like one aggressive loop instead of separate pieces.
#### Listen for:
If the break starts losing its “shuffle,” lower the compression amount.
---
Step 6: Add Utility for level control and mono checking
Place Utility after the dynamics processing.
#### Use it for:
#### Helpful settings:
This is especially helpful in drum and bass, where the mix often needs to survive club systems, headphones, radio streams, and compressed playback.
---
Step 7: Add a Limiter as a safety net
Finish with Limiter.
This should not be doing major heavy lifting unless you intentionally want a crushed sound. It’s mainly there to catch peaks.
#### Suggested settings:
If your break is hitting too hard into the limiter, go back and reduce the Saturator or Drum Buss drive.
---
Step 8: Optional parallel saturation for more energy
If you want even more pirate-radio intensity without destroying the dry break, use parallel processing.
#### How to do it in Ableton:
1. Group your break into an Audio Effect Rack
2. Create two chains:
- Dry chain
- Saturated chain
3. On the saturated chain, add:
- EQ Eight
- Saturator
- Drum Buss
4. Blend the saturated chain underneath the dry chain
#### Suggested blend:
This is a great beginner-friendly way to keep the original transient punch while adding grime and weight underneath.
---
Step 9: Match the sound to the arrangement
A saturated break doesn’t live in isolation. In DnB, it has to work with:
#### Arrangement idea:
For example:
This creates energy movement without changing the actual drum pattern.
---
4. Common mistakes
1. Over-saturating the snare
If the snare gets papery or loses its crack, you’ve pushed too far.
Fix: reduce drive or use parallel saturation instead.
---
2. Forgetting to level-match
A louder sound almost always seems better.
Fix: use Saturator output and Utility gain to compare fairly with bypass.
---
3. Distorting the sub-rumble
Amen-style breaks often contain low-end junk that gets ugly when saturated.
Fix: use EQ Eight first to high-pass around 25–35 Hz.
---
4. Crushing the transients
Too much compression after saturation can flatten the break.
Fix: reduce Glue Compressor gain reduction and back off Drum Buss Drive.
---
5. Making the hats too harsh
Saturation can turn top-end detail into fizzy noise.
Fix: soften with EQ Eight or reduce high-frequency emphasis.
---
6. Putting saturation on the master instead of the drum bus
Beginners often try to “fix” energy at the master stage.
Fix: process the break bus or drum group first. Mastering-style processing should refine, not rescue.
---
5. Pro tips for darker/heavier DnB
Tip 1: Drive the mids, not the sub
For darker jungle and modern DnB, you want the break to feel aggressive in the midrange, not bloated in the low end.
Use:
---
Tip 2: Use Soft Clip for a more “finished” smack
Saturator’s Soft Clip is great when you want harder apparent loudness without harsh digital clipping.
This works especially well on:
---
Tip 3: Automate saturation for drop impact
Increase drive by a small amount right before or in the drop:
That extra push can make the drop feel much more explosive.
---
Tip 4: Combine with subtle room ambience
A tiny bit of short ambience can make a saturated break feel like it’s being blasted through an old pirate radio chain.
Try:
Be careful: too much reverb will blur the break.
---
Tip 5: Check against the bassline
In dark DnB, the bass is often huge. Make sure the saturated break still cuts through.
A good test:
If the bass masks the break, your saturation may need more midrange emphasis or less low-end bloom.
---
6. Mini practice exercise
Exercise: Build a pirate-radio Amen bus in 10 minutes
#### Step A
Load an Amen break into an audio track and loop 2 bars.
#### Step B
Create this chain:
1. EQ Eight
2. Saturator
3. Drum Buss
4. Glue Compressor
5. Utility
6. Limiter
#### Step C
Use these starter settings:
#### Step D
Listen and adjust:
#### Step E
Duplicate the chain into a parallel Audio Effect Rack and blend the saturated version under the dry one.
✅ Goal: make the break sound like it could sit in a dark jungle drop with a reese bass and still cut through.
---
7. Recap
To saturate an Amen-style breakbeat for pirate-radio energy in Ableton Live 12:
The big idea:
You’re not just making the break louder — you’re making it feel more urgent, raw, and present in a drum and bass mix.
If done right, your Amen will sound like it’s been pushed through a worn-in sound system at 170 BPM, with enough edge to carry a dark roll, a jungle drop, or a pirate-radio rinse-out 🔥🥁
If you want, I can also give you:

