Main tutorial
```markdown
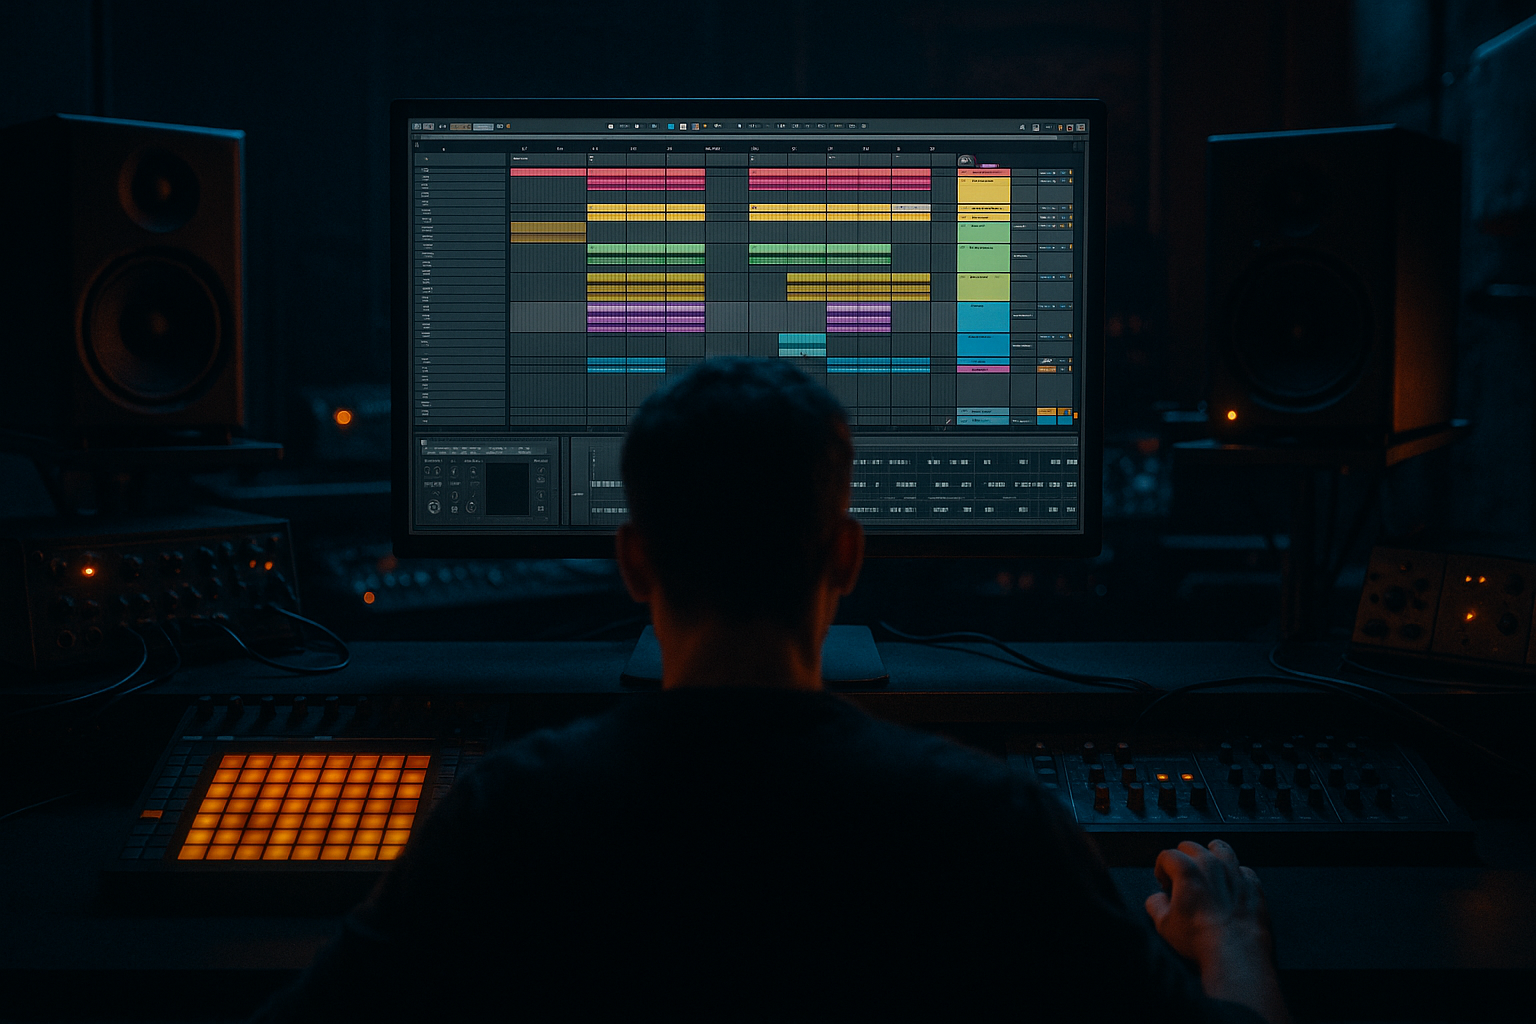
Saturate an Amen-Style Pad with Modern Punch + Vintage Soul (Ableton Live 12) 🔥🥁
Skill level: Intermediate
Category: Sampling (DnB/Jungle)
---
1. Lesson overview
You’re going to take an Amen-style pad (think: stretched/washed Amen ambience, room tail, ghostly cymbal haze) and make it hit with modern DnB punch while keeping that vintage jungle soul.
Key goals:
- Make the pad feel alive and rhythmic, not static
- Add harmonics + grit without turning it into harsh noise
- Control dynamics so it sits under drums/bass in a rolling mix
- Create movement with sidechain, filtering, and modulation 🎛️
- Adds tape-ish warmth + transient bite
- Emphasizes the “Amen character” (snare/cymbal textures)
- Pumps musically with your kick/snare (or full drum bus)
- Has a macro-controlled “Soul ↔ Punch” vibe
- Start from a classic Amen break sample (or any crunchy break)
- Create the pad by stretching + smoothing + filtering
- Formants: 0 to +20 (try +10 for “aged” tone)
- Envelope: 90–130 (higher = smoother, less grain)
- Fade-in: 10–50 ms (avoid click)
- Fade-out: 100–400 ms
- Loop a stable section (often cymbal wash + room tail)
- Gain stage so peaks sit around -12 to -9 dB (gives headroom for saturation)
- Start from something subtle like a mild saturation preset, then tweak:
- Sidechain: Drum Group
- Ratio: 4:1
- Attack: 1–3 ms
- Release: 80–160 ms (match groove)
- Threshold: adjust for 3–6 dB gain reduction on hits
- Mode: Chorus
- Amount: 10–25%
- Rate: 0.10–0.30 Hz
- Width: 120–160%
- Mix: 10–20%
- Algorithm: Plate or Room
- Decay: 0.8–1.8 s
- Pre-delay: 10–25 ms
- Hi Cut: 6–10 kHz
- Mix: 6–15%
- Intro: filtered, wide, more “Soul,” less “Punch”
- Pre-drop: automate cutoff up + increase Pump slightly
- Drop: reduce width a touch, increase Punch, tighten reverb
- Breakdown: resample the pad, reverse sections, add vinyl-ish noise
- Auto Filter cutoff (open 2–8 bars)
- Roar drive (tiny bumps on phrase ends)
- Sidechain threshold (more ducking in denser drum sections)
- Resample 8 bars of the processed pad
- Slice to Simpler → Slice Mode (Transient)
- Trigger little stabs/rises that still sound “break-derived”
- Over-saturating before EQ: you’ll distort mud. High-pass first.
- Too much width: wide pads can wreck mono compatibility and smear drums.
- Sidechain too slow: if release is too long, your pad never recovers and feels lifeless.
- Reverb too long/bright: it fights hats and makes your break feel less punchy.
- No gain staging: distortion chains amplify fast—keep levels matched while A/B’ing.
- Band-split distortion:
- Make it “foggy” without mud:
- Aggressive movement:
- Clip the pad bus gently:
- Build the pad from an Amen using warp/stretch and commit it (Freeze/Flatten).
- EQ first to keep saturation focused on the character frequencies.
- Use Saturator for warmth, Roar for modern edge, Drum Buss for punch.
- Add sidechain so it breathes with the break like a real DnB record.
- Control vibe with macros + automation, then resample for jungle-style creativity.
---
2. What you will build
A rack-based chain for an Amen pad that:
End result: a pad that feels like old break DNA living inside a modern neuro/roller mix.
---
3. Step-by-step walkthrough
Step 0 — Pick the right source (matters more than people think)
You want an “Amen pad,” not a clean synth pad:
Two good ways:
1) Simpler (quick + controllable)
2) Audio warp + resample (more organic artifacts)
Workflow recommendation (fast + DnB-friendly):
1. Drop your Amen break into an Audio Track
2. Warp mode: Complex Pro
3. Set tempo to your project (e.g., 172 BPM)
4. Stretch the break 4–16x (so 1 bar becomes 4–16 bars)
Complex Pro settings (starting point):
Now Freeze → Flatten the warped audio so you commit the texture.
---
Step 1 — Build the pad layer in a clean “control lane”
Create a new Audio Track: AMEN PAD and put your flattened audio there.
Edit the sample so it works as a pad:
---
Step 2 — Base tone shaping (before saturation)
Put these devices first (in order):
1) EQ Eight
- HP filter: 24 dB/oct @ 120–180 Hz
- Gentle dip: -2 to -4 dB @ 250–400 Hz (reduces box)
- Optional shelf: +1 to +3 dB @ 8–12 kHz if it’s dull
2) Auto Filter
- Mode: LP 12 dB
- Cutoff: start around 6–10 kHz
- Drive: 2–6 dB (subtle pre-grit)
- Add movement:
- LFO Amount: 5–15%
- Rate: 1/8 or 1/4 (sync)
- Phase: 0° for tight rhythmic wobble
This gives that “breathing break haze” 🌫️
---
Step 3 — Saturation chain: modern punch + vintage soul
Here’s a practical chain that works brilliantly in DnB:
#### Device Chain (in order)
1) Saturator (vintage harmonic glue)
- Mode: Analog Clip
- Drive: 2–6 dB
- Soft Clip: ON
- Output: pull down to match loudness (A/B properly!)
- Optional: turn on Color and set around +0.5 to +2.0 for brightness
2) Roar (modern bite + controllable dirt) 😈
Roar is perfect for giving that “new-school push” while staying musical.
Starting preset approach:
- Type: Warm / Tube / Distort (choose by taste)
- Drive: 5–20% (don’t overdo yet)
- Tone / Filter: keep lows clean (HP around 150 Hz)
- Dynamics / Envelope follower (if used): set it so transients push the drive slightly
Key trick:
Use Roar’s filtering so the distortion focuses on mids/highs—that’s where the Amen “identity” lives.
3) Drum Buss (punch + compression glue)
- Drive: 3–10%
- Crunch: 0–20% (tiny amounts go far)
- Transients: +5 to +20 (this is your “modern snap” knob)
- Boom: OFF (pads don’t need it—your sub does)
- Damp: 5–20% if top gets fizzy
4) Glue Compressor (control + vibe)
- Attack: 10 ms
- Release: Auto (or 0.3s)
- Ratio: 2:1
- Aim for 1–3 dB GR max
- Soft Clip: ON (subtle)
✅ At this point your pad should feel harmonically richer, slightly “bitten,” and more forward—without eating the mix.
---
Step 4 — Make it pump like a DnB record (sidechain)
Pads in DnB need to move around the drums.
Add:
Compressor (Ableton stock) after Glue, set to sidechain from your Drum Bus (or kick+snare group).
Settings (clean and effective):
If it feels too obvious, raise attack to 5–10 ms for more “breathing” instead of hard ducking.
---
Step 5 — Add stereo “soul” without losing mono power
Use:
Chorus-Ensemble or Hybrid Reverb (subtle room/plate)
Option A: Chorus-Ensemble (classic pad widen)
Option B: Hybrid Reverb (jungle space)
Keep it short—this is DnB, not ambient.
Pro move:
Put reverb on a Return track, then saturate the reverb return lightly with Saturator (1–2 dB) for a dusty tail ✨
---
Step 6 — Build a Macro Rack (so you can perform it)
Group your effects chain into an Audio Effect Rack and map macros:
Suggested macros:
1. Punch → Drum Buss Transients + a tiny Roar Drive
2. Soul → Saturator Drive + Reverb Send
3. Air → EQ high shelf + Auto Filter cutoff
4. Pump → Sidechain threshold
5. Width → Chorus mix/width
This is huge for arrangement—one knob can take you from “intro pad” to “drop energy.”
---
Step 7 — Arrangement ideas (DnB/jungle context) 🏁
Where this pad shines:
Automation lanes to write:
Resampling trick (classic jungle workflow):
---
4. Common mistakes
---
5. Pro tips for darker/heavier DnB 🖤
Duplicate the pad track:
- Track A: “Clean Low-Mids” (HP @ 150, LP @ 2–4k, light saturation)
- Track B: “Grit Air” (HP @ 2–4k, heavier Roar/Drum Buss)
Blend to taste.
Use EQ Eight to cut 200–350 Hz before driving saturation harder.
Put Auto Pan after saturation:
- Shape: Sine or Triangle
- Rate: 1/8
- Amount: 10–25%
- Phase: 0–30° (subtle rhythmic sway)
A final Saturator (Soft Clip on, Drive 1–2 dB) can keep it dense without peaks.
---
6. Mini practice exercise (15–25 minutes) ⏱️
1. Create an Amen pad by stretching a 1-bar Amen to 8 bars (Complex Pro).
2. Build this chain:
EQ Eight → Auto Filter → Saturator → Roar → Drum Buss → Glue → Sidechain Comp
3. Do a quick 32-bar arrangement:
- Bars 1–16: cutoff lower, more width, less punch
- Bars 17–24: automate cutoff open + increase Pump
- Bars 25–32 (drop): increase Punch, reduce reverb mix by ~30%
4. Resample 8 bars of the drop pad and reverse it into a riser for the next section.
Deliverable: bounce a 32-bar loop with drums + bass + the pad sitting cleanly underneath.
---
7. Recap ✅
If you want, tell me what subgenre you’re aiming for (roller, deep, jump-up, neuro, jungle) and what your drum pattern is like, and I’ll suggest a tighter set of exact values for your groove and mix.
```

