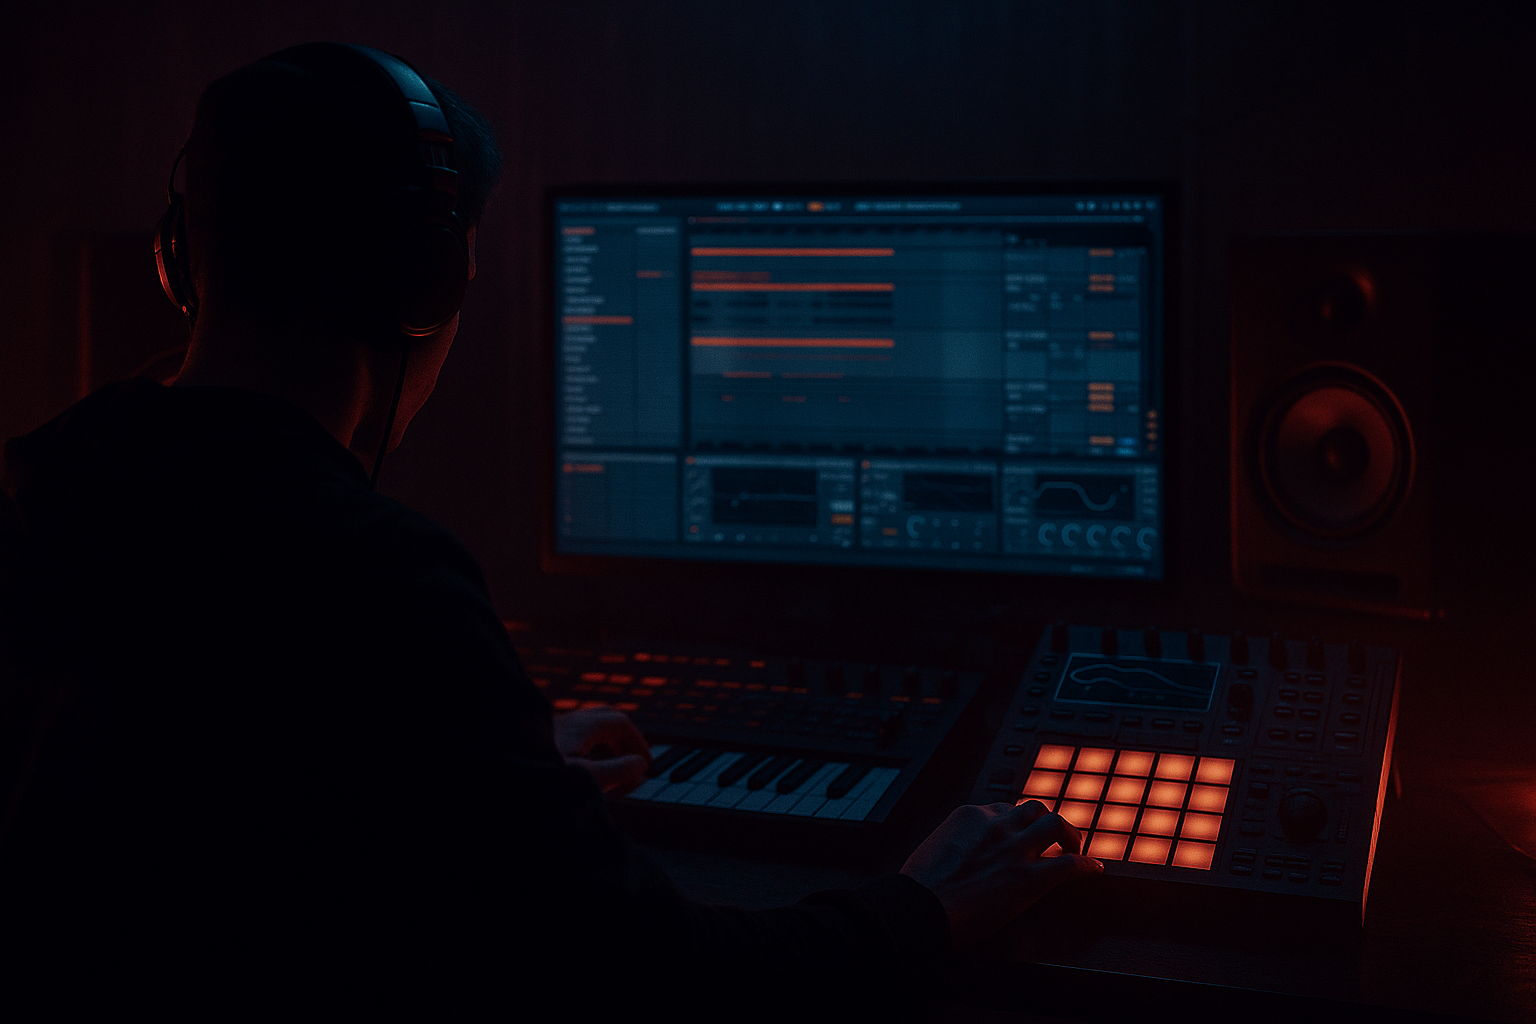
Main tutorial
Lesson Overview
In this lesson, you’ll learn how to saturate jungle impact by moving ideas from Session View into Arrangement View in Ableton Live 12, using resampling as the bridge between “idea mode” and “track mode.” The goal is not just to make things louder or dirtier — it’s to make your breaks, bass hits, and transition moments hit like a proper DnB drop: focused, gritty, and arranged with intent.
This technique matters because jungle and Drum & Bass often live or die on impact management. In a good roller, the drop doesn’t feel huge because everything is maxed out; it feels huge because the break edits, bass call-and-response, saturation, and arrangement tension are all doing their job. Session View is perfect for building loops and testing variations fast. Arrangement View is where you make those ideas land in time, shape the energy curve, and place impact exactly where the listener expects it — then surprise them anyway.
The core of this lesson:
- build a jungle loop in Session View
- resample key elements into a new audio track
- push that resampled material through Ableton stock saturation and transient tools
- drag the best moments into Arrangement View
- automate the impact so it feels like a real DnB arrangement, not a loop pasted into a timeline
- a chopped amen-style break with ghost-note movement and transient punch
- a sub + reese bass combo with tight mono low-end and controlled distortion
- a resampled impact layer made from your own session loop, then reprocessed for extra grit
- a rise into the drop and a switch-up at bar 5 or 7 for DJ-friendly momentum
- enough saturation and arrangement contrast to feel like a dark roller / jungle hybrid without smashing the mix
- Over-saturating the whole mix
- Letting the sub become stereo
- Resampling too early
- Using too much Boom on Drum Buss
- Ignoring arrangement contrast
- Crushing transient detail
- Resample your own distortion
- Use a fake-drop silence
- Stack a filtered reese under a clean sub
- Automate saturation, not just filter cutoff
- Print a drum fill as audio
- Keep the top end controlled
- Reference the groove, not just the tone
- Build the idea fast in Session View
- Use resampling to capture the best drum/bass moment
- Saturate the resampled audio for density and attitude
- Move it into Arrangement View to create real drop phrasing
- Use automation, mutes, and fills to make the impact hit harder
- Keep the sub mono, the drums punchy, and the top end controlled
By the end, you’ll have a repeatable workflow for turning a raw Session View jam into a saturated jungle drop section with weight, movement, and proper arrangement energy.
What You Will Build
You’ll build a short but powerful 8-bar jungle impact section that can sit inside a larger track as a drop or drop variation.
Musically, it will include:
Think: classic jungle pressure, modern DnB mix discipline, and a heavier “resample, re-cut, arrange” workflow that fits Ableton Live 12 really well.
Step-by-Step Walkthrough
1. Set up a 2-group Session View template for speed
Create two main groups in Session View:
- DRUMS: kick, snare, break loop, percussion
- BASS: sub, reese, texture/atmosphere
Add a return track for delay or reverb, but keep sends conservative. For this lesson, use mostly stock devices:
- Drum Buss
- Saturator
- Redux for lo-fi edge
- EQ Eight
- Glue Compressor
- Utility
- Auto Filter
- Corpus if you want extra resonance on a hit or bass layer
Why this works in DnB: building in groups forces you to think in drum/bass balance, which is the entire game in jungle and rollers. It also keeps Session View fast for auditioning loop variations before committing to Arrangement.
2. Build a tight jungle foundation in Session View
Start with an 8-bar clip on your main break track. Use a classic break chop workflow:
- Slice a break to a Drum Rack
- Keep the original groove, but add ghost notes and selective mutes
- Layer a clean snare or clap under the break if needed
Good starting points:
- Drum Buss: Drive around 10–25%, Boom around 0–15%, keep it subtle if your break already has weight
- EQ Eight: high-pass the break lightly around 30–40 Hz to clean useless sub-rumble
- Saturator: Drive around 2–6 dB with soft clip on, if the break feels too polite
For the bass, create:
- a sub track with Operator or Wavetable, sine-based, mono
- a reese layer with detune/unison and a low-pass filter
Starting bass settings:
- Sub: pure sine, octave down if needed, Utility width at 0%
- Reese: mild detune, Auto Filter low-pass around 120–300 Hz, slight envelope movement
- Keep the sub clean and let the reese provide character above it
Use a simple call-and-response pattern: let the break answer the bass, then let the bass answer the snare. That conversational phrasing is very DnB.
3. Create a “session jam” version before resampling
Before recording anything, play the loop in Session View and make one or two variations:
- Variation A: full break + bass
- Variation B: break with a small fill or mute, bass slightly rephrased
- Variation C: a stripped tension version with no kick or with filtered bass
This gives you contrast when you later build the arrangement. Don’t over-write it yet — you want options.
Suggested workflow:
- Launch clips in Scene 1 for the main groove
- Scene 2: remove one element, like the kick or a bass stab
- Scene 3: add a fill, reverse crash, or filtered break
- Scene 4: tension-only version with FX and sparse drums
This is important because arrangement in DnB is often about energy management across 2, 4, and 8-bar phrases, not just writing more notes.
4. Resample the best moment to a new audio track
Create a new audio track called RESAMPLE IMPACT. Set its input to:
- Resampling, or
- the relevant group/bus if you want to capture only drums or only bass
Arm the track and record 4–8 bars of your strongest Session View combo.
What to capture:
- a break section with strong transient motion
- a bass hit or phrase that already has attitude
- any filter movement or automation that creates a natural rise
Then stop recording and audition the resulting audio clip. This gives you a single performance print that already contains:
- groove timing
- saturation interaction
- compression behavior
- musical movement
Why this works in DnB: resampling lets you freeze a good moment of pressure. Instead of endlessly tweaking individual channels, you create a new sound object that can be cut, warped, flipped, and arranged like a proper impact layer.
5. Saturate the resampled audio for density, not just loudness
Take the resampled clip and process it as a new impact layer. Add:
- Saturator
- Drum Buss
- EQ Eight
- optional Redux for grime
Try this processing chain:
- EQ Eight first: remove excessive sub-rumble below 25–35 Hz
- Saturator: Drive 3–8 dB, soft clip on if needed
- Drum Buss: Transients around 5–20, Drive around 10–30, keep Boom careful
- Redux: only if you want crunchy top-edge, reduce bit depth subtly rather than destroying the whole signal
Two useful saturation strategies:
- If the resample feels flat: push Saturator Drive to 5–7 dB and trim output gain
- If the impact is too spiky: use Drum Buss Transients down a little and add gentle saturation instead
Add Utility after the processing to control level and mono-check the low end. Keep the resampled layer more like attitude and glue than your actual sub foundation.
6. Cut the resample into arrangement-ready impact phrases
Drag the resampled audio into Arrangement View. Now turn the single print into a usable DnB phrase.
Make 3 arrangement roles from the same audio:
- Intro tension hit: filtered and quieter
- Drop impact: full-spectrum, saturated version
- Switch-up fill: shortened chop or reverse-tail version
Practical arrangement idea:
- Bars 1–2: filtered break + bass tease
- Bars 3–4: full drum/bass drop
- Bar 5: cut to a half-bar gap or a bass mute
- Bars 6–8: reintroduce with variation and a fill into the next phrase
Use warping only as needed. If the clip already grooves, don’t over-correct it. Instead:
- slice on transients
- duplicate the most impactful hit
- reverse a tiny tail for a transition
- leave space before the biggest snare for more punch
This is a classic DnB arrangement move: the impact feels heavier when the listener gets a small pocket of silence or subtraction right before the hit.
7. Automate filters and saturation to shape the drop energy
Now make the arrangement breathe. On the bass or resample layers, automate:
- Auto Filter cutoff for tension and release
- Saturator Drive for the drop opening and switch-up
- Utility gain for pre-drop dips or fill-out moments
- Reverb send only on short fills, not the whole drop
Good automation ranges:
- Auto Filter cutoff sweep from 200 Hz up to 8–12 kHz
- Saturator Drive lift of 1–3 dB into a drop
- Utility gain dip of -3 to -6 dB for a pre-drop fakeout, then slam back in
A strong DnB trick: automate the reese to open slightly on the second bar of a phrase, while the break stays comparatively stable. That creates a sense of widening pressure without wrecking low-end focus.
8. Shape the drum/bass bus for a unified impact
Route drums and bass to their own buses if you haven’t already, then add restrained bus processing.
On the DRUM BUS:
- Glue Compressor: aim for 1–2 dB of gain reduction on peaks
- Drum Buss: keep it moderate; use it to add punch, not crush the break
- EQ Eight: tame harsh upper mids if the break bites too hard around 3–6 kHz
On the BASS BUS:
- Utility: keep the low end centered; width at 0% on sub elements
- Saturator: light harmonic enhancement, especially above the sub
- Auto Filter: automate for arrangement movement rather than constant sweeping
If the drop is feeling weak, check the relationship between kick/snare and sub, not just the saturation amount. In darker DnB, impact often comes from clarity plus density, not maximum distortion.
Common Mistakes
- Fix: saturate the resampled layer or specific bus, not every track. Keep the sub cleaner than the mid-bass.
- Fix: use Utility to keep sub elements mono. Check width often.
- Fix: first make sure the Session View groove feels good on its own. If the loop isn’t working, the resample won’t save it.
- Fix: in jungle, extra low-end enhancement can muddy fast breaks. Use subtle settings and check against the sub.
- Fix: a full-on loop repeated for 8 bars gets stale fast. Drop energy should shift with mutes, fills, filter opens, or bass rephrases.
- Fix: if the break loses snap, back off compression or saturation and recover attack with Drum Buss Transients or gentler gain staging.
Pro Tips for Darker / Heavier DnB
- Record the break and bass after your saturation chain, then slice that audio into new hits. This creates a more unified, “already cooked” jungle texture.
- Pull everything down for a half-bar before the main hit. In DnB, even a tiny gap can make the next snare feel enormous.
- Keep the sub simple, then use the reese for movement above it. This preserves club translation while giving the drop attitude.
- Opening the drive slightly into the drop can feel more aggressive than filter movement alone.
- If a fill works, resample it and arrange it as a one-shot phrase. Audio editing is often faster and tighter than MIDI for jungle edits.
- Darker DnB doesn’t mean harsh DnB. If the break starts tearing too much, use EQ Eight to tame the nasty zone around 4–8 kHz rather than killing the whole sheen.
- A saturated jungle impact should still dance. If it’s heavy but stiff, reduce processing and restore swing, micro-mutes, or ghost hits.
Mini Practice Exercise
Spend 10–20 minutes creating a mini drop section using this workflow:
1. Build a 2-bar Session View loop with:
- one chopped break
- one sub
- one reese layer
2. Jam three variations:
- full groove
- stripped groove
- fill version
3. Resample the best 4 bars onto a new audio track.
4. Apply:
- EQ Eight high-pass around 30 Hz
- Saturator with 3–6 dB Drive
- Drum Buss with moderate Transients and Drive
5. Drag the best resampled phrase into Arrangement View.
6. Make an 8-bar structure:
- bars 1–2 tension
- bars 3–4 drop
- bar 5 switch-up
- bars 6–8 repeat with a variation
7. Add one automation move:
- filter sweep
- saturation drive lift
- or a gain dip before the hit
Goal: by the end, you should have a short DnB impact section that feels arranged, not looped.
Recap
If you can turn one good Session View loop into a saturated, arranged jungle impact, you’ve got a powerful Ableton Live 12 workflow for finishing darker DnB tracks with speed and intention.

