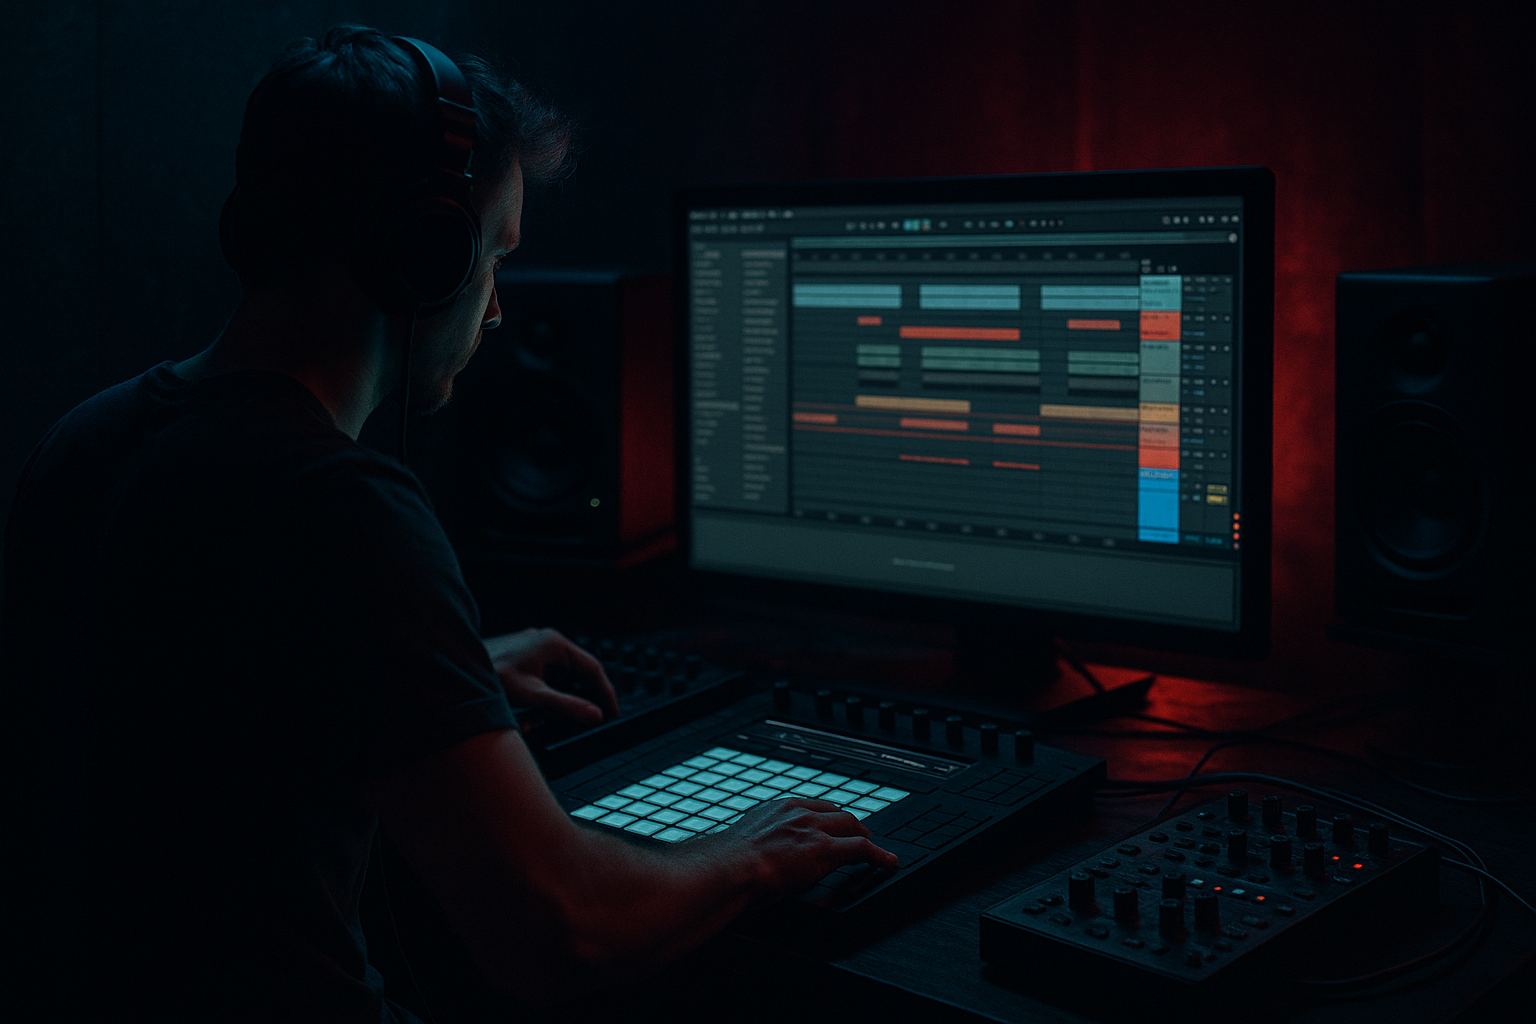
DNB COLLEGE

AI Drum & Bass Ableton Tutorials

LESSON DETAIL

Saving break racks: using Arrangement View (Beginner)

An AI-generated beginner Ableton lesson focused on Saving break racks: using Arrangement View in the Workflow area of drum and bass production.

Free plan: 0 of 1 lesson views left today. Premium unlocks unlimited access.

Saving break racks: using Arrangement View (Beginner) cover image

Narrated lesson audio

The voice track includes the tutorial plus extra teacher commentary.

Open audio file

Main tutorial

```markdown

Saving Break Racks (Arrangement View) — Drum & Bass Workflow in Ableton Live 🥁⚡

1) Lesson overview

In DnB/jungle, your break workflow needs to be fast, repeatable, and recallable. This lesson shows you how to:

  • Build a break “rack” (a reusable chain of slicing + processing)
  • Perform edits in Arrangement View
  • Save it properly so you can drop it into any project and instantly start writing rolling drum patterns
  • We’ll focus on a classic DnB approach: slice a break, process it, arrange variations, then save as a reusable preset.

    ---

    2) What you will build

    You’ll create a Break Rack that includes:

  • Drum Rack with your break sliced to pads (kick/snare/ghosts/etc.)
  • Processing chain tuned for DnB:
  • - `EQ Eight` (cleanup + push snap)

    - `Glue Compressor` (gel + punch)

    - `Saturator` (harmonics)

    - `Drum Buss` (weight + transient control)

    - Optional: `Redux` (bitty jungle edge), `Auto Filter` (movement)

  • Arrangement View structure:
  • - 8-bar “main loop”

    - 8-bar “variation”

    - 1-bar fills

  • A saved preset you can load in future tracks in seconds ✅
  • ---

    3) Step-by-step walkthrough

    Step 1 — Prep your project for DnB speed 🎛️

    1. Set tempo to 172–176 BPM (try 174 BPM).

    2. Turn on the metronome and set a 1 or 2 bar count-in if you record.

    3. In Arrangement View, create a MIDI track named:

    `BREAK RACK - AMEN STYLE` (or whatever break you’re using).

    Why Arrangement View?

    Because DnB needs longer phrasing (8/16 bars), fills, drops, and transitions—Arrangement is where your drums become a track, not a loop.

    ---

    Step 2 — Get a break and slice it to a Drum Rack ✂️

    1. Drag a breakbeat audio file (Amen, Think, Hot Pants, etc.) into an Audio Track.

    2. Warp it:

    - Enable Warp

    - Set Seg. BPM if needed so it locks to your project tempo.

    - For breaks, start with Warp Mode: Beats

    - Preserve: Transients

    - Set Transient Loop Mode to Forward

    3. Right-click the audio clip → Slice to New MIDI Track…

    4. Settings (great starting point):

    - Slice By: Transients

    - Create one slice per: Transient

    - Slicing Preset: Built-inSlice to Drum Rack (or “Warped” versions depending on Live)

    Ableton creates:

  • A new MIDI track with a Drum Rack
  • Each slice mapped to pads (C1 upward)
  • Tip: Rename the new track to something reusable like:

    `BreakRack_Amen_174_Punchy`

    ---

    Step 3 — Clean up the slices so they behave like a pro rack 🧼

    Open the Drum Rack and do these quick checks:

    1. Gain staging

    - Play the pattern and ensure the Drum Rack output peaks around -10 to -6 dB (you want headroom for bass).

    2. Choke groups (optional but useful)

    - For hats/ride slices, set them to the same Choke Group so they don’t overlap unnaturally.

    - In each Simpler pad: look for Choke (or use Drum Rack choke settings depending on version).

    3. Simpler mode

    - In each pad’s Simpler: use One-Shot mode for classic break slicing behavior.

    4. Tighten tails

    - If slices ring out, reduce Decay or adjust sample end points slightly.

    ---

    Step 4 — Build a DnB break processing chain (rack level) 🔥

    On the Drum Rack track (not per-pad yet), add this device chain in order:

    1. EQ Eight

    - HP filter: 24 dB/oct at 25–35 Hz (remove sub rumble)

    - Small cut: 200–350 Hz if boxy (-2 to -4 dB, medium Q)

    - Presence: 3–6 kHz gentle boost (+1 to +2 dB) if needed

    2. Glue Compressor

    - Attack: 3 ms

    - Release: Auto (or 0.3s if you want consistent bounce)

    - Ratio: 4:1

    - Threshold: aim for 1–3 dB of gain reduction on peaks

    - Turn on Soft Clip (this is huge for DnB drum control)

    3. Saturator

    - Mode: Analog Clip

    - Drive: 2–6 dB (don’t overcook)

    - Output: match level (avoid “louder = better” bias)

    4. Drum Buss

    - Drive: 5–15%

    - Crunch: 0–10% (optional)

    - Boom: 0–20% (careful—breaks can get tubby)

    - Transients: +5 to +20 for snap (depends on break)

    5. Optional Transient movement

    - Auto Filter with subtle LFO on cutoff for 8–16 bar evolution:

    - Filter: LP 12

    - LFO Amount: 5–10%

    - Rate: 1/8 or 1/4 (very subtle)

    Goal: Make the break sound tight, punchy, and controlled, not “smashed.”

    ---

    Step 5 — Make it musical in Arrangement View (the DnB part) 🧱

    Now you’ll write an arrangement-friendly drum foundation.

    1. Create a MIDI clip in Arrangement View:

    - Length: 8 bars

    - Double-click the track lane to insert a clip

    2. Program a base pattern:

    - Place your main snare on beats 2 and 4

    - Place a kick on 1 and add a second kick before/after the snare depending on vibe

    - Add ghost notes from your sliced pads (tiny hits between snares)

    Classic rolling suggestion (starting point):

  • Bar loop: keep snare on 2 & 4
  • Add small ghost hits at 1.3, 2.2, 3.3, 4.2 (approx feel—use your ear)
  • 3. Duplicate the clip to 16 bars

    4. Create variation clips:

    - Bars 1–8: main groove

    - Bars 9–16: variation (swap a couple kick slices, add an extra ghost, or a hat push)

    5. Add fills:

    - At bar 16, add a 1-bar fill: rapid snare slices or a classic “Amen turnaround”

    - Use MIDI velocity to shape dynamics (DnB breaks live on velocity)

    Arrangement idea (simple but effective):

  • 1–9: filtered break (Auto Filter cutoff low)
  • 9–17: full break + extra top loop
  • 17–33: drop (full energy)
  • 33–41: variation + fill into next section
  • ---

    Step 6 — Save the Break Rack properly (so it’s reusable) 💾

    This is the workflow win.

    #### Option A: Save the entire track as a preset (best for “drop-in ready”)

    1. Select the whole track (track header).

    2. Press Cmd/Ctrl + G (Group Tracks) only if you want it as a group with returns, etc.

    - If not grouping, skip this.

    3. In the Browser, go to:

    - User Library → Presets → Audio Effects Rack or Instrument Rack

    4. Drag the Drum Rack device (or the whole chain) into the User Library.

    5. Name it clearly:

    - `BreakRack_Amen_174_GlueDrumBuss_v1`

    Tip: Put tempo/style in the name (174, 170, halftime, etc.).

    #### Option B: Save just the Drum Rack (most common)

    1. Click the Drum Rack title bar (so it’s selected).

    2. Hit the save icon (disk) on the device (top-right of device title bar).

    3. Save into:

    - User Library → Presets → Instruments → Drum Rack

    4. Name it:

    - `Amen_Sliced_Tight_Punchy`

    #### Option C: Save an Arrangement “template” (for full song workflow)

    If you want the arrangement blocks + automation + structure saved:

    1. Clean your project (remove unused clips).

    2. File → Save Live Set as Template…

    3. Name it:

    - `DnB_BreakRack_Arrangement_Template_174`

    This is killer for consistent output: every new tune starts with your break rig ready.

    ---

    4) Common mistakes 🚫

  • Warping wrong: If the break sounds flammy, your warp markers/transient settings are off. Fix warp before slicing.
  • Too much compression: If your break loses punch, back off Glue threshold or lower Saturator drive.
  • No headroom: DnB needs space for sub. Don’t run your break at -1 dB.
  • Saving without samples: If you move projects between computers, you can lose break samples. Use Collect All and Save (File menu) for portability.
  • One loop forever: DnB relies on micro-variation. Even small 1-bar fills keep energy alive.
  • ---

    5) Pro tips for darker/heavier DnB 🕶️

  • Parallel distortion (dirty weight without killing transients)
  • - Create a Return track (or Audio Effect Rack parallel chain) with:

    - `Saturator` (harder drive)

    - `EQ Eight` (band-limit to ~200 Hz–8 kHz)

    - Blend subtly under the clean break

  • Mid/side control
  • - On the break track: `EQ Eight` in M/S mode

    - Keep lows mono-ish (reduce Side below ~150 Hz)

    - Add slight side presence around 5–8 kHz if you want width (careful!)

  • Tighter “metallic” tops
  • - Add `Redux` very lightly (Downsample a touch) to bring jungle grit

  • Ghost notes = menace
  • - Lower velocities on ghosts (like 10–40) and push timing slightly late for swagger

  • Resample for commitment
  • - Once your rack is working, resample an 8–16 bar drum print and re-chop it for brutal, cohesive drums.

    ---

    6) Mini practice exercise 🎯

    Do this in 15–20 minutes:

    1. Slice one break to Drum Rack.

    2. Build the processing chain:

    - EQ Eight → Glue → Saturator → Drum Buss

    3. In Arrangement View:

    - Write 8 bars main

    - Duplicate to 16 bars

    - Add a 1 bar fill at bar 16

    4. Save it:

    - Save Drum Rack preset to User Library

    - Save the Live Set as: `BreakRack_Practice_174.als`

    Bonus: Create a second version:

  • `BreakRack_Amen_Darker_v2` with more saturation + slight low-mid cut.
  • ---

    7) Recap ✅

  • You sliced a break into a Drum Rack, tuned the slices, and added a DnB-ready processing chain.
  • You used Arrangement View to create phrasing, variation, and fills—the real difference between a loop and a tune.
  • You saved your setup as a reusable Break Rack preset (and optionally a template), so future projects start fast.

If you want, tell me which break you’re using (Amen/Think/other) and your target sub style (rollers, jump-up, jungle, halftime), and I’ll suggest a tailored rack chain and 16-bar arrangement blueprint. 🥁

```

Ask GPT about this lesson

Chat with the lesson tutor, get follow-up help, or use quick actions.

Bigup 👽 Ask me anything about this lesson and I’ll answer in context.

Narration script

Show spoken script
Saving break racks using Arrangement View, beginner Ableton Live lesson. Drum and bass workflow.

Alright, let’s build something you can reuse forever: a break rack that loads fast, sounds like DnB, and already behaves like a real track in Arrangement View, not just a four-bar loop.

The big idea is simple. In drum and bass and jungle, you don’t want to reinvent your break setup every session. You want a repeatable system: slice a break, process it, arrange variations over 8 to 16 bars, then save it properly so next time you’re writing instantly.

Before we touch anything, here’s what we’re making.
A Drum Rack built from a sliced break, a solid DnB processing chain on the rack, a little arrangement structure with a main loop, a variation, and at least one fill, and then we’ll save it at the right “level of done” so it recalls exactly how you want.

Step one: prep the project for DnB speed.
Set your tempo somewhere around 172 to 176 BPM. I’ll pick 174. Turn on the metronome. If you like recording, set a one or two bar count-in.

Now switch your brain into Arrangement View mode. This matters because DnB is about phrasing: 8-bar questions and answers, 16-bar momentum, fills into drops. Session View is great for jamming, but Arrangement View is where a loop becomes a tune.

Create a new MIDI track and name it something obvious and reusable, like “BREAK RACK – AMEN STYLE” or “BREAK RACK – THINK.” Naming now saves you later.

Step two: grab a break and slice it to Drum Rack.
Drag your breakbeat audio file into an audio track. Amen, Think, Hot Pants, whatever you’ve got.

Now warp it. Turn Warp on. Make sure the clip actually locks to your grid at your project tempo. If it sounds kind of flammed, messy, or like the hits are smearing against the metronome, don’t ignore it. Fix the warp now, because slicing a poorly warped break just bakes in chaos.

For breaks, start with Warp Mode set to Beats. Preserve Transients. And set Transient Loop Mode to Forward. That usually keeps the bite of the hits.

Once it’s tight, right-click the audio clip and choose “Slice to New MIDI Track.”
For slicing settings, choose Slice By Transients, one slice per transient, and choose the slicing preset that slices to Drum Rack. Ableton will generate a new MIDI track with a Drum Rack where each slice is mapped across pads starting at C1.

Rename that new track with something you’ll actually recognize later. A good starter name could be “BreakRack_Amen_174_Punchy.”

Quick teacher note: this is where a lot of beginners stop and just start clicking notes. But the magic is making this rack behave consistently and saving it in a way that future you can actually find.

Step three: clean up the slices so it plays like a pro rack.
Open the Drum Rack.

First, gain staging. Play a basic pattern or just trigger some hits. Aim for the rack output peaking around minus 10 to minus 6 dB. In DnB, you need headroom because the sub is going to be huge. If you build your drums already smashing the meter, the mix will fight you all day.

Next, choke groups, optional but really useful. If you have hat or ride-like slices that overlap in a weird way, put them in the same choke group so one cuts the other off, like a real closed hat behavior. The goal is to avoid that unrealistic wash where everything rings over itself.

Then check Simpler playback behavior. For classic break slicing, One-Shot mode is usually what you want, because each slice acts like a drum hit.

And tighten tails. If some slices have long ringing endings, shorten the decay, or trim the end point slightly. Breaks can get messy fast, and the cleaner your tails, the easier it is to compress without turning the whole thing into a constant hiss.

Step four: build the DnB processing chain on the rack track.
Important: put these devices on the Drum Rack track itself, not on each pad. We want a consistent “break bus” sound that glues everything together.

Start with EQ Eight.
Add a high-pass filter, 24 dB per octave, somewhere around 25 to 35 Hz to clear sub rumble. If it’s boxy, do a small cut around 200 to 350 Hz, maybe 2 to 4 dB. And if you need a bit of snap, a gentle lift around 3 to 6 kHz can help. Keep it subtle. We’re shaping, not destroying.

Next, Glue Compressor.
Set attack to 3 milliseconds, release to Auto, ratio 4 to 1. Lower the threshold until you see around 1 to 3 dB of gain reduction on the peaks. Then enable Soft Clip. That soft clip is a massive workflow trick for DnB because it controls those spiky transients without you having to slam a limiter.

Next, Saturator.
Use Analog Clip mode. Drive maybe 2 to 6 dB. And then level match your output. Don’t let it get louder and fool you into thinking it sounds better. A good habit is to toggle the device on and off and make sure the perceived loudness stays close.

Then Drum Buss.
Drive somewhere around 5 to 15 percent, Crunch optional, Boom with care. Breaks can get tubby fast. The big one here is Transients. Try plus 5 up to plus 20 depending on the break. This is where you can make the break feel like it’s snapping through the mix.

Optional movement: Auto Filter.
Put a low-pass 12 dB filter and use a very subtle LFO amount, like 5 to 10 percent, with a slow-ish rate like 1/8 or 1/4. This can give your break a tiny sense of evolution over 8 to 16 bars without you doing anything complicated.

Goal check: we want tight, punchy, controlled. Not smashed flat. If you feel like the break got smaller, you probably overcompressed or over-saturated.

Step five: make it musical in Arrangement View.
Now we’re going to actually write this like a DnB track.

In Arrangement View on your break rack MIDI track, create a MIDI clip that’s 8 bars long. Double-click in the lane to create it, then set the loop length to 8 bars.

Program a basic foundation.
Put the main snare on beats 2 and 4. That’s the anchor. Then put a kick on 1, and add another kick before or after the snare depending on the vibe. Then sprinkle ghost notes using other slices from the break. Those tiny in-between hits are what make it roll.

A simple rolling feel starting point is to keep snare on 2 and 4, then add little ghost hits in-between. Don’t stress about exact grid positions at first. Use your ear. The point is: main hits are clear, ghosts are quieter and add motion.

Now duplicate that clip out to 16 bars.
Bars 1 to 8 is your main groove. Bars 9 to 16 is a variation. And here’s the beginner-friendly rule: change just one or two things. Swap a kick slice, add one extra ghost note, or push a hat moment. Small changes read as big energy changes in DnB because the listener is locked into the pattern.

Add a fill at the end of bar 16. One bar. Classic move is a rapid snare slice run or an “Amen turnaround” kind of feel. But the real secret weapon is velocity. DnB breaks live on velocity. Main hits might be around 80 to 115. Ghosts might be as low as 10 to 45. That difference is what gives the groove menace without turning into random machine gun.

Two extra arrangement tricks you can use immediately.
First, call and response phrasing. Make bar 1 stable, bar 2 answers with a tiny twist. Then loop that two-bar phrase across 16 bars. It instantly feels like it’s talking instead of looping.
Second, micro-timing push and pull. Nudge ghost snares a few milliseconds late for swagger, and hats a tiny bit early for drive. Keep it subtle. If you can clearly hear it as a flam, you went too far.

Step six: decide what you’re actually saving.
There are basically three levels.

Level one is sound only. That’s Drum Rack plus your processing chain. Fastest drop-in.
Level two is sound plus controls. That’s the same rack but with macros mapped to the knobs you always touch. This is the best long-term move.
Level three is sound plus song behavior. That’s a whole template: locators, automation lanes, section structure, everything ready.

We’re going to do at least level one, and I’ll strongly recommend level two because it saves you time every single session.

Before saving, do a quick translation check.
Listen quiet. Do the kick and snare still read?
Listen loud. Are the highs painful?
Hit mono. Does it collapse or does it still punch?
Do this check now, then save. Not the other way around.

Now let’s macro-map quickly, beginner style.
Create six macros and name them:
Tone, Snap, Dirt, Glue, Air, and TopsBlend if you set up a parallel tops chain later.
Map Tone to an EQ tilt or filter cutoff.
Map Snap to Drum Buss Transients.
Map Dirt to Saturator Drive.
Map Glue to Glue Compressor threshold or makeup.
Map Air to a high shelf on EQ Eight.
Map Tighten, if you want, could be a gate threshold or a decay control, but keep it simple if you’re new.

Macro map first, then save. That’s the workflow win.

Now saving options.

Option A, drop-in ready chain.
You can drag the Drum Rack device, or the entire device chain, into your User Library so you can load it in any project. Name it clearly with a tag system that you can search later.

Here’s a naming format that actually works:
BRK, then break name, then BPM range, then vibe, then a note like NoBoom or Boomy, then version.
For example: “BRK_Amen_170-176_Tight_NoBoom_v3.”

That way, when you’re five projects deep, you can type BRK and instantly see your whole break toolkit.

Option B, save just the Drum Rack.
Click the Drum Rack title bar so it’s selected, then hit the little save disk icon on the device. Save it into User Library under Presets, Instruments, Drum Rack. This is the most common approach.

Option C, save a template.
If you want your arrangement blocks, automation, and locators to always be there, go to File and choose Save Live Set as Template. Name it something like “DnB_BreakRack_Arrangement_Template_174.”
This is killer if you write a lot, because every new tune starts with momentum.

Two crucial beginner mistakes to avoid before we wrap.
One, saving without the samples. If you move computers or send projects around, you can lose the break audio. Use Collect All and Save from the File menu when you need portability.
Two, no headroom. Don’t mix your break at minus 1 dB. Leave space for bass and mastering.

Quick practice assignment you can do in 15 to 20 minutes.
Slice one break to Drum Rack.
Build your chain: EQ Eight, Glue, Saturator, Drum Buss.
In Arrangement View, write 8 bars main, duplicate to 16, add a one-bar fill at bar 16.
Then save the rack preset with a searchable name, and save the Live Set as “BreakRack_Practice_174.”

Bonus: save an A and B version.
A is clean punch. B is dirtier and more hyped, but output level matched so it only feels more intense because of tone, not because it’s louder.

Recap.
You sliced a break into a Drum Rack, cleaned it up so it behaves, processed it with a DnB-ready chain, arranged it over real phrases with variation and fills in Arrangement View, and saved it so you can reuse it in seconds.

If you tell me what break you’re using and whether you’re aiming for rollers, jump-up, jungle, or halftime, I can suggest a tailored macro set and a 16-bar blueprint that matches that substyle.

Background music

Premium Unlimted Access £14.99

Any 1 Tutorial FREE Everyday
Tutorial Explain
Generating PDF preview…