Main tutorial
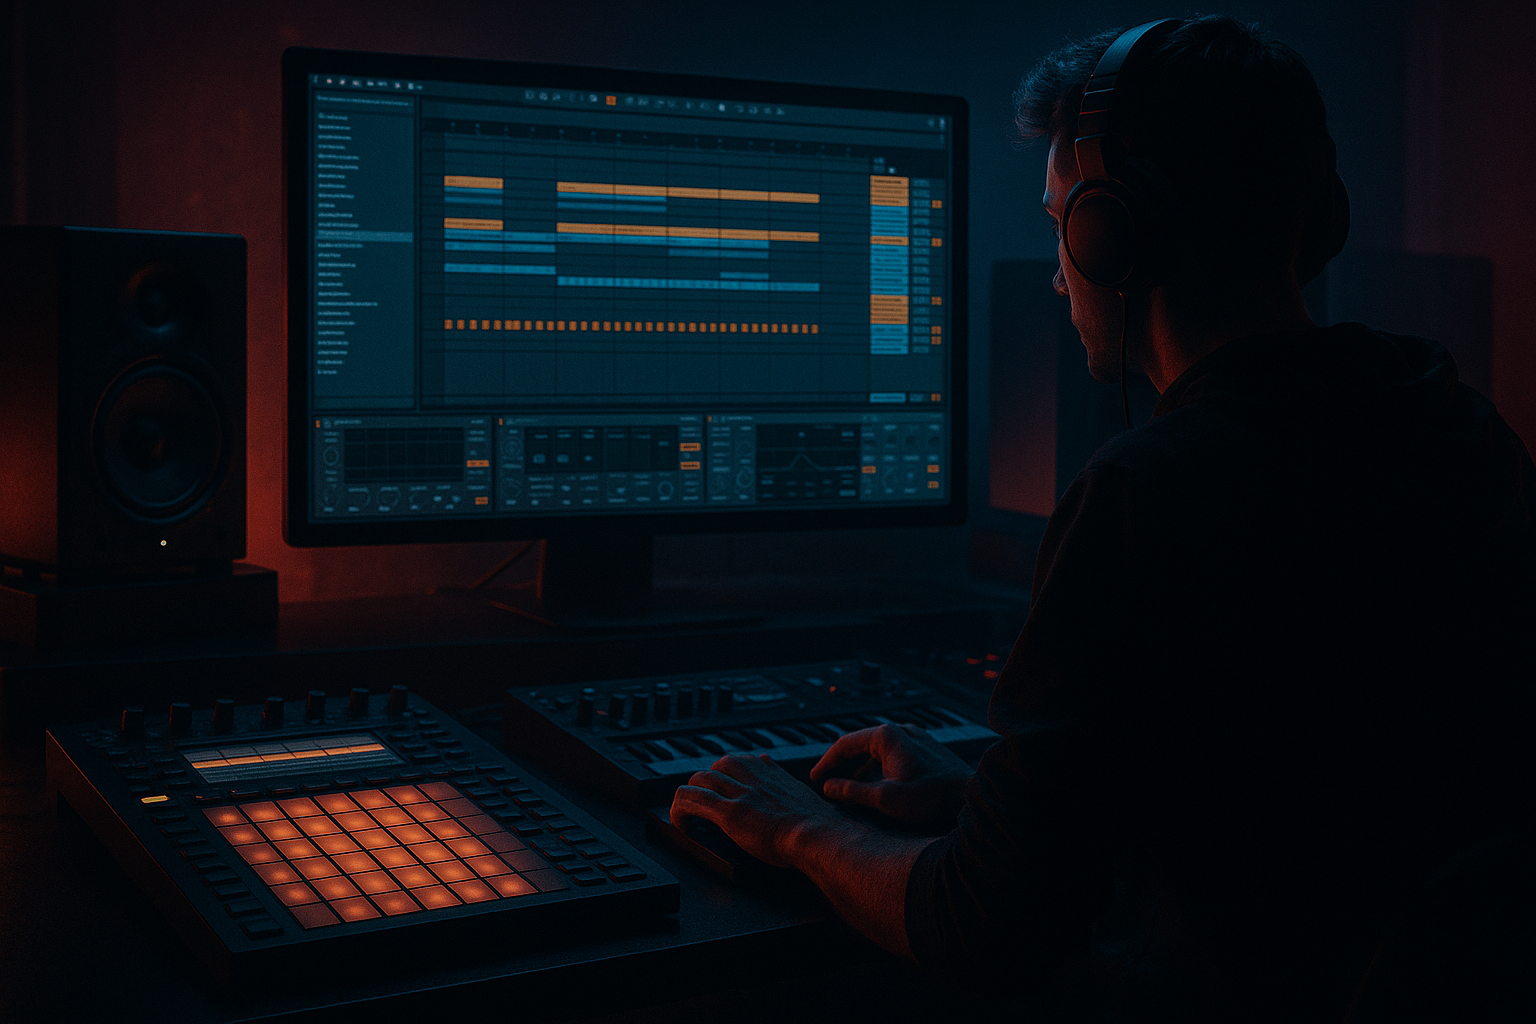
Sectional Brightness Automation on Old Samples (DnB in Ableton Live) 🎛️✨
1. Lesson overview
Old samples (vinyl rips, jungle breaks, dusty pads, VHS stabs) often have a fixed “tone” — either too dull and muffled, or harsh in the wrong places. In drum & bass, brightness isn’t just EQ… it’s energy control across the arrangement.
In this lesson you’ll learn how to automate brightness by section (intro → build → drop → breakdown) using Ableton Live stock devices in a way that feels musical, punchy, and very DnB-friendly.
We’ll focus on:
- Macro-based automation (fast and consistent)
- Filter + saturation “air” trick
- Dynamic brightness (so it reacts to the groove)
- Clean transitions into drops without wrecking headroom
- Intro: darker/filtered, “tape” vibe
- Build: gradually opening up
- Drop: brighter + more presence (without fizz)
- Breakdown: pulls back again for contrast
- A jungle break layer (think Apache/Think-style top loop)
- A vinyl chord stab or “ravey” hit
- A dusty pad/atmo loop
- A resampled texture that sits behind drums/bass
- You shape the tone → filter movement → add harmonics → glue/punch → control level.
- Enable High-Pass around 25–40 Hz (old samples often have useless rumble)
- If the sample is boxy, try a gentle dip:
- Optional: tiny harshness control:
- Mode: Low-Pass
- Filter type: Clean or OSR (OSR is smoother)
- Start cutoff around 6–12 kHz depending on how dark you want the intro
- Resonance: 5–12% (small amount adds “edge” without whistling)
- Type: Soft Sine or Analog Clip
- Drive: start at +2 to +6 dB
- Turn on Soft Clip
- If it gets too loud, reduce Output by -2 to -6 dB
- Drive: 2–6
- Crunch: 0–20% (taste)
- Damp: 10–30% if it gets fizzy
- Boom: usually off for top loops, or very subtle
- Gain: keep headroom (aim your sample peak around -10 to -6 dB pre-drop)
- Width: if the sample is messy, try 80–100% for control
- If it’s low-passed intro stuff, narrower often feels more “vinyl/old”
- Auto Filter Cutoff → map full range
- Saturator Drive
- EQ Eight high shelf (optional)
- Drum Buss Damp (optional inverse)
- Keep BRIGHTNESS low: around 10–25%
- Goal: vibe/nostalgia, not full presence
- Ramp BRIGHTNESS from 25% → 60–75%
- In the last 2 bars, add a small extra push (a mini ramp) for tension
- Set BRIGHTNESS to 70–90%
- Don’t always go 100% — leave room for the next lift (2nd drop)
- Pull it back to 20–40%
- This makes your return hit harder
- In Auto Filter, enable LFO
- Amount: 3–8%
- Rate: 1/8 or 1/4 (sync)
- Phase: try 0° for unified movement
- Put Multiband Dynamics after your rack (or inside it).
- Use it subtly to lift highs when the loop gets masked (be careful—this can get messy).
- Alternative (often better): keep it simple and sidechain the sample’s volume slightly to the kick/snare, then use brightness automation for hype.
- Keep the drop dark but present:
- Use Resonance carefully for menace:
- Try Redux very subtly for grit (inside rack):
- Parallel bright layer instead of pushing one sample too hard:
- Mono the highs slightly for tighter heaviness:
- Sectional brightness automation is arrangement energy control in DnB.
- Build a single-macro rack so you can automate fast and consistently.
- Combine filter opening + saturation harmonics for brightness that stays thick.
- Use contrast (pre-drop dip → snap bright) to make drops hit harder.
- Keep headroom and watch harsh bands so your roller stays clean and heavy.
---
2. What you will build
You’ll create a reusable “Brightness Control Rack” for an old sample (break, pad, stab, or texture), with a single macro you can automate across the arrangement.
Result:
---
3. Step-by-step walkthrough
Step 1 — Pick the right “old sample” target 🎚️
Choose one of these common DnB elements:
Tip: Consolidate it first (`Cmd/Ctrl + J`) so automation is predictable.
---
Step 2 — Build a Brightness Control device chain (stock only)
On your sample track, add the following devices in this order:
1) EQ Eight
2) Auto Filter
3) Saturator
4) Drum Buss (optional but great on breaks/loops)
5) Utility
Why this order?
---
Step 3 — Configure your “sectional brightness” sound
#### 3.1 EQ Eight: remove mud first (important!)
In EQ Eight:
- Bell at 250–450 Hz, -2 to -4 dB, Q ~ 1.2
- Bell at 3–6 kHz, -1 to -3 dB, Q ~ 2 (only if needed)
This keeps brightness automation from just boosting junk.
#### 3.2 Auto Filter: your main “brightness fader”
Add Auto Filter:
This is your classic “opening up into the drop” move.
#### 3.3 Saturator: “air” without brittle EQ boosts
In Saturator:
Saturation generates harmonics so the sample feels brighter, even if the filter isn’t wide open.
#### 3.4 Drum Buss (optional): tightens old breaks fast 🥁
If it’s a break/top loop:
#### 3.5 Utility: safety + mono management
---
Step 4 — Put it into an Audio Effect Rack with a single Macro 🎛️
Select all devices → Cmd/Ctrl + G (Group into a rack).
Create a macro named: BRIGHTNESS.
Now map these parameters to that macro (Macro Map mode):
- Macro range suggestion: 3 kHz → 18 kHz
- Macro range: +1 dB → +7 dB
- Enable a shelf at 8–10 kHz
- Macro range: 0 dB → +3 dB
- Map Damp so that as brightness increases, Damp decreases slightly
- Example: 30% → 10%
Now one macro controls the vibe: darker → brighter → more hype.
---
Step 5 — Automate brightness by section in Arrangement View 🧭
Switch to Arrangement View (press Tab). Hit A to show automation lanes.
Automate the BRIGHTNESS Macro like this (classic rolling DnB energy curve):
#### Intro (16–32 bars)
#### Build (8–16 bars)
#### Drop (32–64 bars)
#### Breakdown
DnB arrangement tip: If your drop relies on heavy bass + crisp hats, keep the old sample bright enough to read, but not so bright it fights the hats (often 70–80% is perfect).
---
Step 6 — Make it groove: add subtle rhythmic brightness motion (optional but powerful)
Section automation is the big move. Now add micro-motion so it breathes with the drums.
Option A: Auto Filter LFO (tiny)
This gives a “shimmering old loop” feel without sounding like a trance sweep.
Option B: Sidechain dynamic brightness (cleaner)
Use Multiband Dynamics or EQ Eight automation with sidechain?
Ableton stock easiest approach:
---
Step 7 — Transition trick: “pre-drop dull → drop bright” without harshness ⚡
In the last bar before the drop:
1. Quickly dip brightness: from ~60% down to 30% over 1/2 bar
2. Then snap to 80–90% on the downbeat
This contrast makes the drop feel brighter even if it isn’t that much louder.
Add a tiny reverb tail (stock Reverb or Hybrid Reverb) on the old sample in the last beat, then cut it at the drop for extra impact.
---
4. Common mistakes ❌
1) Boosting highs instead of controlling harshness
- Old samples can have nasty fizz around 6–10 kHz. Saturation + gentle shelf is often better than huge EQ boosts.
2) Automating only one device
- If you only open a filter, you can get thin. Combining filter + saturation drive keeps weight.
3) No headroom
- Brightness increases perceived loudness. Watch levels; use Utility or reduce Saturator output.
4) Going full-bright everywhere
- If the intro is as bright as the drop, your track feels flat. DnB lives on contrast.
5) Fighting hats and cymbals
- If you’ve got crisp 909 hats, don’t make the old loop live in the same band. Carve space or cap the macro.
---
5. Pro tips for darker/heavier DnB 🖤🔊
Use saturation to add “audible harmonics” while keeping the actual top end controlled. Think weighty not sparkly.
In Auto Filter, a little resonance (5–10%) while opening can add that edgy “pirate radio” lift.
Add Redux with:
- Bit reduction: 0–2
- Sample rate: 20–35 kHz
Automate mix (or device on/off) for sections. Great for techy rollers.
Duplicate the track:
- One stays dark/filtered
- One is bright/saturated
Automate crossfade (or volume) between them for super clean control.
Use Utility width down to 70–90% on old noisy tops. Wide fizz often weakens the drop.
---
6. Mini practice exercise 🎯
1) Grab a 16-bar old jungle break or vinyl chord loop.
2) Build the Brightness Rack (EQ Eight → Auto Filter → Saturator → Utility).
3) Map BRIGHTNESS macro to:
- Auto Filter cutoff (3k → 18k)
- Saturator drive (+1 → +7 dB)
4) Create a simple 64-bar structure:
- 16 intro
- 16 build
- 32 drop
5) Automate macro:
- Intro: 15%
- Build ramp: 15% → 70%
- Pre-drop dip: 70% → 30% (half-bar)
- Drop: 85%
Export and listen on low volume: the drop should feel like it “turns the lights on” without getting painful.
---
7. Recap ✅
If you tell me what kind of “old sample” you’re working with (break, stab, pad, full loop) and your BPM/sub-genre (jungle, rollers, neuro, liquid), I can suggest a tailored rack and exact macro ranges.

