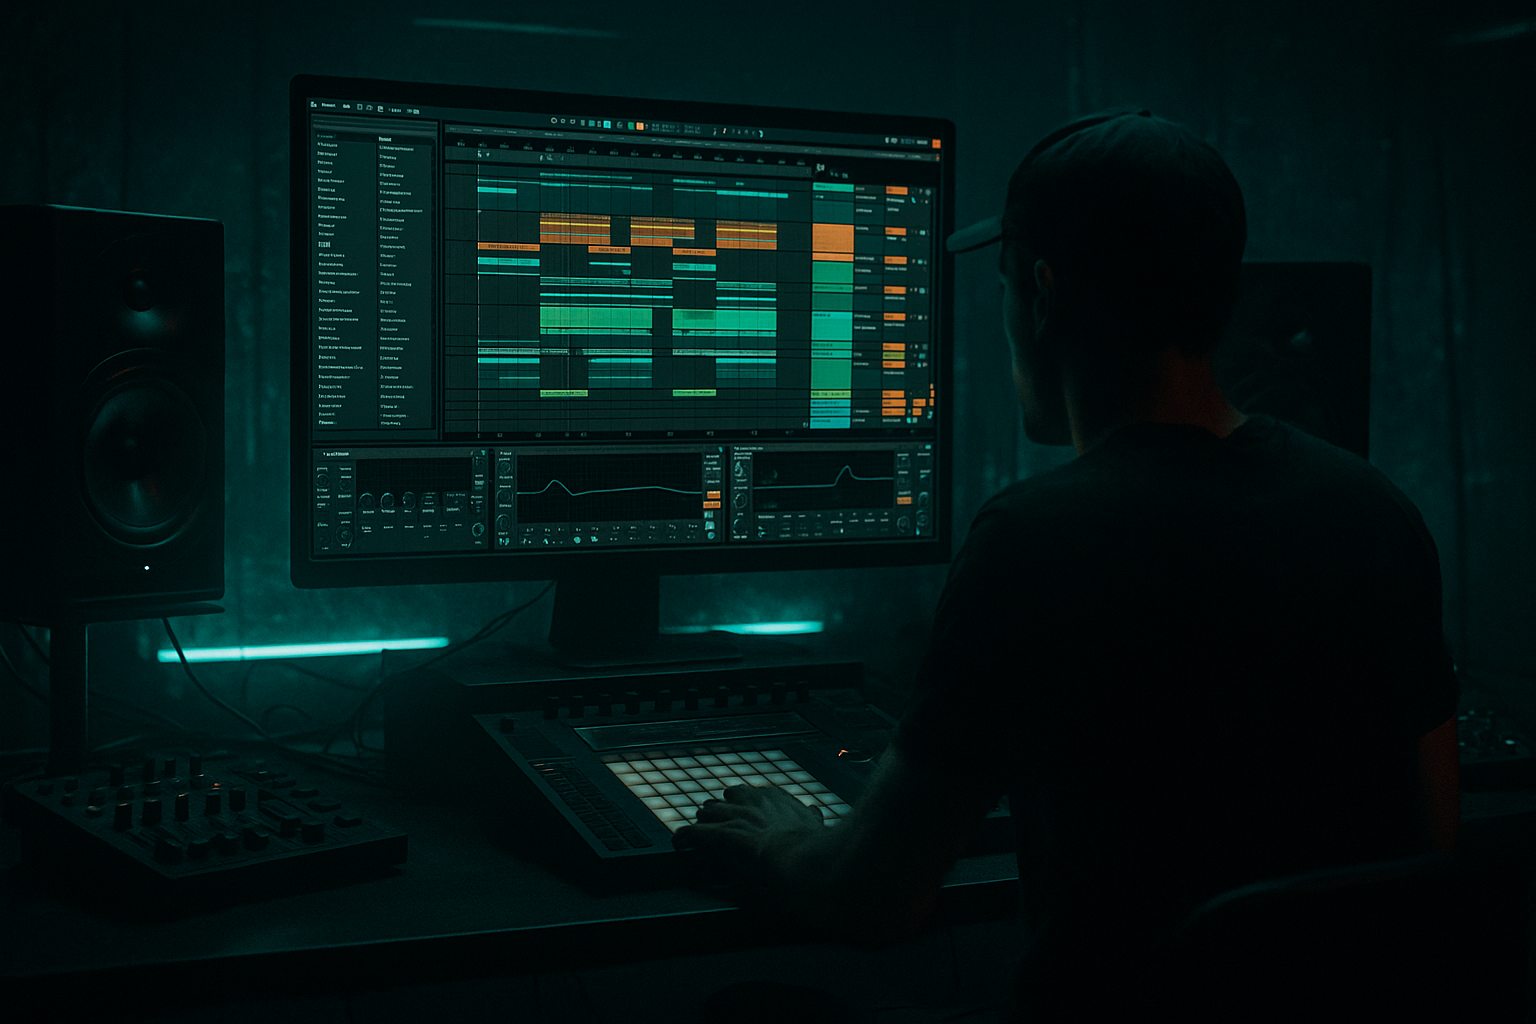
Main tutorial
Lesson Overview
In this lesson, you’ll build a deep jungle call-and-response riff around an Amen-style break, using Ableton Live 12 to create a phrase that feels old-school in source but modern in execution. This is the kind of idea that can sit in the 8-bar loop of a roller or jungle drop, then evolve into a full arrangement with tension, bounce, and that unmistakable underground pressure.
The main goal is not just to chop the Amen break, but to make it answer itself: one phrase hits like a call, the next phrase responds with a variation. That call-and-response movement is a huge part of why jungle stays so alive. It keeps the listener locked in while leaving space for bass, atmospheres, and mix clarity. In DnB, this matters because your drums often carry the identity of the track just as much as the bassline.
Since this is a Mastering-category lesson, we’ll also think about how to shape the riff so it survives the full production chain: transients that read clearly, low-end that stays controlled, and energy that translates on big systems without becoming brittle or messy. The idea is to make a pattern that is not just creative, but mix-ready and arrangement-aware from the start.
Why this technique matters in DnB:
- It gives your drop a human, unstable jungle feel without sounding random
- It leaves room for a sub or reese to own the low end
- It creates natural phrase contrast for 8-bar and 16-bar sections
- It helps you build a track that feels DJ-friendly, with clear tension/release 🥁
- Call phrase: a stronger, more direct break edit with a snare accent and kick push
- Response phrase: a lighter variation with extra ghost notes, a reversed fragment, or a delayed snare hit
- A deep jungle atmosphere bed behind it using filtered ambience, vinyl noise, or a washed reverb tail
- A tight drum bus with controlled transients, glue, and subtle saturation
- A bass-support relationship where the bass leaves space for the break and answers it in gaps
- A loop that can be expanded into an 8-bar intro, 16-bar drop, and switch-up section
- Bars 1–2: call phrase, more open
- Bars 3–4: response phrase, slightly busier or more syncopated
- Bars 5–8: variation with automation and fills
- Drop support: atmosphere + bass interplay, not constant drum clutter
- Drum Rack / Audio track for Amen chops
- Sub track
- Bass / Reese track
- Atmosphere track
- FX return(s) for delay and reverb
- Optional: Drum bus and Bass bus groups
- Pull your Master fader down if needed so the session peaks around -6 dB
- Keep the drum group hitting roughly -8 to -6 dB before master processing
- Don’t overdrive the break early; let the groove do the work
- Right-click the clip and choose Slice to New MIDI Track
- Or use Simpler in Slice mode for immediate finger-drumming and rearranging
- Set slice mode to Transient
- Increase sensitivity until you catch the snare hits, kick attacks, and key ghost note transients
- Map the slices to MIDI notes and record a pattern into a 2-bar MIDI clip
- Simpler for slicing
- Drum Buss for glue and grit
- EQ Eight for cleanup
- Saturator for harmonic weight
- Keep the original snare character intact
- Don’t over-quantize every hit
- Leave some micro-variation in the ghost notes
- Put a strong kick on the downbeat or the first obvious sync point
- Place the main snare with authority, usually on beat 2 and/or 4 depending on your edit
- Add 1–2 ghost-note slices before the snare to create anticipation
- Leave one short gap where the bass can answer later
- Remove one of the more aggressive hits
- Add a small reversed slice or a lower-velocity ghost note
- Shift one percussion hit slightly earlier or later for tension
- Repeat the snare idea, but with a different lead-in
- Bar 1: kick + snare anchor, two ghost notes, open tail
- Bar 2: same anchor, but with a delayed slice and a fill into the next phrase
- Velocity editing to lower ghost notes to around 35–70
- Clip Loop Brace to audition the 2-bar idea repeatedly
- Nudge tools to push a slice a few milliseconds early or late for feel
- Keep the main snare hits a touch forward or on-grid
- Pull some ghost notes slightly behind the grid
- Try adding Groove Pool swing from an MPC-style or light shuffle groove, but keep it subtle
- Groove amount around 10–25%
- Track delay on the break track at -5 to +10 ms depending on feel
- Velocity variation between 30 and 100 for natural contrast
- EQ Eight: cut low rumble below 30–40 Hz
- Tame harsh snare edge with a narrow dip around 3–6 kHz if needed
- Drum Buss: Drive around 5–15%, Crunch lightly, Boom only if your low end is very controlled
- Saturator: Soft Clip on, drive by 1–4 dB for density
- Sub track: Operator or Wavetable sine-based sub
- Reese / mid-bass: Wavetable, Analog, or a sampled reese with movement
- Use a sine or near-sine patch
- Keep it mono
- Low-pass or band-limit any unwanted harmonics
- Add very light saturation if needed for translation
- Operator sine with a short amp attack, medium decay if notes are punchy
- Sub level balanced so it supports, not dominates
- Keep peaks controlled and leave room for the kick/break
- Start with two detuned oscillators or a filtered layered sample
- Use Auto Filter or Wavetable filter movement for motion
- Keep stereo width modest in the low mids; let the top atmosphere widen, not the bottom
- Program bass notes to hit after the break’s strongest snare or kick moments
- Use short rests so the bass feels like it’s reacting to the drums
- Consider a bass answer on the “and” of 2 or 4 to create a push-pull feel
- vinyl noise
- filtered rain or room texture
- a chopped ambient pad
- distant jungle percussion
- a resampled break tail with heavy filtering
- Put the texture on an audio track
- Use Auto Filter with a low-pass around 1.5–6 kHz
- Add Hybrid Reverb or Reverb with a short-to-medium decay
- Use Utility to control stereo width if the ambience gets too wide
- High-pass the atmosphere around 150–300 Hz
- Low-pass it to keep it behind the break
- Reverb decay around 1.2–3.5 s, depending on how dense the track is
- Pre-delay around 10–25 ms for separation
- In the intro, let the atmosphere lead before the drums fully arrive
- In the drop, duck it slightly under the break with sidechain or volume automation
- In a switch-up, automate the filter open for 1–2 bars to create lift
- EQ Eight: remove mud around 200–400 Hz if it gets boxy
- Drum Buss: use light drive and transient emphasis
- Glue Compressor if needed, with low ratio and gentle gain reduction
- Optional Saturator after the compressor for density
- Ratio: 2:1
- Attack: 10–30 ms
- Release: Auto or around 0.1–0.3 s
- Gain reduction: just 1–2 dB
- Keep the break punchy but not spiky
- Verify the low end in Mono
- Make sure the kick/sub relationship still reads when summed
- Mono the sub
- Keep side width in the reese only if it doesn’t smear the groove
- Check bass phase against the kick and main snare accents
- Auto Filter cutoff on atmosphere for opening/closing tension
- Reverb send on the last snare of a 4-bar phrase
- Delay on a chopped fill or reversed slice
- Saturator drive on a fill bar for extra aggression
- Volume automation on a ghost-note layer to make the response phrase more pronounced
- Bars 1–2: full call phrase
- Bars 3–4: response phrase with slightly more bass activity
- Bars 5–6: remove one drum element for tension
- Bars 7–8: fill and filter movement into the next section
- Build a 16-bar intro using filtered break fragments and atmosphere
- Save the full riff for the drop
- Create an 8-bar outro with simplified drums and reduced bass density
- Layer a second break ghost quietly underneath the main Amen to add density, but low-pass it hard so it doesn’t clutter the main snare.
- Use Resampling to print your break bus after light processing, then re-chop the rendered audio for more aggressive variations.
- Add movement to the reese with Auto Filter LFO or subtle Frequency Shifter modulation for neuro-influenced darkness without losing jungle feel.
- For heavier impact, duplicate the drum bus, distort the duplicate with Saturator, then blend it in very quietly for parallel grit.
- Use sidechain compression from the kick or main drum anchor into the atmosphere and reese, but keep it subtle so the track still feels natural.
- Try a call phrase with less top-end, then a response phrase with more transient snap. That contrast feels huge on a drop.
- If the riff feels too clean, add a touch of Redux on a parallel channel at a very low mix level for grain and age.
- Keep an eye on the 2–5 kHz zone: that’s where break bite lives, but it’s also where harshness starts fast.
- Build the Amen riff as a conversation, not a constant loop
- Use call-and-response phrasing to create jungle movement and tension
- Keep the break lively with timing, velocity, and subtle groove
- Let the sub and reese answer the drums, not mask them
- Use Ableton stock devices like Simpler, Drum Buss, EQ Eight, Saturator, Auto Filter, and Hybrid Reverb
- Shape the loop for the full track early: headroom, mono low end, and arrangement-ready phrasing
- The best deep jungle riffs feel raw, but they’re actually very intentional 🎛️
---
What You Will Build
By the end of this lesson, you’ll have a 2-bar Amen-based riff that behaves like a conversation:
Musically, this could sit in a track at around 170 BPM, with the break riff occupying the top and mid drum energy while the sub holds the floor. Think of a vibe where:
---
Step-by-Step Walkthrough
1) Start with a clean DnB project structure
Open a new Live set and set the tempo between 168–172 BPM. For this lesson, use 170 BPM as a sweet spot for deep jungle energy.
Create these tracks:
Before writing anything, build headroom:
In DnB, this matters because a busy break can eat your mix fast. If you organize the session around clear buses from the start, you’ll make better choices later when mastering the balance.
2) Load and slice an Amen break the Ableton way
Drop an Amen-style break into an audio track. If needed, use a clean royalty-free break recording or your own resampled version.
Now do one of two things:
For intermediate workflow, I recommend Simpler Slice mode because it’s fast and easy to refine:
Useful stock devices here:
Aim to preserve the Amen’s identity:
Why this works in DnB: the Amen’s power comes from its internal swing and uneven energy. If you flatten it too hard, you lose the conversation inside the break.
3) Program the call phrase first, then design the response
Create a 2-bar MIDI clip with your first pass. Build the call phrase so it feels confident and readable:
For the response phrase, vary the second bar:
A strong starting pattern idea:
In Ableton, use:
The goal is not random chopping. It’s a phrase with syntax: statement, reply, release.
4) Shape the break with groove, timing, and transient control
Now make the break sit like a drummer rather than a sample.
If using MIDI slices:
Good starter ranges:
Then process the break lightly:
If the transients are too sharp, the break will fight your bass. If they’re too soft, the whole phrase loses lift. You want the snare to crack, but not stab.
5) Build the sub and reese so they answer the drums, not compete with them
Your bassline should leave gaps for the break call-and-response. In deep jungle and darker DnB, the drums and bass often interlock rather than both playing constantly.
Set up:
For the sub:
Suggested settings:
For the reese:
Workflow idea:
Why this works in DnB: the listener perceives groove from the conversation between drums and bass, not from relentless note density. Space is part of the rhythm.
6) Add deep jungle atmosphere without washing out the break
Now create the atmosphere layer that gives the riff its deep jungle character. This can be:
In Ableton:
Practical settings:
Arrangement example:
This layer is doing emotional work: it turns a chopped drum pattern into a scene.
7) Route your drums to a bus and shape the master-facing balance
Group your break chops into a Drum Group and do some bus shaping there. This is where the “mastering” mindset matters: make choices that help the riff survive loud playback later.
On the Drum Group:
Suggested Glue Compressor starting point:
Important checks:
Put Utility on the bass group too:
8) Automate phrase evolution for a proper drop and switch-up
Now turn the loop into a section. A static Amen riff gets old fast; a living one evolves every 4 or 8 bars.
Automate these across the arrangement:
A strong 8-bar arrangement idea:
If you want a DJ-friendly setup:
That structure makes the track usable in mixes and easier to arrange as a proper DnB tune.
---
Common Mistakes
1) Over-chopping the Amen until it loses identity
If every hit is too edited, the groove becomes mechanical and generic.
Fix: keep at least one or two recognizable break gestures per phrase, especially the snare lead-in or a classic Amen turn.
2) Making the response phrase just “more notes”
A response is not automatically busier. Sometimes it should be sparser, lower in velocity, or slightly delayed.
Fix: create contrast through space, timing, and register, not just density.
3) Letting bass and break occupy the same rhythmic slot
This creates clutter and weakens both parts.
Fix: leave holes in the bassline where the break calls, and let the bass answer in the gaps.
4) Too much stereo width on low-end material
Wide sub or wide lower mids can kill club translation.
Fix: keep the sub mono with Utility, and keep stereo enhancement mostly above the low-mid range.
5) Over-processing the drum bus early
If you stack too much compression, saturation, and limiting, the break loses snap.
Fix: start with subtle moves and compare often against a dry version.
---
Pro Tips for Darker / Heavier DnB
---
Mini Practice Exercise
Spend 10–20 minutes making one 2-bar call-and-response Amen riff using only Ableton stock tools.
1. Set the project to 170 BPM.
2. Load an Amen break into Simpler in Slice mode.
3. Program a call phrase in bar 1 with a strong snare anchor and 2–3 ghost notes.
4. Program a response phrase in bar 2 by removing one hit and adding one reversed or delayed slice.
5. Add Groove Pool swing at a subtle amount.
6. Put EQ Eight and Drum Buss on the drum group.
7. Build a simple sine sub in Operator that leaves gaps under the break.
8. Add a filtered atmosphere with Auto Filter and Hybrid Reverb.
9. Loop 8 bars and automate one filter move and one send effect.
10. Export a rough bounce and check it in mono.
Goal: make the riff feel like a real DnB phrase, not just a chopped loop.
---

