Main tutorial
Lesson Overview
Oldskool DnB reese bass is one of those sounds that instantly tells the listener: “we’re in the rave zone.” The goal of this lesson is to sequence a classic, moving reese line in Ableton Live 12 that hits with proper jungle / rollers energy, but stays controlled enough that your kick, snare, and sub don’t get bullied by the bass. That headroom part matters a lot: oldskool reese patches can get huge fast, and in Drum & Bass the difference between “massive” and “muddy” is usually arrangement, automation, and gain staging — not just more distortion.
This technique sits right in the heart of a DnB drop. Think 8- or 16-bar sections where the reese answers the drums, leaves space for snare impact, and creates that rolling pressure under the groove. You’ll use Ableton stock devices to build movement with automation, shape the stereo field without wrecking the low end, and sequence a bassline that feels alive while staying mix-safe. The key lesson here is that a reese patch is not just a static sound design preset — it’s a performance instrument. In DnB, the way you automate filters, distortion drive, resampling, and note lengths is what creates urgency.
Why this matters: oldskool basslines often work because they are rhythmically simple but timbrally animated. The notes don’t need to be busy if the movement is right. By the end, you’ll have a reese part that can sit in a drop with drums, sub, and atmosphere without flattening your headroom. 🔥
What You Will Build
You’ll build a dark, oldskool-inspired reese bass sequence in Ableton Live 12 with:
- A layered bass setup: a clean mono sub, a mid reese layer, and optional grit layer
- A bassline that follows a classic DnB call-and-response phrase
- Filter and distortion automation that opens the sound in phrases instead of keeping it maxed out
- Stereo discipline so the sub stays centered while the midrange can breathe
- A drop-ready arrangement that works in an 8-bar loop and can extend into a full 16-bar section
- Headroom-conscious gain staging so the master stays healthy and punchy
- Making the reese full-range and expecting the mix to survive
- Over-automating the filter every bar
- Distorting the bass before the note pattern is working
- Letting stereo width creep into the low end
- Using note lengths that are too long
- Ignoring the snare lane
- Pushing the master because the bass feels weak
- Automate the reese cutoff down slightly before a snare fill, then snap it open on the drop restart. That contrast feels massive.
- Try subtle pitch movement on the reese layer only, not the sub. Even tiny automation on oscillator detune or filter resonance can add menace.
- Use a filtered noise layer very quietly behind the reese for texture, especially in darker roller sections.
- For a more techstep edge, add a small band-pass emphasis around 700 Hz to 1.5 kHz and automate it during the last half of a phrase.
- If the bass needs more grime, resample and chop the best 1-bar segment into a tighter loop. That often sounds more “finished” than endlessly tweaking synth settings.
- Keep the sub and kick relationship locked. In a darker DnB arrangement, a stable sub under a busy break can make the whole drop feel expensive.
- Use a short reverse reese swell before the main bass note in a switch-up. It creates tension without cluttering the low end.
- Don’t underestimate silence: a tiny gap before the snare can make the next bass hit feel twice as hard.
- Build the bass in layers: clean mono sub plus a high-passed reese mid layer.
- Sequence the reese around the drums, not over them.
- Use automation on filter, drive, and small level rides to create movement.
- Keep the low end disciplined so the mix has headroom.
- Resample if you need more attitude and faster decision-making.
- In DnB, the best basslines are rhythmic, controlled, and phrase-aware — not just loud.
Musically, this will feel like a rolling, slightly menacing bass phrase in the style of oldskool jungle / darkside / early techstep energy. It won’t be a huge neuro bass wall — it’ll be leaner, more rhythmic, and more “sequence-driven.” That makes it ideal for learning automation inside a DnB context.
Step-by-Step Walkthrough
1. Start with a drum-first loop and reserve the bass pocket
In Ableton Live, lay down an 8-bar drum loop first: kick, snare on 2 and 4, and a chopped break or ghost-note layer if you like. Use this as your reference for bass placement. Oldskool reese lines work best when they leave room for the snare crack and the transient of the kick.
Practical move:
- Put your kick and snare on their own group
- Aim for the kick to land with enough space before the bass hits
- Keep the drums peaking safely below clipping; leave headroom from the start
Why this works in DnB: the snare is the anchor in most DnB and jungle arrangements. If the reese occupies the same moment and frequency region, the groove loses impact. Sequencing the bass against the drum pocket is more important than making the MIDI busy.
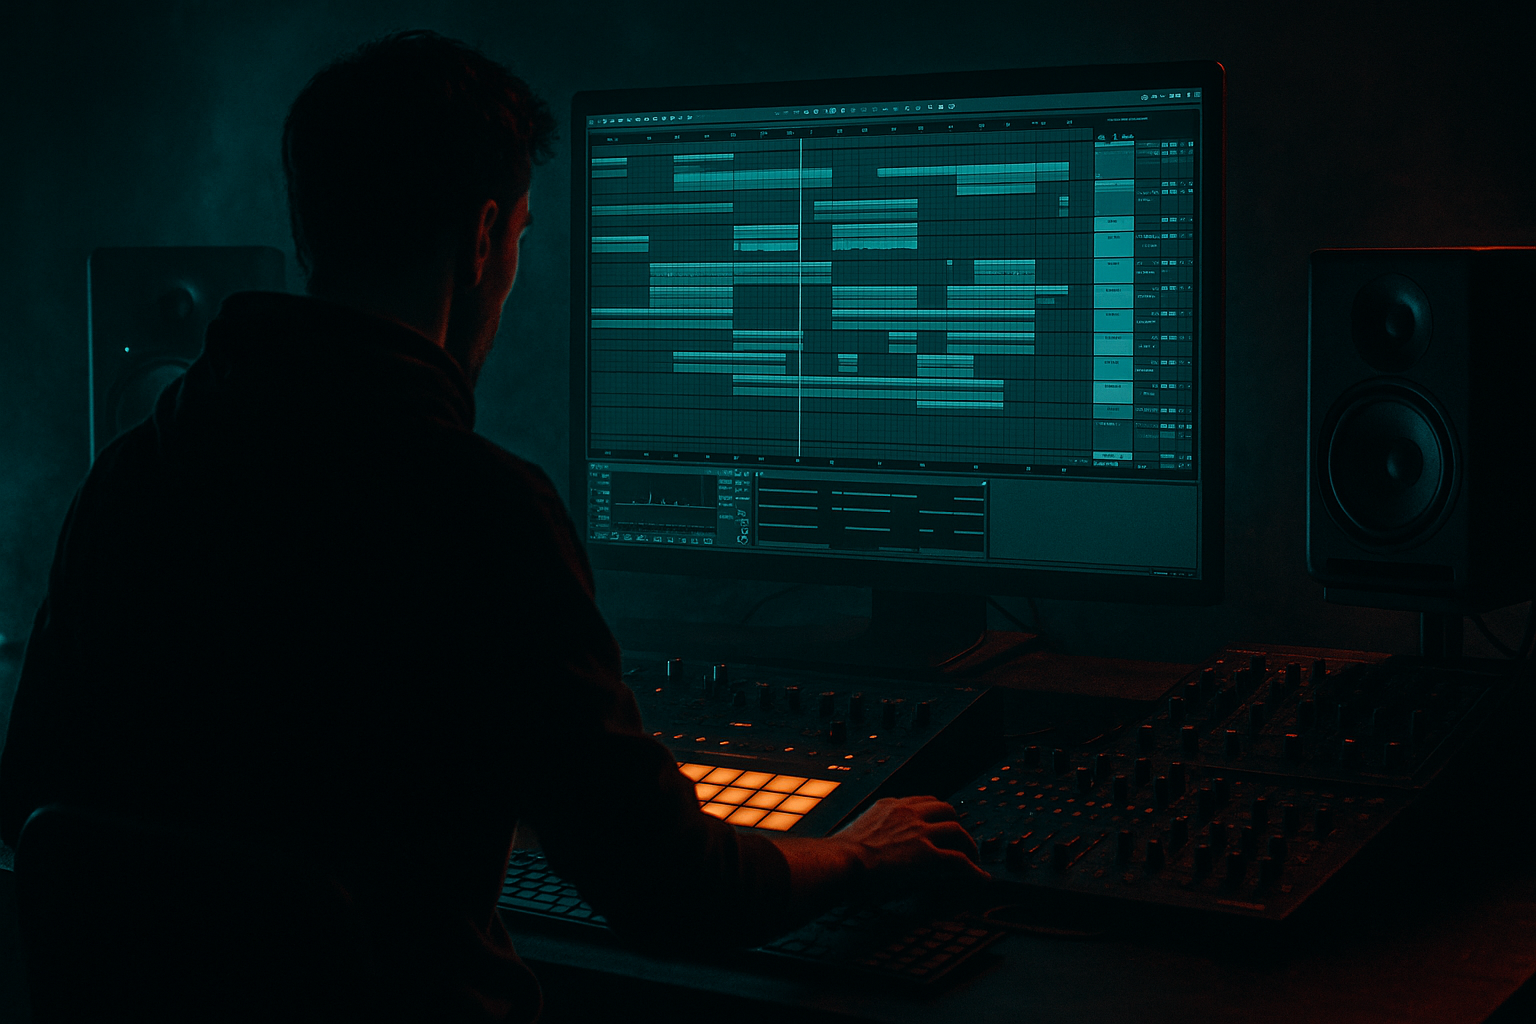
2. Build a simple oldskool reese patch with stock devices
On a new MIDI track, create the reese using Wavetable or Analog. A strong starting point is:
- Oscillator 1: saw
- Oscillator 2: saw or slightly detuned pulse
- Slight detune between oscillators: around 5–15 cents
- Unison: 2 voices max, or keep it mono at the source and widen later only in the mids
Then add:
- Auto Filter
- Saturator
- EQ Eight
- Utility
Suggested settings:
- Auto Filter low-pass at around 120–250 Hz if you want the synth layer to stay out of the sub lane
- Resonance low to moderate, around 10–25%
- Saturator drive around 2–6 dB to add bite
- Utility gain adjusted so the track doesn’t jump too hot into the mix
Keep the patch fairly plain at first. Oldskool reese character often comes from movement and layering more than exotic oscillator tricks. If you start with too much width or distortion, you’ll have nowhere to go later.
3. Split the bass into sub and reese layers for control
This is the big headroom move. Create a second MIDI track for sub, or use an Instrument Rack with separate chains if you’re comfortable. Keep the sub clean and mono.
For the sub layer:
- Use Operator, Analog, or Wavetable with a sine wave
- Keep it mono with Utility
- Low-pass it so only the deep fundamental is present
- Shorten note lengths so the sub doesn’t blur into the next beat
For the reese layer:
- Let it live mostly above the sub region
- High-pass the reese around 70–120 Hz using EQ Eight
- Keep the mids animated, not the deepest low end
Concrete range suggestions:
- Sub level: just enough to feel the root notes without dominating
- Reese high-pass: 80–100 Hz for cleanest separation in a busy mix
- Low-pass on reese: open between 1.5–6 kHz depending on how aggressive you want the timbre
This separation is what keeps headroom intact. If your reese tries to be the sub and the midrange at once, the limiter on the master ends up doing all the work.
4. Write a bassline that answers the drums instead of filling every gap
Program a simple 1- or 2-bar bass phrase first. Oldskool DnB often feels best when the bassline has a strong rhythmic hook and leaves breathing space. Start with root notes, then add a few passing notes or octave moves to make the phrase feel like it is “talking” to the break.
Useful sequencing ideas:
- Put bass notes after the snare for a classic push-pull feel
- Use short notes on beat 1 or the “and” of 1 to create momentum
- Leave a gap before beat 4 so the snare can land cleanly
- Repeat the phrase with one small variation every 2 bars
Example musical context:
In an E minor roller, you might use a two-bar motif that hits E on the downbeat, drops to B as a reply, then slips to G or F# as a passing note. The idea is not harmonic complexity — it’s rhythmic tension. In a jungle or dark roller drop, that kind of minimal note choice can feel much heavier than a busy line.
Keep note lengths controlled. In DnB, long bass notes often smear the groove unless they’re intentionally automated for drama.
5. Automate movement with filters and distortion, not just volume
This is the heart of the lesson. Draw automation on the reese track so the sound evolves over the phrase. Use Clip Envelopes or Arrangement automation depending on your workflow.
Start with these automations:
- Auto Filter cutoff: open during the second half of a phrase, close at the start of the next one
- Saturator drive: increase slightly for fills or the last 2 beats of a phrase
- EQ Eight high shelf or band gain: small boosts to emphasize a transition, then pull back
- Utility gain: use tiny level rides for phrase emphasis, not as the main dynamics tool
Suggested automation ranges:
- Auto Filter cutoff: sweep from roughly 150 Hz up to 1.5–4 kHz on the reese layer
- Saturator drive: automate within a 1–4 dB range for subtle energy shifts
- Utility gain rides: around ±1 to ±2 dB, not huge jumps
Keep the automation musical. A good oldskool reese usually opens on the “answer” of the phrase and tightens back up before the next downbeat. That gives the drop a sense of motion without overcrowding the drums.
6. Resample one pass if the reese needs more attitude
If the live synth feels too polite, resample it. In Ableton, record the reese to audio, then chop it into a Simpler or audio clip and re-sequence the best bits. This is very DnB-friendly because it lets you commit to a tone and focus on phrasing.
Workflow:
- Record 4–8 bars of the reese movement
- Consolidate the best loop
- Warp carefully if needed, but keep the timing tight
- Use fades on clips to avoid clicks
- Reprocess the audio with Saturator, Auto Filter, or Drum Buss if needed
Why this works in DnB: resampling gives you the “printed” energy that often makes jungle and darker rollers feel more finished. It also helps you control peaks, because you can trim and shape audio more predictably than endlessly stacking live synth processing.
If you want extra grime:
- Add Drum Buss lightly, with Drive kept modest
- Use an EQ cut around 250–400 Hz if the resampled tone gets boxy
- High-pass the resampled layer so the sub remains separate
7. Use stereo discipline: wide mids, mono low end
DnB bass should feel wide only where it can afford to be wide. Keep the sub mono. Let the reese’s movement live in the mids and upper mids, but avoid uncontrolled phase chaos.
In practice:
- Put Utility on the sub track and enable Mono
- Keep the reese high-passed so stereo width doesn’t corrupt low frequencies
- If you widen the reese, do it gently and check in mono
- Use EQ Eight to clean resonant build-up before widening
A good test:
- Solo the bass group and toggle mono
- If the bass disappears or thins out badly, your stereo information is too dependent on phasey low-mid content
Headroom tip: a wide bass can feel bigger at lower volume if the low-end is disciplined. That means you can run the mix cleaner and still get weight.
8. Shape the phrase with arrangement automation and drum interaction
Put the bass into a proper 8-bar or 16-bar arrangement, not just a loop. Oldskool DnB is all about phrasing. Use automation to create tension in bars 4 and 8, or build a switch-up before the second drop section.
Ideas:
- Bar 1–2: stripped intro of the bass phrase
- Bar 3–4: open filter slightly and add a ghost note or slide
- Bar 5–6: full movement, stronger saturation
- Bar 7–8: automate filter close and add a fill with a reverse or impact
You can also automate drum bus elements:
- Slight transient emphasis on the snare with Drum Buss or mild saturation
- Short ghost-note break fill before a bass change
- Lower the bass for one half-bar so the break can breathe, then slam back in
This kind of call-and-response arrangement is huge in DnB. It keeps the bass from flattening the whole drop and creates natural anticipation for DJs and listeners alike.
9. Control the mix with gain staging and simple checks
Once the sequence works, check your levels. Don’t let the reese dominate the master. In Ableton, use Utility and track faders to keep the bass group controlled before any master processing.
Practical mix targets:
- Bass group peaking comfortably below clipping
- Leave enough master headroom so the mix breathes before mastering
- Compare the bass on and off at matched loudness
- Check the arrangement at low monitoring volume to see if the bass still reads
Use EQ Eight to carve:
- A small cut around 200–350 Hz if the reese gets cloudy
- A reduction in harshness around 2–5 kHz if the distortion bites too hard
- A low-end cut on non-sub layers so the kick and sub are not fighting
If your master starts feeling pinned, the issue is usually in the bass balance, not the master chain.
10. Automate the transition moments, not every single bar
The temptation with a reese is to automate everything all the time. Don’t. Save the strongest automation moves for transition points: bar endings, pre-drop tension, fills, and the opening of a new 8-bar phrase.
Good automation targets:
- Filter sweep into a drop
- Quick distortion bump on a fill
- Short bass mute before the snare impact
- Reverb send rise on a stab or FX hit, not on the sub
Use Return tracks for atmosphere and space, but keep the bass dry enough to stay punchy. A touch of reverb on a filtered reese burst can be effective, but the main bass should stay focused.
Common Mistakes
Fix: split sub and reese, high-pass the mid layer, and keep the sub mono.
Fix: reserve strong automation for phrase endings and switch-ups.
Fix: write the sequence first, then add drive once the rhythm is solid.
Fix: mono the sub, check the mix in mono, and keep widening above the low bass region.
Fix: tighten MIDI note lengths so the bass speaks with the drums instead of dragging behind them.
Fix: always make sure the reese leaves space for the snare impact, especially on 2 and 4.
Fix: rebalance the layers and add controlled harmonics; don’t just turn it up.
Pro Tips for Darker / Heavier DnB
Mini Practice Exercise
Spend 10–20 minutes making one 8-bar reese phrase:
1. Create a drum loop with kick, snare, and a chopped break.
2. Build a simple reese patch using Wavetable or Analog plus Auto Filter, Saturator, EQ Eight, and Utility.
3. Write a 2-bar bass motif with only 3–5 notes.
4. Duplicate it to 8 bars and change just one detail every 2 bars.
5. Automate the reese cutoff so it opens in bars 3–4 and bars 7–8.
6. High-pass the reese layer and keep the sub mono.
7. Check the mix in mono and reduce any low-mid buildup.
8. Resample 1 bar of the reese if you want more edge, then compare it against the live synth version.
Goal: by the end, you should have a loop that feels like a real DnB drop, not just a synth pattern. Focus on groove, headroom, and one clear automation move.

