Main tutorial
Lesson Overview
In this lesson, you’ll build a session-ready bassline for oldskool jungle / DnB in Ableton Live 12 without eating your headroom. The goal is to create a bass part that feels heavy, mobile, and authentic — the kind of bass that sits under breakbeats, leaves space for the kick/snare, and still hits hard in the drop.
This matters because in DnB, bass often does too much. Beginners tend to stack sub, reese, distortion, and effects all at full volume, then wonder why the mix collapses when the drums come in. In a proper jungle or rollers workflow, the bassline should feel controlled, mono-compatible, and arranged with intent. You want weight, not just loudness.
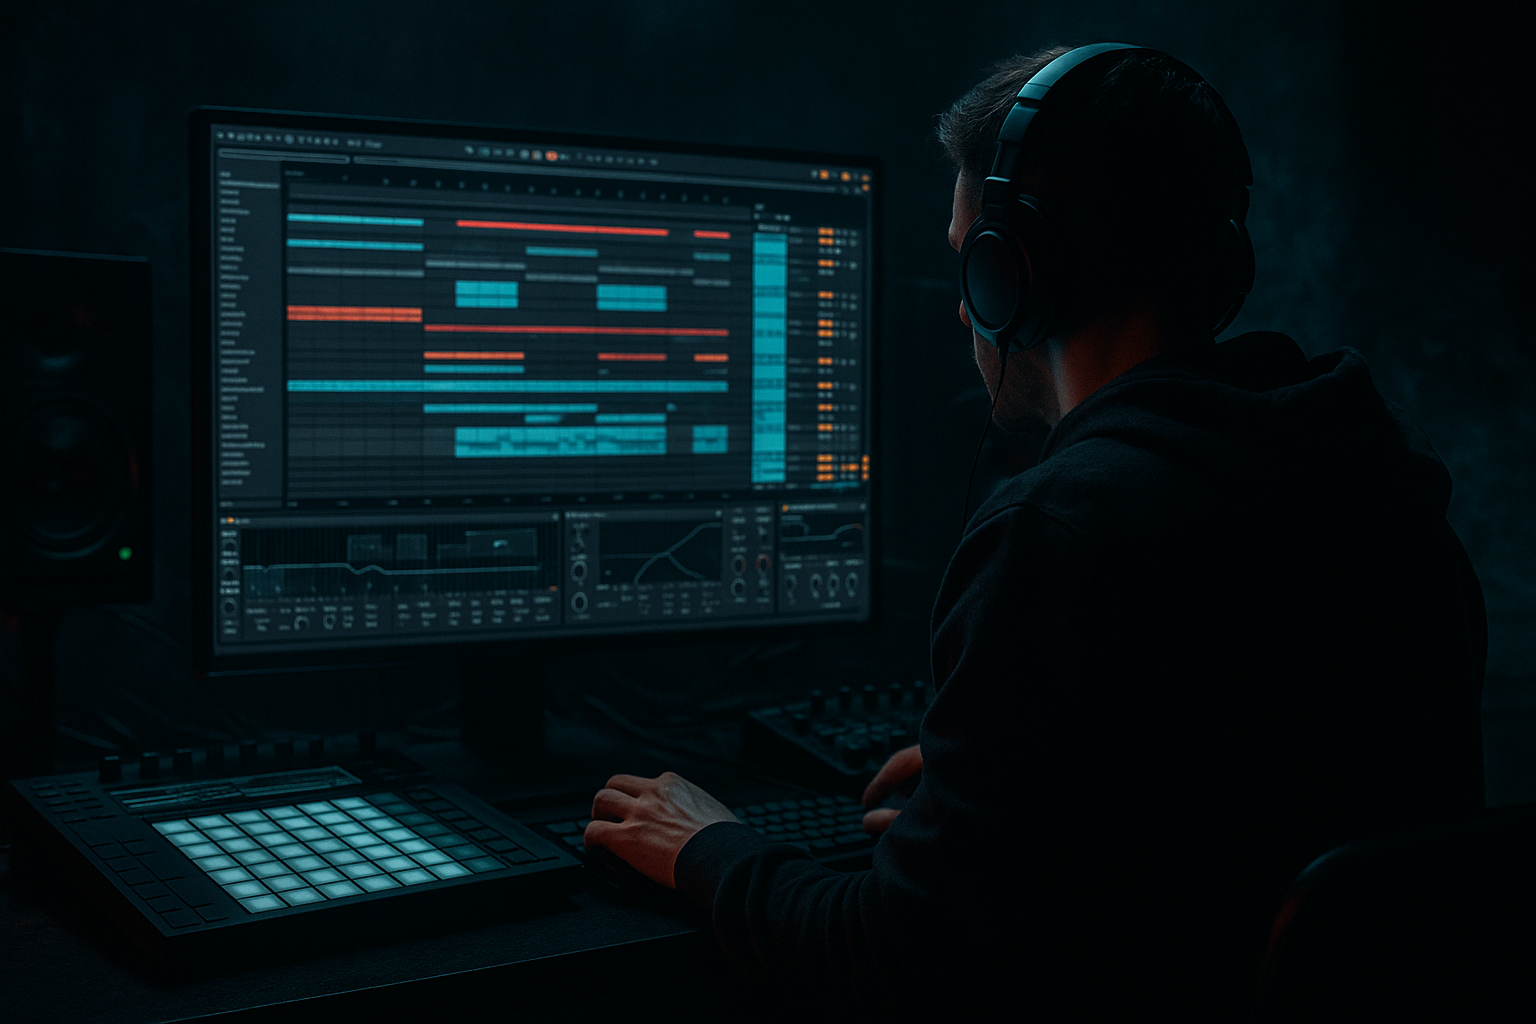
We’ll focus on a practical Ableton Live approach using stock devices: Operator or Wavetable, Saturator, EQ Eight, Utility, Compressor, Auto Filter, and Drum Buss. We’ll also shape the line in Session View, so you can loop, audition, and resample ideas quickly while keeping headroom intact. That makes this perfect for beginners learning how to make bassline ideas in a DnB context without overmixing too early.
Why this technique matters in DnB:
- Oldskool jungle and DnB basslines often rely on simple notes with strong movement
- Headroom is crucial because the breakbeat transients need space
- A bassline that is too wide or too loud will blur the groove
- Session View is ideal for testing call-and-response, variation, and drop energy before committing to Arrangement
- A mono sub layer carrying the low end
- A mid-bass layer with reese-style movement or gritty harmonic texture
- Controlled volume so the bass does not crush the mix bus
- A simple call-and-response phrase that leaves space for breakbeats
- A version you can loop in Session View, then later drag into Arrangement for a drop
- Making the bass too loud too early
- Putting stereo width on the sub
- Letting the mid-bass own the low end
- Using too many notes
- Ignoring note length
- Over-saturating the bass
- No arrangement thinking in Session View
- Use tiny pitch movement on the mid-bass for menace. Even a subtle envelope drop can create a more alive, restless feel.
- Automate filter cutoff on the second half of a phrase to create tension before the repeat.
- Resample your bass after adding saturation if it sounds good. In Ableton, bouncing to audio can help you commit and simplify the chain.
- Keep the sub simple, then let the mid-bass get dirty. That separation is the backbone of clean heavy DnB.
- Try short bass rests before snare hits. Silence is a weapon in jungle and rollers.
- Use ghost notes sparingly in the bassline to mimic the twitchy energy of chopped breaks.
- Make one bass note intentionally longer than the others for a mini hook. That helps the listener remember the phrase.
- Reference classic jungle spacing: drums up front, bass controlled, atmospheres around the edges, not everything at once.
- Build the bass in layers: mono sub first, mid-bass second
- Keep the sub clean, mono, and controlled
- Use EQ Eight, Utility, Saturator, Auto Filter, and Drum Buss to shape tone without blowing up the mix
- Leave space for breakbeats so the bass feels heavier
- Use simple call-and-response phrasing for authentic jungle/DnB movement
- Keep headroom while working so the mix stays flexible later
- In Session View, make A/B bass variations for better arrangement and drop energy
---
What You Will Build
By the end of this lesson, you’ll have a 2-bar or 4-bar session clip that sounds like a proper DnB bass idea:
Musically, think of it as a dark, stripped-back jungle bass phrase that could sit under an Amen or classic halftime-ish break. It should feel like it belongs in a tune where the drums are doing most of the rhythmic talking, and the bass is answering them with tension and pressure.
---
Step-by-Step Walkthrough
1. Set up a clean Session View test bed
Open a new Live Set and set the tempo to 170–174 BPM for classic jungle/DnB energy. If you want a more rollers feel, 172 BPM is a great starting point.
Create:
- 1 MIDI track for Sub Bass
- 1 MIDI track for Mid Bass
- 1 Drum track with a breakbeat loop or your drum rack
- 1 return track for reverb or delay if needed later
Keep the track faders low at first. A strong beginner habit is to leave the master peaking around -6 dB to -8 dB while building the idea. This is your headroom safety zone.
If you’re using Session View, set each bass clip to loop over 2 bars. That gives enough room for movement without overcomplicating the phrase.
2. Build the sub bass first with Operator or Wavetable
For a beginner-friendly DnB sub, use Operator:
- Oscillator A: Sine wave
- Turn off or ignore extra oscillators for now
- Envelope: short attack, full sustain, short release
- Keep it clean and simple
Suggested starting points:
- Attack: 0–5 ms
- Release: 50–120 ms
- Volume: keep it moderate, not maxed
Write a simple bassline using 1/4 notes, 1/8 notes, or a short syncopated pattern. In oldskool jungle, less is often more. Try notes that answer the drums instead of fighting them. For example:
- Bar 1: root note on beat 1, shorter note on the “and” of 2
- Bar 2: repeat the root, then move up a 3rd or 5th for tension
Why this works in DnB: a sine-based sub gives you the low-end weight without unnecessary harmonics. That leaves room for the breakbeat transients and kick punch.
3. Add a mid-bass layer for character and movement
Duplicate the MIDI clip to a second track and use Wavetable or another Operator instance for the mid-bass.
Good beginner-friendly settings:
- Oscillator: saw or square-based tone
- Unison: keep it modest, around 2 voices
- Detune: subtle, around 5–12% or just enough to thicken it
- Filter: low-pass around 120–250 Hz to start
- Drive: light to moderate
For oldskool jungle flavor, you want a reese-adjacent tone, not a huge cinematic wobble. Add movement with:
- Slight filter modulation
- Subtle detune changes
- Small pitch movement in the envelope
- Gentle saturation later
Keep this layer lower than you think. Its job is to add edge and texture, not take over the low end.
4. Control the sub and mid layers with Utility and EQ Eight
On the Sub Bass track:
- Add Utility
- Turn Width to 0% so the sub stays mono
- If needed, reduce gain slightly to create headroom
- Add EQ Eight and high-pass only if there’s unwanted rumble below around 20–30 Hz
On the Mid Bass track:
- Add EQ Eight
- High-pass around 80–120 Hz to keep it out of the true sub zone
- If it’s muddy, dip a little around 200–400 Hz
- If it’s harsh, gently tame 2–5 kHz
This split is one of the most important beginner habits in DnB bass design. The sub owns the bottom, while the mid-bass carries the personality. That separation is how you get power without the mix getting cloudy.
5. Shape the bass tone with Saturator and Drum Buss
On the mid-bass track, add Saturator:
- Drive: start around 2–6 dB
- Soft Clip: turn on if the tone gets spiky
- Output: trim down to match the original level
On the same or another bass layer, try Drum Buss lightly:
- Drive: 5–15%
- Damp: adjust until the top end stays controlled
- Crunch: use subtly for grit
- Boom: be careful; for bass design, very small amounts only
This gives the bass harmonic content that reads on smaller speakers. In DnB, that’s huge because sub alone may not translate on club systems with imperfect low-end conditions.
Important: saturation should make the bass feel more present, not louder in an uncontrolled way. Always level-match after adding it.
6. Program a simple DnB phrase with space for the drums
Now shape your MIDI into a phrase that works with breaks. In DnB, the bass should not constantly play over every drum transient. Leave room.
Try this simple structure in a 2-bar loop:
- Beat 1: root note
- Beat 2 “and”: short answer note
- Beat 3: root or fifth
- Beat 4: a pickup note or silence
- Second bar: repeat with one small variation
A classic jungle habit is call-and-response:
- Call: strong note or slide-like movement
- Response: shorter, lower-energy answer
- Silence: let the break breathe
If you’re using a chopped breakbeat, place bass notes around the snare hits instead of on top of every transient. The bass will feel heavier because the drums have room to punch.
Musical context example: imagine an Amen break with a snare on beat 2 and 4. Put the bass so it reinforces the groove after the snare rather than masking it. That creates the push-pull feeling that makes jungle bounce.
7. Use automation for movement instead of stacking more layers
Beginner producers often add too many sounds when a little automation would do the job. In Ableton Live, automate:
- Auto Filter cutoff on the mid-bass
- Saturator drive for a brief energy lift
- Utility gain for small level moves
- Pan very subtly on mid texture only, if needed
Suggested automation ideas:
- Open the filter slightly in the last half of bar 2 for a lift into the loop repeat
- Increase saturation by 1–2 dB only on the final note for tension
- Cut the bass for a quarter beat before a drop to create impact
If you want a darker vibe, automate the filter to close down slightly on the second repeat. That creates a moody, underground feel without changing the notes.
8. Check headroom with the drums on and balance the track
Now bring in your breakbeat or drum loop and listen to the relationship. This is where the lesson becomes real.
Things to check:
- Does the kick still punch through?
- Does the snare feel clear and snappy?
- Is the bass stealing all the low-end energy?
- Does the master peak too hot?
Use your ears first, but also watch the master level. Keep a comfortable amount of space. A good beginner target is leaving the master peaking below -6 dB while building the tune.
If the low end feels too big:
- Lower the sub track by 1–3 dB
- Shorten note lengths
- Reduce saturation on the mid-bass
- High-pass the mid-bass a little more
If the bass feels weak:
- Add a touch of saturation
- Slightly increase note velocity
- Extend note length a little
- Check that the sub is not phase-canceling or being stereo-widened
9. Turn the loop into a drop-ready session idea
In Session View, make two versions of the clip:
- A version: simple, stripped-back bassline
- B version: slightly busier variation with one extra note or automation move
Use Scene launching to test:
- Intro-like version with fewer notes
- Drop version with the full bass phrase
- Switch-up version with a different ending note or a stop
For jungle and oldskool DnB, this is the difference between a loop and a track. You want phrasing. Try 8-bar thinking:
- Bars 1–4: establish the bass movement
- Bars 5–8: add variation, filter movement, or a brief fill
- Then drop to a stripped version to reset energy
When you’re happy, drag the best clip into Arrangement View. Now you have a bass idea that already behaves like part of a tune, not just a loop.
10. Do a quick mono and harshness check
Before you move on, add Utility to the master temporarily or use it on the bass bus to check mono. If the bass collapses badly in mono, the mid-bass is probably too wide or too phasey.
Quick fix list:
- Keep the sub mono
- Reduce unison width on Wavetable
- Remove unnecessary stereo effects from low frequencies
- High-pass the mid-bass a bit more if the low end gets blurry
Then listen for harshness. DnB bass can get sharp fast, especially with saturation. If the upper mids hurt:
- Use EQ Eight to gently dip the most aggressive frequency
- Reduce Drive on Saturator
- Soften the filter resonance
---
Common Mistakes
Fix: lower track volume and build the sound with saturation, not fader gain.
Fix: keep sub frequencies mono with Utility at 0% width.
Fix: high-pass the mid layer around 80–120 Hz.
Fix: simplify the phrase so the drums can breathe. DnB bass often hits harder when it leaves space.
Fix: shorter notes can improve groove and reduce low-end overlap with the kick and snare.
Fix: level-match after adding Saturator or Drum Buss. If the bass sounds louder only because it’s distorted, you may be fooling yourself.
Fix: create an A and B version of the bassline so the track can evolve.
---
Pro Tips for Darker / Heavier DnB
Why this works in DnB: the genre is built on contrast. The drums hit hard because the bass leaves room; the bass feels huge because it’s not constantly competing with the snare. Controlled low end creates more perceived power than an overloaded mix.
---
Mini Practice Exercise
Spend 10–20 minutes making a 2-bar bassline in Session View.
1. Load Operator on one MIDI track and create a sine sub.
2. Duplicate the track or make a second MIDI track for a mid-bass using Wavetable.
3. Write a simple root-note pattern in 172 BPM.
4. Add Utility to the sub and make it mono.
5. Add EQ Eight to the mid-bass and high-pass it around 100 Hz.
6. Add Saturator to the mid-bass with 3–5 dB Drive.
7. Make two clip variations:
- Version A: simple and sparse
- Version B: one extra note or a small filter automation
8. Loop both versions against a breakbeat and compare which one leaves more headroom.
9. Reduce any part that feels too wide, too loud, or too busy.
10. Export or resample the best version and name it clearly.
Goal: by the end, you should have one bass loop that feels dark, heavy, and clean enough to sit under drums without fighting them.
---

