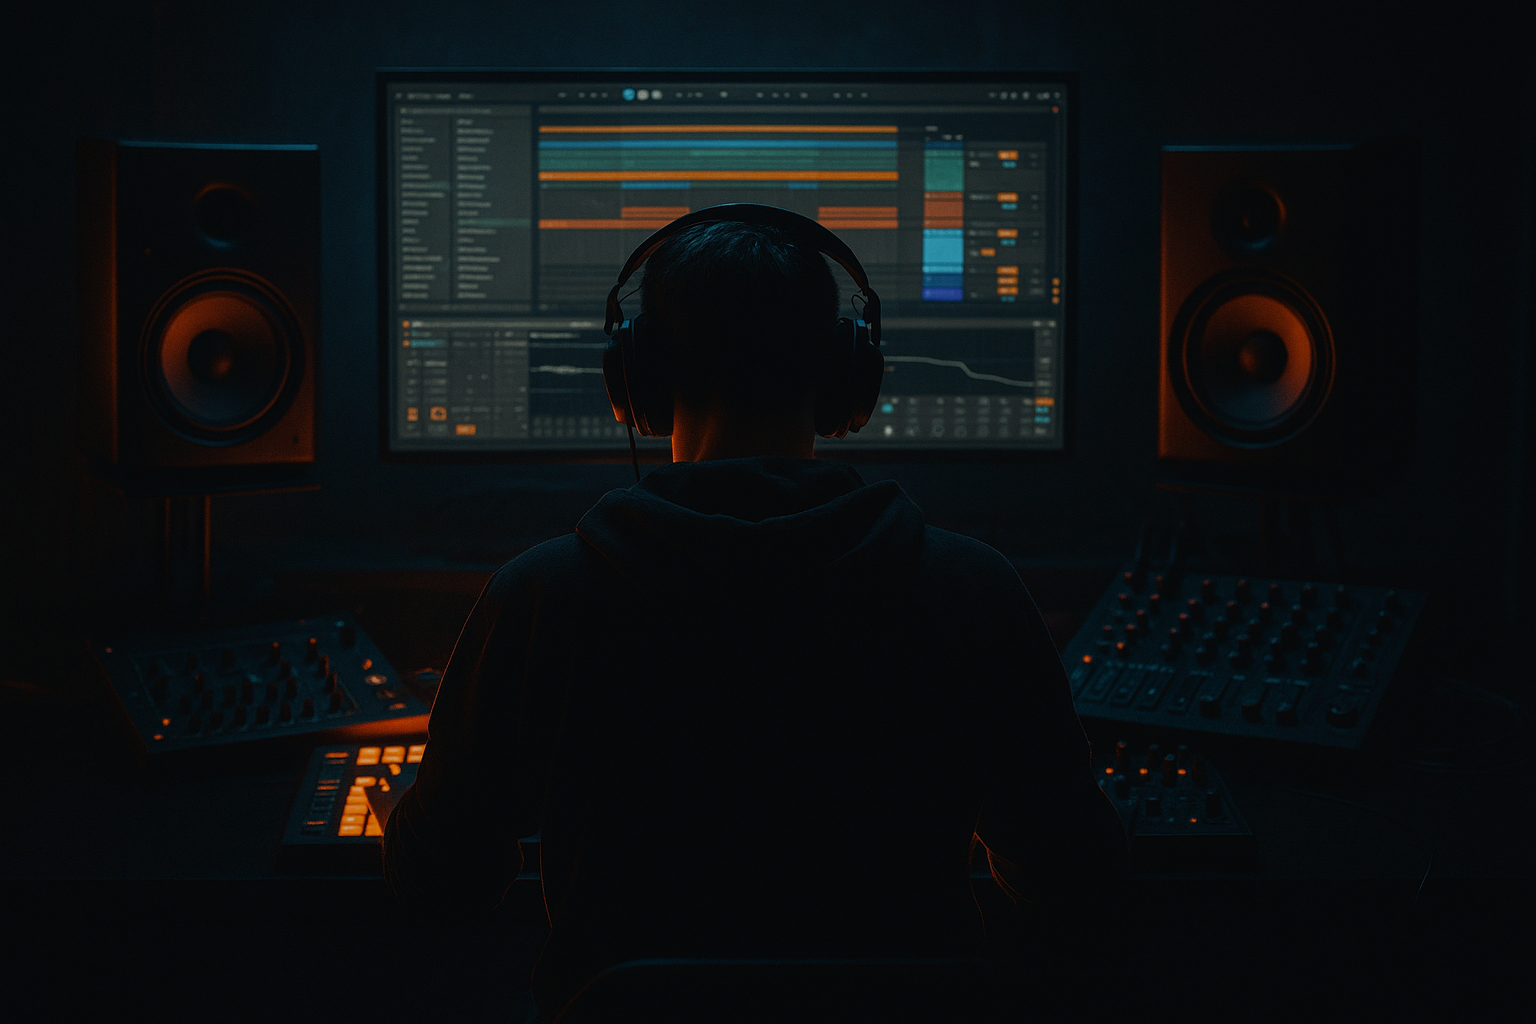
Main tutorial
Session → Arrangement: Sampler Rack Workflow for Oldskool Jungle / DnB Drums (Ableton Live 12) 🥁⚡
1. Lesson overview
This lesson is about building a performance-ready sampler rack in Session View, jamming classic jungle/oldskool DnB drum programming, and then printing that performance into Arrangement View cleanly—with variation, fills, edits, and resampling baked in.
You’ll focus on:
- Drum Rack + Simpler/Sampler layering for Amen-style chop energy
- Session View clip workflows for rapid pattern iteration
- Follow Actions + clip variations for “alive” breaks
- Recording and consolidating into Arrangement for serious editing and mixdown
- A break-chop rack (Amen/Funky Drummer style) with macro control
- A tight kick/snare layer for modern punch under oldskool grit
- Perc + ride/hat lanes for rolling motion
- A resample/print workflow that lets you bounce loops to audio for fast arrangement
- A Session View grid of 8–16 clips (A/B/C variations + fills)
- A recorded Arrangement View drum take ready for detailed edits and transitions
- Select all break slice chains → Cmd/Ctrl+G (create an Instrument Rack inside Drum Rack chain)
- Now you can process the whole break group together.
- Macro 1: Break HP → Auto Filter Freq (HP) 40–250 Hz
- Macro 2: Dirt → Saturator Drive 0–8 dB
- Macro 3: Smash → Drum Buss Drive 0–20
- Macro 4: Crunch → Drum Buss Crunch 0–20
- Macro 5: Room → Reverb Dry/Wet 0–12%, Decay 0.4–1.2s
- Macro 6: Glue → Compressor Threshold (aim 1–3 dB GR)
- Macro 7: Width → Utility Width 80–120% (careful on drums)
- Macro 8: Output Trim → Utility Gain -6 to +3 dB
- Scene 1: `A - Rolling (main)`
- Scene 2: `A2 - Rolling (hat lift)`
- Scene 3: `B - More chops (busier)`
- Scene 4: `Fill 1 (1 bar)`
- Scene 5: `Fill 2 (1 bar, snare rush)`
- Scene 6: `Drop reset (stop hats, heavy kick)`
- Scene 7: `Breakdown (filtered break)`
- Scene 8: `Outro (ride + edits)`
- Main loops: 4 or 8 bars
- Fills: 1 bar (sometimes 2 bars)
- Keep break slices mostly on offbeats + ghost hits
- Use consistent snare backbeat at beat 2 and 4 (DnB half-time feel inside 2-step framework)
- Sprinkle 32nd-note stutters at phrase ends (bar 4/8)
- Duplicate your main clip 3–5 times.
- In each duplicate:
- Hit Tab to go to Arrangement and you’ll see your clip launches as an arrangement.
- Right-click the drum track → Freeze Track
- Right-click again → Flatten
- Now you’ve got audio on the track.
- 0–16: Intro (filtered break, sparse hats)
- 16–32: Add kick/snare layer + bass tease
- 32–64: Drop 1 (main rolling)
- 64–80: Breakdown (HP filter, dubby space)
- 80–112: Drop 2 (heavier, more edits, extra ride)
- 112–128: Outro (strip layers, leave break texture)
- Last 1/2 bar: snare rush (16ths/32nds)
- Last beat: tape stop / rewind FX hit (keep it tasteful)
- Bar 32/64: hard edit (silence for 1/8) then slam back in
- Over-warping the break: if transients smear, your whole groove loses bite. Use Beats warp and keep it tight.
- Too many layers fighting: break + kick + snare + hat stack can get harsh fast. Use EQ Eight to make lanes.
- No velocity strategy: jungle swing isn’t only timing—it’s ghost-note dynamics.
- Recording without macro discipline: random macro wiggling prints chaos. Perform with intention (phrase-based changes).
- Staying MIDI forever: classic jungle often shines once you commit to audio and start cutting.
- Parallel smash bus (stock only):
- Mono the low end:
- Darkness = controlled top:
- Metallic ride control:
- Create “hardware grit” quickly:
- You built a jungle-focused sampler/drum rack with break chops + punch layers.
- You used Session View like an instrument: clips = sections, not just loops.
- You added Follow Actions for authentic break variation.
- You recorded your performance into Arrangement, then committed to audio for real jungle editing.
- You now have a workflow that’s fast, performable, and rooted in oldskool DnB energy 🔥
Skill level: Advanced (you already know Live basics, warping, routing, and drum programming fundamentals).
---
2. What you will build
A single Drum Rack instrument that contains:
Plus:
---
3. Step-by-step walkthrough
Step 0 — Set the project up for jungle tempo + swing
1. Set tempo to 165–174 BPM (try 172 BPM for classic energy).
2. In Groove Pool, load one groove:
- MPC 16 Swing 55–60 (start at 56)
- Set Timing 80–100%, Random 5–10%
3. Set global quantization to 1 Bar (later you’ll switch to 1/2 Bar when performing fills).
> Jungle feel comes from controlled looseness—use groove, but don’t destroy transients.
---
Step 1 — Build the “All Drums” Drum Rack (performance-centric)
1. Create a MIDI Track → drop Drum Rack on it.
2. Name it: `DRUMS - Jungle Rack`.
3. Create these pad groups (you can color-code):
- Pads C1–F1: Break chops (8–16 slices)
- Pads G1–A#1: Kick layers
- Pads B1–D2: Snare/clap layers
- Pads E2–G2: Hats/rides
- Pads A2–C3: Perc + FX hits (rewinds, impacts)
---
Step 2 — Chop a break inside the rack (Simpler Slice mode)
For classic jungle, use an Amen or similar. The “oldskool” trick is fast slicing + re-ordering, not pristine multiband perfection.
1. Drag a break sample onto pad C1 (it loads a Simpler).
2. In Simpler:
- Mode: Slice
- Slicing: Transient
- Sensitivity: adjust until you get ~12–24 slices
- Playback: Thru (good starting point)
- Turn Warp ON if needed; set Warp mode to Beats
- Preserve: Transients
- Envelope: ~20–40 (tighter chops)
3. Right-click Simpler → Slice to Drum Rack if you want each slice on its own pad.
- Or keep it in one pad if you prefer triggering slices via MIDI notes (advanced users often go full slice-to-rack for speed).
Pro jungle move: If you slice-to-rack, group those slice pads into a Drum Rack “Break Group”:
---
Step 3 — Add modern punch under the break (kick/snare layers)
Oldskool breaks often need a focused sub-punch kick and a consistent snare transient.
Kick chain (pad G1):
1. Load a tight kick (909-ish or modern DnB kick).
2. Add EQ Eight:
- HP filter at 25–30 Hz
- Small dip at 200–350 Hz if boxy
3. Add Saturator:
- Drive 2–6 dB
- Soft Clip ON
4. Add Compressor (not sidechain yet):
- Attack 10–30 ms
- Release 60–120 ms
- Ratio 2:1–4:1
Snare layer (pad B1):
1. Load a snare with a clean transient.
2. Add Drum Buss:
- Drive 5–15
- Crunch 0–10 (taste)
- Boom OFF (usually; let subs be clean)
3. Add EQ Eight:
- Boost 180–220 Hz slightly if you need body
- Presence boost 3–6 kHz for crack
> Goal: break provides character; layers provide consistency.
---
Step 4 — Macro-control the rack for performance 🎛️
Create an Audio Effect Rack on the Drum Rack track (after Drum Rack), or macro inside your grouped break rack.
Add these stock devices (post Drum Rack):
1. Auto Filter (for “telephone” / sweep)
2. Saturator
3. Drum Buss
4. Compressor (glue)
5. Reverb (short room for snares)
6. Utility (mono control)
Map key parameters to 8 macros (example):
Keep these performable: big audible changes, no fiddly micro-moves.
---
Step 5 — Session View: build a clip matrix that “performs” like a DJ
Now you’ll create clips that represent sections and variations, not just loops.
Scene layout suggestion:
Clip lengths:
MIDI programming approach (advanced but fast):
Clip Variation tricks:
- Replace 1–2 snare hits with alternative slices
- Add 1–3 ghost notes (lower velocity)
- Add a quick reverse cymbal or rewind hit at the end
---
Step 6 — Make Session clips evolve automatically (Follow Actions) 🤖
This is where oldskool “break breathing” happens without you drawing 500 edits.
1. For your break-chop clips, open Clip View → Launch.
2. Enable Follow Action (Live 12 supports modernized clip launching options).
3. Example settings (for 4-bar clips):
- Follow Action time: 4 Bars
- Action A: Next
- Action B: Other
- Chance: 70% Next / 30% Other
4. For fills:
- Follow Action time: 1 Bar
- Action: Previous or First (returns to main groove)
Result: you launch one main scene, and it cycles through variations like a proper jungle tape.
---
Step 7 — Record your Session performance into Arrangement View 🎚️➡️📜
Now capture the jam.
1. Turn on Arrangement Record (top transport record).
2. In Session View, start launching scenes/clips like a DJ:
- 16 bars `A`
- 16 bars `A2`
- 16 bars `B`
- Fill every 8 or 16 bars
- Breakdown filtered for 8 bars
- Drop reset, then back to A
3. While recording, perform macros:
- Filter sweeps into fills
- Slight Dirt increase at the second drop
- Room up briefly on snare rush
After recording:
---
Step 8 — Commit to audio for “real” jungle edits (Resampling workflow)
Oldskool jungle often becomes magical when you print, cut, and reprocess.
Option A: Freeze/Flatten (fast)
Option B: Dedicated resample track (more flexible)
1. Create a new Audio Track called `DRUM RESAMPLE`.
2. Set Audio From: your drum track (or “Master” if you want full vibe).
3. Arm and record key 8–16 bar sections.
4. Slice the resulting audio:
- Right-click the audio clip → Slice to New MIDI Track
- Choose Transient slicing
- Now you can re-trigger your own recorded breaks like classic hardware sampling.
---
Step 9 — Arrangement ideas: classic 32/64-bar jungle structure
A proven template:
Phrase-end habits (very jungle):
---
4. Common mistakes
---
5. Pro tips for darker/heavier DnB 😈
- Create a Return track `DRUM SMASH`
- Add Drum Buss (Drive 20, Crunch 15) → Saturator (Drive 6–12, Soft Clip ON) → EQ Eight (HP at 80–120)
- Send breaks/snare to it lightly (-18 to -10 dB send)
- On drum group, Utility → Bass Mono ON, set around 120 Hz (or do it on master later).
- Use Auto Filter LP around 14–18 kHz with slight resonance to tame fizz while keeping presence.
- Dynamic-ish manual trick: automate ride clip velocity or use EQ Eight dips around 6–9 kHz when it gets painful.
- Redux very lightly on the break group:
- Downsample: 1.2–2.5
- Bits: 12–16
- Mix via device Dry/Wet 5–20%
---
6. Mini practice exercise (20 minutes) ⏱️
1. Build 3 main clips (A, A2, B), each 8 bars:
- A: basic roll
- A2: add hats + 2 extra ghost hits per bar
- B: add 1 micro-stutter per 2 bars (32nd notes)
2. Build 2 fill clips, 1 bar each:
- Fill 1: snare rush into crash
- Fill 2: break-only edit (mute kick layer)
3. Add Follow Actions to A/A2/B:
- 8 bars → Next (70%) / Other (30%)
4. Record 2 minutes of a Session performance into Arrangement.
5. Freeze/Flatten OR resample to audio, then:
- Cut one 1/8-bar silence before Drop 2
- Add one reverse cymbal into the silence
Deliverable: a 2-minute drum arrangement that feels like it evolves without sounding random.
---
7. Recap
If you want, tell me whether you’re using Amen, Think, or another break and I’ll suggest a slice map + 3 clip patterns that match that break’s phrasing.

