Main tutorial
Lesson Overview
In this lesson, you’ll build a Session View top-loop riser system for pirate-radio energy in Ableton Live 12, designed specifically for oldskool jungle / early DnB vibes. The goal is not just “a rise effect,” but a performance-ready top-loop transition layer that can lift a section, hype a drop, and keep the track sounding urgent and raw without turning into generic EDM gloss.
This matters because in DnB, especially jungle and darker rollers, the top-end energy often carries the emotional tension between the drums and the bass. A well-designed riser can:
- push a loop into a drop without killing the groove,
- create that frantic “tuning into pirate radio” urgency,
- make simple arrangement changes feel big,
- and help your transitions stay gritty and authentic rather than polished and overdone.
- a 2- or 4-bar top-loop riser clip made from hats, break fragments, noise, and FX,
- a riser chain using stock Ableton devices like Simpler, Auto Filter, Saturator, Echo, Reverb, and Utility,
- a macro-controlled transition track that can open up in the last 1–2 bars before a drop,
- and a DJ-friendly clip setup that you can launch in Session View as part of a live-feeling arrangement.
- chopped top-break energy,
- filtered white noise sweep,
- subtle reverse textures,
- and hissy, anxious movement that ramps into a drop or switch-up.
- Making the riser too loud too early
- Using too much sub or low-mid content in the loop
- Over-smoothing the texture
- Letting the riser fight the snare roll or break fill
- Excessive stereo widening
- Using a generic EDM-style swoop
- Layer a detuned reese texture very quietly under the top loop
- Automate saturation intensity instead of only volume
- Use reversed break tails
- Push short delay throws with Echo
- Use a narrow band-pass sweep for darker material
- Automate clip pitch for tension
- Print variations
In Session View, this becomes even more powerful. You can trigger riser clips like a live DJ: building tension before a drop, switching energy between sections, or layering short chaos bursts over a break edit. For pirate-radio style DnB, this kind of hands-on session workflow feels natural because the vibe is immediate, rough, and performance-driven.
The key idea: we’re going to make a top-loop riser lane that combines break-based noise, pitch movement, automation, filtering, and rhythmic interruption. The result should feel like a moving sheet of air, static, hats, and chopped break fragments that climbs toward the drop while still sounding like it belongs in a jungle tune.
What You Will Build
By the end of this lesson, you’ll have a Session View scene-ready top loop riser that you can drop into any DnB arrangement to create pirate-radio tension.
Specifically, you’ll build:
Musically, the result should sit on top of your drum/bass system without muddying the low end. Think:
A good version of this sounds like a pirate-radio tuner being spun while the break accelerates toward impact. It should work in a tune that goes from a sparse intro into a rolling drop, or from a jungle break section into a heavier neuro-leaning bass switch.
Step-by-Step Walkthrough
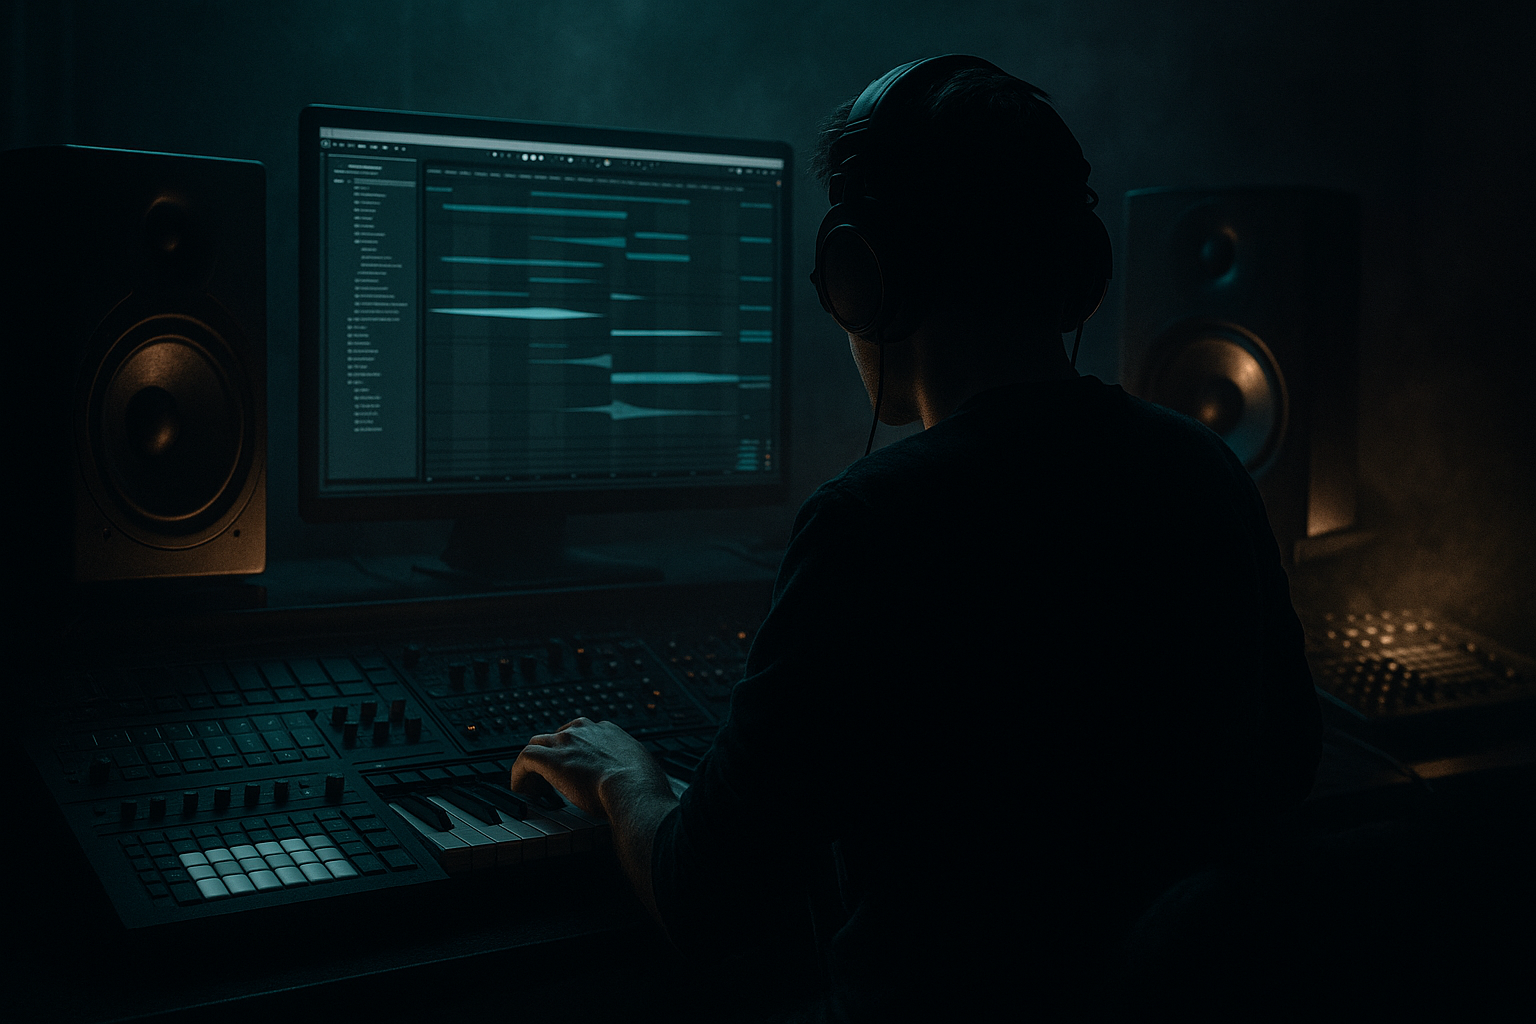
1. Set up a dedicated riser track in Session View
Create a new audio track called Top Loop Riser. Keep it separate from your drum bus and bass group so you can control it cleanly.
Start by loading a short sampled top loop or a sliced break top from your own library. Good source material:
- the top half of an old break,
- isolated hats/cymbals,
- vinyl crackle or radio static,
- a short reverse cymbal,
- or chopped percussion from a jungle drum recording.
If you’re starting from a break, use Simpler in Slice mode or drag the audio into a clip and chop manually. Keep the source mostly mid/high frequency content so the riser doesn’t fight the kick and sub.
For Session View, make a 2-bar clip and a 4-bar clip. The 2-bar version is for fast switch-ups; the 4-bar version is for bigger drops. This gives you arrangement flexibility later.
2. Shape the source with Simpler, Warp, and a controlled envelope
If you use Simpler, set it to Classic mode for a more sampled feel, or Slice mode if you want break fragments to jump rhythmically.
Useful starting settings:
- Warp ON for any audio-based material
- Transpose: +3 to +12 semitones depending on how bright you want the lift
- Start position: move it slightly forward so the attack is tight
- Fade: short, around 5–20 ms if clicks appear
- Voices: 1 if it’s a monophonic movement layer
If you’re using a looped audio clip directly, experiment with Warp mode: Beats for drum-derived top loops, or Complex Pro if the texture becomes more tonal and you want smoother stretching.
The reason this works in DnB is simple: the riser’s job is to increase perceived speed and tension, not to become a lead sound. A tighter, slightly accelerated top loop makes the drop feel faster even if the BPM doesn’t change.
3. Build the motion with Auto Filter and automation
Insert Auto Filter after the sampler or audio clip processing.
Start with:
- Filter type: High-pass or band-pass
- Cutoff: around 200–500 Hz at the start, depending on how much body you want
- Resonance: 15–35% for a sharper edge
- Drive: 0 to 10% if you need extra grit
Draw automation in the clip or in Session View’s envelope lane so the cutoff opens over the riser length:
- For a 2-bar riser, sweep from roughly 250 Hz to 10–14 kHz
- For a 4-bar riser, sweep more gradually, starting at 120–300 Hz and ending nearly fully open
If the riser feels too polite, automate a little resonance rise near the end. Just don’t overdo it—too much resonance can sound synthy and break the jungle illusion.
Add a small Volume Envelope rise too. The last 1/2 bar should feel like it’s leaning forward into the drop. In pirate-radio style DnB, that little increase in urgency can matter more than a huge whoosh.
4. Add rhythmic instability with Gate, Beat Repeat, or clip chopping
Pirate-radio energy often comes from controlled chaos. You want the top loop to feel like it’s being pulled apart near the end of the phrase.
Try one of these stock Ableton methods:
- Gate: set it after the sampler to pulse the loop more sharply
- Attack: 0–5 ms
- Hold: 10–40 ms
- Release: 40–120 ms
Use automation to open the gate toward the end for a rush of detail.
- Beat Repeat: use it subtly on the last bar only
- Interval: 1/2 or 1 bar
- Grid: 1/16 or 1/32
- Chance: 10–35%
- Chance variation: automate slightly upward in the last bar
This is excellent for that fractured “system is overheating” feel.
- Clip chopping: duplicate the clip and cut the final bar into smaller slices
Use 1/8 and 1/16 chunks with small gaps. This creates a DIY tension roll that feels more jungle than a smooth synth riser.
Why this works in DnB: the genre is built on rhythmic detail and rapid contrast. A top-loop riser that gets chopped and tightened before impact helps the listener feel the phrase turning over, especially when a break or bass call-and-response is about to hit.
5. Layer a noise riser and keep it under control
Add a second track called Noise Rise. Use Operator, Analog, or even a simple audio sample of white noise, vinyl hiss, or radio static.
If using Operator:
- turn on a single oscillator with noise or a high-frequency waveform
- keep it simple and bright
- route it through Auto Filter and Saturator
Suggested settings:
- Auto Filter cutoff sweep: 300 Hz up to 18 kHz
- Saturator drive: 2–6 dB
- Utility gain: automate +1 to +4 dB if needed
Blend this noise just enough to create lift, not so loud that it masks hats or cymbals. In a jungle context, the noise layer can sound like radio interference, tape hiss, or air pressure building before the drop.
Tip: use Reverb on the noise track with a short decay and low dry/wet to create space without washing out the mix:
- Decay: 1.2–2.5 s
- Dry/Wet: 8–20%
- Low Cut: around 300–600 Hz
6. Resample or bounce the top loop for character
Once your top-loop chain is working, resample it. This is a very DnB move because it turns a functional transition into a more characterful texture.
In Ableton, create a new audio track called Riser Print, set its input to Resampling, and record the performance of your loop with automation. Then drag that audio back into a clip slot.
After printing, you can:
- reverse the last 1/2 bar for a sucking effect,
- add tiny fades to remove clicks,
- warp the printed clip for extra movement,
- or layer it with your original for more density.
Printed risers often sound better than live chains because the transients and saturation “collapse” into a more unified texture. That collapsed texture is gold in oldskool DnB, where a little roughness helps the transition feel believable.
7. Shape the tone with Saturator, EQ, and Utility
Put Saturator before or after the filter depending on the result you want:
- Before the filter = the sweep grabs harmonics and sounds more animated
- After the filter = the opened sound gets thicker and more obvious
Suggested starting points:
- Saturator Drive: 2–8 dB
- Soft Clip: ON if the riser is peaky
- Color: subtle, if needed
- Utility Width: 0–30% for mono-safe tension, or 60–100% if it’s purely top-end
Add EQ Eight:
- High-pass the riser around 150–300 Hz
- Cut harshness around 3–6 kHz if needed
- Add a gentle shelf above 8–10 kHz only if the lift needs sparkle
Keep the low end out. In DnB, your bassline and kick/snare relationship should stay dominant. The riser exists to enhance that relationship, not crowd it.
8. Map the riser to Scene launches and arrange the tension
In Session View, create a few scenes:
- Scene 1: clean loop
- Scene 2: filtered loop
- Scene 3: chopped/beat-repeat loop
- Scene 4: full riser into drop
Use scene launch timing so the riser lands exactly on the phrase change. For classic DnB phrasing:
- build over 8 or 16 bars
- use the riser in the last 1–2 bars
- and let the drop hit cleanly on the next downbeat
A strong arrangement example:
- Intro: break + sub tease
- Bars 9–16: bass enters
- Bars 17–24: call-and-response with drums
- Bars 25–32: top-loop riser ramps over the final 2 bars
- Drop 2: full break/bass return with new variation
This is especially effective in pirate-radio-style tunes because the audience expects quick switches, tension spikes, and immediate payoff. Your top loop gives the mix a “live mixdown” feeling, like a DJ pushing the energy forward in real time.
9. Control the mix with sidechain and transient discipline
Even though this is a top-loop riser, it still needs to leave room for the kick and snare.
Use Compressor or Glue Compressor subtly if the riser spikes too much. Or sidechain the riser lightly from the kick/snare bus:
- Ratio: 2:1 to 4:1
- Attack: 1–10 ms
- Release: 50–150 ms
For break-heavy jungle, you can sidechain the riser very gently from the snare to make space for the backbeat while keeping the top-end motion intact.
Check your mono compatibility with Utility:
- reduce Width if the layer gets phasey
- keep crucial attack elements centered
- use stereo spread only on airy noise, not on all transient content
The best risers feel wide and energetic, but the mix should still hit hard in mono. That matters in club systems and pirate-radio-style translation alike.
Common Mistakes
Fix: automate gain more gradually and let the last half-bar do the heavy lifting.
Fix: high-pass aggressively. Keep the riser mostly above 150–300 Hz.
Fix: leave some break grit, static, or chopped edges. Oldskool DnB needs character, not glassy polish.
Fix: simplify the last bar. If the drums are already busy, the riser should be thinner and more filtered.
Fix: keep core elements centered or near-center. Use width mostly on noise and reverb returns.
Fix: base the riser on break fragments, hats, noise, or radio textures so it sounds like jungle, not festival dubstep.
Pro Tips for Darker / Heavier DnB
Use Operator, Wavetable, or sampled bass noise only if it stays above the low end and filtered heavily. A faint moving midrange under the riser can make the transition feel more dangerous.
A riser that gets slightly dirtier near the end often feels more intense than one that just gets louder.
Bounce the last cymbal or top-hit of the loop, reverse it, and tuck it under the final bar. That gives a sucking pre-drop motion that feels very jungle.
Try Echo with:
- Time: 1/8 or 1/16
- Feedback: 10–25%
- Filter: high-passed
- Dry/Wet automation: only rising at the end
This creates a frantic trailing tail without filling the whole bar.
Instead of a full bright open, sweep a band-pass to keep the riser claustrophobic and underground. Great for neuro-leaning or darker rollers.
A tiny upward pitch move, like +1 to +3 semitones over 2 bars, can make the loop feel like it’s accelerating. Keep it subtle or it stops sounding authentic.
Make 3 printed versions:
- clean
- noisy
- chopped
Then switch them by scene. This is a fast way to make the arrangement feel alive without rebuilding the chain every time.
Mini Practice Exercise
Spend 10–20 minutes building a two-version top-loop riser pack in Session View.
1. Pick one break top or hat loop.
2. Create a 2-bar clip and a 4-bar clip.
3. Add Auto Filter, Saturator, and Utility.
4. Automate the filter cutoff from dark to bright.
5. Duplicate the chain and make a second version with Beat Repeat or Gate added.
6. Resample both versions into audio clips.
7. Launch them against a simple drum/bass loop and check which one feels more like pirate-radio tension.
8. Make one version cleaner and one version rougher.
Goal: by the end, you should have two usable riser clips that can be dropped into a jungle or oldskool DnB arrangement immediately.
Recap
A great DnB top-loop riser in Ableton Live 12 is about controlled tension, break-derived texture, and phrase-aware automation. Keep it high-end focused, automate the filter and level, add grit with Saturator or Echo, and use Session View to trigger it like a performance tool. For pirate-radio energy, the best risers feel urgent, raw, and rhythmic — not overly polished.

