Main tutorial
Lesson Overview
This lesson is about building a think-break switchup that feels like a deliberate, high-impact DnB edit rather than a random drop in energy. The core idea is to take a rolling bassline or reese phrase, then use Ableton Live 12 Macro controls to morph it through several states: tight and functional, tense and filtered, broken and syncopated, then back into a heavier payoff. That switchup usually lives at the end of a 16-bar phrase, at the start of a second 16, or as a 2- to 4-bar setup into a new section.
In Drum & Bass, that matters because the bassline often carries both groove and arrangement identity. A switchup gives the DJ and listener a clear “something changed” moment without needing a full breakdown. It works especially well in rollers, darker halftime-leaning DnB, neuro-influenced tracks, and jungle-adjacent tunes where the break/bass relationship needs to feel alive but still club-safe.
By the end, you should be able to hear a bassline that can move between two or three distinct personalities on command: one state that locks with the drums, one state that opens up or fractures the rhythm, and one state that lands the drop again with weight intact. A successful result should feel like the bassline is performing a controlled transformation, not just being automated randomly.
What You Will Build
You’ll build an Ableton Live instrument rack or audio effect rack on a bassline that can be pushed through a think-break switchup using Macros. The finished result will have:
- a dark, rolling core tone with solid mono sub support
- a mid-bass layer that can sharpen, thin out, or widen during the switchup
- rhythmic movement that matches the drums instead of smearing over them
- a filter-and-drive transition that creates tension without killing the low end
- a final return to the drop state that feels heavier because the contrast was earned
- use only stock Ableton devices
- keep the true sub mono
- use no more than 3 main Macro movements
- make the switchup resolve back into the original groove at the end of bar 4
- one bass rack or printed audio clip with a clear main state, switchup state, and return state
- automation written across 4 bars
- a full drum loop playing underneath for context
- does the bass still read on a small speaker when the switchup happens?
- can you still hear the snare punch?
- does the return feel heavier than the switchup state?
Sonically, it should land somewhere between a crisp roller bass and a broken, pitched, think-break-flavoured edit. Rhythmic feel-wise, it should preserve the pocket of the original groove while briefly introducing more chopped or syncopated motion. In the track, it should function as a phrase marker, a tension reset, or a second-drop evolution device.
If it’s working, you’ll hear the bassline become more animated and threatening during the switchup, while the kick and snare still read cleanly. The low end should stay anchored, the groove should stay DJ-friendly, and the transition should sound intentional enough to use in an actual arrangement.
Step-by-Step Walkthrough
1. Start with a bassline that already works in the context of your drums
Build or load a bass phrase that survives a full drum loop first. Don’t begin with macro tricks. Start with a solid 8- or 16-bar bassline that already has a clear role: either a long, steady roller pattern or a call-and-response phrase with pockets around the snare.
In Ableton, keep the core on a single MIDI track or one grouped bass rack. If you’re designing from MIDI, use a simple synth voice from Wavetable, Operator, or Analog, then layer or resample later. For the first pass, keep the low end centered and straightforward. A good starting shape is:
- sub fundamental below roughly 90 Hz
- mid-bass presence around 150–800 Hz
- optional grit/attack above 1.5 kHz
Why this matters: macros work best when the source material is already musically strong. If the original bassline doesn’t groove against the kick and snare, automation will only magnify the problem.
What to listen for:
- Does the bass leave space for the snare hit on 2 and 4?
- Does the sub feel stable when the drums come in, or does it blur the kick?
2. Build a Macro-controlled rack with three musical layers in mind: sub, movement, and edge
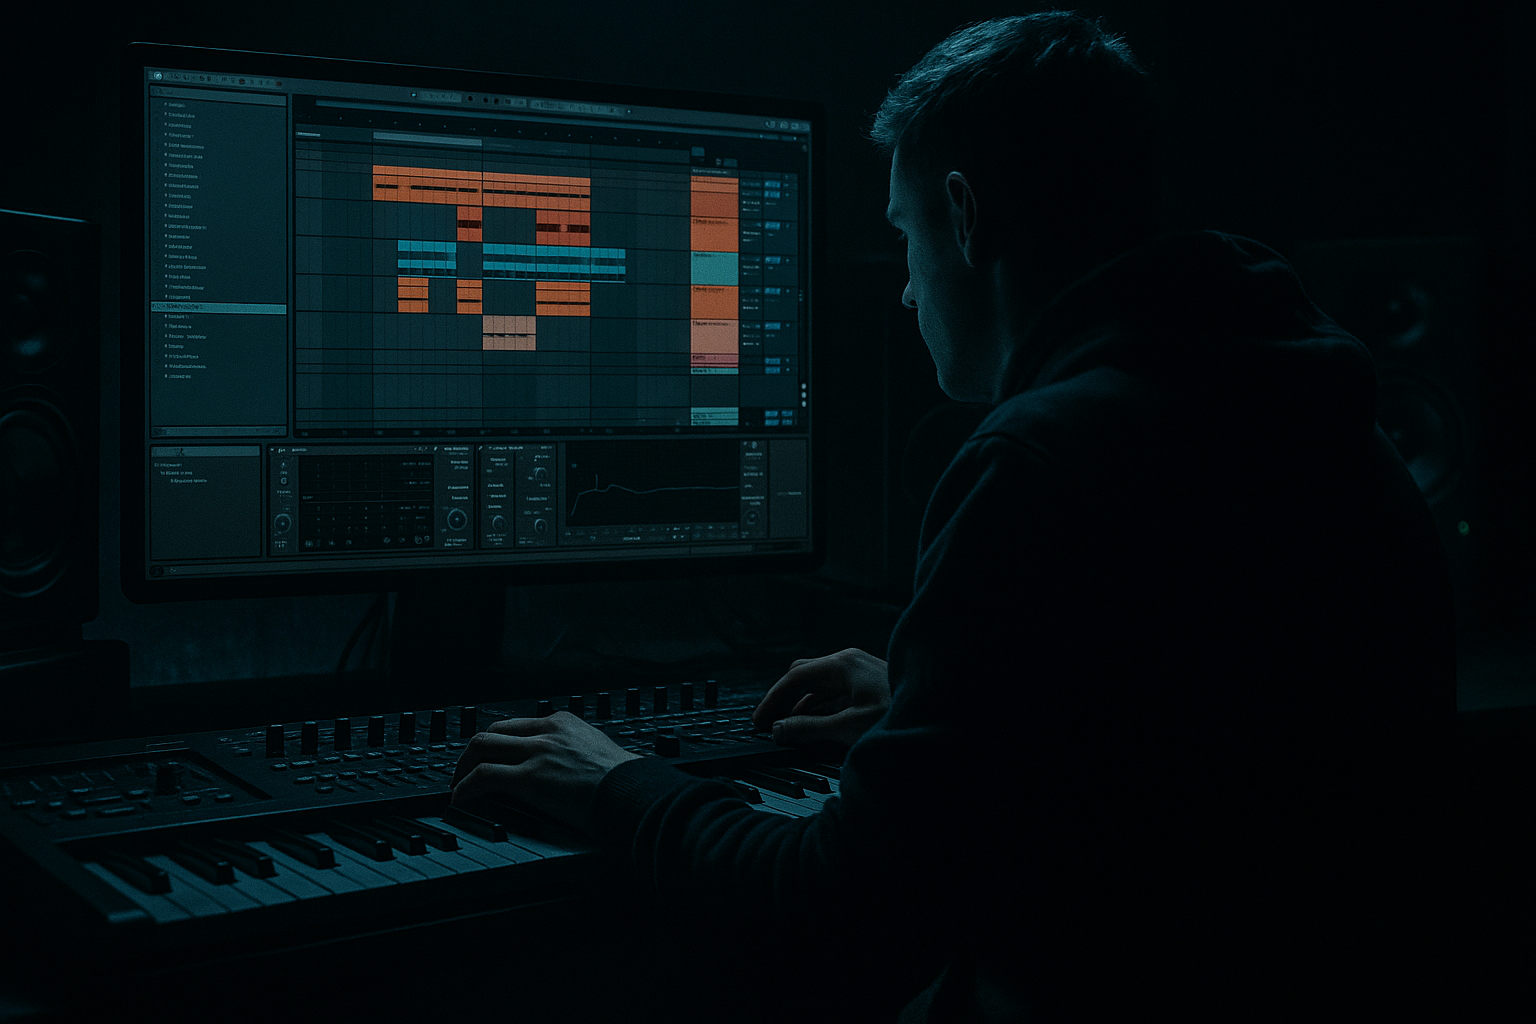
Group the bass sound into an Instrument Rack or an Audio Effect Rack depending on whether you’re working from MIDI or printed audio. Map Macros to the controls that matter for switchups.
A useful stock-device chain for a MIDI bass rack:
- Wavetable or Operator for the main voice
- Saturator for controlled harmonic density
- Auto Filter for tonal motion
- Utility for width control and mono discipline
- optional Echo or Phaser-Flanger for only the upper layer if needed, not the sub
If you’ve already printed the bass to audio, use an Audio Effect Rack with:
- EQ Eight
- Saturator
- Auto Filter
- Redux or Corpus very lightly, if the tone needs texture
- Utility at the end for width/mono checks
Map your Macros to practical, performance-ready controls:
- Macro 1: Filter cutoff
- Macro 2: Resonance or filter drive
- Macro 3: Saturator drive
- Macro 4: Width for the high or mid layer only
- Macro 5: Dry/Wet of a rhythmic effect or delay
- Macro 6: Noise layer or pitch envelope depth
- Macro 7: Sub gain trim
- Macro 8: Output trim
Keep the sub path stable. If you’re using multiple chains inside a rack, make one chain for sub, one for mids, one for grit, and keep the sub chain free of width effects.
Why this works in DnB: the dancefloor feels the bassline changing, but the fundamental anchor remains legible. That’s the difference between a switchup and low-end collapse.
3. Decide what your switchup is actually for: tension, surprise, or re-entry
Before automating anything, choose the function of the switchup. In a DnB track, there are usually three valid outcomes:
A. Tension-first switchup
The bass gets thinner, more filtered, or more syncopated for 2 bars to create anticipation before the drop returns.
B. Movement-first switchup
The bass becomes more chopped, pitched, or call-and-response driven, like a think-break variant that keeps the energy up while changing the rhythm.
Choose A if the track is already dense and you need the listener to feel the floor drop out briefly. Choose B if the tune needs more swing, more edits, or a jungle-adjacent personality.
In Ableton, this is where Macro mapping becomes composition. You are not “automating effects”; you are designing a phrase function.
4. Shape the core macro motion: filter, drive, and timing as a package
Map your main tonal Macro to Auto Filter cutoff, then pair it with drive in Saturator or Filter Drive so the sound doesn’t get weak as it closes down.
Practical starting points:
- Auto Filter cutoff sweep from around 200–400 Hz up to 2–8 kHz, depending on how open the original bass is
- Resonance kept moderate, often around 10–30% feel rather than self-oscillating extremes
- Saturator Drive around 2–6 dB on the mid layer
- Dry/Wet on any added effect no higher than 15–35% unless you’re printing a special effect moment
Do not automate only the cutoff. In DnB, a closing filter by itself can feel weak unless the harmonics are being reshaped too. The bass should sound like it is compressing into a tighter, nastier form or opening into a brighter bite — not simply fading away.
What to listen for:
- As the filter closes, does the bass retain enough harmonic information to stay audible on smaller systems?
- Does the added drive create aggression, or does it flatten the transient and lose the groove?
5. Build the rhythmic switchup with note edits or audio slices, then macro-control the variation
This is the think-break part. Create a second version of the bass phrase that is more broken, more stuttered, or more syncopated than the main loop. In MIDI, duplicate the clip and edit note lengths, start positions, and octave jumps. In audio, slice the printed bass phrase into a few purposeful chunks and re-sequence them.
A strong DnB switchup idea:
- Bar 1: keep the original bass rhythm, but shorten some notes before the snare
- Bar 2: introduce a gap on beat 1 or the “and” of 2 to make the snare feel bigger
- Bar 3: add a pitch drop or octave jump on the final note
- Bar 4: return to the main groove or hand off to the drums
Use a Macro to control either:
- the amount of rhythmic delay
- the level of the chopped layer
- the filter opening on the chopped layer only
- the dry/wet of an Echo set very subtly for width and tail
If you’re using a MIDI rack, a clean workflow is to create two chains:
- Chain A: main roller bass
- Chain B: broken switchup version
Map a Macro to fade between A and B over the switchup. This gives you a very readable A/B motion without destroying the low-end core.
Stop here if the broken version stops feeling like the same tune. The switchup should sound like a mutation of the original bassline, not a different patch dropped into the arrangement.
6. Add one controlled “think-break” edge layer, but keep it out of the sub
If the switchup needs more character, add a thin top-layer using stock devices only. Good options are:
- Wavetable noise or a high-passed duplicate
- Saturator into Auto Filter
- Redux very lightly for edge
- Short Echo on the top layer only
A useful chain for the edge layer:
- EQ Eight to high-pass around 180–250 Hz
- Saturator with modest drive
- Auto Filter for movement
- Utility to keep this layer narrow or widened only above the bass core
Map the edge layer level to a Macro so it appears only during the switchup, or use it to punctuate the last hit of the phrase.
Decision point:
- Go with narrower, more focused edge if the track is already busy and you need club clarity.
- Go with a slightly wider edge if the tune is sparse and you want the switchup to open the stereo image before the drop resets.
The key trade-off: more width can feel bigger, but it can also smear the phrase and weaken mono translation. For darker DnB, keep the actual sub mono and let only the upper harmonics widen.
7. Program Macro movement across a 2- or 4-bar phrase, not as a static “effect on/off”
Now write automation for the Macros over a musically sensible phrase. In DnB, a switchup often works best across:
- 2 bars for a quick fake-out or turnaround
- 4 bars for a more dramatic second-drop evolution
- 8 bars only if the section is acting like a featured breakdown or developmental passage
Shape the automation like this:
- bar 1: slight movement, barely shifting the tone
- bar 2: more obvious filter closing or opening
- final beat: the most dramatic rhythmic edit or edge layer moment
- return: snap back to the main bass state just before the next snare or drop hit
Don’t draw perfect straight lines everywhere. Real DnB switchups often feel stronger when the middle of the phrase is the most unstable, then the final beat resolves decisively.
What to listen for:
- Does the phrase land in time with the snare and drum ghost notes?
- Does the automation create anticipation, or does it simply make the bass feel constantly busy?
8. Check the bass switchup against the drums before you commit
Put the bass switchup directly against your drum loop, not in solo. This is where DnB lives or dies.
Watch the relationship between:
- kick transient and sub note onset
- snare impact and bass gaps
- break ghost notes and bass syncopation
- top-end hats and any new bass noise layer
If the bass switchup is fighting the drums, fix it with one of these:
- shorten note lengths by 10–30 ms
- nudge a chopped note slightly earlier or later so it sits behind the snare rather than on top of it
- reduce high-mid distortion during dense drum moments
- cut 200–400 Hz a little on the bass if the switchup is boxy
A good result should feel like the bass and drums are conversing. The bass can become more chaotic, but the kick/snare hierarchy must remain obvious.
9. Commit the best switchup moment to audio if the rack is becoming overworked
If the rack is getting too clever and you’re losing speed, render the switchup phrase to audio and keep moving. This is especially useful once the macro moves are working and you want to edit the phrase with surgical precision.
Commit to audio when:
- you’ve found a bass mutation that works
- the timing is right but the live rack is becoming too complex
- you want to slice the exact transient moments and create a cleaner second pass
After printing, you can:
- reverse a hit for a tiny pre-drop pull
- shorten the last note to make the drop reset harder
- re-EQ the printed audio so the switchup sits behind the main drop layer
This is a serious workflow efficiency move. In advanced DnB sessions, printing a strong switchup often gets you to the arrangement finish line faster than endlessly refining an over-automated rack.
10. Place the switchup in the arrangement where it earns the most impact
A useful arrangement example:
- 16 bars: main drop groove
- bars 13–16: bassline begins to thin, automate the Macro toward the switchup state
- bar 16, beat 4: short break or fill
- bars 17–18: switchup phrase, more broken rhythm and tonal tension
- bar 19: hard return to the main bass state or a new bass variation
For DJ-friendly usability, keep the switchup phrase rhythmically understandable. Even when it gets wild, the listener should still feel the phrase grid. That helps mixers, and it also makes the return feel heavier.
If this is for a second drop, make the switchup evolve rather than merely repeat the first drop’s trick. For example:
- first drop = rolling, tight, low-mid focused
- second-drop switchup = more chopped, more filtered, more midrange bite
- final return = sub stays the same, upper layer gets nastier
Common Mistakes
1. Making the sub part of the macro move
This hurts because any width, distortion, or filter sweep on the true sub weakens mono compatibility and the kick relationship.
Fix: split the sub into its own chain, keep it centered with Utility, and only map macros to the mid/high layers.
2. Over-automating too many macros at once
This makes the switchup sound indecisive and can blur the groove.
Fix: limit the main phrase to 2–3 macro moves that have clear jobs: tone, rhythm, and edge.
3. Closing the filter without adding harmonics
This causes the bass to disappear instead of transform.
Fix: pair filter movement with Saturator or another harmonic-shaping device so the bass still reads on smaller systems.
4. Using too much stereo widening on the bass layer
This can feel huge in solo but collapses the low-end focus in the mix.
Fix: keep the bass core mono and only widen the top layer, then check in Utility with Width at 0% for mono sanity.
5. Letting the switchup fight the snare
If the broken bass notes land directly on key snare moments, the drum impact gets masked.
Fix: move or shorten notes around the backbeat, and give the snare a clear pocket.
6. Making the switchup too long
In DnB, a switchup that overstays its welcome can kill dancefloor momentum.
Fix: keep most switchups to 2 or 4 bars unless the arrangement specifically needs a feature section.
7. Forgetting the return
If you don’t design the return to the main bass state, the switchup feels like an interruption instead of an event.
Fix: automate a decisive snap-back in filter, drive, or chain balance on the last beat before the next section.
Pro Tips for Darker / Heavier DnB
Use subtle pre-distortion EQ before Saturator if the bass is too muddy in the switchup. A gentle cut around 200–350 Hz can stop the phrase from clouding the snare zone, especially when the mid layer gets more aggressive.
If you want menace without losing clarity, let the switchup get narrower before it gets louder. A darker move is often better when the high layer becomes more focused and nasal rather than just bigger. That creates tension while keeping the groove readable.
For neuro-leaning heaviness, map one Macro to small changes in filter cutoff and another to drive, but keep the range tight. In heavier DnB, tiny movements can feel like large emotional shifts if they are rhythmically timed. A 5–15% move at the right moment can hit harder than a dramatic sweep.
If your track is very dark, consider a switchup where the bass briefly ducks in density instead of volume. A thinner, meaner phrase followed by a full sub return can feel more dangerous than nonstop distortion.
For extra underground character, resample the switchup once it works and then manually edit one or two transients. A single clipped note, a reversed tail, or a short gap before the snare can add personality without destroying the mix.
When the break element is part of the bass identity, keep the top end disciplined. A noisy switchup is only useful if the hats, ride, and snare crack can still dominate the upper transient space. If the bass is stealing that lane, reduce the high-shelf energy or shorten the effect tail.
Mini Practice Exercise
Time box: 15 minutes
Goal: build a 4-bar think-break bass switchup that works under a standard DnB drum loop.
Constraints:
Deliverable:
Quick self-check:
Recap
The goal is not just to automate a bass sound — it’s to design a phrase-level transformation that works in a real DnB arrangement. Keep the sub stable, let the Macros shape tone and rhythm in a controlled way, and always check the switchup against the drums. Use contrast with intent, keep the return strong, and your think-break switchup will feel like a proper club tool rather than a random effect.

