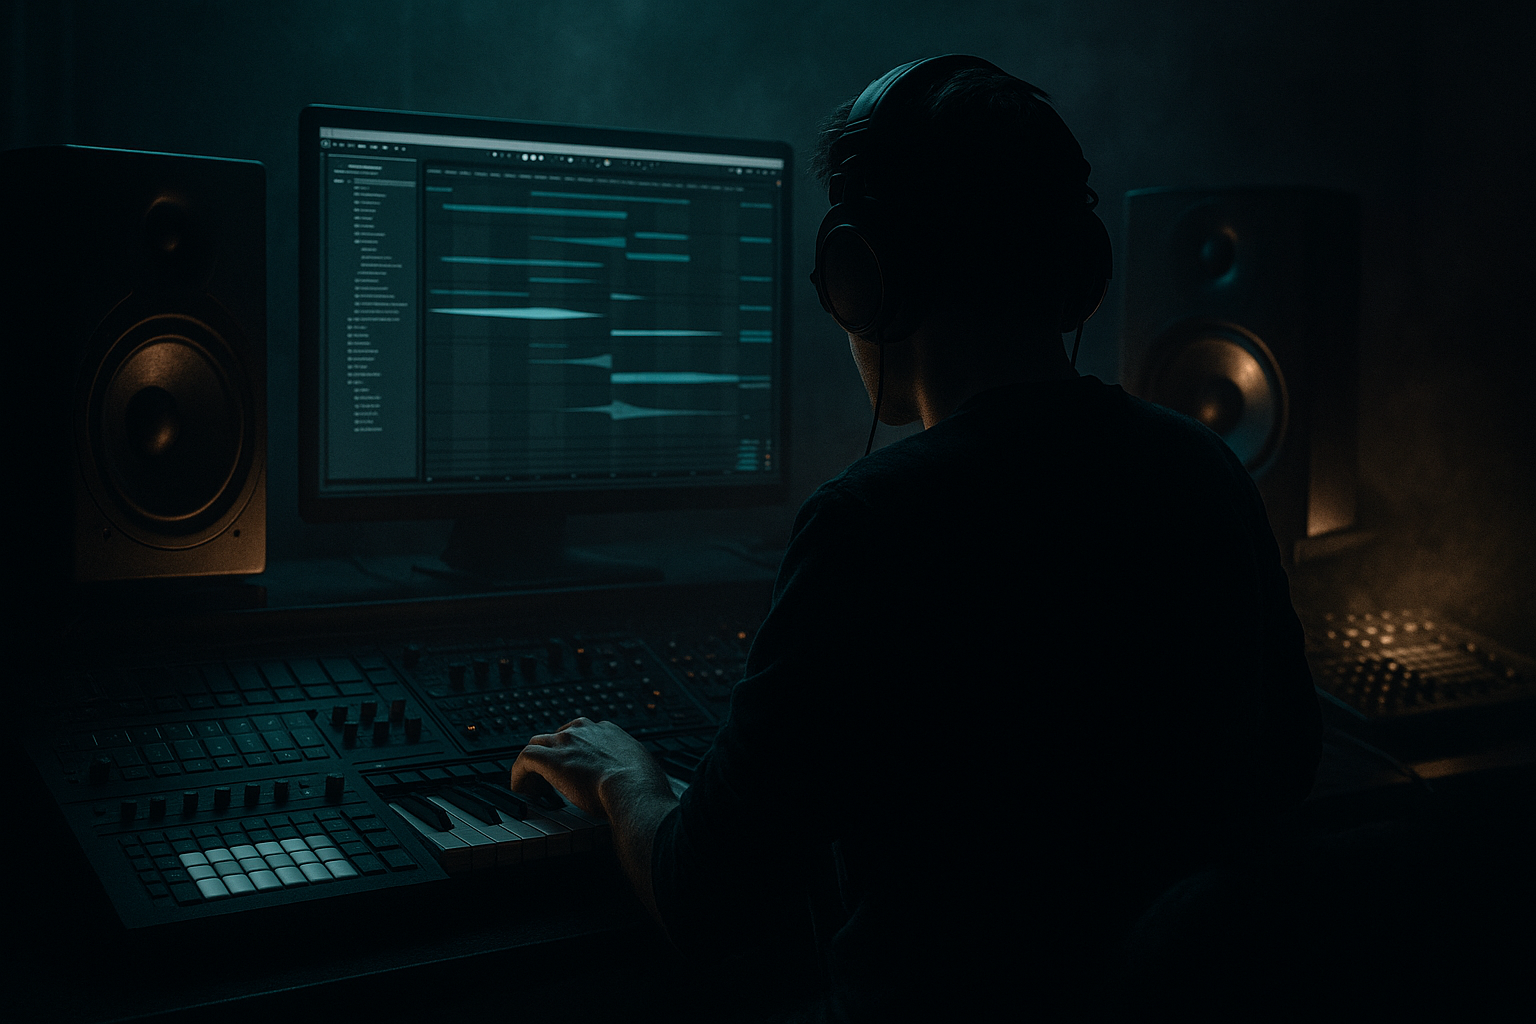
Main tutorial
Lesson Overview
A jungle switch-up is one of the fastest ways to make a drop feel rewind-worthy in Drum & Bass. The idea is simple: you build a groove that feels locked in, then you suddenly reshape the drums, bass rhythm, or texture so the drop “turns a corner” and hits harder on the second pass. In Ableton Live 12, resampling makes this much easier because you can capture your own drop material, chop it up, and redesign it into a more aggressive or unexpected variation without starting from scratch.
In a DnB track, this technique usually appears right after the first 8 or 16 bars of the drop. You might start with a clean roller groove, then switch into a jungle-style edit with break fragments, bass stabs, fills, and a more chaotic rhythm. That contrast is what makes the rewind moment happen: the listener feels the drop has evolved, not just repeated.
Why it matters: DnB drops live and die on tension, momentum, and surprise. If every 8 bars feels identical, the energy flattens. A switch-up keeps the floor engaged, gives DJs a better “reload” moment, and makes your track sound more intentional and musical. 🎯
What You Will Build
You will build a short drop section in Ableton Live 12 that starts as a tight roller or jungle-influenced groove, then morphs into a heavier switch-up using resampled audio. The final result will include:
- A drum loop with break edits and ghost notes
- A bassline with sub support and a moving mid-bass layer
- A resampled audio track you can chop into fills, stabs, and reverse moments
- A simple arrangement where the first 8 bars feel controlled, and the next 8 bars feel more frantic and rewinding-friendly
- Clear automation on filters, reverb throws, and delay tails to mark the switch
- Making the switch-up too different from the original groove
- Overfilling every bar with edits
- Letting the sub get chopped with the mids
- Using too much reverb on the drum bus
- Forgetting to automate levels
- Resampling at clipping level
- Layer a reese under the resampled bass stab for extra menace. Keep it filtered so it doesn’t swallow the sub.
- Use Saturator before Auto Filter on the bass to make the filter sweep feel more aggressive.
- Try a very short Echo throw on the last snare before the switch-up. Set feedback low, around 10–20%, so it adds movement without washing out the impact.
- Add tiny ghost hits from the break before the main snare. That gives the groove a more authentic jungle feel.
- If the drop needs more underground character, resample a distorted bass pass, then cut the best 1–2 seconds and use them as rhythmic accents.
- Use Arrangement View to create “DJ-friendly” gaps: short intro bars with reduced drums and bass can make the drop feel heavier when it returns.
- For a darker vibe, automate the bass filter to open only partially, around 2–4 kHz max on the mids, so the sound stays restrained and heavy rather than bright.
- Start with a solid DnB groove, then plan the switch-up at a clear phrase boundary.
- Resample your drums and bass in Ableton Live 12 so you can chop, reshape, and reload the idea.
- Keep the sub controlled and mono while the mid-bass and drums do the creative movement.
- Use automation, small gaps, and edited break fragments to create tension and impact.
- In DnB, the best switch-ups feel like a natural evolution that makes the drop worth rewinding.
Musically, this works well in a drop where the first phrase feels like a “statement” and the second phrase feels like the “mutation.” For example: bars 1–8 = rolling half-time-feel DnB groove with a steady bass call-and-response, bars 9–16 = jungle switch-up with chopped break fills, a bass reload, and a sudden impact on bar 9 or 13.
Step-by-Step Walkthrough
1. Set up a simple drop loop and mark the switch point
Start with a new Ableton Live set at 174–176 BPM, which sits in a classic DnB range. Create a 16-bar loop in Arrangement View. Put a locator at bar 9, because this is where your switch-up will happen.
Build a basic skeleton first:
- Drum track 1: kick/snare or break-layered drum groove
- Drum track 2: break edit or top loop
- Bass track: sub plus mid-bass
- FX track: impacts, reverse sweeps, noise
Keep the first 8 bars more stable. The point is to create contrast later, not to overload the listener immediately. For a beginner, this makes the switch-up easier to hear and easier to control.
Why this works in DnB: a strong looped section gives the dancefloor something to lock onto. The switch-up feels bigger when the listener already understands the groove.
2. Build a rolling drum foundation with stock Ableton tools
On your drum track, use Drum Rack or Simpler with a punchy kick and snare. If you’re using a break, load it into Simpler in Classic mode or Slice mode for easy editing.
Useful starter choices:
- Kick: short, punchy sample with a strong 50–70 Hz fundamental
- Snare: layered break snare or a dry snare with some crack around 180–250 Hz and snap around 2–5 kHz
- Hats: light offbeat hats or a chopped break top
Add these stock devices:
- EQ Eight: cut low rumble from hats and breaks
- Drum Buss: use Drive around 5–15%, Crunch low to moderate, Boom carefully or not at all
- Utility: keep drum group centered and stable
If you’re using a break, try slicing the audio:
- In Simpler, switch to Slice mode
- Slice by transient
- Play a basic pattern with a few repeated slices and ghost hits
Keep the groove tight, but don’t over-quantize everything. A tiny bit of human swing gives jungle and rollers more life.
3. Design a bass that can be reshaped later
Create a bass track using Operator, Wavetable, or a sampled bass in Simpler. For a beginner-friendly approach, Operator is a great start:
- Use a sine wave for the sub layer
- Add a second oscillator or a separate instrument for mid-bass movement
- Keep the sub mono
Good starter settings:
- Sub oscillator level: enough to support the kick, not dominate it
- Mid-bass filter: low-pass around 120–250 Hz if it’s too bright
- Saturation/Drive: just enough to add harmonics so the bass can be heard on smaller speakers
Add these stock devices:
- Saturator: Drive around 2–6 dB, Soft Clip on if needed
- Auto Filter: automate cutoff for movement and tension
- Utility: Bass frequencies in mono, Width at 0% on sub if needed
Program a simple call-and-response rhythm. For example:
- Bar 1: bass hits on the “and” of 1 and beat 3
- Bar 2: bass answers with a longer note or a short stab
- Bar 3–4: repeat with a small variation
This gives you something to resample later. You’re not just creating a bassline; you’re creating source material for the switch-up.
4. Resample your own drop element into audio
Now comes the key move: print your own sound. Create a new audio track and set its input to Resampling. Arm the track and record 4 or 8 bars of your drum and bass loop.
What to record:
- Your full drum groove
- A few bars of bass
- Any filter automation or FX you’ve already added
Keep the recording clean and leave a little headroom. Don’t max out the master. Aim for a healthy level where the waveform looks strong but not clipped.
After recording, drag the recorded audio into a new audio track or keep it in place and duplicate it. This audio is now your “switch-up source.”
Why this works in DnB: resampling turns a static MIDI idea into editable audio with real groove, texture, and transient detail. That makes the drop feel more organic and less programmed.
5. Chop the resample into a jungle-style edit
Take the resampled audio and slice it into smaller sections. You can do this directly in Arrangement View or by loading it into Simpler and using Slice mode.
For a beginner-friendly workflow:
- Duplicate the resampled clip
- Cut it at bar lines and key drum hits
- Make short edits on bar 9 or 13
- Keep one or two slices that feel like “signature” moments
Try these edit ideas:
- Short stuttered drum hits before the snare
- A reverse tail into the downbeat
- A chopped bass stab that answers the drum fill
- A tiny break fill leading into the next phrase
Add Warp only if needed to keep timing tight. For jungle edits, small timing imperfections can actually help the groove, but the downbeat must still land clearly.
If a slice feels too long, shorten it. If it feels too stiff, nudge it slightly off-grid. That small change can make the switch-up feel more alive.
6. Automate a filter or effect sweep into the switch
Create tension before the switch-up with automation. This is where Ableton stock effects shine.
On your bass or drum group, try:
- Auto Filter with cutoff moving from about 200–400 Hz up to full open, then snapping back
- Echo with a short feedback throw right before the change
- Reverb with a quick send on the last hit of the phrase
- Utility gain automation to pull one layer down before the impact
A simple setup:
- Bars 7–8: gradually close a low-pass filter on the bass
- End of bar 8: add a short reverb throw on a snare or clap
- Bar 9: drop the filter open again or hit a new, louder bass slice
Keep the movement obvious. In DnB, tiny automation changes can get lost when drums and bass are already busy, so go a little bigger than you would in a pop track.
7. Build the actual switch-up section with contrast
The switch-up should not just be “more notes.” It should change the relationship between drums and bass.
Try this structure for bars 9–16:
- Bar 9: big impact on the downbeat
- Bar 10: chopped break fill or syncopated drum pattern
- Bar 11: bass returns with a different rhythm
- Bar 12: short silence or gap before a snare hit
- Bar 13: repeat the idea with a variation
- Bar 15–16: strip it back slightly to prepare the next section
Use contrast tools:
- Make the drums denser for 2 bars, then pull them back
- Change bass note lengths
- Swap one bass stab for a resampled growl or reese hit
- Insert a half-bar or one-beat gap before the drop reload
A rewind-worthy moment often happens when you break the expectation just enough. For example: if the groove has been hitting every 2 bars, remove the bass on beat 1 of bar 13 and slam it back on the “and” of 2. That little absence makes the return feel heavier.
8. Shape the mix so the switch-up hits harder, not messier
Once the arrangement works, clean the balance.
On the drum group:
- EQ Eight: high-pass non-essential top layers if they clutter the mix
- Drum Buss: use lightly for glue and punch
- Glue Compressor: gentle settings, around 1–2 dB of gain reduction if needed
On the bass group:
- Use Utility to keep the sub mono
- EQ Eight to separate kick and sub if they fight
- Saturator to add harmonics without over-brightening
Check the low end in mono. If the bass gets weaker or phasey, simplify the mid-bass stereo width and keep the sub centered. In DnB, the kick-sub relationship is everything. If that foundation stays clear, your switch-up can get wild on top without wrecking the track.
A solid beginner rule: if the drop feels busy, remove something before adding more.
Common Mistakes
Fix: keep one anchor element, like the snare placement or bass tone, so the listener still feels the track identity.
Fix: leave space. A rewind-worthy moment needs contrast, not constant chaos.
Fix: keep a dedicated mono sub layer steady underneath the resampled movement.
Fix: use short throws on individual hits instead of washing the whole mix out.
Fix: if the switch-up feels weak, the problem may be volume, not sound choice. Automate 1–2 dB changes where needed.
Fix: leave headroom before recording so the audio stays punchy and editable.
Pro Tips for Darker / Heavier DnB
Mini Practice Exercise
Spend 10–20 minutes building a two-part drop:
1. Create an 8-bar roller groove with kick, snare, hats, and a simple bassline.
2. Resample 4 bars of that groove onto a new audio track.
3. Slice the resample into 6–10 pieces.
4. Build a 4-bar switch-up using:
- one drum fill
- one bass stab variation
- one reverse or reverb throw
- one short silence before the downbeat
5. Automate a filter on the bass so the last two bars feel like they’re building pressure.
6. Compare bars 1–4 and 5–8: does the second half feel like a mutation of the first?
Your goal is not perfection. Your goal is contrast that still feels like the same track.

