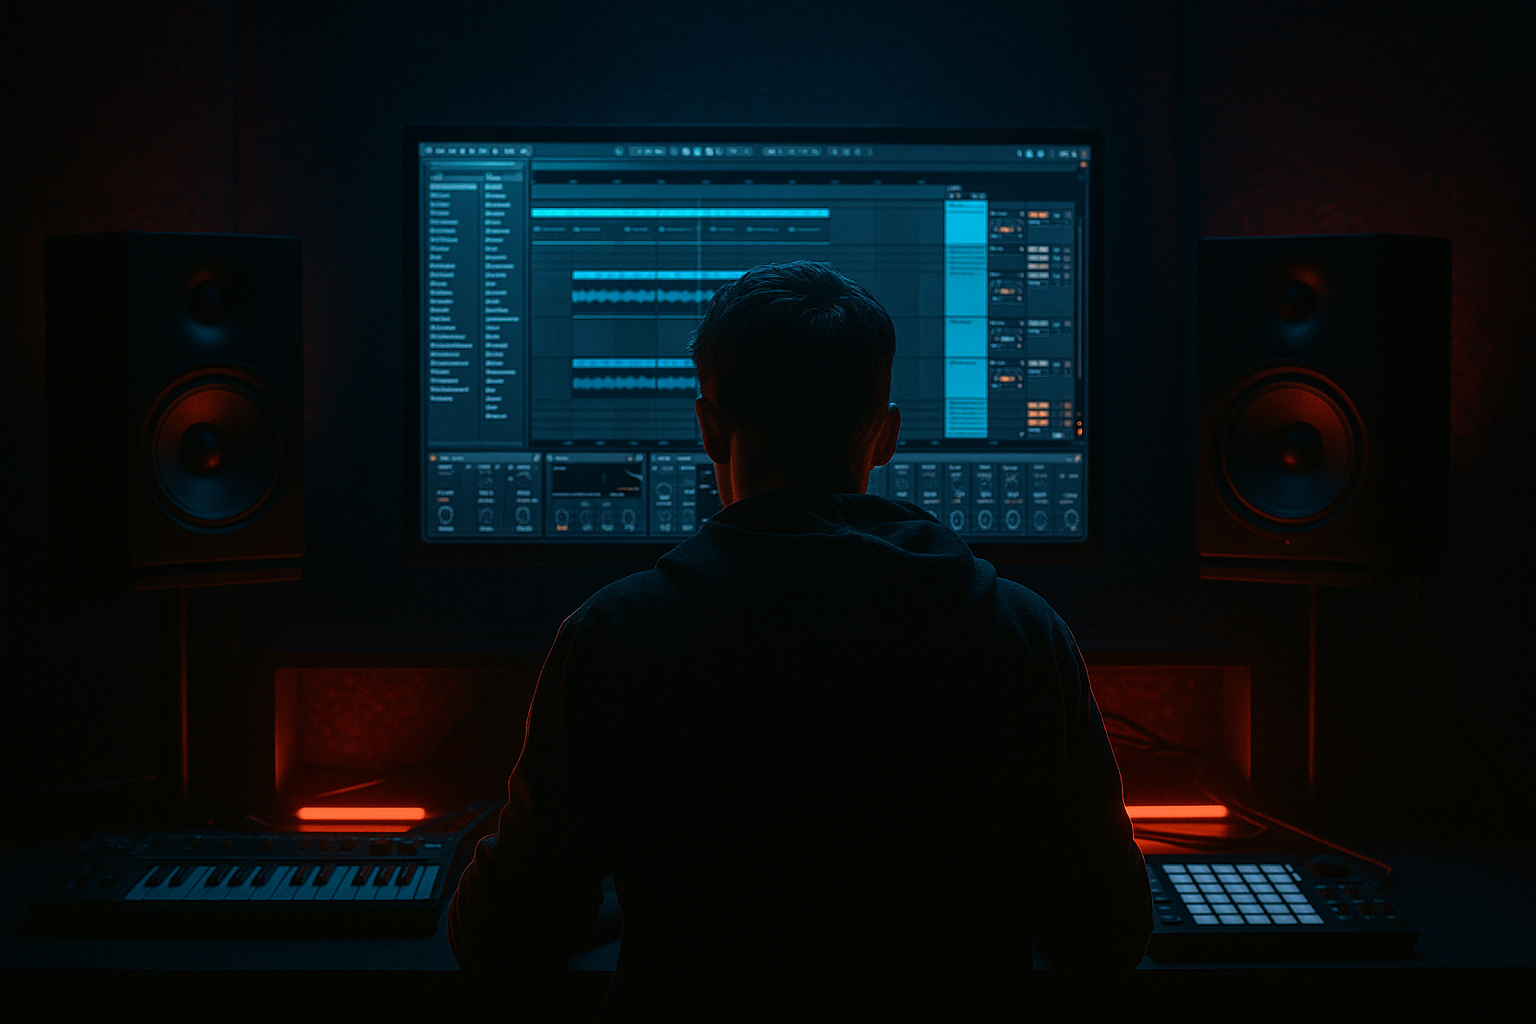
Main tutorial
```markdown
Shape Oldskool DnB Vocal Texture with Minimal CPU Load (Ableton Live 12)
Skill level: Intermediate • Category: Ragga Elements 🔥
---
1. Lesson overview
Oldskool jungle/ragga vocals often sound lo-fi, hyped, and glued into the break—not pristine. The trick is texture + movement + tight filtering, but done in a CPU-light way so your session can still run big breaks, bass resampling, and heavy drums.
In this lesson you’ll build a low-CPU “Ragga Vocal Texture Rack” using mostly Ableton Live 12 stock devices, with smart routing for quick callouts, shouts, and dub-style throws 🎛️.
---
2. What you will build
You’ll end with:
- A main vocal track that stays punchy and sits in the mix
- A CPU-light effect chain that adds:
- A send/return throw setup for classic jungle delays (without running a heavy reverb on every track)
- A simple arrangement pattern that feels rooted in DnB/jungle (call + response with fills)
- Clip gain so peaks sit around -12 to -6 dB before processing
- Aim for consistent input level into saturation.
- HP filter: 24 dB/Oct at 120–180 Hz
- Cut mud: -2 to -5 dB around 250–450 Hz (wide Q)
- LP filter: 12 dB/Oct at 7–10 kHz
- Optional presence bump: +2 dB at 2.5–4.5 kHz (wide)
- Mode: Analog Clip
- Drive: +3 to +8 dB
- Output: trim back so level matches bypass (important!)
- Soft Clip: ON
- Downsample: try 3–8
- Bit Reduction: 10–14 bits (start at 12)
- Dry/Wet: 10–35% depending on how aggressive you want it
- Filter type: Band-Pass or Low-Pass
- LP starting point: 6–9 kHz
- Add a touch of drive (if available): 5–15%
- Envelope: tiny amount helps consonants pop:
- Ratio: 2:1 to 4:1
- Attack: 10–30 ms (keep transients)
- Release: 60–120 ms
- Gain reduction: 2–5 dB
- Device: Echo (stock)
- Time: 1/8 dotted or 1/4 (classic jungle throw)
- Feedback: 25–45%
- Filter:
- Mod: very low (0–10%)
- Saturation inside Echo: a little (2–10%)
- Device: Reverb (or Hybrid Reverb if you must—Reverb is lighter)
- Decay time: 0.6–1.2s
- Pre-delay: 10–25 ms
- Low cut: 200–400 Hz
- High cut: 6–9 kHz
- Keep it subtle—DnB vocals often need space not wash.
- Put the main vocal on bar 9 (after the intro) to announce the drop
- Use callouts every 8 or 16 bars
- For roller energy, keep phrases short: 1/2 bar to 2 bars
- Bar 1–8: drums + bass establish
- Bar 9: ragga phrase (dry + punchy)
- Bar 10: response phrase (more FX + throw)
- Bar 16: bigger throw + mini stop or filter sweep
- Right-click vocal track → Freeze Track
- If you want to edit audio further: Flatten
- Too much low end in the vocal → fights the bass and kick. HP filter it.
- Overdoing Redux → harsh fizz that sounds “cheap digital” instead of “vintage”. Use Dry/Wet.
- Constant delay/reverb → muddies the groove; throws are more authentic.
- Saturating without level matching → you think it’s better because it’s louder. Match output.
- Warp artifacts from extreme stretching → resample/flatten and re-edit instead.
- Oldskool ragga vocal texture = band-limited EQ + saturation + subtle lo-fi + controlled movement.
- Keep CPU low by using stock devices and putting Echo/Reverb on returns.
- Use automation throws for authentic jungle energy.
- Commit with Freeze/Flatten so your session stays fast while you push drums and bass hard.
- Oldskool grit (saturation + bit reduction style tone)
- Tight band-limited “radio/PA” vibe
- Short dub space without washing the mix
---
3. Step-by-step walkthrough
Step 0 — Choose the right vocal source (and prep it fast)
1. Pick a ragga phrase or shout (1–3 seconds works great):
- “Selecta!”, “Wheel it!”, “Run di track!”, etc.
2. Warping:
- Double-click the clip → Warp ON
- Mode: Complex Pro (only if you’re stretching a lot)
- If minimal stretching: Tones or Complex can be lighter.
3. Consolidate clean regions: `Cmd/Ctrl + J`
- Keeps edits tidy and helps with consistent processing.
✅ CPU tip: Avoid heavy real-time pitch/time tricks if you can—do them, then Freeze/Flatten later.
---
Step 1 — Gain staging (this is where “oldskool” starts)
On the vocal track:
Why: oldskool texture responds best when the saturator is hit the same way every time.
---
Step 2 — Build the “Ragga Vocal Texture Rack” (low CPU chain)
Create this chain on the vocal track:
#### 1) EQ Eight (band-limit + remove mud)
🎯 Goal: get that PA/radio range so it naturally sits above the bass and breaks.
---
#### 2) Saturator (grit without huge CPU)
If you want more hair: turn Color ON and set it subtly.
✅ CPU note: Saturator is cheap and does a lot of “old sampler-ish” vibe quickly.
---
#### 3) Redux (controlled lo-fi / sampler bite)
Redux can scream “oldskool” fast—use it subtly:
🎛️ If it gets harsh, lower downsample first before lowering bits.
✅ CPU tip: Redux is light compared to many 3rd party “vintage” plugins.
---
#### 4) Auto Filter (movement + classic sweep)
- Envelope: 5–15
- Attack: 5–20 ms
- Release: 80–200 ms
Optional: automate cutoff for “wheel-up” moments.
---
#### 5) Compressor (glue to drums without over-squashing)
Use light compression unless you’re going for smashed dancehall hype:
✅ Want it to bounce with the break? Sidechain from your drum bus lightly (1–2 dB).
---
Step 3 — Add dub space using Returns (saves CPU 💡)
Instead of putting delay/reverb on every vocal channel, set Return A: Dub Delay and Return B: Small Verb.
#### Return A — Dub Delay (Echo)
- HP: 200–400 Hz
- LP: 4–7 kHz
✅ CPU tip: Use one Echo on a return, not multiple instances.
#### Return B — Small Plate/Room (Reverb)
---
Step 4 — Create oldskool “throw” moments (automation workflow)
For jungle authenticity, you don’t want constant delay—you want throws.
1. On the vocal track, automate Send A (Echo):
- Keep at -inf most of the time
- Push to -12 to -6 dB on the last word of a phrase
2. For even cleaner throws:
- Split the clip (`Cmd/Ctrl + E`) right before the last word
- Add send only to that slice
🎚️ This keeps your mix clean and makes the throw feel intentional.
---
Step 5 — Make it sit in a rolling DnB mix (arrangement + placement)
Typical placement ideas:
Classic jungle pattern:
🥁 Pro move: Pair vocal hits with break edits (amen snare fill or tiny reverse) for that 90s cut-up feel.
---
Step 6 — Freeze & commit (the real CPU saver)
Once it’s sounding right:
✅ This lets you run heavier bass resampling and drum processing while keeping vocal vibe locked.
---
4. Common mistakes
---
5. Pro tips for darker/heavier DnB 🖤
1. Make the vocal narrower so drums feel huge:
- Add Utility after processing → Width 70–90%
2. Darken the throws only:
- On Return A (Echo), push LP down to 3–5 kHz for moody tails
3. Add controlled “metal” edge without heavy plugins:
- Use Saturator + slightly harder clip, then EQ out 7–10 kHz fizz
4. One-note menace layer (optional):
- Duplicate vocal → pitch down -5 to -12 semitones (Clip Transpose)
- HP at 200 Hz, LP at 2–4 kHz, keep very low in mix
- This adds “demon host” weight without crowding bass
5. Use silence as impact:
- Hard mute vocals right before a drop, then one big phrase with a throw.
---
6. Mini practice exercise (15 minutes) ⏱️
Goal: Make a vocal feel “oldskool jungle” with minimal CPU.
1. Pick one ragga phrase (1–2 bars).
2. Apply the chain: EQ Eight → Saturator → Redux → Auto Filter → Compressor.
3. Create Return A Echo and automate a single throw on the last word.
4. Arrange it across 16 bars:
- Bar 9: phrase dry
- Bar 13: phrase with throw
- Bar 16: phrase + bigger throw + quick filter sweep (Auto Filter cutoff automation)
5. Freeze/Flatten once happy.
Deliverable: Bounce a quick 16-bar loop and check it against your drums/bass—does it cut without overpowering?
---
7. Recap
If you tell me your tempo (e.g., 160/174) and whether you’re using Amen/Think/2-step drums, I can suggest a vocal placement pattern that locks perfectly to your groove.
```

