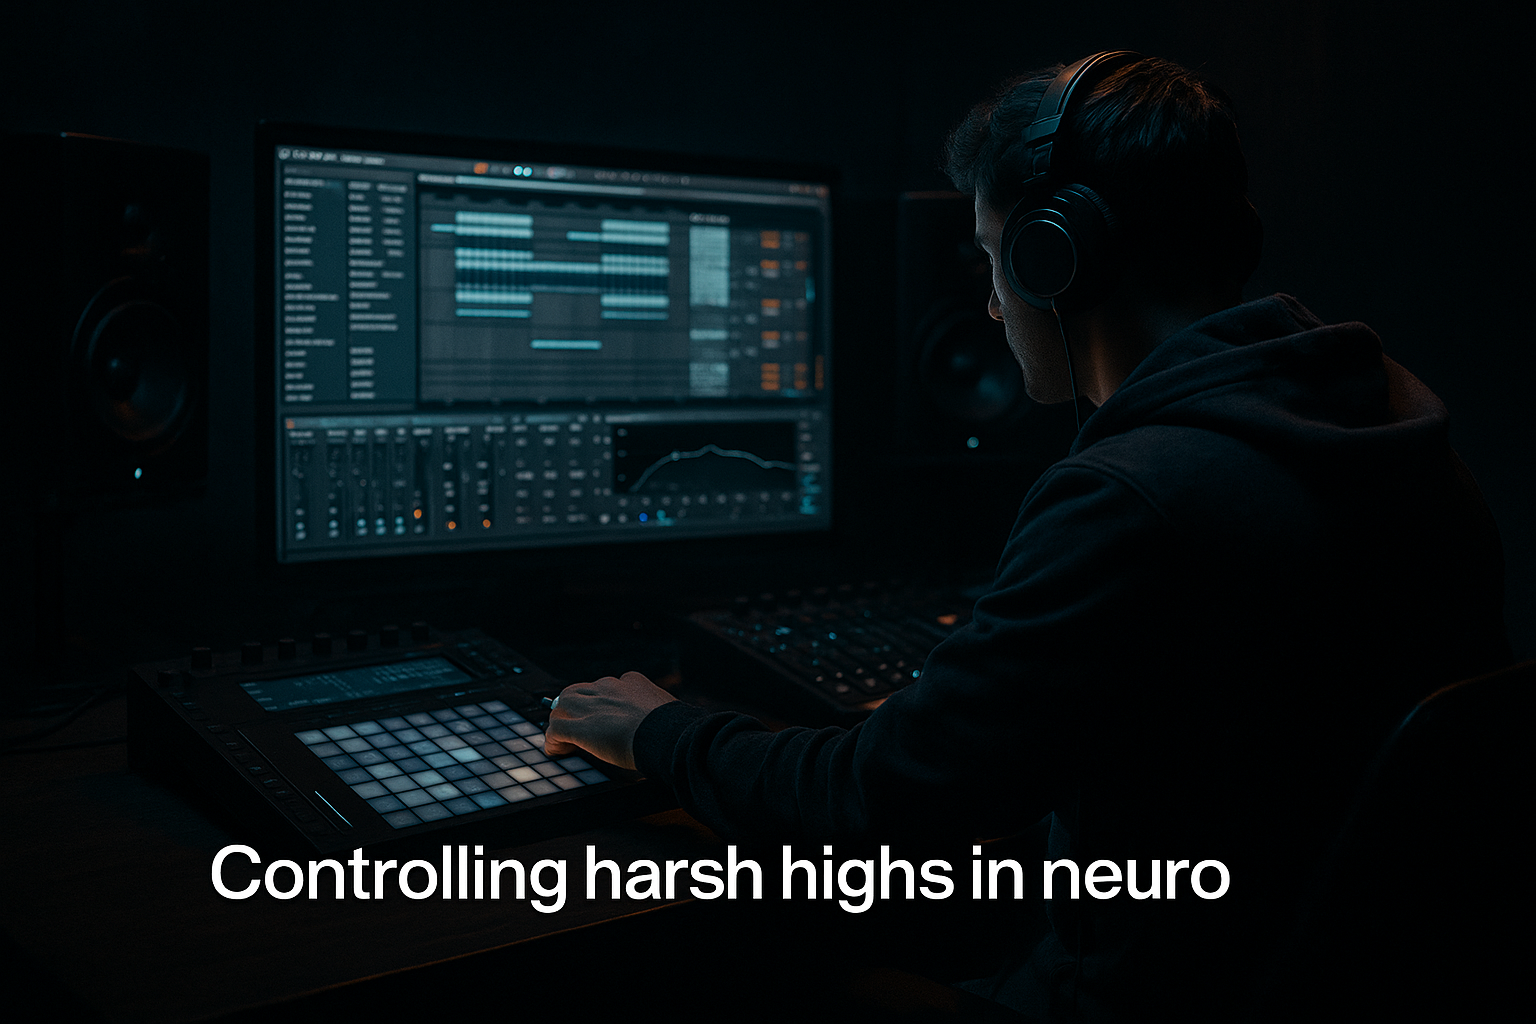
Main tutorial
Lesson Overview
Slicing a top loop is one of the fastest ways to inject authentic 90s-inspired darkness into a Drum & Bass track in Ableton Live 12. Instead of using a loop as a static background layer, you turn it into a playable source of groove, tension, and character. This is especially useful in jungle, oldskool DnB, rollers, and darker bass music, where chopped percussion, unstable swing, and broken-up textures are part of the identity.
In this lesson, you’ll learn how to take a top loop, slice it, and rebuild it into a gritty, dynamic DnB pattern that feels loose like classic jungle but controlled enough for modern mix standards. The goal is not just to make the loop “interesting” — it’s to make it function like a real production element: a rhythmic layer that supports the drum break, leaves room for the sub, and adds movement across the arrangement.
This technique matters because top loops often already contain the kind of micro-groove that makes oldskool DnB feel alive: ghost hits, swing, hats, shaker motion, and tiny imperfections. When you slice and rearrange that energy inside Ableton, you can create tension, variation, and atmosphere without overloading the low end. That makes it ideal for mastering-stage awareness too: you’re learning to build a cleaner, more controlled top end so the final track has space, punch, and headroom.
Why this works in DnB: the genre depends on rhythmic detail. A sliced top loop can act like glue between the break, the bassline, and the main drum hits. It helps drive momentum in intros, drops, and switch-ups while keeping the low end free for sub and kick weight.
What You Will Build
You’ll build a sliced top-loop pattern in Ableton Live 12 that sounds like a dark, dusty jungle topper with oldskool swing.
Musically, the result will be:
- A chopped hi-hat/shaker texture with irregular accents
- A loop that feels broken and rearranged rather than copied
- Enough movement to sit over a breakbeat without cluttering it
- A top-layer rhythm that can evolve into intro, drop, or breakdown sections
- A mix-ready upper-percussion element with controlled brightness and stereo width
- One sliced audio loop or Drum Rack pattern
- A simplified groove that supports a DnB drum break
- A darker tone shaped with stock Ableton devices like Auto Filter, Saturator, Drum Buss, and Utility
- Basic arrangement ideas for building tension and release
- a dusty break top
- a shaker loop with uneven hits
- a hat loop with swing
- a percussion loop with small gaps
- Warp mode: Beats for percussive material
- Preserve: transients or 1/16 if needed
- Transient Loop Mode: try 1/8 or 1/16 for tighter edits
- Grid: 1/16 for detailed slicing
- Transients if the loop has clear hits
- 1/8 or 1/16 if you want regular chop points
- Don’t try to make 32 variations at once
- Start with 4 to 8 useful slices
- Focus on hats, shakers, and small percussion hits that sound good on their own
- Put a slice on the off-beats to support the main break
- Add one or two small ghost slices before or after the snare
- Leave some empty space so the groove breathes
- Use repeated hits sparingly to create momentum
- 1 slice every 1/8 note on a few bars
- one extra fill hit at the end of every 2 bars
- a slightly different pattern in bar 4 to keep it moving
- Bars 1–2: establish the texture
- Bar 3: add one extra slice for tension
- Bar 4: introduce a little variation or a stop
- Auto Filter
- Saturator
- Drum Buss
- Utility
- Auto Filter: Low-pass around 9–14 kHz if the loop is too bright, or a gentle band-pass if you want a narrow dusty tone
- Saturator: Drive between 2 and 6 dB for subtle grit
- Drum Buss: Drive low, around 5–15%, with Crunch used carefully
- Utility: reduce Gain by 2–4 dB if the loop is too loud; use Width at 0% if you want mono top texture
- Try MPC-style groove templates or a light 16th swing
- Start with subtle groove amounts, around 10–30%
- Avoid over-swinging if the main break is already swung
- Delay some hats a tiny amount for laid-back motion
- Push a few ghost hits earlier for urgency
- Leave the snare area relatively clear
- Auto Filter cutoff
- Saturator Drive
- Drum Buss Dry/Wet
- Utility Width
- Intro: low-pass the top loop around 5–8 kHz, then slowly open it
- Pre-drop: reduce width to mono for a more focused build
- Drop: open the filter and increase saturation slightly
- Switch-up: briefly mute the loop or drop the volume by 2–4 dB for one bar
- Keep the sliced loop out of the sub range
- Use EQ Eight to high-pass around 150–250 Hz if needed
- Make sure the snare and kick remain dominant
- Keep low-end elements mono, especially below 120 Hz
- Use headphones and mono check with Utility
- High-pass at 180 Hz with a gentle slope
- Small dip around 3–5 kHz if the loop is scratchy
- Tiny high shelf reduction if the top end is too fizzy
- Reverse tiny sections for tension
- Add Echo with very short delay times for depth
- Use subtle Reverb with short decay for dirty space
- Chop the resampled audio again for more variation
- Echo: 1/8 or 1/16 synced, low feedback
- Reverb: short decay, low dry/wet
- Filter frequencies so the wet tail doesn’t cloud the snare
- Using a loop that is too busy
- Leaving the loop too bright
- Slicing everything and using all the hits
- Over-swinging the pattern
- Letting the top loop hit too loud
- Forgetting mono compatibility
- Adding too much distortion too early
- Use one slice as a signature accent
- Layer with a second, quieter top texture
- Make the loop answer the snare
- Keep the low end strict
- Use short automation moves
- Add grit, not fizz
- Try stereo narrowing before the drop
- Start with a simple top loop
- Slice it into playable hits
- Rebuild the rhythm with space and swing
- Shape the tone with Ableton stock devices
- Keep the loop clean so the break and bass stay powerful
- Use automation and arrangement changes to create tension and release
By the end, you’ll have:
Step-by-Step Walkthrough
1. Choose the right top loop
Start with a top loop that has hats, shakers, or percussion but not too much kick or snare. For oldskool jungle vibes, you want something that already feels rhythmic and a little raw. Good choices are:
In Ableton Live 12, drag the loop into an audio track. Set the project tempo around 160–174 BPM if you’re building classic DnB energy, or 170–175 BPM for a more urgent jungle feel. If the loop is not already time-stretched well, use Warp and choose Beats mode if it’s percussive.
Beginner tip: don’t pick a loop that is too busy. If the loop already fights the drum break, it will be hard to make it work. Keep it simple and focused.
2. Warp and trim the loop cleanly
Double-click the clip and inspect the waveform. Make sure the first important transient starts on the grid. If needed, drag the start marker so the loop lines up properly.
Use these practical settings:
Trim any silence at the start and end. This keeps the loop tight and makes slicing easier.
Why this matters in DnB: tight timing is everything. In jungle and rollers, even a small timing issue in the top loop can make the whole groove feel lazy or messy. Clean warping gives you a solid base before you start chopping.
3. Slice the loop into playable pieces
Right-click the audio clip and choose Slice to New MIDI Track. For slicing mode, choose:
Ableton will create a new Drum Rack with slices mapped across pads. This is the key move: the loop becomes playable, so you can rearrange the hits into a new pattern.
Keep it beginner-friendly:
If some slices are too long or messy, mute them in the MIDI clip or replace them with cleaner hits later.
4. Build a simple broken rhythm pattern
Open the MIDI clip that Ableton created and start placing slices on the grid. Your first goal is not complexity — it’s groove.
Try this approach:
A strong beginner pattern might use:
In a 4-bar loop, think like this:
This is classic DnB arrangement logic: repetition builds hypnosis, and tiny changes keep the ear engaged.
5. Shape the slices with Drum Rack and stock effects
Now make the loop darker and more controlled using Ableton stock devices. On the Drum Rack or on the audio/MIDI track, add:
Suggested starting settings:
If one slice is much louder than the others, lower that pad’s volume inside Drum Rack. That creates a more even groove and stops the loop from poking out in a harsh way.
Why this works in DnB: top loops can add energy, but if they’re too sharp or uneven they fight the snare and hats. Controlled saturation adds dirt and cohesion, while filtering removes brittle high-end that can make the mix feel cheap.
6. Add groove, swing, and micro-timing
DnB and jungle live in the pocket. A sliced top loop should feel human, not perfectly robotic.
Use Ableton’s Groove Pool if your loop needs more swing:
You can also manually shift a few MIDI notes slightly off-grid:
A good rule: use groove to create feel, not chaos. If you can still head-nod to the drum break, you’re on track.
7. Automate filter movement and tension
Once the pattern feels good, make it evolve across the arrangement. In darker DnB, automation is one of the easiest ways to create tension without changing the whole pattern.
Try automating:
Practical automation ideas:
This is especially useful in a 16-bar intro or 32-bar drop structure. For example, you can start with only the sliced loop and atmosphere, then bring in the break and bass at bar 9. That kind of progression is very common in oldskool-inspired DnB arrangements.
8. Mix the loop so it supports the break and bass
Now treat the loop like part of the mastering chain mindset: it should be strong, but it should not take over the mix.
Check these points:
Suggested EQ Eight starting point:
This is where mastering awareness comes in: the cleaner your top loop is now, the less harshness and masking you’ll have later. A well-shaped top loop leaves headroom for loudness and keeps the final master clearer.
9. Resample for character if needed
If the loop sounds good but still feels too “digital,” resample it. In Ableton, route the track to a new audio track or record it to audio, then process the resampled clip.
Once resampled, you can:
Keep effects subtle:
Resampling is a classic jungle workflow because it turns a loop into something less predictable and more personal.
Common Mistakes
- Fix: choose a loop with fewer elements so it can sit above the break instead of competing with it
- Fix: use Auto Filter or EQ Eight to tame harsh highs around 8–12 kHz
- Fix: keep only the slices that actually add groove; mute the rest
- Fix: keep groove subtle, especially if your break is already swung
- Fix: lower track gain or Drum Rack pad levels by 2–4 dB
- Fix: check with Utility and keep the loop centered if it’s acting like a supporting rhythm
- Fix: start with light Saturator settings and increase only if the mix still feels too clean
Pro Tips for Darker / Heavier DnB
- Pick a single hat or percussion hit and repeat it strategically. This can become a memorable rhythmic hook in the drop.
- Add a very quiet shaker or noise loop underneath, filtered high. This gives motion without clutter.
- In dark rollers, a sliced top loop can act like a call-and-response layer. Leave space where the snare lands, then place a small hit after it.
- If the loop has any rumble, cut it. The sub and kick need a clean lane. Heavy DnB sounds bigger when the low end is disciplined.
- A one-bar filter dip before the drop, or a quick volume cut before a snare fill, can make the drop feel much heavier.
- Saturator and Drum Buss are great, but if the loop starts sounding fizzy or brittle, back off. Dark DnB should feel dense and dusty, not painfully sharp.
- Pull the loop to mono or narrower width in the build-up, then open it slightly on the drop. That makes the drop feel wider without changing the sound design much.
Mini Practice Exercise
Spend 10–20 minutes making a 4-bar sliced top-loop groove.
1. Find one top loop with hats, shaker, or light percussion.
2. Warp it in Beats mode and clean the start point.
3. Slice it to a new MIDI track using Transients or 1/16.
4. Build a 4-bar MIDI pattern using only 4–6 slices.
5. Add Auto Filter and sweep the cutoff from closed to more open over 4 bars.
6. Add light Saturator drive, around 3–5 dB.
7. High-pass the loop with EQ Eight if it clashes with the kick or bass.
8. Duplicate the pattern and change one bar so it feels like a variation.
9. Listen in context with a drum break and sub. Make sure the loop supports the groove, not dominates it.
Bonus challenge: mute the loop for the last half-bar before the drop, then bring it back in on the first bar of the drop. That tiny pause can create serious impact ⚡
Recap
Slicing a top loop is a fast, authentic way to build 90s-inspired darkness in Ableton Live 12.
The key ideas are:
If you remember one thing: in DnB, the best top loops don’t just add sound — they add movement, attitude, and momentum while protecting the low end.

